Braids for Beginners: The Complete Guide to Your First Braids
Learning to braid your own hair can feel intimidating the first time — arms get tired, fingers fumble, and the braid somehow ends up lopsided. That’s completely normal. Every skilled braider started exactly where you are now. The good news is that braiding is a motor skill, which means consistent short practice sessions will build muscle memory faster than you’d expect. Most beginners can execute a neat three-strand braid within a week of daily practice, and graduate to French and Dutch braids within a month.
This complete guide covers everything you need to start: the tools to gather, how to prepare your hair for braiding, five fundamental braid types explained step by step, and how to make your braids last. Once you’ve worked through this guide, you’ll have the foundation to tackle more advanced styles like French braids on your own hair, fishtail braids, double Dutch braids, and even long-term protective styles like box braids.
What You’ll Need: Braiding Tools and Supplies
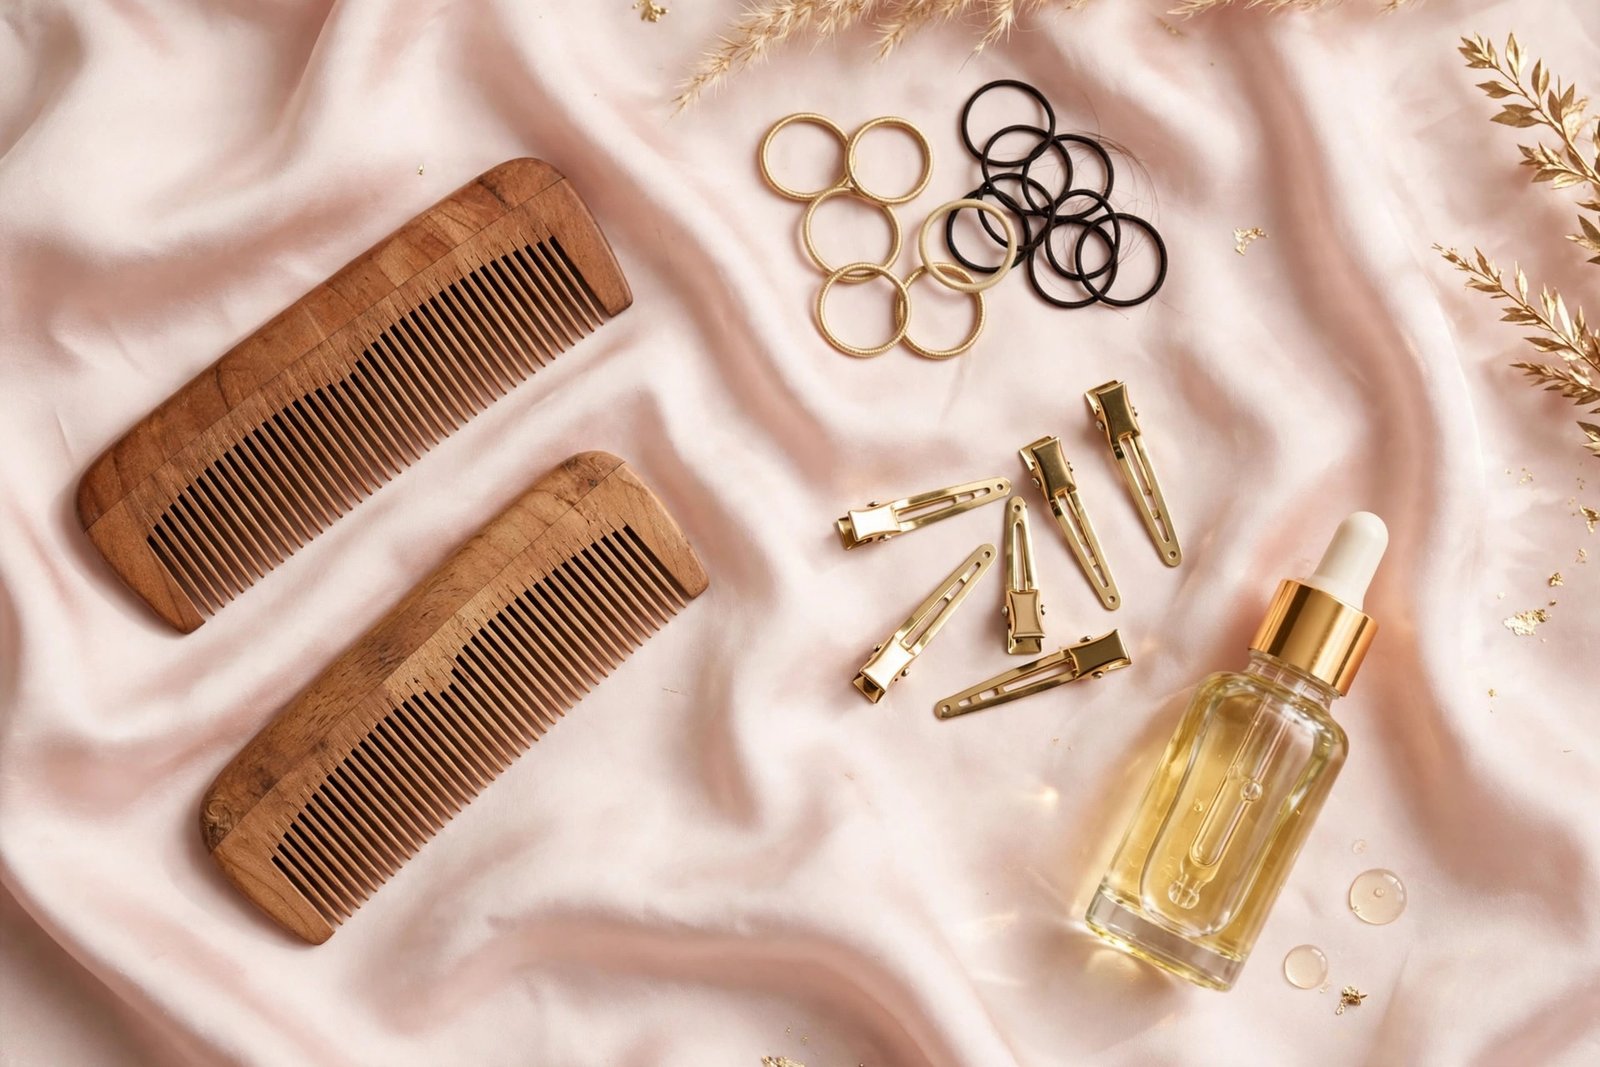
You don’t need much to start braiding, but having the right tools on hand makes the learning curve dramatically easier. Gather these before your first practice session.
Essential tools
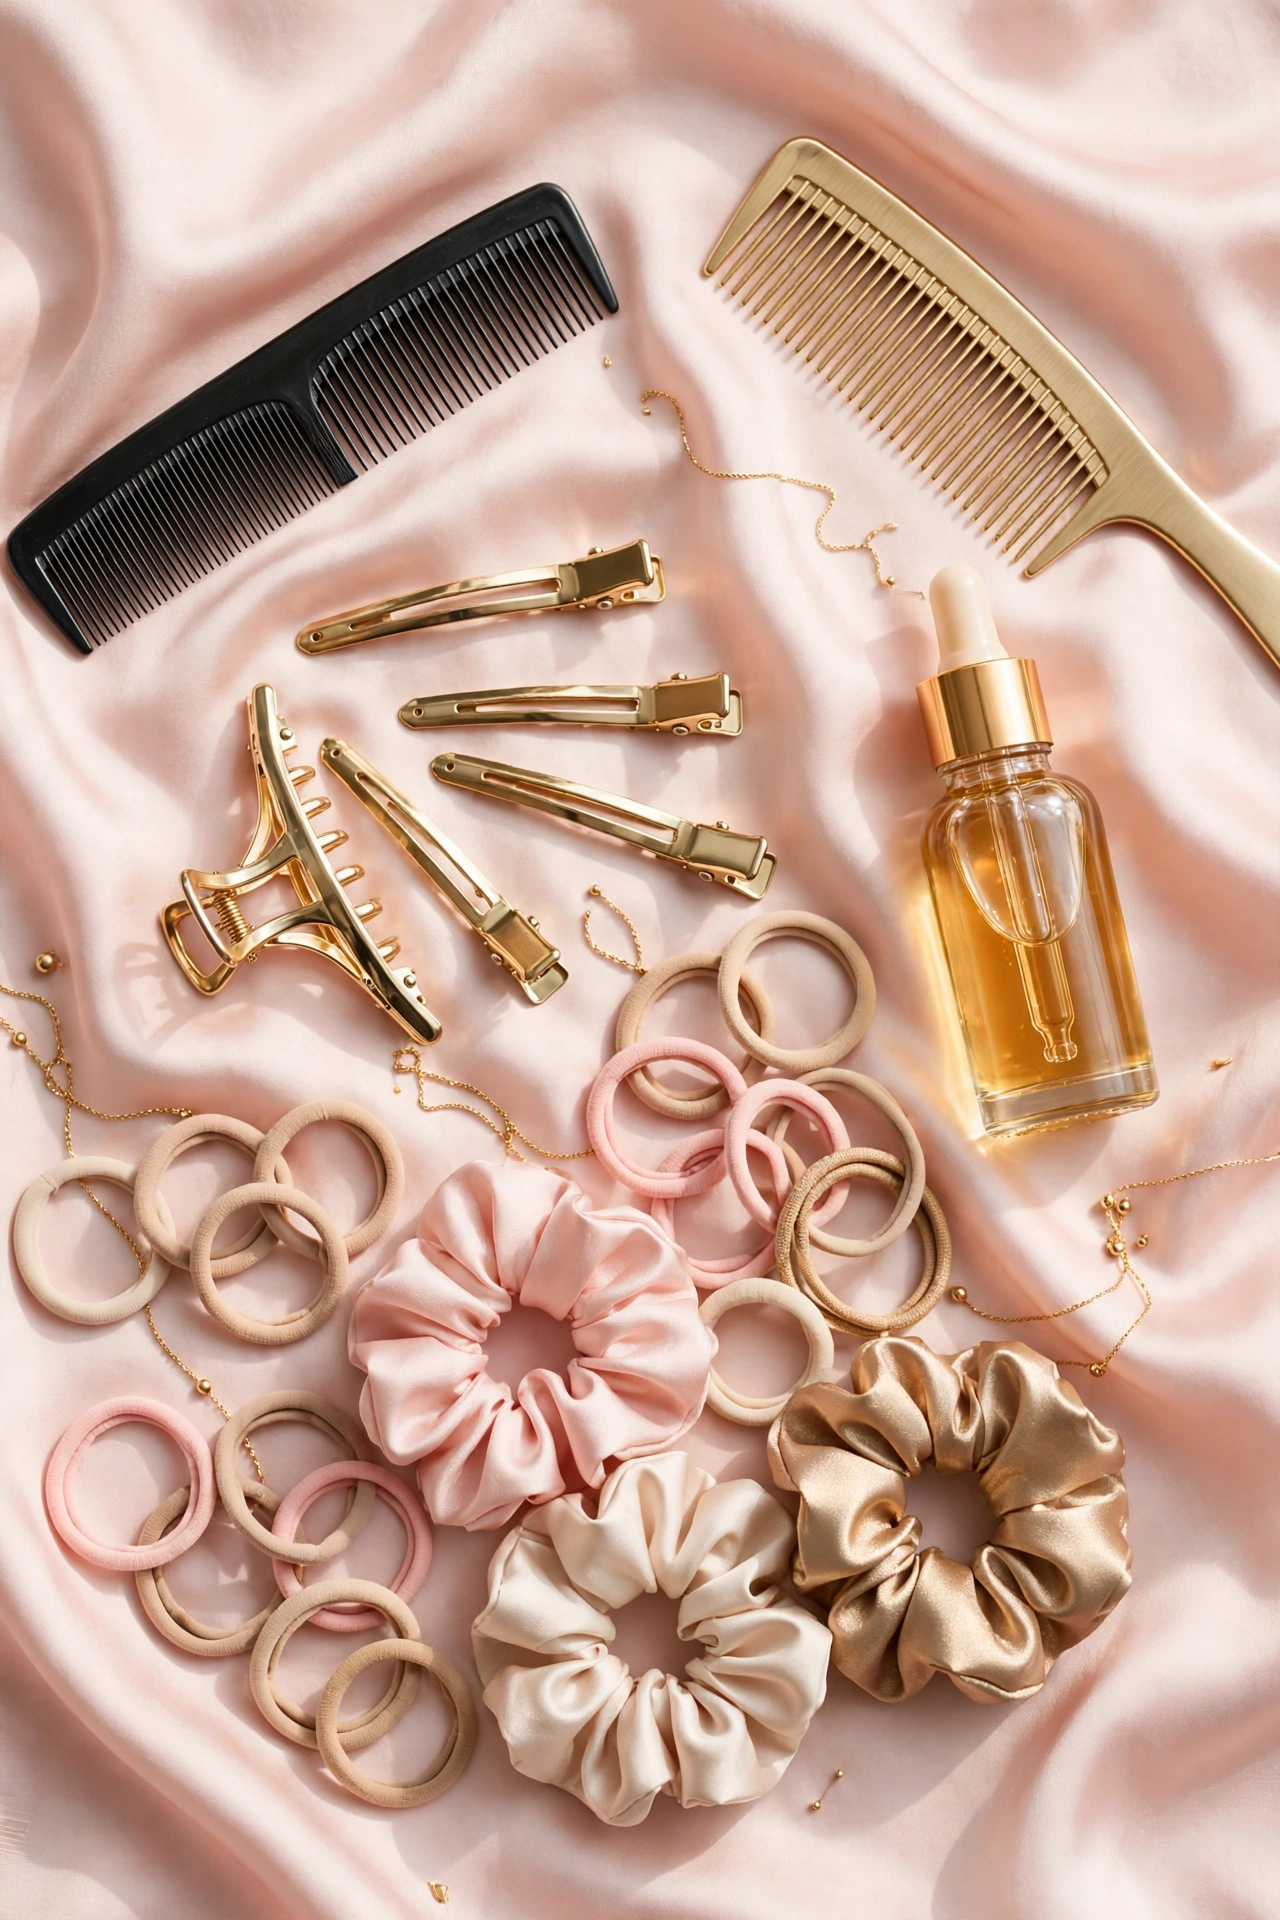
- A wide-tooth comb and a fine-tooth comb: Use the wide-tooth comb to detangle, and the fine-tooth comb (or a rat-tail comb) to create clean, precise partings.
- Small clear or colored elastics: For securing braid ends and sectioning hair. Snag-free elastics prevent breakage when you remove them.
- Hair clips or sectioning clips: Keep the hair you’re not working on out of the way. Essential once you move past single braids.
- A spray bottle with water: Slightly damp hair is easier to grip and control than bone-dry hair, which tends to slip and frizz.
- A mirror setup: Either a handheld mirror plus a bathroom mirror, or two mirrors facing each other, so you can see the back of your head. This is non-negotiable for braiding your own hair beyond the nape.
Helpful extras
- Braid spray, light mousse, or edge control: Products with light hold add grip and smoothness, especially useful on fine or freshly washed hair that’s too slippery.
- Boar bristle or detangling brush: For smoothing the hair before you begin — braiding over tangles is the number one cause of lumpy, uneven braids.
- Silk or satin scarf: For setting braids and protecting them overnight.
- Hair extension packs (optional): If you plan to learn box braids later, pre-stretched braiding hair is worth buying in advance.
How to Prep Your Hair for Braiding
Preparation is the step beginners skip — and it’s the reason their braids look messy. Well-prepped hair braids faster, holds longer, and puts less stress on your strands. If your hair is new to a full routine, start with a simple hair care routine for beginners to get your strands in braiding-ready condition.
Step 1: Start with clean, conditioned hair
Braiding works best on hair that was washed within the last day or two. Product buildup and excess oil make hair slippery and hard to grip, while overly dry hair creates frizz that blurs your braid’s definition. Shampoo, condition, and rinse thoroughly.
Step 2: Detangle completely
Work in sections from the ends up to the roots with a wide-tooth comb or detangling brush. Every knot you leave in will become a visible bump in your braid. This step alone can take 10–15 minutes on thick or long hair — don’t rush it.
Step 3: Moisturize and add light hold
Apply a leave-in conditioner or light hair cream, then a pea-sized amount of mousse or braid gel if your hair is very fine or slippery. The goal is grip, not crunch — your fingers should glide with control, not stick.
Step 4: Decide on damp or dry
Slightly damp hair (about 80% dry) is the sweet spot for most beginners: easier to section, less frizz, and the braid sets with a nice wave pattern when released. Soaking wet hair stretches and can snap under tension, so never braid dripping-wet hair. Completely dry hair works too, but expect more flyaways — a light mist from your spray bottle as you go solves that.
Step 5: Section and clip
Divide your hair into the sections your braid style requires before you start crossing strands. Clip away everything you’re not actively working on. Organized sections are the difference between a calm 10-minute braid and a 30-minute wrestling match.
The 5 Basic Braid Types Every Beginner Should Learn
Master these five in order. Each one builds on the skills of the previous, so resist the urge to jump ahead to Dutch braids before your three-strand braid is solid.
1. The Classic Three-Strand Braid
The foundation of all braiding. Every other technique on this list is a variation of this movement pattern, so drill it until your fingers cross automatically.
How to do it:
- Gather your hair into a ponytail position (or leave it loose for a side braid) and divide it into three equal sections: left, middle, right.
- Cross the right section over the middle section. The right section is now the middle.
- Cross the left section over the new middle section. The left is now the middle.
- Repeat — right over middle, left over middle — keeping even tension all the way down.
- Secure the end with an elastic, leaving about an inch of unbraided hair to prevent the elastic from creeping up.
Beginner tips: Practice with your eyes closed once the pattern clicks — this builds the tactile memory you’ll need for braiding the back of your head. Keep your hands close to your head and pull each section snug (not tight) after every cross to keep the braid even.
2. The French Braid
The French braid adds hair into the side sections as you work down the head, creating a braid that lies flat against the scalp from crown to nape. It’s the most-requested beginner braid and the gateway to nearly every updo.
How to do it:
- Gather a triangle-shaped section of hair at the crown of your head and divide it into three strands.
- Begin a regular three-strand braid for one or two crosses to anchor it.
- Before crossing the right strand over the middle, gather a new strip of hair from the right side of your head and add it to the right strand. Cross the combined strand over the middle.
- Do the same on the left: add hair from the left side to the left strand, then cross over the middle.
- Continue down the head, adding hair to each side strand before every cross, until you run out of hair to add.
- Finish the remaining length as a regular three-strand braid and secure.
Beginner tips: Keep the added sections small and even — big, uneven pickups are why beginner French braids look lumpy. Work with your thumbs to sweep the side hair into each strand cleanly. For a full dedicated tutorial with hand-positioning details, see our step-by-step guide to French braiding your own hair.
3. The Dutch Braid
The Dutch braid is the French braid’s mirror image: instead of crossing strands over the middle, you cross them under. This makes the braid sit on top of the hair rather than woven into it, giving that raised, 3D look.
How to do it:
- Start exactly like a French braid: a three-strand section at the crown.
- Cross the right strand under the middle strand (instead of over).
- Cross the left strand under the new middle strand.
- Add hair to each side strand before every cross, always crossing under.
- Finish with a three-strand braid (crossing under) and secure.
Beginner tips: The “under” motion feels unnatural at first because your fingers want to cross over. Practice the motion slowly without adding hair until it feels smooth. Double Dutch braids (one on each side of a center part) are a classic beginner goal — our double Dutch braid tutorial walks through the full technique.
4. The Fishtail Braid
The fishtail (or herringbone) braid uses only two sections instead of three, weaving small pieces from the outside of each section to the inside of the other. It looks intricate but is surprisingly simple once you learn the rhythm.
How to do it:
- Divide your hair into two equal sections: left and right.
- Take a thin strand from the outside of the right section and cross it over to the inside of the left section.
- Take a thin strand from the outside of the left section and cross it over to the inside of the right section.
- Repeat, keeping the small strands roughly the same size for a uniform look.
- Secure the end. Gently tug the edges of the braid outward (“pancaking”) for a fuller, more textured finish.
Beginner tips: Smaller pieces = more detailed, delicate fishtail; larger pieces = faster, chunkier result. Beginners should start with larger pieces (about half an inch) to learn the pattern, then go finer. Watch out for the common beginner error of accidentally crossing to the wrong side — our fishtail braid tutorial covers this and other mistakes in detail.
5. The Rope Braid (Twist Braid)
The simplest braid of all — just two sections twisted in the same direction, then twisted around each other in the opposite direction. It takes under two minutes and looks polished.
How to do it:
- Divide your hair into two sections.
- Twist each section clockwise individually, holding them so they don’t unravel.
- Twist the two twisted sections around each other counter-clockwise.
- Secure the end. The opposing twist directions lock the braid in place.
Beginner tips: Keep twisting each individual section as you wrap them together — if you stop, the whole thing loosens. This is an excellent “first braid” confidence builder for total beginners.
Troubleshooting: Why Your Braids Look Uneven
Almost every beginner problem traces back to one of these five issues. Run through this checklist before you get frustrated.
Uneven sections. If one of your three starting strands is noticeably thicker, the braid will lean to one side the whole way down. Take an extra 30 seconds to eyeball your sections in the mirror before you start crossing.
Inconsistent tension. Pulling hard on some crosses and loosely on others creates a braid that alternates between tight and puffy. Aim for the same firm-but-gentle pull every single time. A good rule: snug enough that the braid holds its shape when you let go, never so tight that your scalp hurts.
Arms getting tired. This is real and universal. Rest your elbows on a table or countertop while braiding, take a 30-second break mid-braid if needed, and build stamina over sessions rather than forcing through fatigue — tired arms make sloppy crosses.
Hair slipping out of sections. Fine or freshly washed hair is slippery. A light mist of water or a small amount of mousse fixes this instantly. Also check that you’re holding all sections with continuous finger contact — a section you set down will unravel.
Braid drifting off-center. This happens when you unconsciously pull harder with your dominant hand. Consciously check your braid’s position in the mirror every few crosses until centering becomes automatic.
How to Maintain Your Braids
Whether you wore a simple three-strand braid for the day or you’re working toward long-term protective styles like box braids, basic maintenance keeps braids neat and your hair healthy underneath.
- Protect braids at night. Wrap braided hair in a silk or satin scarf or sleep on a satin pillowcase. Cotton pillowcases create friction that frizzes braid edges overnight.
- Keep your scalp clean. For braids worn multiple days, wipe the scalp along the partings with a damp cloth or diluted witch hazel, and follow a gentle scalp care routine to prevent buildup and itching.
- Moisturize the lengths. Lightly mist braids with water mixed with a little leave-in conditioner every couple of days to prevent dryness, especially at the ends.
- Don’t re-braid over dirty hair. If a braid is getting fuzzy after a few days, take it down, detangle gently, and start fresh rather than braiding over frizz — you’ll get a cleaner result in less time.
- Give your hair rest days. Braids pull on the hairline and scalp. Alternate braided days with loose styles, and never sleep in a style that’s giving you a headache — pain means the tension is too high.
Key Takeaways
- Gather your tools before you start: wide-tooth comb, rat-tail comb, elastics, clips, spray bottle, and a two-mirror setup for the back of your head.
- Always prep: clean, detangled, lightly moisturized hair — slightly damp is easiest for beginners.
- Learn the five basics in order: three-strand braid, French braid, Dutch braid, fishtail braid, rope braid.
- Uneven sections and inconsistent tension cause 90% of beginner braid problems.
- Protect braids overnight with silk or satin, keep the scalp clean, and never ignore pain from too-tight braiding.
FAQ
How long does it take to learn to braid your own hair?
Most people can do a neat three-strand braid within a week of short daily practice sessions (10–15 minutes). French and Dutch braids typically take 3–4 weeks to look smooth, since they require adding hair while maintaining the pattern behind your head. Consistency matters more than session length.
Should I braid wet or dry hair as a beginner?
Slightly damp hair is easiest — it grips better, sections cleanly, and produces less frizz. Avoid soaking-wet hair (it stretches and breaks under tension) and very slippery freshly washed dry hair (add mousse for grip if needed).
Why does my French braid look lumpy?
Lumps almost always come from uneven hair pickups — adding a big chunk on one side and a thin strip on the other. Use your thumbs to gather small, equal sections each time, and keep the same tension on every cross. It also helps to keep your hands close to the scalp rather than pulling sections outward.
How do I braid the back of my head if I can’t see it?
Use a handheld mirror with your bathroom mirror to see the back, and practice the motions with your eyes open first, then closed. The goal is tactile memory: your fingers learn where the sections are. Start with side braids (which you can see) before attempting centered back braids.
Are braids bad for your hair?
Braids themselves aren’t damaging — improper braiding is. Braiding too tightly (especially around the hairline), braiding over tangles, leaving braids in too long without scalp care, or ripping out elastics can all cause breakage. Done with moderate tension on prepped hair, braids are a genuinely protective style.
Conclusion
Braiding is one of those skills that looks like magic until you learn the mechanics — then it becomes second nature. Start with the three-strand braid, drill it until your hands move on their own, and work through the five basics in order. Keep your practice sessions short and regular, prep your hair properly every time, and be patient with the mirror-and-behind-the-head learning curve.
Once your foundation is solid, the fun really begins: our detailed tutorials on French braiding your own hair, fishtail braids, and double Dutch braids will take each technique further, and our guide to how long box braids last covers everything about long-term protective braiding. Happy braiding!
Love this? Pin it for later!