Clip-In vs Tape-In Hair Extensions: Which Is Better?
If you’ve narrowed your extension search down to the two most popular options — clip-ins and tape-ins — you’re already thinking clearly. These two methods dominate the beginner conversation for a reason: they’re the most accessible, the most natural-looking for the price, and the least likely to end in regret. But they serve very different lifestyles, and picking the wrong one is the single most common reason beginners end up disappointed.
The short answer: clip-ins are better if you want flexibility, low cost, and zero damage. Tape-ins are better if you want everyday, wake-up-and-go hair and don’t mind salon maintenance. The long answer — cost breakdowns, damage risk, who each method actually suits — is below. If you’re still deciding whether extensions are right for you at all, start with our complete beginner’s guide to hair extensions first.
Key Takeaways
- Clip-ins are temporary (daily wear, removed at night); tape-ins are semi-permanent (worn 6–8 weeks straight).
- Clip-ins cost $50–$250 total; tape-ins cost $200–$600+ per year with maintenance appointments.
- Both are low-damage when used correctly, but tape-ins carry more risk if installed or removed improperly.
- Choose clip-ins for occasional wear and flexibility; choose tape-ins for everyday, low-effort length.
- Most beginners should try clip-ins first — they’re the cheapest way to learn what you actually want.
What Are Clip-In Extensions?
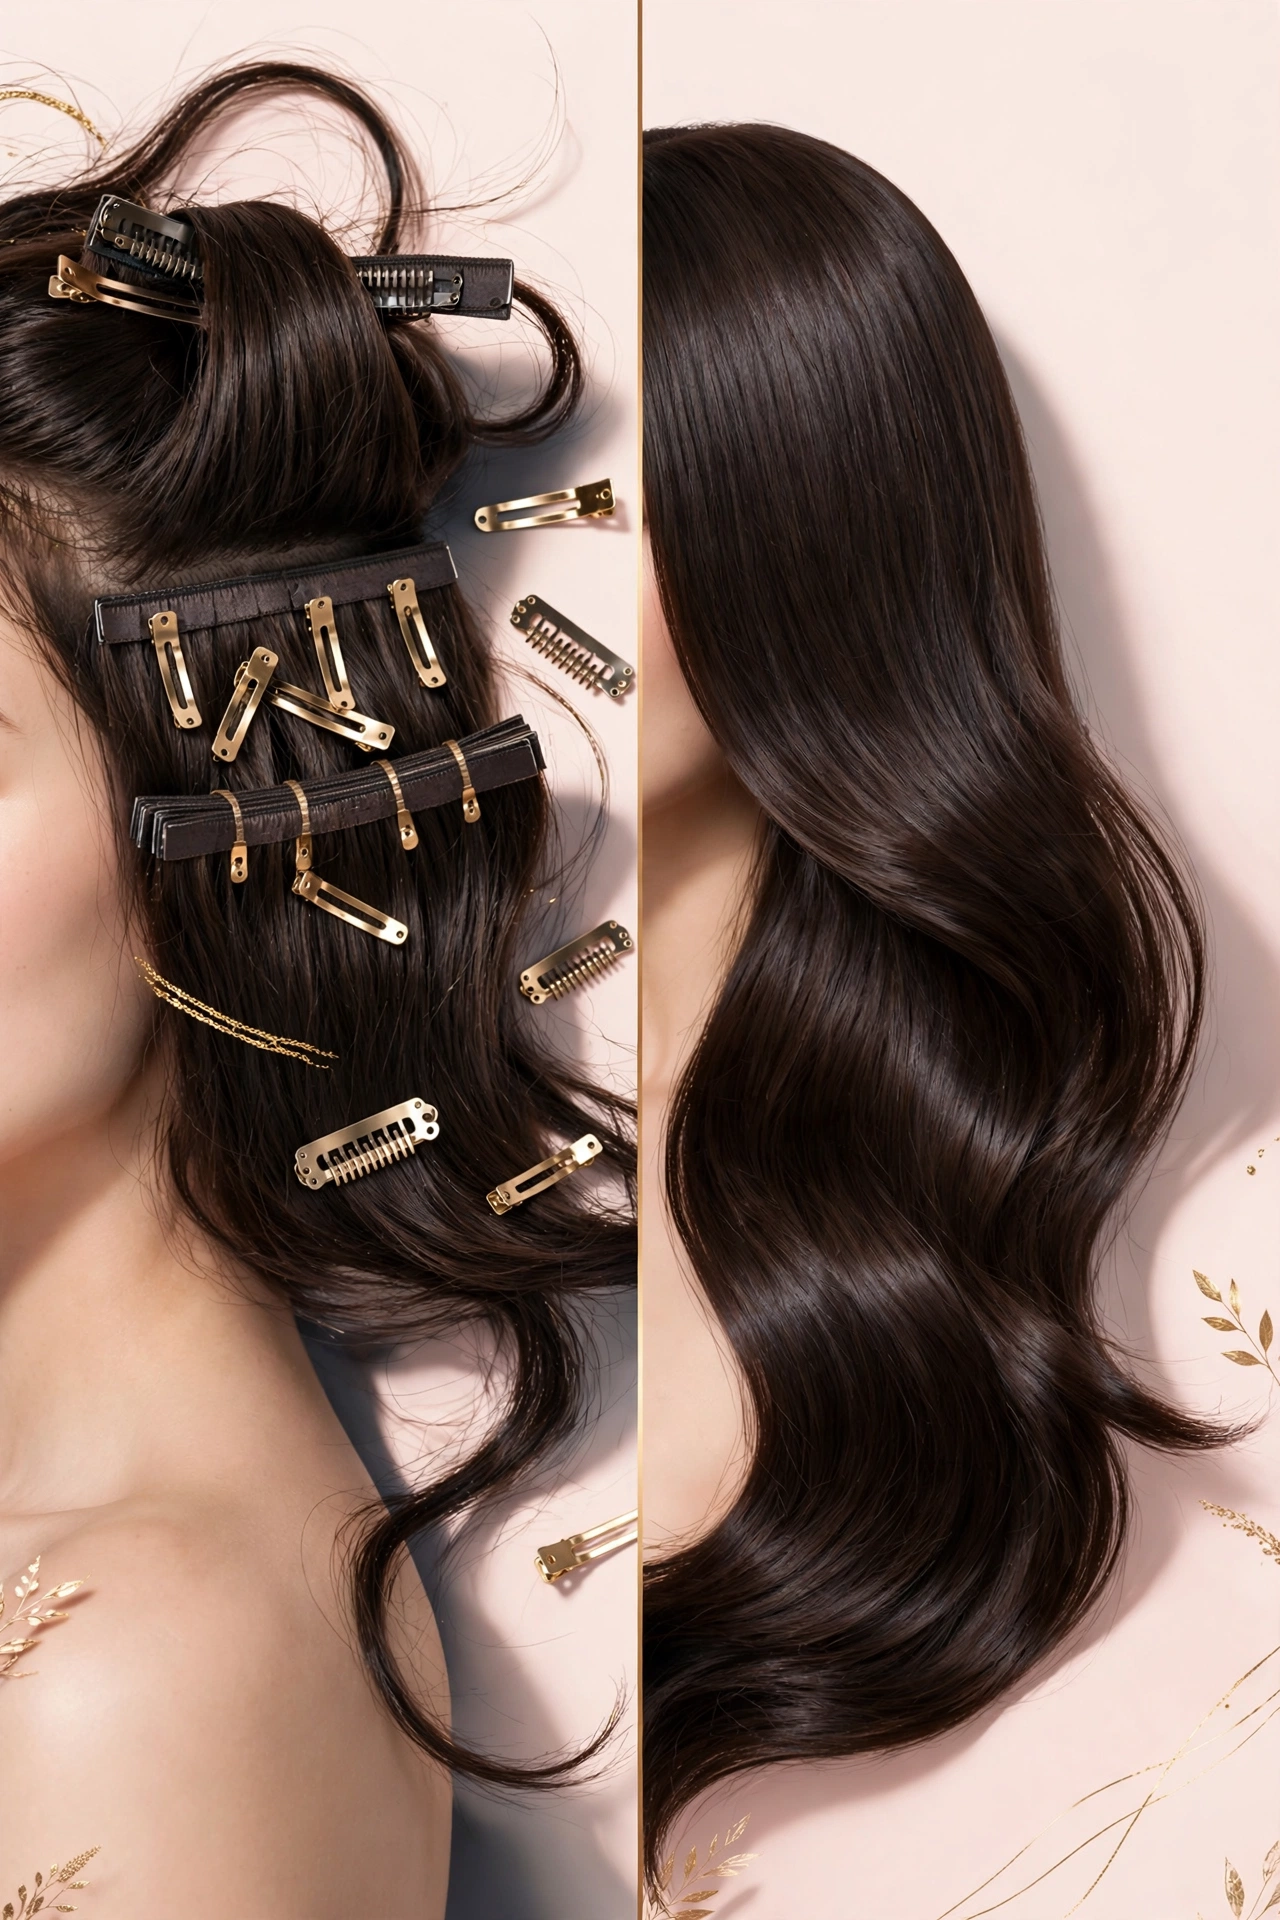
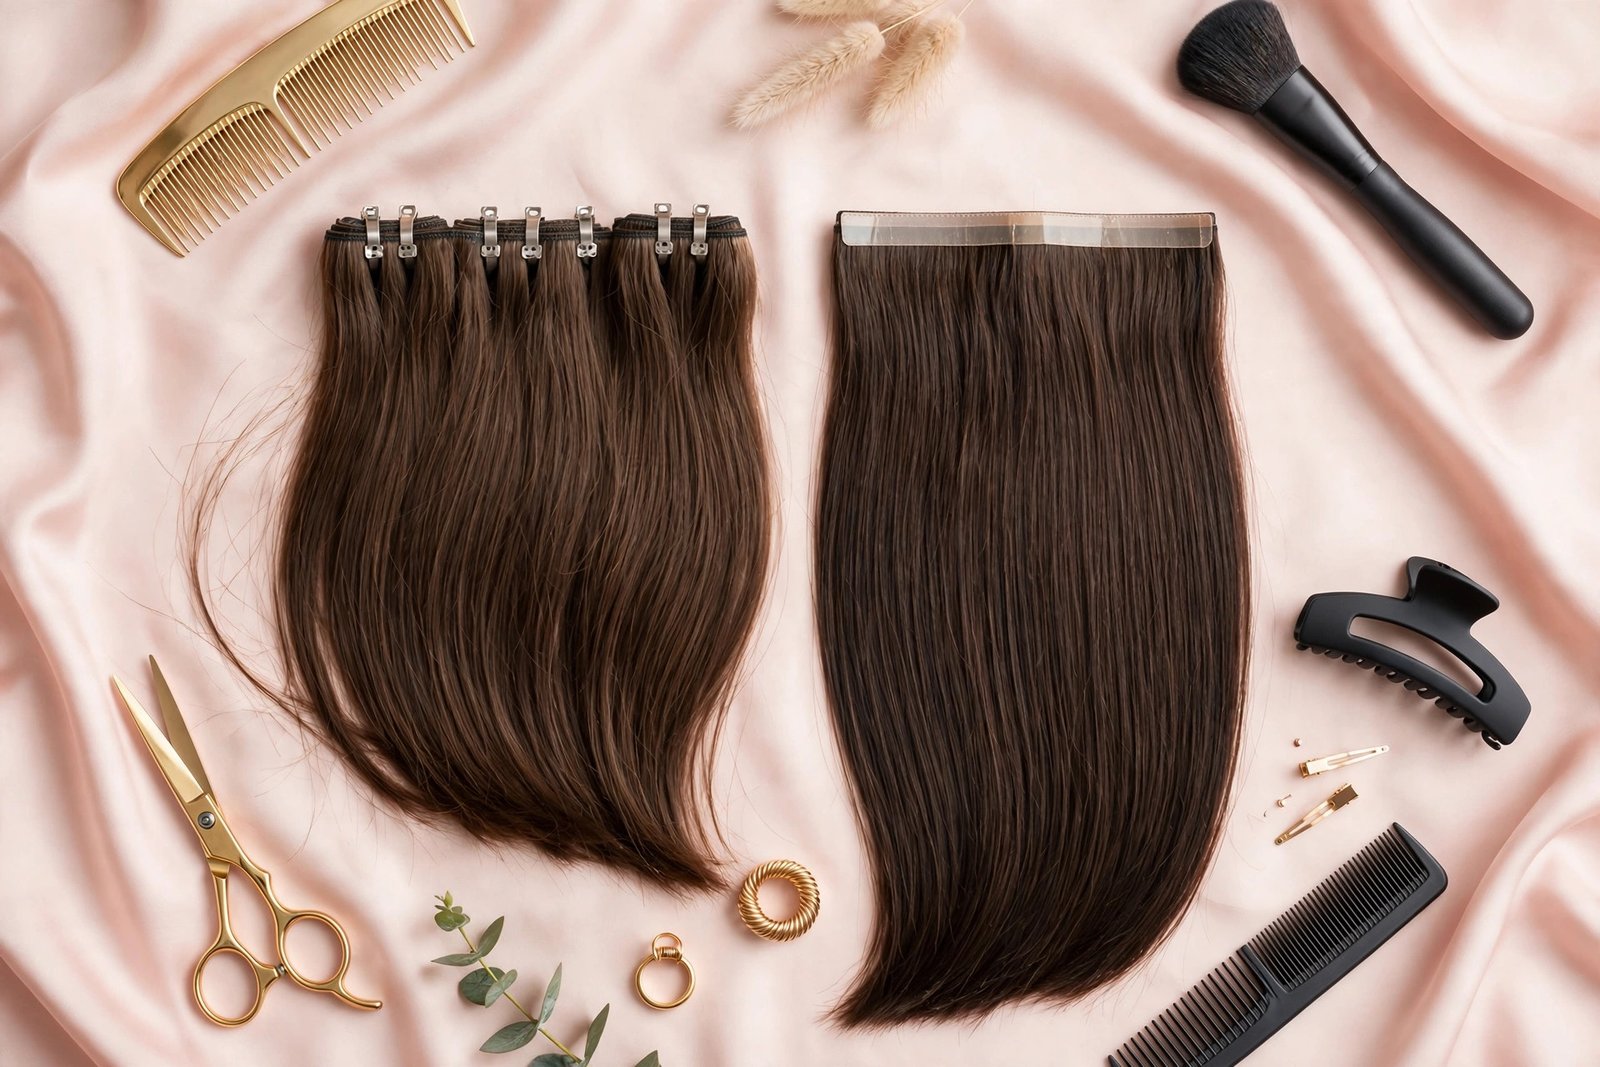
Clip-ins are wefts of hair with small snap clips attached. You part your hair horizontally, clip the wefts in near the roots, and drop your top layer over them to hide the attachment points. A full set usually has 7–10 wefts of varying widths. Application takes 10–15 minutes with practice, and removal takes about two.
The defining feature of clip-ins is control. You decide every morning whether it’s an extensions day. Bad hair day? Clip them in. Lazy Sunday? Leave them in the drawer. Nothing is glued, taped, or sewn to your head, which means your natural hair gets complete rest days — a huge advantage for hair health. They also travel well and need no stylist, making them the most beginner-friendly method by a wide margin. Our step-by-step clip-in application tutorial walks you through the full process if you want to see exactly how they go in.
The limitations are real, though. Clip-ins add weight you’ll feel by evening, especially with a full 200-gram set. On very fine or freshly washed (slippery) hair, clips can slide — most wearers learn to tease the roots slightly or apply on day-old hair for grip. They’re also visible in high ponytails and top knots unless you place wefts strategically, and putting in a full set every single day gets tedious. For occasional wear — events, photos, weekends — they’re unbeatable. As a daily solution, most people eventually want something more permanent.
What Are Tape-In Extensions?
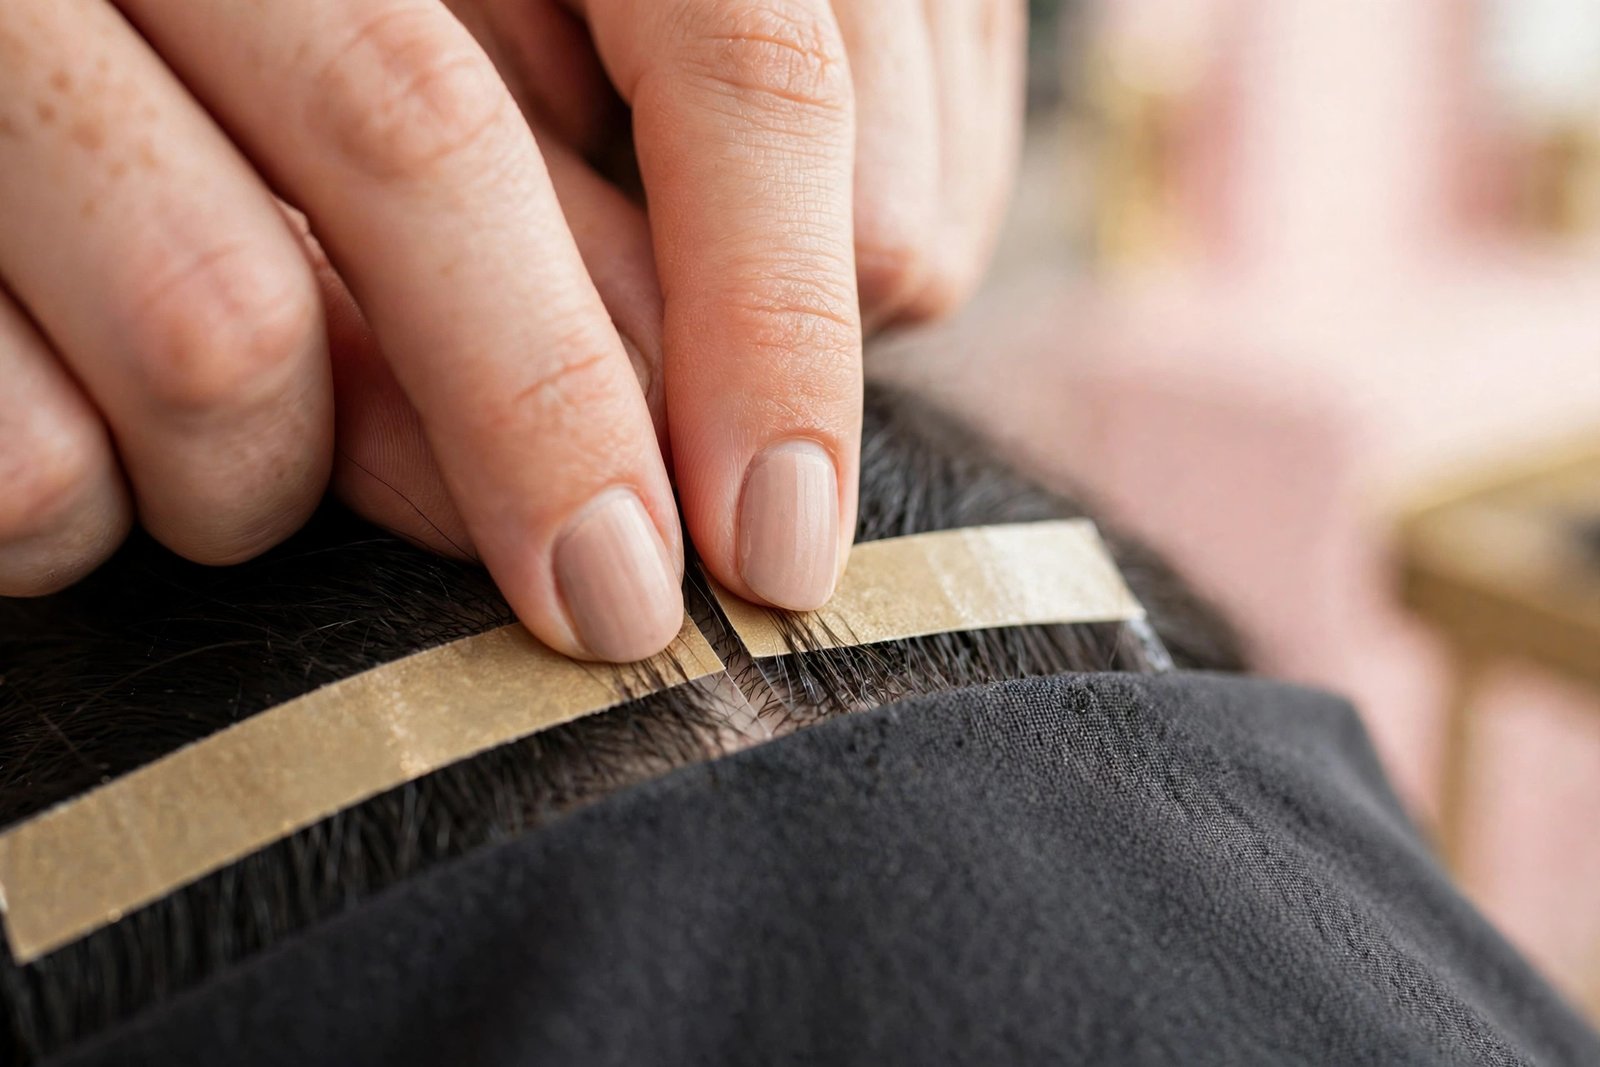
Tape-ins are 1–1.5 inch wide wefts backed with medical-grade adhesive. A stylist takes a paper-thin slice of your natural hair and sandwiches it between two tape wefts, pressing them together near the roots. The result lies completely flat against your scalp — no bumps, no clips, nothing to feel when you run your fingers through your hair.
Installation takes 30–60 minutes for a full head, and the extensions stay in continuously for 6–8 weeks. You wash, sleep, exercise, and style normally (with some product restrictions). When they grow out, your stylist removes them with a solvent, re-tapes the wefts, and reinstalls them closer to the roots — a “move-up” appointment that repeats every couple of months.
Tape-ins win on realism and convenience. They look like your hair because, for weeks at a time, they effectively are — the flat wefts disappear under your top layer, and the hair moves naturally. There’s no daily 15-minute ritual. For someone who wants to wake up with long hair every day without thinking about it, tape-ins deliver exactly that.
The trade-offs are commitment and upkeep. You’re paying for the hair ($100–$400) plus installation ($100–$300) plus move-ups every 6–8 weeks ($100–$250 each). Over a year, that’s easily $600–$1,500. You also give up some styling freedom: heavy oils and silicone serums near the roots dissolve the adhesive, so your product routine has to change. And while tape-ins are among the gentlest salon methods, improper removal — pulling instead of dissolving — can take your natural hair with the weft. Always have them removed professionally.
Head-to-Head Comparison
| Factor | Clip-In Extensions | Tape-In Extensions |
|---|---|---|
| Wear time | Daily — removed every night | 6–8 weeks continuously |
| Installation | DIY, 10–15 minutes | Salon, 30–60 minutes |
| First-year cost | $50–$250 | $600–$1,500 |
| Damage risk | Very low (no chemicals/heat) | Low, but higher if removed improperly |
| Natural look | Very good when placed well | Excellent — lies flat, moves naturally |
| Styling freedom | Full (removed for workouts, swimming) | Restricted near bonds (no heavy oils) |
| Maintenance | Wash after 15–20 wears, store dry | Salon move-ups every 6–8 weeks |
| Best for | Occasional wear, events, trying extensions | Everyday wear, low daily effort |
| Hair health breaks | Built in — removed nightly | None — worn continuously |
Cost Breakdown: What You’ll Actually Spend
Clip-ins are refreshingly simple to budget. One quality human-hair set costs $50–$250 depending on length and weight, and it lasts 6–12 months with occasional wear (longer if you rotate sets). Add a loop brush ($10–$15) and sulfate-free shampoo for wash days, and your total first-year cost stays under $300. There are no appointments, no move-ups, no surprises.
Tape-ins are a subscription, not a purchase. The hair itself runs $100–$400 for a full head. Professional installation adds $100–$300. Then the ongoing part: move-up appointments every 6–8 weeks at $100–$250 each, which means 6–8 salon visits per year. Realistic first-year total: $800–$1,500, and it doesn’t drop much in year two — the hair can be reused for several move-ups, but the appointment costs continue. Budget honestly: if $150 every two months sounds painful, tape-ins will feel like a burden, not a luxury.
Damage Risk: An Honest Assessment
Neither method is inherently damaging, but they fail in different ways. Clip-ins cause problems mainly through user error: clipping into the same spot every day (which stresses those roots), sleeping in them, or ripping them out instead of unclipping gently. Used as intended — daytime wear, varied placement, removed at night — they’re the lowest-risk extension method that exists.
Tape-ins carry more structural risk because they stay in for weeks. The adhesive itself is hair-safe, but the danger points are real: stylists who install on too-thin sections of natural hair, clients who pick at the tapes, and — the big one — improper removal. Tape must be dissolved with remover and slid out; pulling a tape weft off dry can rip out the natural hair sandwiched inside. This is why professional removal is non-negotiable.
Hair type matters enormously here. Very fine or fragile hair handles clip-ins beautifully (light, removable) but can struggle with tape-ins (the constant weight on thin sections). Thick, strong hair handles both easily. If your hair is already damaged from bleach or heat, start with clip-ins and give your hair recovery time — adding any semi-permanent method to compromised hair is asking for breakage. A solid beginner hair care routine is worth establishing before any extension method.
Maintenance: Daily Life With Each
Clip-in maintenance is delightfully simple. After wearing, unclip, gently brush each weft, and store flat. Wash the set every 15–20 wears with sulfate-free shampoo, condition, air-dry flat. That’s it — maybe 20 minutes of care per month. The trade-off is the daily time cost: 10–15 minutes to put them in every morning you wear them.
Tape-in maintenance flips that equation. Daily effort is near zero — you wake up, brush, and go — but the ongoing care is real. Wash 2–3 times weekly with sulfate-free products, keep oils and silicone serums away from the bonds, brush carefully around the tapes with a loop brush, and sleep in a loose braid. Every 6–8 weeks, you’re in the salon chair for a 1–2 hour move-up. Miss the window and the grown-out tapes tangle at the roots, making removal harder and riskier. Our how to wash hair extensions the right way covers the product rules for both methods in detail.
Which One Fits Your Lifestyle?
Answer these honestly:
- Do you want extensions every day, or for occasions? Occasions → clip-ins. Every day → tape-ins.
- Can you commit to salon visits every 6–8 weeks? No → clip-ins. Yes → tape-ins.
- Is your budget under $300 total? → clip-ins, no contest.
- Do you swim, do hot yoga, or work out intensely daily? Clip-ins (removed for workouts) are far more practical — sweat and chlorine break down tape adhesive faster.
- Is your hair very fine or damaged? Start with clip-ins; they’re gentler and give your hair rest days.
- Do you hate morning routines? Tape-ins win — zero daily effort.
Most beginners land on clip-ins first, and that’s usually correct. They’re the low-stakes way to learn your ideal length, color, and weight. Many clip-in wearers eventually graduate to tape-ins once they’re sure about the look and ready for the maintenance commitment — and they make that decision from experience rather than guesswork.
Common Mistakes With Each Method
Clip-in mistakes: buying too heavy a set for fine hair (wefts show through), placing all wefts in the same spot daily, skipping the blending step, and sleeping in them. Also: cheaping out on the brush — a regular paddle brush shreds weft hair over time.
Tape-in mistakes: using oily or silicone-heavy products near the bonds, skipping move-up appointments until the tapes are hanging by a thread (literally), attempting DIY removal, and washing too aggressively at the roots. Also common: getting tape-ins right before a beach vacation — salt water and sunscreen are adhesive’s worst enemies.
Frequently Asked Questions
Can I switch from clip-ins to tape-ins later?
Absolutely — and it’s the most common upgrade path. Your experience with clip-ins teaches you your ideal length, weight, and color, which makes the tape-in consultation far more productive. There’s no downside to starting temporary.
Which looks more natural?
Tape-ins, by a small but real margin. The flat wefts disappear under your hair and move as one unit for weeks. Well-applied clip-ins look very natural too, but the daily re-application introduces more chances for slightly-off placement.
Can I wear clip-ins every day?
You can, but most daily wearers eventually switch to tape-ins. Daily clipping takes 10–15 minutes each morning, and wearing the same weight daily without rest days increases stress on your roots. If you find yourself reaching for clip-ins every single day for a month, that’s your signal to consider tape-ins.
Do tape-ins work on short hair?
They work best on hair at least shoulder-length — the natural hair needs enough length to sandwich securely between the tapes and to cover the wefts. Very short hair (pixie or above-chin bob) usually isn’t a candidate; clip-ins or a topper may work better in that case.
Which is better for thin hair?
Clip-ins, generally. You control the weight, you choose lighter sets, and your hair gets nightly rest. Tape-ins can work on thin hair with an experienced stylist who uses fewer wefts and proper sectioning, but the continuous weight is harder on fine strands.
Can I color my hair with tape-ins installed?
It’s tricky and generally not recommended — dye and bleach can degrade the adhesive. Most stylists prefer to color your natural hair before installation, or carefully work around the tapes. Clip-ins are far easier here: color your hair freely, then match or tone the extensions separately.
The Bottom Line
There isn’t a universally “better” option — there’s only the better option for your life. Clip-ins win on flexibility, cost, and hair health; tape-ins win on convenience, realism, and everyday wearability. If you’re still on the fence, the beginner-smart move is clip-ins first: low cost, zero commitment, and everything you learn transfers directly if you upgrade later.
Whichever you choose, technique matters as much as the product. Our step-by-step clip-in application guide shows exactly how to get a seamless result at home, and the complete beginner’s extension guide covers the other methods if you want to keep exploring.
Love this? Pin it for later!