Self Tanner for Face: How to Apply It Without Breakouts
A tanned body with a pale face looks unfinished — but the face is also the highest-stakes area to self tan. It’s the most visible, the most reactive, and the place where mistakes are hardest to hide. That’s why face tanning deserves its own products and its own technique, not just leftover body mousse swept across your cheeks.
The good news: face self tanners are specifically designed for this challenge — lower DHA, gentler formulas, and precise dosing that makes an even, natural-looking glow very achievable. This guide covers choosing a face formula, the drops-with-moisturizer method (the most popular and controllable approach), step-by-step application, how to avoid breakouts and patchiness, and how to maintain the glow. For body tanning fundamentals, see the complete beginner’s guide.
Why You Need a Separate Face Formula
It’s tempting to just extend your body tanner upward, but there are real reasons not to:
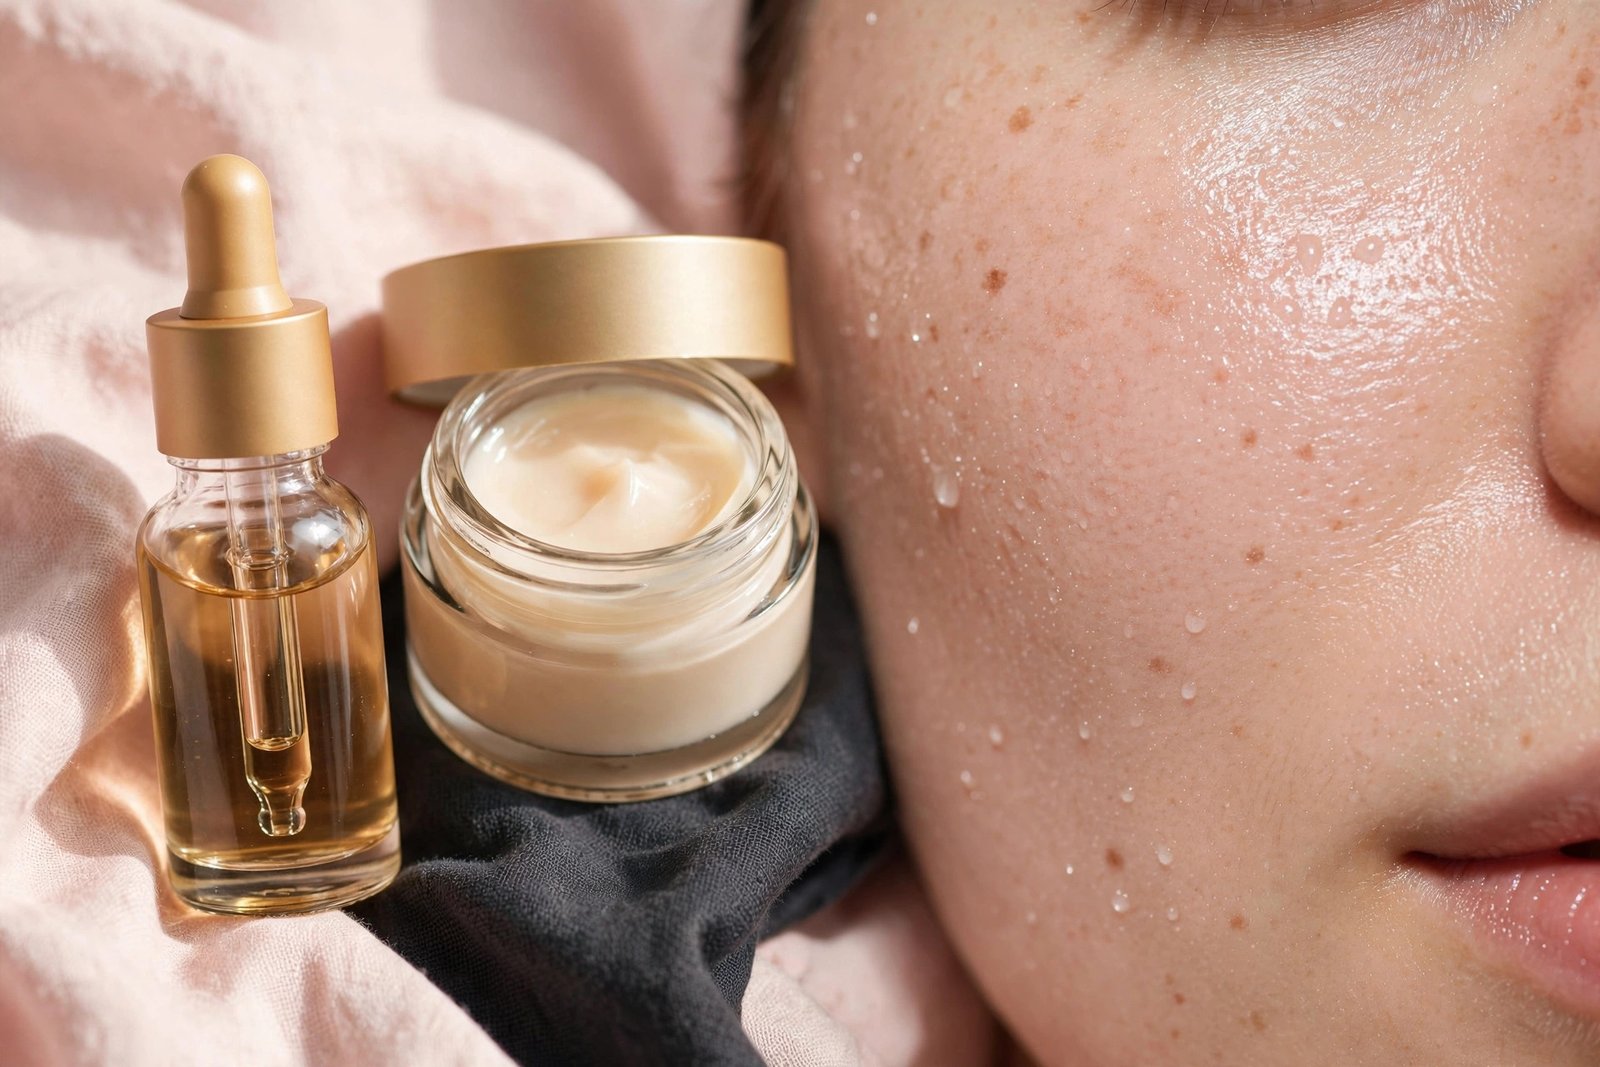
- Facial skin is thinner and more permeable than body skin, so the same DHA concentration develops darker and faster on the face. Body-strength tanner on the face routinely comes out too dark and orange relative to the body.
- Body formulas are more comedogenic. They’re designed for arms and legs, not for skin prone to congestion. Heavy body mousses and lotions are a common trigger for tanner-related breakouts.
- Fragrance and inactive ingredients in body formulas are more likely to irritate facial skin, especially around the eyes.
- Color matching matters. Your face is next to your neck and chest — visible transition zones. A dedicated face product lets you calibrate facial color independently so everything blends.
Face tanning products use lower DHA levels (typically equivalent to a “light” body result), lighter textures, and often include skincare ingredients like hyaluronic acid, niacinamide, or aloe. They’re built to behave like skincare that happens to tan.
Types of Face Self Tanners
Tanning Drops: The Most Popular Option
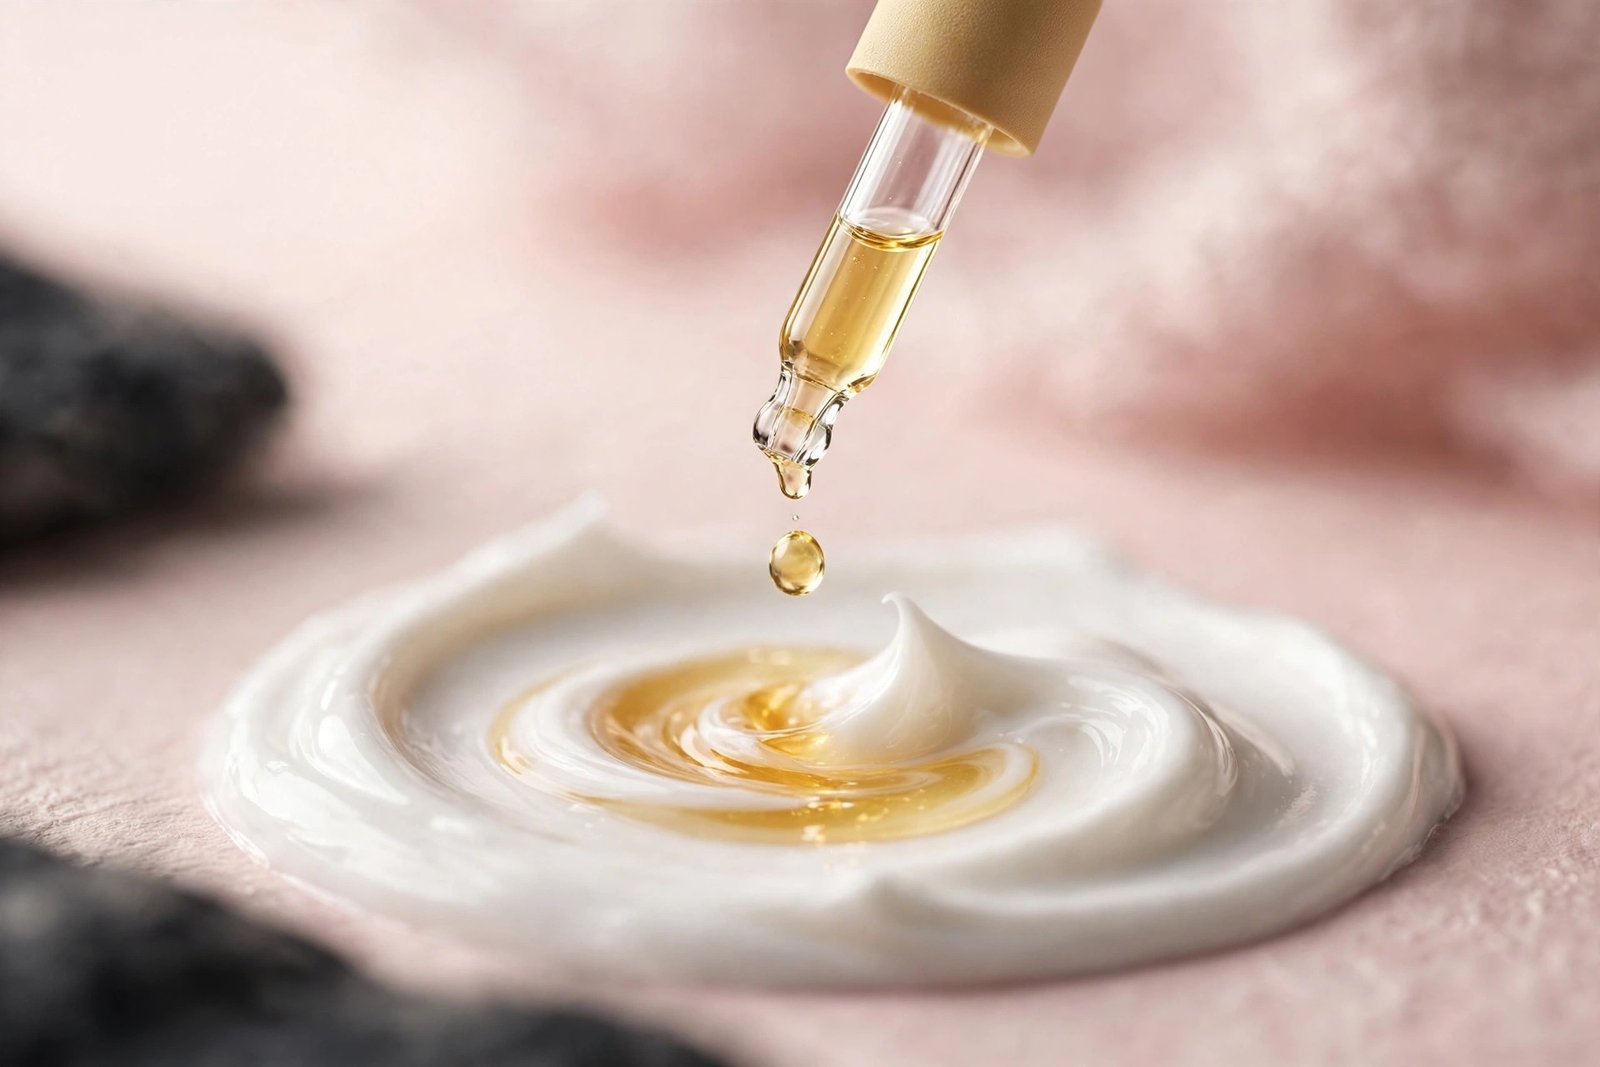
Tanning drops are concentrated DHA serums you mix into your own moisturizer, serum, or foundation. They’re the dominant face-tanning format for good reasons: you control the dose precisely (2–3 drops for a subtle glow, more for deeper color), they piggyback on products your skin already tolerates, and they’re economical — one bottle lasts months.
How dosing works: Most brands suggest 2–4 drops mixed into moisturizer for a light glow, 4–6 for medium. Start at the low end. You can always add a drop next time; you can’t subtract.
Best for: Beginners, sensitive skin (since you mix into your trusted moisturizer), and anyone who wants day-to-day control.
Tanning Serums and Lotions
Pre-mixed face tanning serums and lightweight lotions take the guesswork out of dosing — the DHA level is fixed, so every application is consistent. They’re applied like a regular serum, usually in the evening.
Best for: People who don’t want to mix, or who want a consistent result every time without thinking about drops.
Tanning Mists for Face
Fine facial mists deliver an ultra-light, even veil of color. They’re the subtlest option and good for maintaining an existing glow, but the lack of control makes them trickier for building color from scratch.
Best for: Tan maintenance, oily skin types who prefer weightless textures.
Gradual Face Moisturizers with DHA
Some daily moisturizers include low-level DHA for a build-over-days glow. These are the most foolproof option — essentially impossible to overdo — but they replace your regular moisturizer, so check that the base formula suits your skin type.
What to Look for in a Face Tanner
- Low DHA, clearly stated or implied. Look for “light,” “gradual,” or “buildable” positioning. If a face product promises “deep dark color in one application,” it’s probably too strong for most beginners.
- Non-comedogenic or oil-free if you’re breakout-prone. Check that the formula (and the moisturizer you mix drops into) won’t clog pores.
- Fragrance-free or lightly fragranced. The face is more reactive to fragrance than the body, and the DHA smell is more noticeable when it’s inches from your nose.
- Skincare ingredients you recognize. Hyaluronic acid, glycerin, niacinamide, aloe — hydrating, barrier-friendly ingredients help color develop evenly and keep skin calm.
- No shimmer or bronzer overload. Some face tanners include cosmetic bronzer for an instant glow. A little is fine, but heavy bronzer can look muddy and transfer onto pillowcases.
Step-by-Step: The Drops-with-Moisturizer Method
This is the technique most people settle on. It takes two minutes.
Step 1: Start with Clean, Exfoliated Skin
Apply face tanner in the evening as part of your nighttime routine. Cleanse thoroughly, and make sure your face is exfoliated — not necessarily the same night (a gentle chemical exfoliant 1–2 times per week keeps dead cells from building up unevenly), but your skin should be smooth. If you use strong actives like retinol or AHAs, apply tanner on nights you skip them, or wait 20–30 minutes between layers — layering tanner directly over fresh acids can cause uneven development and irritation.
For guidance on facial exfoliation frequency, see how often to exfoliate your face.
Step 2: Mix Drops into Moisturizer
Dispense your normal amount of nighttime moisturizer into your palm, add 2–3 drops of tanning drops (start low), and mix thoroughly with a fingertip. Incomplete mixing is the top cause of patchy face tans — take five seconds to blend it into a uniform consistency.
Step 3: Apply Like Moisturizer, with Attention to Edges
Smooth the mixture over your entire face using the same motions as your regular moisturizer. Then handle the transition zones deliberately:
- Hairline: Blend well into the hairline — a visible line where tan stops is the most common face-tan giveaway. Use the residual product on your fingertips to feather past the hairline slightly.
- Ears: Sweep the leftover product over your ears. Untanned ears next to a tanned face are surprisingly noticeable.
- Jawline and neck: Carry the product down over your jawline and blend into the upper neck. Your neck should bridge the color between your face and your (tanned or untanned) chest. If your body is tanned and your neck is pale, the mismatch shows.
- Eyebrows: Avoid depositing product directly into brows — tanner can stain brow hairs. Blend around them, not through them.
Step 4: Wash Your Hands
Wash hands thoroughly after application — stained fingers and orange palms against your face the next morning are easily avoided.
Step 5: Let It Develop Overnight
Sleep on it (on a dark or old pillowcase the first few times, until you know how much transfer your formula has). In the morning, cleanse as normal and assess the color. Most people find 2–3 drops gives a believable “healthy glow” rather than an obvious tan — which is exactly right for the face.
Avoiding Breakouts and Irritation
The fear of tanner-induced breakouts keeps many people from tanning their face. These precautions reduce the risk substantially:
- Patch-test behind your ear or along your jawline for 2–3 nights before full-face application, especially if your skin is reactive.
- Mix drops into a moisturizer your skin already tolerates. Don’t introduce a new moisturizer and tanning drops simultaneously — if you break out, you won’t know which caused it.
- Keep it non-comedogenic. If you’re acne-prone, choose oil-free drops and an oil-free, non-comedogenic moisturizer as the mixer.
- Don’t layer over heavy occlusives. Applying tanner over thick balms, facial oils, or heavy night creams creates uneven absorption. Use a standard moisturizer texture as your mixer.
- Exfoliate regularly but gently. A gentle AHA or enzyme exfoliant 1–2 times weekly prevents the patchy buildup that makes face tans look uneven — just don’t exfoliate aggressively the same night you tan.
- If you break out, pause. Stop the tanner, let skin calm, and when retrying, use fewer drops mixed into a simpler moisturizer. Some people find every-other-night application is their sweet spot.
Matching Face to Body
The goal is a seamless gradient, not identical color. Faces naturally tan slightly less dramatically than bodies (in real sun exposure too), so your face being a half-shade lighter than your body looks natural. What looks unnatural is a sharp contrast — pale face with bronzed body, or dark face with a pale neck.
Practical calibration: if your body tan is medium, aim for a light-to-medium face glow. Build face color over 2–3 nights of drops rather than going dark in one session. And always carry color through the neck — the neck is the bridge, and skipping it is the most common matching mistake.
Maintaining Your Face Tan
Facial skin turns over faster than body skin, and daily cleansing, exfoliating, and active ingredients fade face tanner quickly — expect 3–5 days per application rather than the body’s 5–10. Maintenance strategies:
- Reapply drops every 2–3 nights at your established dose to hold the color steady.
- Be gentle with exfoliants while maintaining — daily strong acids will strip your tan as fast as you build it. Consider moving intense exfoliation to nights you skip tanner.
- Moisturize well. Hydrated skin holds color more evenly, on the face just as on the body.
- Sunscreen still required. Self tanner provides no UV protection. Apply SPF every morning over your tan — non-negotiable, and it also prevents your real skin from tanning unevenly under the fake tan, which causes its own patchiness.
If your face tan goes wrong — too dark, patchy, or irritating — the same removal principles from the self tanner removal guide apply, just executed more gently: a soft washcloth with your cleanser, a mild exfoliant, and patience. Never use harsh removal methods on the face.
Key Takeaways
- Use a dedicated face formula — never body tanner on your face. Facial skin needs lower DHA and non-comedogenic textures.
- Tanning drops mixed into your regular moisturizer offer the most control: start with 2–3 drops.
- Mix thoroughly, apply like moisturizer, and deliberately blend the hairline, ears, jawline, and neck.
- Patch-test first, keep your mixer moisturizer simple and non-comedogenic, and don’t layer over heavy oils or fresh acids.
- Build face color over 2–3 nights; aim for a glow a half-shade lighter than your body for the most natural match.
- Face tans fade in 3–5 days — reapply drops every 2–3 nights to maintain, and wear SPF daily.
FAQ
Can I use my body self tanner on my face?
It’s not recommended. Body formulas have higher DHA (developing too dark on thinner facial skin) and heavier, more comedogenic bases that commonly cause breakouts and irritation on the face.
How many tanning drops should I mix into my moisturizer?
Start with 2–3 drops for a subtle glow. Most brands suggest 2–4 for light and 4–6 for medium color. Always start low — you can increase next time, but you can’t undo too-dark.
Will face self tanner clog my pores?
It can, depending on the formula. Minimize risk by choosing oil-free, non-comedogenic drops or serums, mixing into a moisturizer your skin already tolerates, and patch-testing first. If you break out, reduce frequency or switch formulas.
How long does face self tanner last?
Typically 3–5 days — shorter than body tanner because facial skin turns over faster and faces get cleansed and exfoliated more often. Reapplying drops every 2–3 nights maintains the color.
Can I wear makeup over face self tanner?
Yes, once it’s fully developed (usually by morning after an evening application). Apply your normal routine over it. Note that your foundation shade might need to go slightly deeper to match your tanned face — or the tan might let you skip foundation on good skin days.
Conclusion
Face tanning is simpler than it looks once you have the right product: drops, your trusted moisturizer, two minutes at night, and attention to the edges. The result — a healthy, even glow that matches your body and survives without a drop of UV exposure — is one of the highest-impact steps in a beauty routine for how little effort it takes.
Pair this with the body fundamentals in the beginner’s self tanner guide, keep your application streak-free with the streak-free technique guide, and if you’re fair-skinned, check the fair-skin tanner guide for formula advice. Glow on — safely.
Love this? Pin it for later!