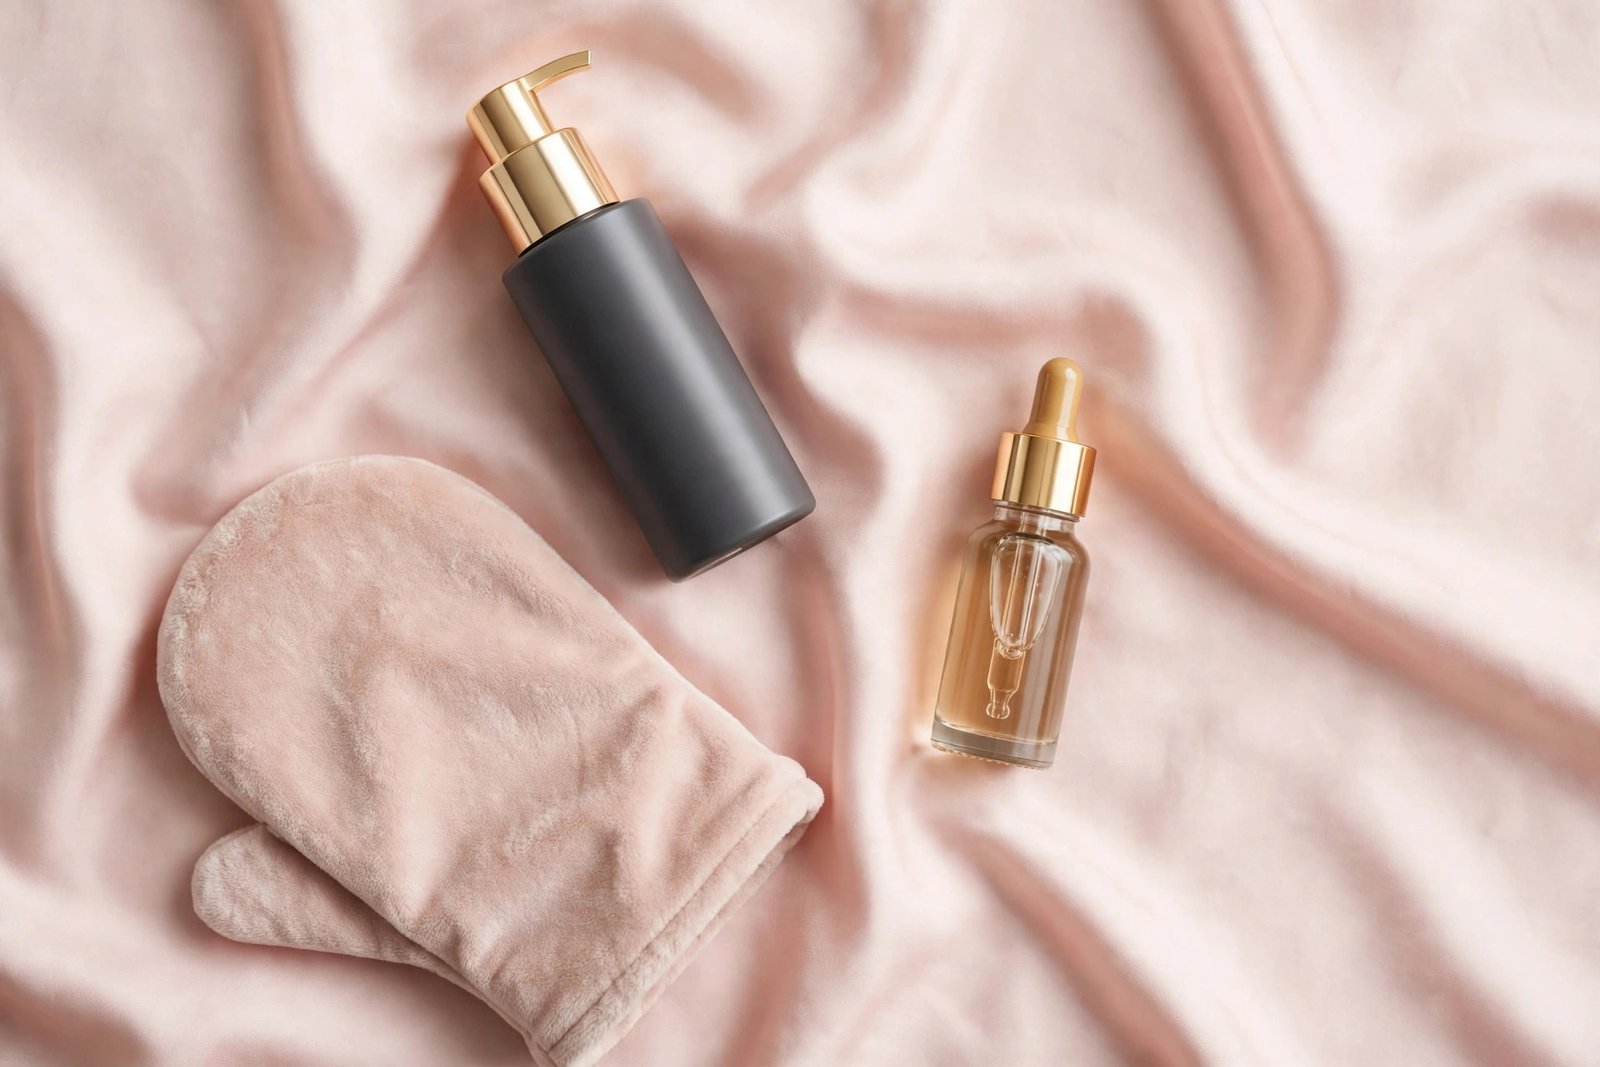
The Ultimate Self Tanner Guide for Beginners
If the idea of applying self tanner at home feels equal parts exciting and terrifying, you’re in good company. Every person with a flawless fake tan was once a nervous beginner standing in their bathroom, mitt in hand, wondering how this could possibly turn out well. The good news: modern self tanners are nothing like the orange, streaky, stinky formulas of decades past. With the right prep, the right formula, and a calm, methodical technique, anyone can get a believable, even glow at home — no salon appointment required.
This guide covers everything a beginner needs to know: how self tanner actually works, how to choose between mousses, lotions, sprays, and drops, the prep routine that prevents 90% of problems, step-by-step application, aftercare that makes your tan last, and the mistakes that turn a great tan into a cautionary tale. Consider this your complete starting point — and from here you can dive deeper into specific topics like streak-free application technique, the best tanners for fair skin, fixing mistakes fast, and tanning your face.
How Self Tanner Actually Works (The Science, Briefly)
Understanding the “how” makes everything else easier. Self tanners don’t dye or stain your skin the way a marker does. The active ingredient in nearly every self tanner is dihydroxyacetone (DHA), a colorless sugar derived from sugar cane or sugar beets. When DHA meets the amino acids in the dead cells of your skin’s outermost layer (the stratum corneum), it triggers a reaction called the Maillard reaction — the same type of reaction that browns bread in the toaster. This reaction produces brown pigments called melanoidins, which is the “tan” you see.
A few things this science explains:
- The color takes hours to develop. The reaction needs 4–8 hours to fully develop, which is why you apply tanner in the evening and wake up bronzed. Don’t judge your tan at hour two.
- The tan fades as your skin sheds. Because the color sits only in dead surface cells, it fades naturally over 5–10 days as those cells slough off. Exfoliation accelerates fading; moisturizing slows it.
- DHA concentration controls depth of color. Most beginner formulas contain 3–5% DHA (light to medium color). Dark formulas go up to 10–15%. Beginners should always start low — you can build up, but you can’t easily go down.
- Most formulas also contain erythrulose, a second tanning sugar that develops more slowly and produces a warmer, more natural tone while helping the color last a bit longer.
- The “guide color” is temporary. That brownish tint you see during application is just a cosmetic bronzer that helps you see where you’ve applied product. It rinses off in your first shower; the real tan stays.
Self tanners do not protect you from UV rays (despite the bronzed look), and they don’t stimulate melanin production like the sun does. They’re a purely cosmetic color change — which is exactly what makes them the safest way to look tan.
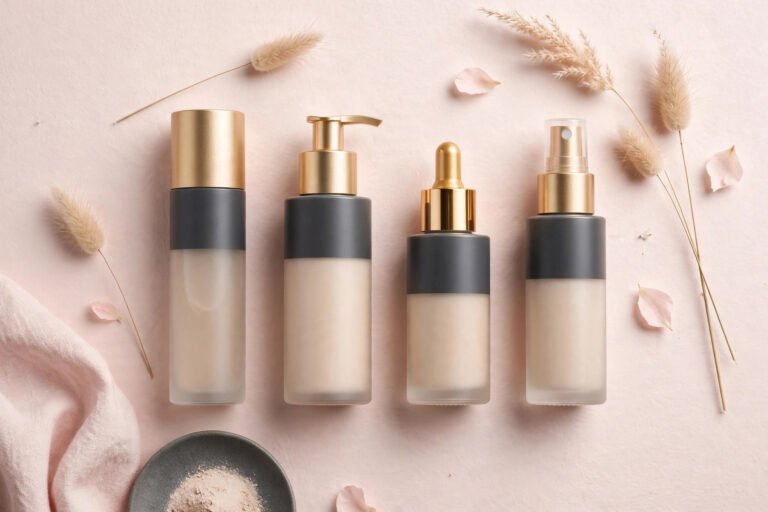
Choosing Your Formula: Mousse, Lotion, Spray, or Drops?
Walking into the self tanner aisle (or scrolling online) is overwhelming because the formula options all promise the same thing in different packaging. Here’s an honest breakdown of each type, who it’s for, and what to watch out for.
Mousses: The Beginner Favorite
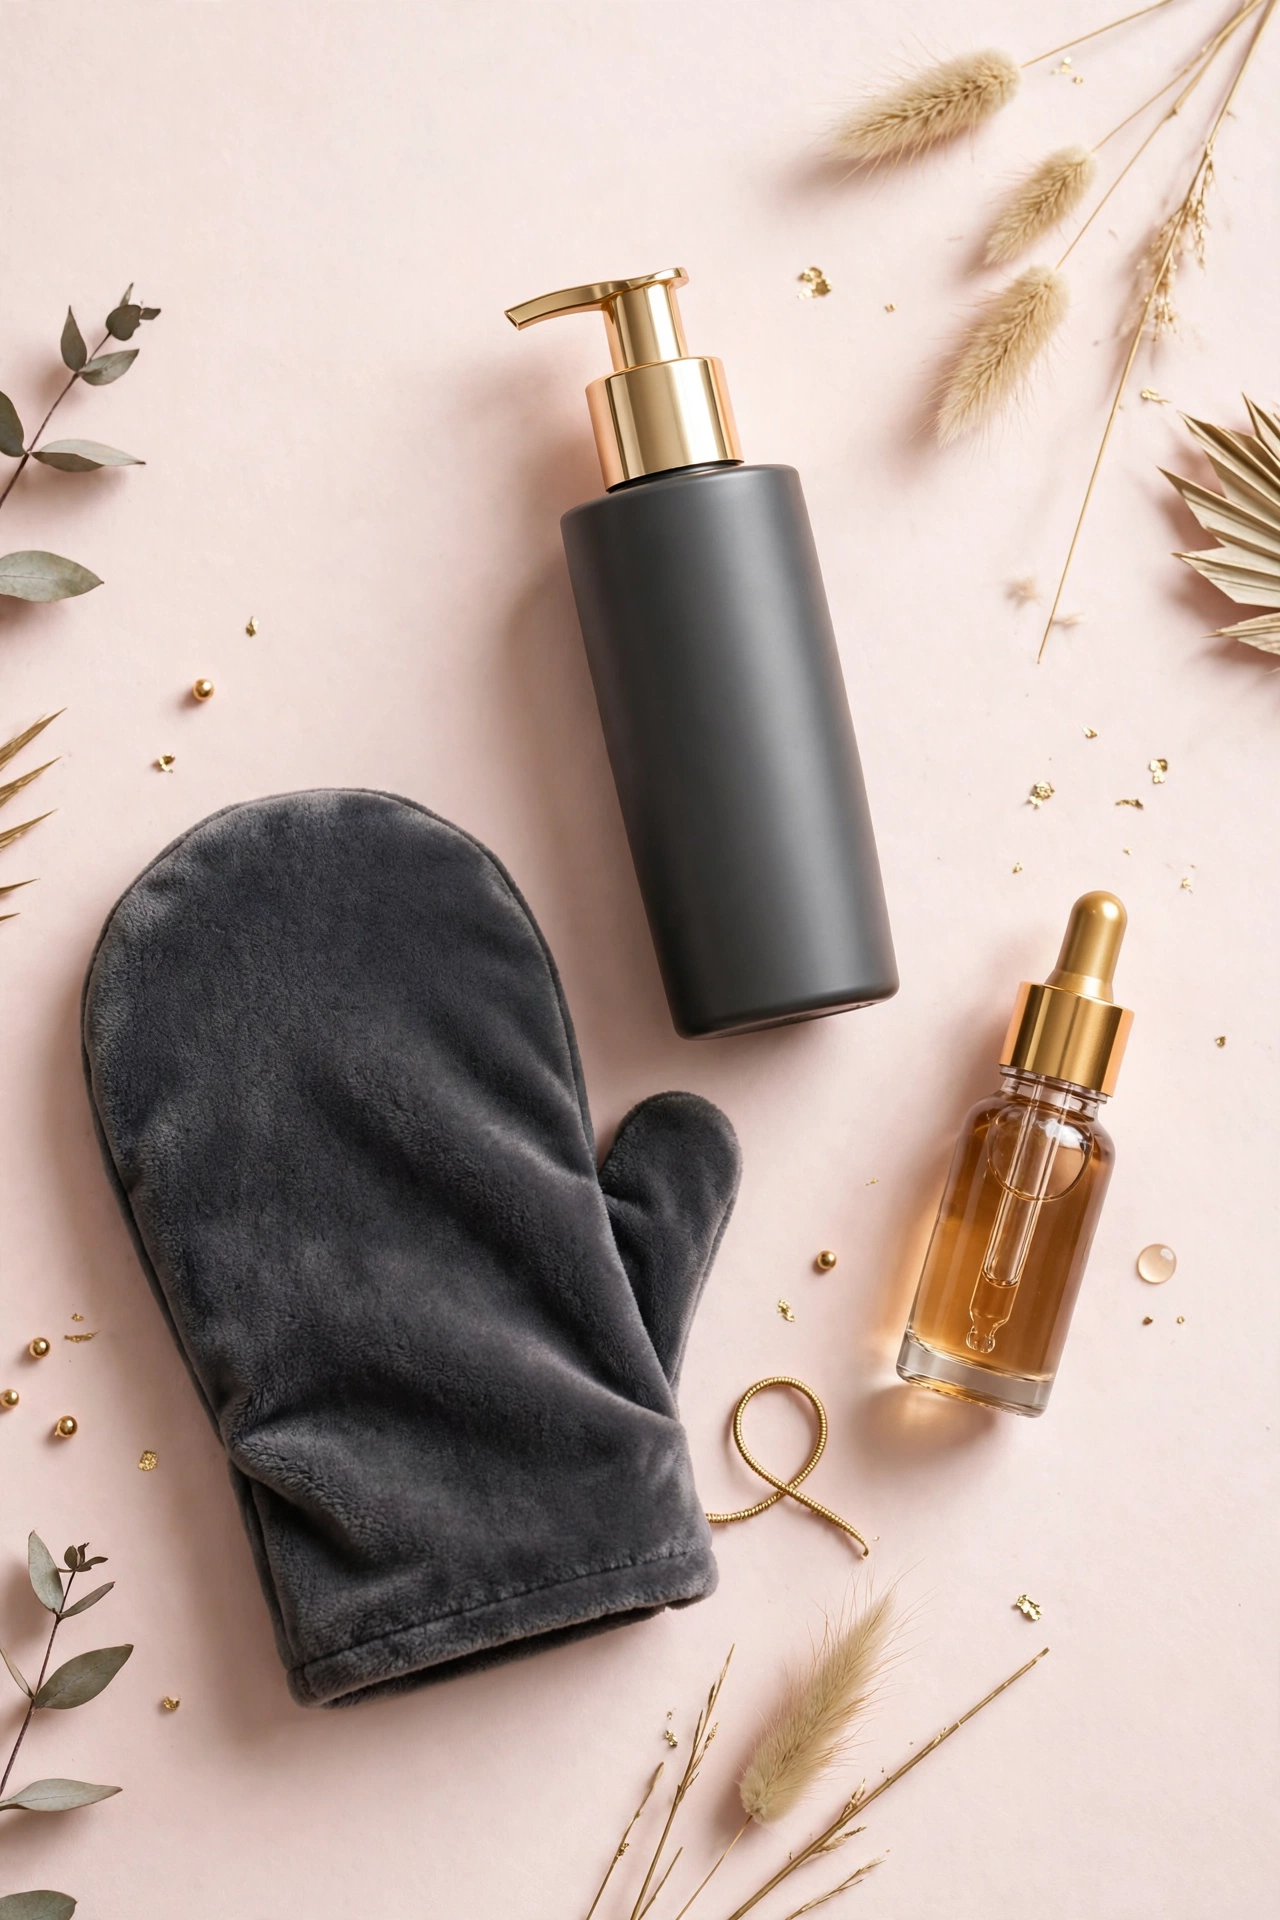
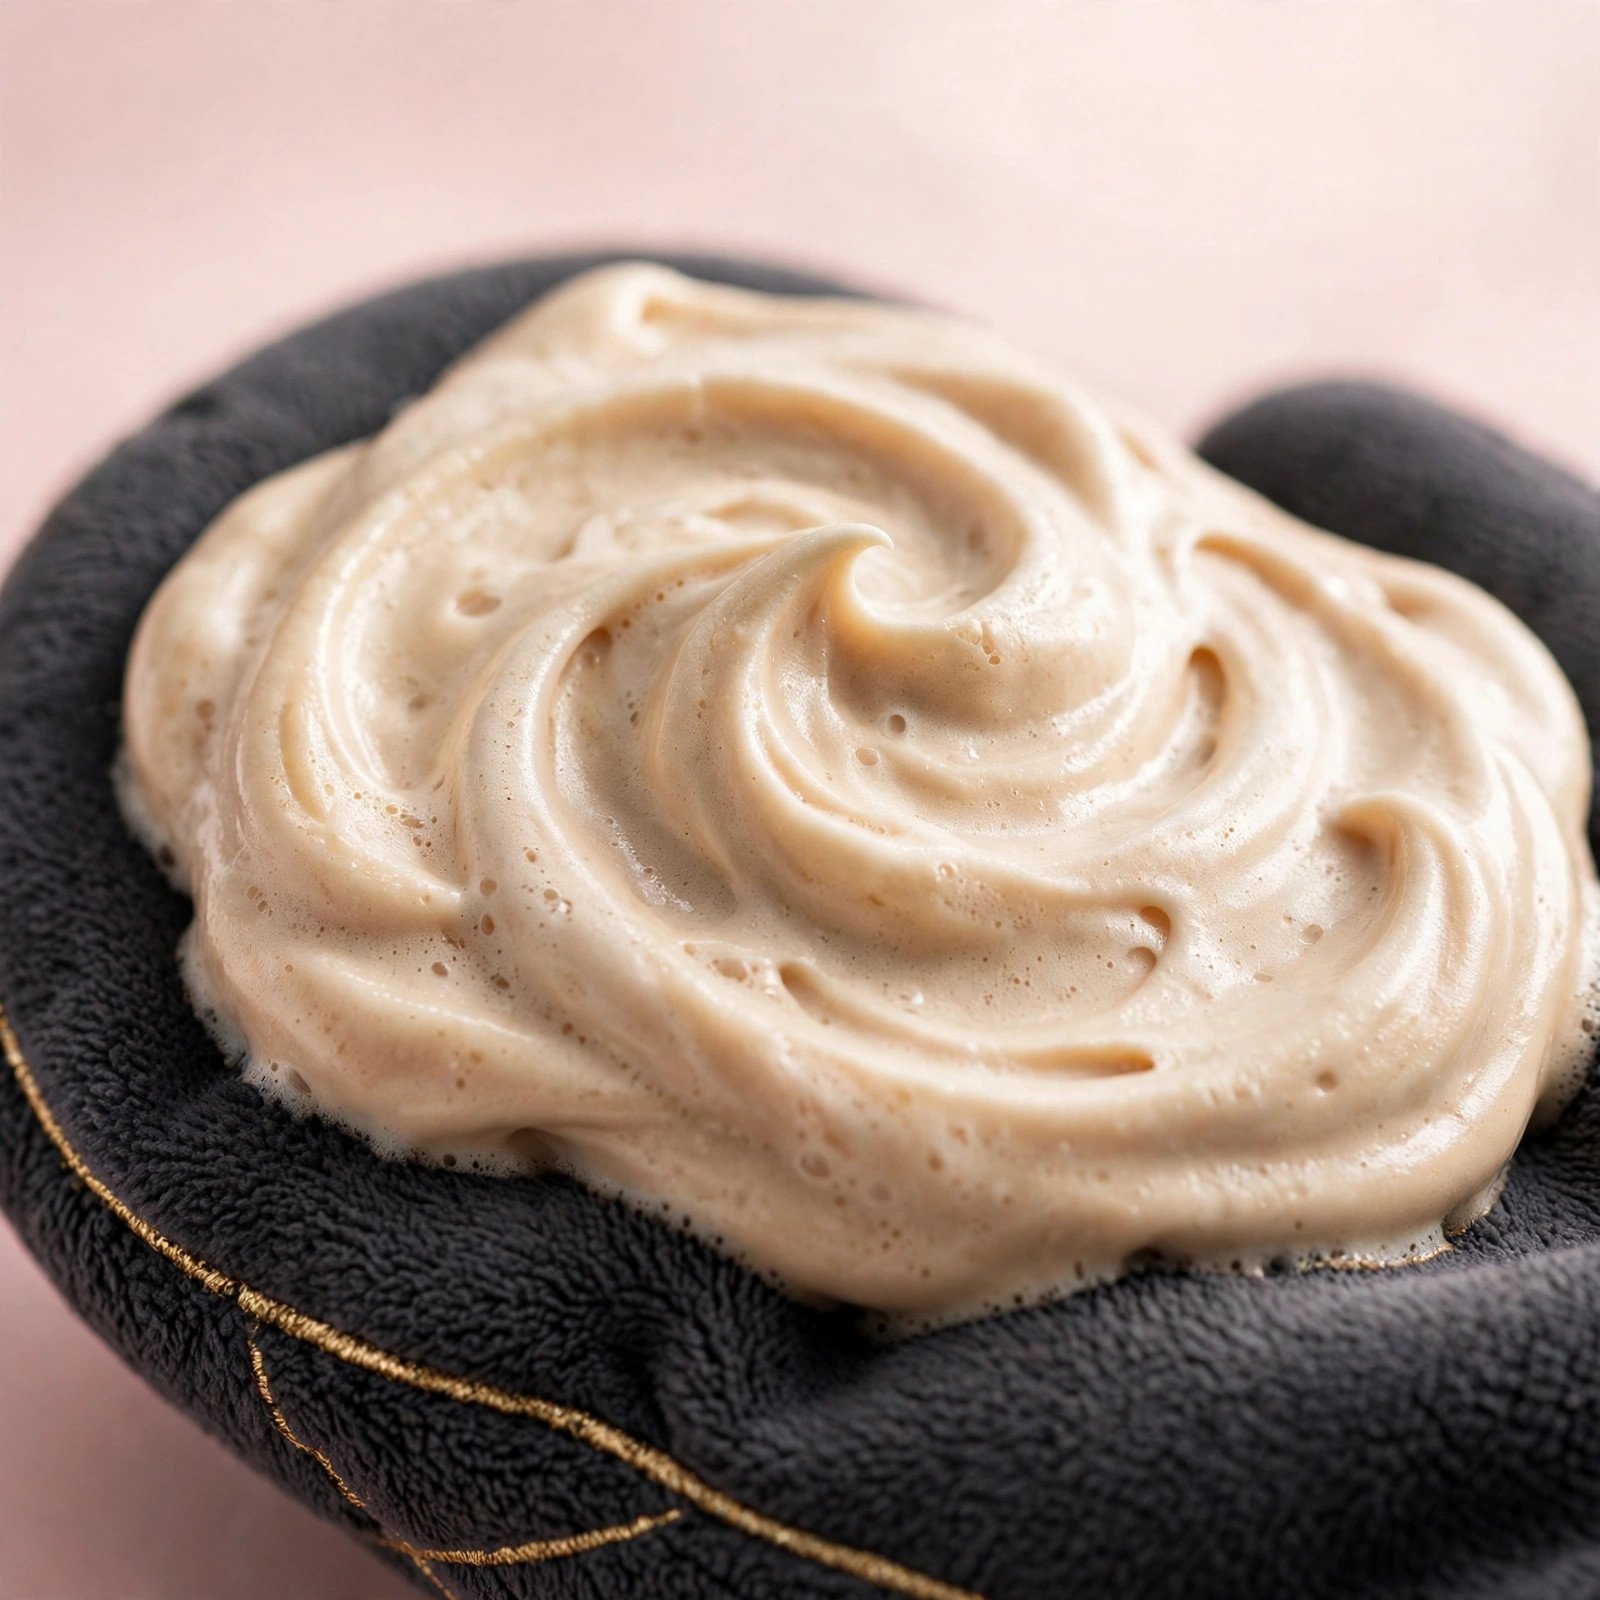
Self tanning mousses are whipped, airy foams that pump out like shaving cream. They’re the most popular formula for a reason: the lightweight texture spreads easily, dries relatively fast (often touch-dry in 10–15 minutes), and the immediate guide color makes it easy to see coverage. Most mousses are designed to be applied with a mitt, which gives beginners more control.
Best for: First-timers doing a full-body application. The fast dry time reduces the risk of transfer onto clothes or sheets.
Watch out for: Mousses can be drying on dry skin types, and the guide color can look alarmingly dark during development — don’t panic; the final result is typically 1–2 shades lighter than the guide color looks.
Lotions and Creams: The Gentle Gradualists
Gradual tanning lotions contain low levels of DHA (usually 1–3%) mixed into a regular body moisturizer. You apply them like lotion — no mitt needed — and color builds over 2–4 days of use. Dedicated self-tan lotions (non-gradual) exist too, with higher DHA in a creamy base.
Best for: The ultra-cautious beginner, people with very fair skin, and anyone who wants control over the final depth. Gradual tanners are nearly foolproof — mistakes are subtle because each application deposits so little color.
Watch out for: It takes patience (several days to reach your goal shade), and it’s easy to forget which areas you’ve already covered since there’s usually no guide color.
Sprays and Mists: The Even-Coverage Option
Aerosol and pump sprays deliver tanner in a fine mist, which can give beautifully even coverage on large areas like legs and back — including the hard-to-reach middle of your back. Some people apply sprays directly; others mist them onto a mitt and blend.
Best for: Covering large areas quickly and reaching your own back. Also popular for touch-ups and for tanning the legs alone.
Watch out for: Overspray. Apply in a ventilated room (or outdoors), protect your bathroom surfaces, and be prepared for the product to get on more than your skin. Sprays are also harder to control around tricky areas like hands and feet.
Drops: The Customizable Option
Tanning drops are concentrated DHA serums you mix into your own moisturizer, foundation, or body lotion. The number of drops controls the intensity. This category overlaps heavily with face tanning, since drops are the gentlest way to tan the face.
Best for: People who want precise control over depth of color, and for the face specifically. Great for maintaining a tan too — add a drop or two to your daily moisturizer.
Watch out for: Mixing must be thorough, or you’ll get patchy spots. And because the formula is concentrated, it’s easy to overdo it — start with fewer drops than you think you need.
Which Should You Choose as a Complete Beginner?
The most forgiving path: a gradual tanning lotion or a light mousse with a mitt. Gradual lotions remove almost all risk of going too dark too fast. If you want a more noticeable result in one session, a mousse labeled “light” or “medium” (not “dark” or “ultra dark”) applied with a mitt is the standard beginner route. For deeper guidance on formula selection matched to your skin tone, see the guide to self tanners for fair skin.
The Prep Routine That Prevents 90% of Problems
Here’s the open secret of self tanning: the application itself is only half the job. The majority of streaks, patchiness, and weird dark spots trace back to skipped or rushed prep. Build this routine in the day before you tan.
24 Hours Before: Exfoliate Thoroughly
Exfoliation removes the dead skin cells that would otherwise absorb tanner unevenly — dry patches, rough knees, and flaky shins drink up DHA and turn darker than everything else. Use a body scrub, exfoliating mitt, or chemical exfoliant (an AHA body lotion works well) on your entire body, paying extra attention to knees, elbows, ankles, feet, and hands.
For a full walkthrough of body exfoliation techniques, check out the guide on how to exfoliate your body properly. The short version: be thorough but not aggressive — red, irritated skin tans unevenly too.
24 Hours Before (or Earlier): Hair Removal
Shave, wax, or epilate at least 24 hours before tanning — ideally a full day or two prior. Hair removal leaves skin slightly sensitized and opens hair follicles, which can trap tanner and create dark dots (“strawberry” spots) if you tan too soon after. Shaving the same day as tanning is one of the most common causes of dotted, speckled legs.
The Day Of: Shower, Then Keep Skin Bare
On tanning day, take a warm (not hot) shower and do a final light exfoliation. Afterward, do not apply moisturizer, deodorant, perfume, or body oil — these create barriers that block DHA absorption and cause patchiness. The one exception: a tiny amount of moisturizer on the driest areas (knees, elbows, knuckles, ankles) right before application acts as a barrier that prevents over-absorption. Apply it sparingly and let it sink in for a few minutes.
Also skip makeup on the areas you’ll tan, and wear loose, dark clothing afterward. Tight waistbands, bra straps, and socks leave marks on developing tanner.
Don’t Forget Your Nails
Apply a thin layer of petroleum jelly or a rich balm to your fingernails, toenails, and cuticles before tanning. Tanning formulas stain nails and cuticles an unattractive yellow-brown, and this simple barrier prevents it.
Step-by-Step Application
Set aside 20–30 uninterrupted minutes. Put on disposable gloves or plan to wash your hands thoroughly at the end (a tanning mitt on your dominant hand plus washed bare hands works, but gloves are safer). Stand on an old towel in a well-lit room — good lighting is non-negotiable for spotting missed patches.
Step 1: Start at the Bottom and Work Up
Begin with your feet and legs, then move to your torso, arms, and finally hands and face. Working upward prevents you from bending over freshly tanned legs and smudging them. Use long, sweeping strokes with the mitt rather than circular scrubbing motions — circular motions can create swirl marks.
Step 2: Use Less Product Than You Think
One pump of mousse per body section (one lower leg, one thigh, one arm, etc.) is plenty. The mitt should glide, not drag. If it’s dragging, you’ve used too little; if product is pooling or dripping, too much. Thin, even layers are the whole game.
Step 3: Blend the Tricky Zones Lightly
Knees, elbows, ankles, wrists, hands, and feet have thicker, drier skin that absorbs more DHA. Apply only the residual product left on the mitt to these areas — don’t add fresh pumps. Bend your knees and elbows slightly while applying so the product doesn’t settle into creases. For a detailed breakdown of these trouble spots, the guide on applying self tanner without streaks goes deeper.
Step 4: Hands and Feet Last
Your hands and feet need the lightest touch of all. Use just the leftover product on the mitt, sweep lightly over the backs of hands and tops of feet, and carefully blend between fingers and toes. Wash your palms immediately after (even if you wore gloves, wash to be safe) — orange palms are the classic giveaway of a DIY tan.
Step 5: The Back
For your back, a spray formula is easiest. With a mousse, apply product to the mitt and reach over your shoulder and around your side as far as you can, blending toward the center. Alternatively, recruit a partner or use a long-handled lotion applicator. Slight unevenness on the back is less visible than you’d fear — it’s the least-scrutinized area.
Step 6: Wait, Then Dress
Let the tanner dry for 10–20 minutes before dressing (check your product’s instructions). Wear loose, dark clothing and avoid sweating, rain, or water for the full development time — usually 4–8 hours, or overnight. Sleep in loose pajamas on dark sheets if tanning before bed.
Aftercare: Making Your Tan Last
Your tan develops over several hours, then gradually fades over 5–10 days. Aftercare is about slowing that fade and keeping it even.
- First shower: After the development time, rinse with lukewarm water — no soap, no scrubbing, just water. Pat dry. The guide color will wash away; the developed tan remains. Avoid hot showers for the first 24 hours.
- Moisturize daily. Hydrated skin sheds more slowly and evenly. This is the single most impactful aftercare habit. A rich body lotion applied morning and night can add several days to your tan’s life. The roundup of body lotions for dry, bumpy skin includes options that work well for keeping tanned skin smooth.
- Avoid long hot baths, saunas, and chlorinated pools during the life of your tan — they accelerate fading. If you swim, moisturize heavily afterward.
- Skip harsh exfoliants until you’re ready for the tan to go. When it starts looking patchy (usually days 7–10), exfoliate to remove it evenly rather than letting it flake off in spots.
- Maintain with gradual tanner. Applying a gradual tanning lotion every 2–3 days can extend a tan almost indefinitely without a full reapplication.
7 Beginner Mistakes to Avoid
- Skipping exfoliation. The #1 cause of patchy tans. Non-negotiable prep.
- Applying to damp skin. Water dilutes DHA and causes streaks. Dry off completely and wait a few minutes after showering.
- Using too much product on dry areas. Knees, elbows, ankles, and hands need barely-there product, not fresh pumps.
- Tanning right after shaving. Wait at least 24 hours to avoid dark dots in hair follicles.
- Wearing tight clothes during development. Waistbands, socks, and bra straps leave visible lines. Go loose and dark.
- Judging the color too early. The guide color always looks darker than the final result. Wait the full development time before deciding you hate it.
- Choosing “dark” as a beginner. Start with light or medium. You can always apply a second layer the next day for more depth — but if streaks happen, lighter formulas are far more forgiving to fix. And if things do go wrong, fast self tanner removal methods has you covered.
Key Takeaways
- Self tanner works via DHA reacting with dead skin cells — color develops over 4–8 hours and fades over 5–10 days as skin sheds.
- Mousses with a mitt are the most beginner-friendly option for full-body tanning; gradual lotions are the most forgiving overall.
- Prep (exfoliate 24 hours before, remove hair early, shower and stay product-free on tan day) prevents the vast majority of problems.
- Apply bottom-up in long sweeping strokes, use minimal product on knees, elbows, ankles, hands, and feet, and wash palms immediately.
- Moisturize daily to extend your tan; avoid hot baths, pools, and harsh exfoliants while you want to keep it.
- Start with a light or medium shade — you can always build up, and mistakes are easier to fix.
FAQ
How long does self tanner take to develop?
Most formulas need 4–8 hours for full color development, though some “express” formulas develop in 1–3 hours (you rinse at the 1, 2, or 3-hour mark depending on desired depth). Don’t judge your color before the full development time has passed.
Does self tanner protect me from the sun?
No. Self tanner provides zero UV protection — the bronzed color is purely cosmetic and doesn’t involve melanin production. Always wear sunscreen over self tanner when going outdoors.
How long does a self tan last?
Typically 5–10 days, depending on the formula, your skin type, and your aftercare. Daily moisturizing extends it; frequent swimming, hot baths, and exfoliation shorten it.
Can I apply self tanner if I have sensitive skin?
Many people with sensitive skin use self tanner without issues, but always patch-test first — apply a small amount to your inner arm and wait 24 hours. Fragrance-free and gradual formulas tend to be gentler options.
Why does my self tanner smell bad?
The characteristic “biscuit” smell comes from the DHA reaction itself, not added fragrance — it’s the scent of the Maillard reaction happening on your skin. Modern formulas mask it better than older ones, and the smell fades after your first rinse.
Conclusion
Self tanning is a skill, not a talent — and like any skill, the first attempt is the hardest. Follow the prep routine, choose a forgiving formula, apply methodically, and moisturize afterward, and you’ll get a result that surprises you. Even if attempt number one isn’t perfect, every common mistake is fixable, and every application teaches you something about how your skin takes color.
Ready to go deeper? Master the streak-free mitt technique, find the right formula for fair skin, learn how to fix mistakes, or get face tanning right. Your glow-up starts now.
Love this? Pin it for later!