Microneedling at Home: The Complete Safety-First Guide
Microneedling has moved from the dermatologist’s office to the bathroom counter, and the appeal is obvious: tiny needles that trigger your skin’s repair response, promising smoother texture, softer scars, and firmer skin — without a clinic appointment. At-home microneedling devices like derma rollers and microneedling pens are widely available, affordable, and heavily marketed. But here’s the part the marketing skips: this is a controlled-injury treatment. Done wrong, it can cause infections, scarring, and pigment changes that are harder to fix than the problems you started with.
This guide exists because the difference between good results and a bad outcome usually comes down to information. Which device should you actually buy? What needle depth is safe on your face versus off-limits? How do you sterilize a roller properly? Who should never microneedle at home at all? Every answer below is grounded in dermatologist guidance and device safety principles — not hype.
Key Takeaways
- Microneedling works by creating controlled micro-injuries that stimulate collagen and elastin production, gradually improving texture, fine lines, and some types of scarring.
- At home, stay at 0.25 mm or below for beginners; 0.5 mm is the practical ceiling for home use. Depths of 1.0 mm and above belong in a professional clinic.
- Derma rollers are cheaper but harder to control; microneedling pens offer more even, adjustable depth. Both require strict sterilization before every use.
- Never microneedle over active acne, infections, eczema flares, cold sores, or sunburned skin — and skip it entirely if you have keloid scarring tendencies or use blood thinners.
- Results are gradual: most people need 4–6 sessions spaced weeks apart before judging outcomes, and honest expectations matter more than the device you buy.
This article is for informational purposes only and is not medical advice. Skin conditions vary — see a dermatologist for diagnosis and treatment.
What Microneedling Is and How It Works
Microneedling, also called collagen induction therapy, uses a device covered in ultra-fine needles to create thousands of microscopic punctures in the skin’s surface. These micro-injuries are too small to cause visible damage, but they’re large enough to trigger the skin’s wound-healing cascade: inflammation, proliferation, and remodeling. During the remodeling phase, the body produces new collagen and elastin — the structural proteins that keep skin firm, smooth, and resilient.
It’s the same biological principle behind professional treatments like fractional laser and chemical peels, just delivered mechanically rather than with heat or acids. Dermatologists have used microneedling in clinics for years, typically with motorized pens at depths of 1.0–2.5 mm, often combined with platelet-rich plasma (PRP) or radiofrequency. The at-home version is a lighter, shallower cousin: shorter needles, less penetration, and — crucially — less room for error but also less dramatic results.
What does the evidence actually support? Clinical studies show microneedling can improve atrophic acne scars, fine lines, enlarged pores, and overall skin texture when performed correctly and consistently. For stretch marks and surgical scars, the evidence is promising but less robust. For hair loss, some studies suggest it may enhance topical treatments, though the data is still emerging. Be skeptical of claims about “melting fat,” lifting jowls, or erasing deep wrinkles — the research doesn’t support those, and devices marketed with those promises deserve extra scrutiny.
One more honest note: at-home microneedling will not replicate professional results. Clinic devices penetrate deeper, use sterile single-use needle cartridges, and are operated by trained hands. Home devices work in the shallow zone — roughly the top 0.25–0.5 mm of skin. That’s enough to boost product absorption (studies show dramatically increased penetration of topicals after microneedling) and to gradually improve texture, but it won’t remodel deep scarring. Understanding this ceiling protects you from disappointment and from pushing your device beyond safe limits trying to chase clinic-level results.
Derma Roller vs Microneedling Pen: Which Should You Buy?
The two main at-home options work on the same principle but differ significantly in design, control, and risk profile.
Derma Rollers
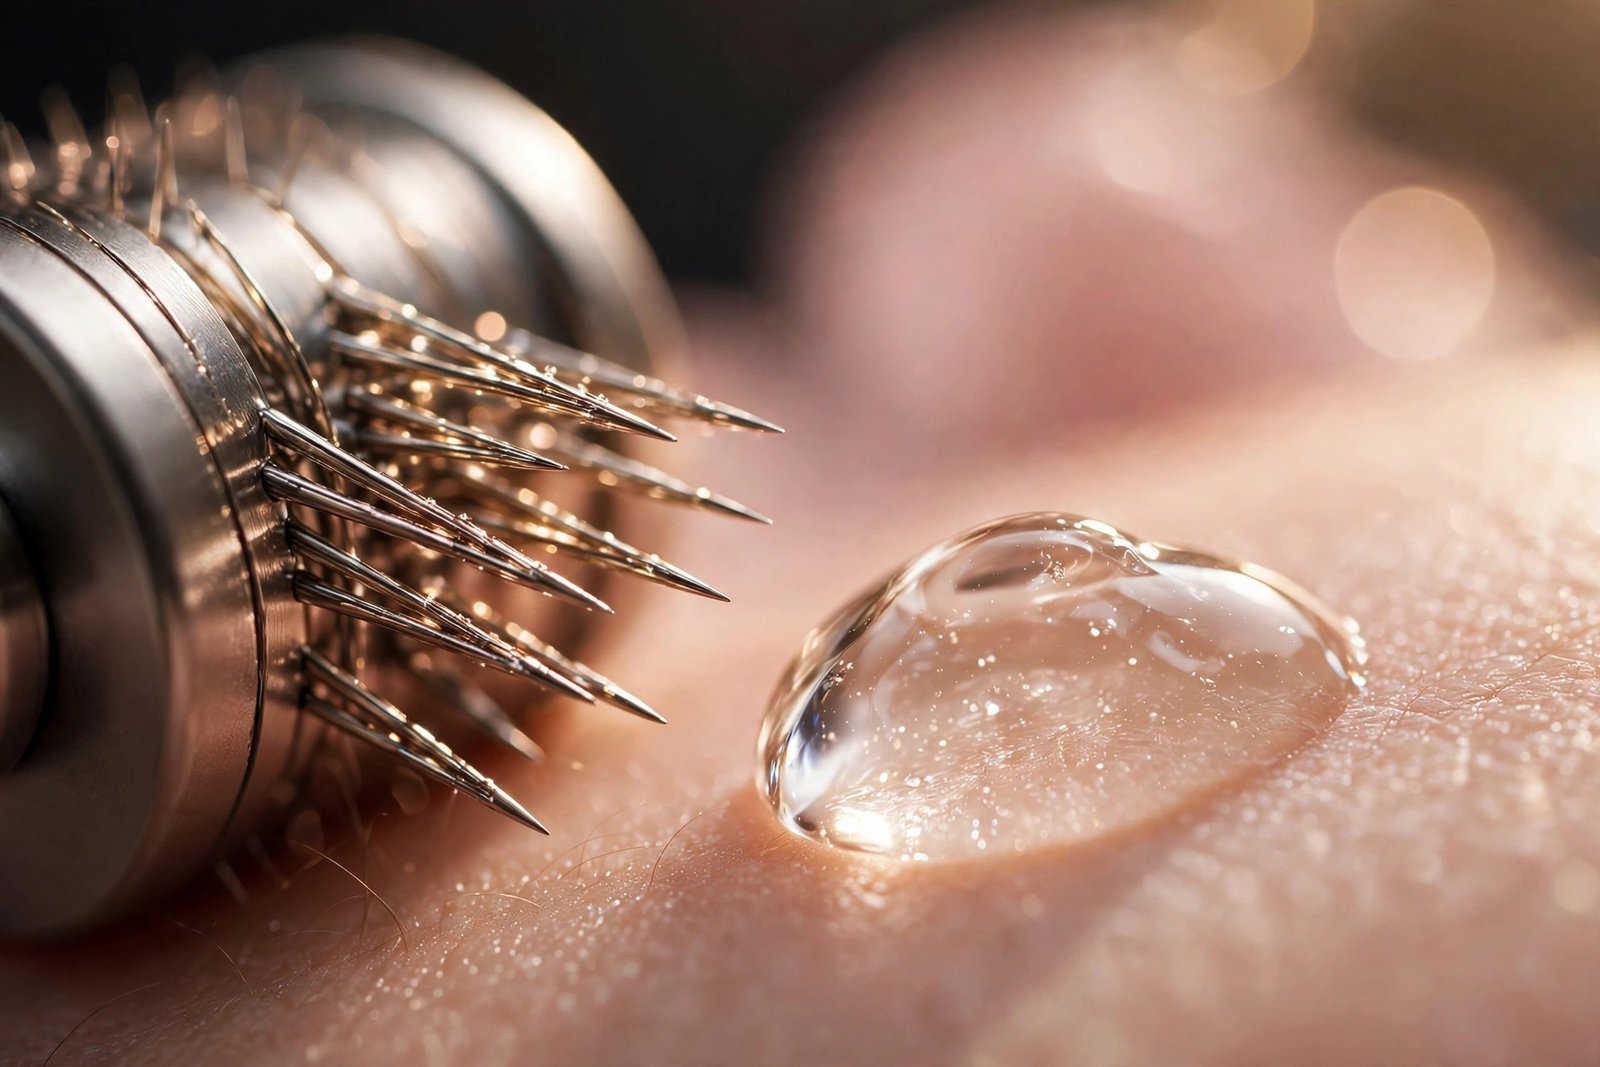
A derma roller is a small drum studded with fine needles, attached to a handle. You roll it across the skin in multiple directions — horizontally, vertically, and diagonally — so the needles enter at slightly different angles with each pass.
Pros: Inexpensive (quality rollers cost very little), no batteries or charging, simple to use, widely available.
Cons: The rolling motion means needles enter and exit the skin at an angle, which can create slightly larger, less uniform micro-channels than a vertical stamp. This angled entry is one reason dermatologists generally prefer pens for precision work. Rollers are also harder to use evenly around the curves of the nose and eyes, and a cheap roller with dull or uneven needles is genuinely dangerous — it tears rather than punctures.
What to look for: Real stainless steel or titanium needles (not plastic “needles,” which don’t puncture and are useless), a needle count appropriate to your chosen depth, and a reputable manufacturer. Avoid suspiciously cheap rollers with no brand accountability. Replace your roller after 10–15 uses or at the first sign of dullness — a dull roller drags and tears.
Microneedling Pens (Electric Derma Pens)
A microneedling pen is a motorized device with a disposable needle cartridge that stamps vertically into the skin at adjustable speed and depth. Many are marketed as “derma pens” for home use.
Pros: Vertical needle entry creates cleaner, more uniform micro-channels. Adjustable depth lets you use shallower settings on thin skin (under eyes, forehead) and slightly deeper ones on cheeks. Single-use cartridges eliminate the cross-contamination risk of a reused roller head.
Cons: More expensive than rollers, requires replacement cartridges (an ongoing cost), and needs charging or batteries. Low-quality pens with inconsistent motors can stamp unevenly.
What to look for: Adjustable depth settings, cartridges from the same manufacturer (third-party cartridges may not fit precisely), and clear sterilization or single-use guidance. If a pen doesn’t let you adjust depth, treat it with suspicion — one-size-fits-all depth is a red flag.
The Verdict for Beginners
If you’re new to microneedling, a quality derma roller at 0.25 mm is the lowest-risk entry point: shallow, simple, and cheap enough that you won’t feel pressured to overuse it to justify the cost. If you’re committed to a longer routine and want more control, a reputable microneedling pen with adjustable depth is the better long-term tool. Either way, the device matters less than the safety habits around it — which brings us to the most important section of this guide.
For a deeper look at using a roller specifically for indented scarring, see our honest guide to derma rollers for acne scars.
Needle Depth: The Chart That Keeps You Safe
Needle depth is the single most important variable in at-home microneedling. Too shallow and you’re wasting your time; too deep and you’re risking scarring, infection, and pigment damage. Memorize these ranges:
| Depth | What it reaches | Home use? | Typical purpose |
|---|---|---|---|
| 0.2–0.25 mm | Upper epidermis | ✅ Yes — beginner zone | Boosting serum absorption, mild texture refinement |
| 0.5 mm | Epidermis / upper dermis | ✅ Yes — experienced users | Texture, enlarged pores, fine lines, mild scarring |
| 0.75–1.0 mm | Mid dermis | ⚠️ Borderline — most dermatologists say clinic only | Deeper scars, stretch marks |
| 1.5 mm+ | Deep dermis | ❌ Never at home | Surgical scars, deep acne scars — professional only |
A few critical nuances:
- The face is not uniform. Skin on the forehead and around the eyes is thin; cheeks and the jawline are thicker. Even at 0.5 mm, use lighter pressure on thin areas or dial a pen down. Never use 0.5 mm on eyelids or directly under the eyes — stay at 0.25 mm or skip those zones entirely.
- Body skin can handle slightly more than facial skin, but the 0.5 mm home ceiling still applies. Stretch marks on the abdomen or thighs tempt people toward longer needles — resist it and see a professional instead.
- Longer needles do not mean faster results. They mean deeper wounds, longer healing, and higher risk. Collagen remodeling happens over weeks regardless; depth beyond what your skin can safely handle just adds damage without adding benefit.
- “Numbing cream” is a clinic thing. At 0.25–0.5 mm, most people describe the sensation as mild scratching or sandpaper. If a home session hurts enough that you’re reaching for numbing cream, your depth or pressure is too aggressive.
The Safety Rules That Actually Matter
Read this section twice. Most microneedling injuries reported to dermatologists trace back to violating one of these rules.
Sterilization: Non-Negotiable
Your device punctures your skin. Anything on those needles goes directly past your skin barrier. Sterilize before every single use:
- Rinse the roller or cartridge under warm water to remove debris.
- Soak the needle head in 70% isopropyl alcohol for 5–10 minutes (not 30 seconds — give it time).
- Let it air-dry completely on a clean tissue, needles up. Don’t towel-dry the needles.
- After use, rinse, soak again, air-dry, and store in its protective case.
Replace rollers regularly. A roller used past its lifespan develops bent or dulled needles that tear skin instead of puncturing it cleanly — a common cause of post-rolling irritation that people mistake for “purging.”
Contraindications: Who Should Not Microneedle at Home
Do not microneedle at home if any of these apply — this isn’t cautious fine print, it’s the difference between a cosmetic treatment and a medical incident:
- Active acne breakouts, cold sores, warts, or any skin infection — needling spreads infection across the face.
- Eczema, psoriasis, or rosacea flares — needling inflamed skin worsens it.
- Keloid or hypertrophic scarring tendency — microneedling can trigger abnormal scar formation.
- Blood thinners, bleeding disorders, or poorly controlled diabetes — impaired healing and bleeding risk.
- Recent sunburn, chemical peel, or laser treatment — wait until skin is fully healed (usually 2–4 weeks minimum).
- Pregnancy — not because microneedling is proven harmful in pregnancy, but because it hasn’t been studied; most dermatologists advise waiting.
- Use of isotretinoin (Accutane) — wait at least 6 months after finishing, as skin heals abnormally during and after treatment.
- Moles, skin tags, or suspicious lesions — never needle over them.
Also avoid needling over areas with filler or Botox until cleared by your injector — typically at least 2 weeks.
Product Safety During Treatment
What you put on freshly microneedled skin matters enormously because absorption is dramatically increased:
- Safe immediately after: Hyaluronic acid serum, plain moisturizers, and products specifically formulated for post-microneedling. Simple and bland wins.
- Avoid for at least 24–72 hours: Retinoids, vitamin C (L-ascorbic acid), AHAs/BHAs, benzoyl peroxide, alcohol-based toners, and fragranced products. These cause severe stinging and irritation on compromised skin.
- Never microneedle with makeup on, and never apply makeup for at least 24 hours after. Your skin is an open system; makeup introduces bacteria.
- Sunscreen is mandatory after healing begins (usually from day 2–3). Freshly needled skin is more vulnerable to UV damage and post-inflammatory hyperpigmentation, especially in medium to deep skin tones.
Speaking of skin tone: people with Fitzpatrick types IV–VI should be extra conservative with depth and frequency, as the risk of post-inflammatory hyperpigmentation is higher. When in doubt, consult a dermatologist first — a single consultation costs less than treating hyperpigmentation later.
Step-by-Step: How to Microneedle at Home Safely
Here’s the full routine, start to finish. The whole session takes about 20–30 minutes including sterilization.
Before You Start
- Sterilize your device as described above.
- Cleanse your face thoroughly — double cleanse if you wore sunscreen or makeup earlier. Pat dry with a clean towel.
- Tie back hair and wash your hands. Work in a clean, well-lit space.
- Optional: Apply a thin layer of hyaluronic acid serum to the treatment area. This acts as a slip agent so the device glides rather than drags. (Skip this if your dermatologist advised otherwise.)
The Technique
- Divide your face into sections: forehead, left cheek, right cheek, nose/chin, jawline. Work one section at a time.
- Roll or stamp in a controlled pattern. For a roller: roll 4–5 times horizontally, then 4–5 times vertically, then 4–5 times diagonally in each section, lifting the roller between direction changes (don’t drag it back and forth like a paint roller — lift and reposition). For a pen: stamp in a grid pattern with slight overlap, moving steadily.
- Use light to medium pressure. You should see mild, even redness — like a light sunburn — not bleeding. Pinpoint bleeding at 0.5 mm can happen on thicker areas, but if you’re drawing blood freely, stop and reassess your depth and pressure.
- Avoid the eye area, lips, and nostrils. Stay at least a finger’s width from the orbital bone. Never roll over the eyelids.
- Total session time: 5–10 minutes of actual needling. More is not better — over-rolling causes unnecessary trauma.
Immediately After
- Apply hyaluronic acid serum to damp skin, then a simple, fragrance-free moisturizer. Your skin will feel warm and look pink — this is normal and usually fades within a few hours at shallow depths.
- Re-sterilize your device, let it dry, and store it in its case.
- Don’t touch your face for the rest of the day. Change your pillowcase that night.
Your complete recovery protocol — what to use, what to avoid, and the warning signs — is covered in our microneedling aftercare guide.
How Often Should You Do It? (Frequency by Depth)
Frequency is the second most abused variable after depth. Skin needs full recovery time between sessions, and collagen remodeling continues for weeks after each one.
- 0.25 mm: Every 2–3 days is generally considered safe, since this depth barely penetrates and heals within hours. Many people use it primarily to boost serum absorption.
- 0.5 mm: Every 2–4 weeks. This depth creates real dermal micro-injury that needs proper healing time. Doing it weekly at 0.5 mm is overdoing it.
- Anything deeper: Not for home use, but for reference, clinic sessions at 1.0 mm+ are spaced 4–6 weeks apart.
Signs you’re microneedling too often: persistent redness that doesn’t fade within 48 hours, increased sensitivity, new breakouts in treated areas, skin that feels thin or “crepey,” or results that stall or reverse. When in doubt, wait longer. Skin rewards patience.
For the full breakdown, read how often can you microneedle — the safe frequency guide.
What Results to Realistically Expect
Honest timelines, based on clinical evidence and dermatologist guidance:
- Weeks 1–2: Skin may look slightly plumper and more radiant due to mild inflammation and better product absorption. This is temporary.
- Weeks 4–8: Early texture improvements as the first wave of new collagen forms. Pores may appear slightly smaller.
- Months 3–6: The real results window. Collagen remodeling peaks around 3–6 months after consistent treatment. This is when acne scars soften, fine lines look less etched, and texture genuinely improves.
- Ongoing: Maintenance sessions every 4–8 weeks help sustain results, since collagen continues its natural slow decline with age.
Most studies showing significant improvement used 4–6 sessions. If a brand promises transformation in one session, it’s marketing, not science.
What microneedling won’t do: erase deep icepick scars (those usually need professional treatments like TCA CROSS or punch excision), remove melasma on its own (it can actually worsen pigmentation if done aggressively), tighten significantly lax skin, or replace sunscreen and retinoids as anti-aging foundations. It’s one tool in a routine, not a routine by itself.
If your main goal is fading the marks acne leaves behind, learn how to prevent acne scars and dark marks before they form — prevention beats correction every time.
Common Mistakes That Cause Problems
- Starting at 0.5 mm or deeper. Begin at 0.25 mm for at least a month. Let your skin — and your technique — prove themselves first.
- Skipping sterilization or doing a quick dip instead of a proper soak. This is the number one cause of post-microneedling infections.
- Rolling over active breakouts, spreading bacteria across the face and turning a few pimples into a widespread flare.
- Using actives too soon after. That “tingling” from applying vitamin C to freshly needled skin isn’t efficacy — it’s irritation.
- Pressing too hard. More pressure doesn’t mean deeper penetration with a fixed-depth roller; it means more tearing. Let the needles do the work.
- Sharing devices. Never share a derma roller or pen cartridges. This should be obvious, but it happens.
- Microneedling too frequently, chasing faster results and getting chronic inflammation instead.
- Buying the cheapest device available. Dull, uneven, or misaligned needles are a real hazard. This is one category where the bargain option can cost you.
When to See a Professional Instead
At-home microneedling has a ceiling, and recognizing it is part of doing this safely. Book a dermatologist or licensed practitioner if:
- Your acne scars are deep, tethered, or icepick-type — these need professional-depth treatment, subcision, or combination therapy.
- You want to treat stretch marks, surgical scars, or large areas of the body.
- You have melasma or significant hyperpigmentation — professional settings can combine microneedling with pigment-targeting treatments under supervision.
- You’ve had a bad reaction to home microneedling (prolonged redness, infection signs, new scarring).
- You have any of the contraindications listed above and still want the benefits — a professional can assess whether supervised treatment is appropriate.
There’s no shame in the clinic route. Professional microneedling exists precisely because some concerns need deeper treatment, sterile technique, and trained hands. Home devices are for maintenance and mild concerns — knowing the boundary is what makes home use safe.
Curious about other at-home devices? our guide to high frequency wands for acne covers another popular tool with its own safety considerations.
Frequently Asked Questions
Does at-home microneedling hurt?
At 0.25 mm, most people feel mild scratching or nothing at all. At 0.5 mm, expect a scratchy, sandpaper-like sensation with light pressure — uncomfortable but tolerable for most. Pain that makes you flinch means your depth or pressure is too high. Numbing cream is unnecessary at home depths and can mask the feedback your skin gives you.
Can I microneedle if I have sensitive skin?
Possibly, but start conservatively: 0.25 mm, once a week at most, and patch-test a small area of the jawline first. If you have rosacea, eczema, or highly reactive skin, check with a dermatologist before starting — microneedling during a flare will make things worse.
How long does redness last after microneedling?
At 0.25 mm, redness typically fades within a few hours. At 0.5 mm, expect 24–48 hours of pinkness similar to mild sunburn. Redness lasting beyond 72 hours, especially with swelling, heat, or pain, warrants a call to your dermatologist.
Can I use retinol after microneedling?
Not immediately. Wait at least 48–72 hours after a 0.25 mm session and a full week after 0.5 mm before reintroducing retinoids. Applying them to freshly compromised skin causes severe irritation without added benefit.
Is microneedling safe for dark skin tones?
It can be, with caution. Microneedling is generally considered safer than lasers for deeper skin tones because it doesn’t use heat, but aggressive depth or frequency can still trigger post-inflammatory hyperpigmentation. Stay at conservative depths, be diligent with sunscreen, and consider a dermatologist consultation first.
How do I know when to replace my derma roller?
After 10–15 uses, or sooner if you notice increased dragging, tugging, or irritation compared to earlier sessions. Dull needles tear rather than puncture. When in doubt, replace it — rollers are inexpensive compared to treating damaged skin.
Can I microneedle my neck or body at home?
The neck is thinner and more sensitive than facial skin — use 0.25 mm maximum and very light pressure, or skip it. For body areas, 0.5 mm is the home ceiling, but large areas and stretch marks are better handled professionally.
The Bottom Line
At-home microneedling can be a genuinely useful part of a skincare routine — for texture, mild scarring, and better product absorption — when it’s done with the right device, the right depth, sterile technique, and realistic expectations. The formula is simple: start shallow (0.25 mm), sterilize every time, respect the contraindications, space your sessions properly, and keep actives away from freshly treated skin.
The people who get hurt by at-home microneedling are almost never the cautious ones. They’re the ones who bought the longest needles available, skipped sterilization, rolled over breakouts, or treated it like a weekly facial instead of a controlled injury that needs recovery. Be the cautious one, and this tool will serve you well.
Ready to go deeper on the specifics? Start with the complete microneedling aftercare guide, then read whether a derma roller can actually fade acne scars.
Love this? Pin it for later!