Best At Home Lash Lift Kit: 6 Beginner-Friendly Picks (2026)
A salon lash lift can cost as much as a nice dinner out — every 6 to 8 weeks. An at-home lash lift kit costs a fraction of that and usually contains enough product for multiple applications. But not all kits are created equal, and when you are putting chemicals near your eyes, the cheapest option on the shelf is not automatically the smartest one.
This guide breaks down exactly what a complete kit must include, what separates a beginner-friendly kit from a frustrating one, and six solid picks to consider. You will also find the safety checks to run before you buy anything, and an honest cost comparison with salon treatments. Once you have chosen your kit, follow our step-by-step lash lift tutorial for the full application process with timing charts and safety warnings.
What a Complete Lash Lift Kit Must Include
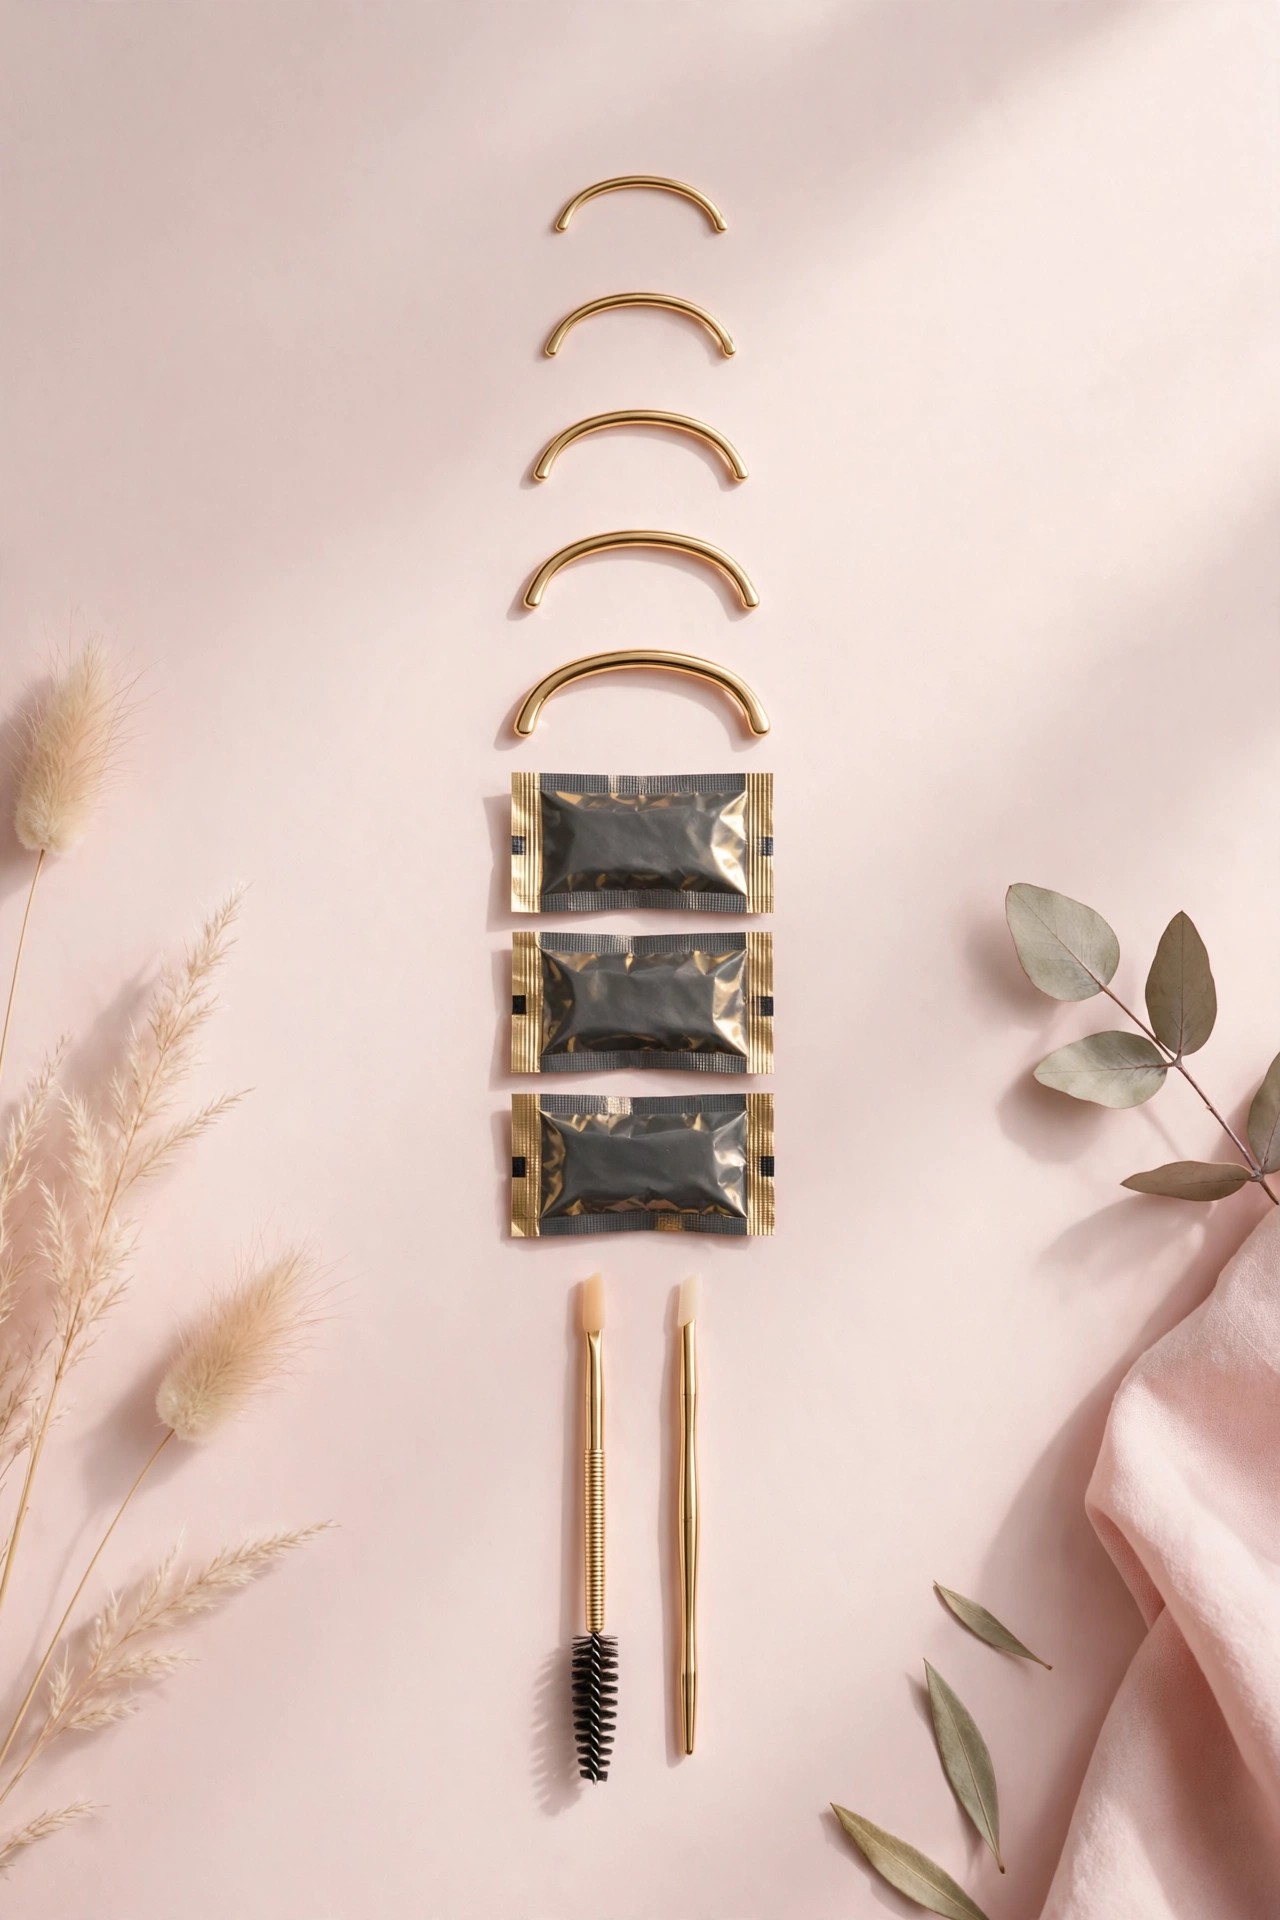
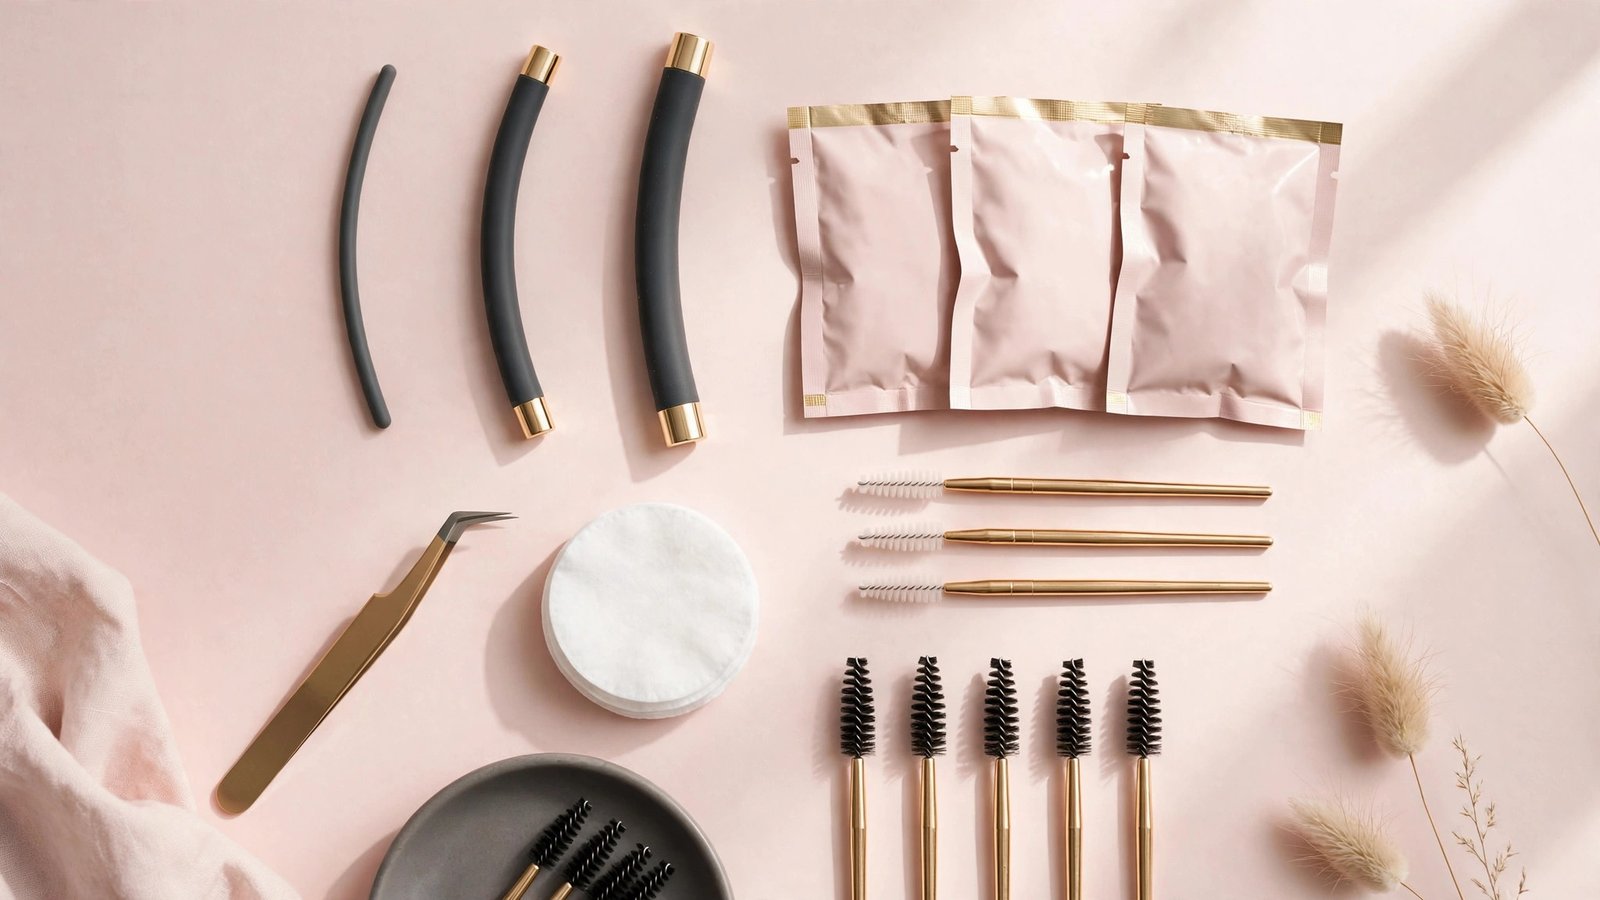
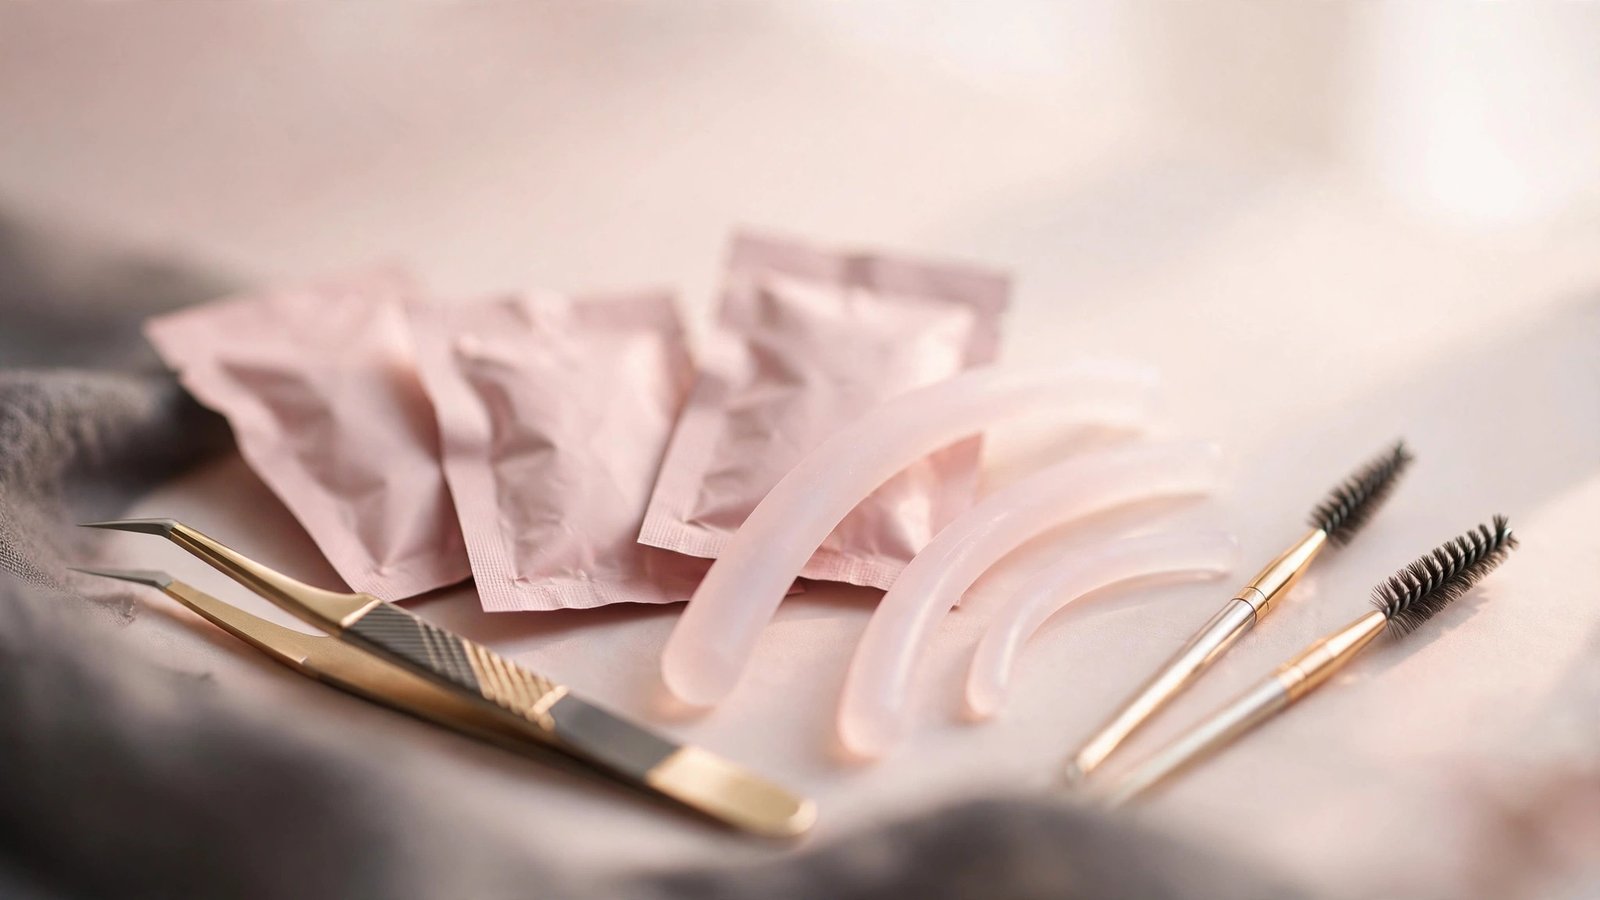
Before comparing brands, know what “complete” actually means. A proper at-home lash lift kit should contain:
- Lifting lotion (perm solution): The chemical that breaks down the lash’s natural bonds so it can be reshaped. Usually comes in single-use sachets, which stay fresher than multi-use tubes.
- Setting/neutralizing lotion: Locks the new curl shape in place. Skipping this step — or a kit that does not include it — is a dealbreaker.
- Nourishing oil or keratin serum: Conditions lashes after processing and helps release them from the shield.
- Silicone shields or rods in multiple sizes: At minimum S, M, and L. Single-size kits force you into a curl that may not suit your lashes.
- Lash glue: A water-soluble adhesive for sticking lashes to the shields. It should be gentle and easy to remove with water.
- Application tools: A Y-comb or lift applicator for separating lashes, plus lint-free applicators or micro-brushes.
- Under-eye pads: To keep lower lashes out of the way during processing.
- Clear instructions with timing charts: Non-negotiable for beginners. If a kit’s instructions are vague about timing, that is a red flag.
Nice-to-have extras: a lash tint (darkens lashes for extra definition), extra glue, and a small timer. Some kits bundle a tint; others sell it separately.
The 6 Best At Home Lash Lift Kit Picks for Beginners
The picks below are described by what makes each one beginner-friendly — kit format, shield range, instruction quality, and value. Brand lineups change, so use these profiles to evaluate whatever is currently available from reputable beauty retailers.
1. Best Overall: The All-in-One Sachet Kit
Look for a kit built around single-use sachets for the lifting and setting lotions, with shields in S, M, and L and a well-illustrated instruction booklet. Sachet formats are ideal for beginners because the product is always fresh — opened multi-use tubes oxidize and lose strength, which leads to inconsistent results. The best all-in-one kits also include a nourishing oil and enough product for 10 to 15 applications, making the per-lift cost extremely low.
Best for: First-timers who want everything in one box with foolproof freshness.
2. Best for Sensitive Eyes: The Gentle-Formula Kit
Some kits are formulated with milder lifting agents and fragrance-free adhesives, marketed specifically for sensitive eyes. These typically process a little more slowly, which is actually an advantage for beginners — a gentler formula gives you a wider margin of error on timing. Check that the kit still includes a proper setting lotion; “gentle” should never mean incomplete.
Best for: Anyone who reacted mildly to a patch test with a standard kit, or who generally has reactive skin around the eyes. Always patch test regardless.
3. Best Budget Pick: The No-Frills Starter Kit
Budget kits strip the package down to the essentials: lifting and setting sachets, three shield sizes, glue, a Y-comb, and basic instructions. They skip the tint, the fancy packaging, and sometimes the nourishing oil (which you can buy separately). For a first attempt, this is perfectly fine — the core chemistry is the same.
Best for: Trying a lash lift for the first time without spending much. Just confirm the instruction timing chart is specific before you buy.
4. Best With Lash Tint Included: The Lift-and-Tint Combo Kit
A lift curls; a tint darkens. Together they create the “mascara without mascara” effect many people want. Combo kits include a lash tint (usually black or blue-black) with developer, applied after the setting step. This adds about 10 minutes to the process but noticeably boosts the final result, especially for fair or blonde lashes.
Best for: Blonde, redhead, or light-brown lashes where the lift alone might look underwhelming. Patch test the tint separately — tint allergies are distinct from lift-solution allergies.
5. Best for Long Lashes: The Extended-Shield Kit
Standard shields can be too short for very long lashes, causing the tips to flop over the top instead of curling neatly. Some kits include extra-long or “L-plus” shields designed for longer lash lines. If your lashes touch your brow bone when you look up, this category is worth seeking out.
Best for: Naturally long lashes that need a shield with enough surface area to support the full lash.
6. Best Pro-Style Upgrade: The Salon-Format Kit
Once you have done a few successful lifts, salon-format kits with larger-volume lotions (in airless pumps or sealed tubes rather than sachets) become more economical. These assume you already understand timing and shield selection, so instructions tend to be brief. Do not start here — the value only pays off if you are confident in the process.
Best for: Experienced DIYers doing lifts every 6 to 8 weeks who want the lowest per-application cost.
How to Choose the Right Kit for Your Lashes
Match the kit to your situation, not just the price tag:
- First time ever? Choose pick 1 or 3 — complete, simple, with clear timing instructions.
- Sensitive or reactive eyes? Choose pick 2, and patch test twice (once per the box, once to be sure).
- Fair or light lashes? Choose pick 4 — the tint makes a visible difference.
- Very long lashes? Choose pick 5 to avoid the floppy-tip problem.
- Doing lifts regularly? Graduate to pick 6 once your technique is solid.
One more consideration: check how many applications a kit provides. A kit with 15 sachet pairs at a moderate price beats a cheaper kit with only 5 pairs. Divide the price by the application count to compare true value.
Safety Notes: What to Check Before You Buy
Because you are buying chemicals for use around your eyes, run through this checklist before any kit goes in your cart:
- Sealed and in date. Never buy a kit with broken seals, and check the expiry date on arrival. Expired lifting lotion under-processes unpredictably.
- Full ingredient list available. Reputable kits list every ingredient. If a seller cannot or will not provide one, walk away.
- Specific timing instructions included. “Leave on for a while” is not instructions. You need exact minutes by lash type.
- Single-use sachets preferred. They stay potent and hygienic. If you buy a multi-use tube format, note the discard-after-opening period and honor it.
- Glue is water-soluble. You need to remove every trace of glue after the lift without scrubbing your lash line.
- Patch test everything. Test the lifting lotion, setting lotion, glue, and tint (if included) 24 to 48 hours before your lift. Our step-by-step lash lift tutorial explains exactly how to patch test.
When to skip the kit and book a salon instead: active eye infections, styes, blepharitis, chronic dry eye, recent eye surgery, or a history of severe allergic reactions to cosmetics. A professional can assess your eyes in person; a box cannot.
Lash Lift Kits vs Salon Treatments: The Cost Comparison
The math is straightforward. A professional lash lift typically costs between $75 and $150 per session, plus tip, and needs repeating every 6 to 8 weeks. Over a year, that is roughly $600 to $1,200.
A quality at-home kit costs roughly $15 to $40 and provides 5 to 15 applications. Even at the conservative end, that works out to a few dollars per lift — a year of DIY lifts costs less than a single salon visit.
The trade-off is skill and safety margin. A trained lash artist has done hundreds of lifts, can assess your lash type on sight, and knows how to handle complications. Your first at-home lift will be slower and less polished than a professional job. Many people find the sweet spot is doing their own lifts once they are practiced, and booking a salon lift before big events. For help deciding which route suits your lashes, our lash lift vs lash extensions comparison covers the professional options in depth.
How to Store Your Kit Between Uses
Proper storage protects both your results and your eyes:
- Keep sachets and tubes sealed until the moment you use them. Once a sachet is open, use it or lose it.
- Store everything in a cool, dry place away from direct sunlight. Bathroom humidity degrades the lotions faster.
- Never share your kit. Eye-area products should be single-person only to avoid cross-contamination.
- Discard any sachet that looks discolored, smells strongly off, or is past its opening window — even if it feels wasteful.
- Wash reusable tools (Y-comb, shield) with gentle soap and water after each use and let them air-dry completely.
Key Takeaways
- A complete kit must include lifting lotion, setting lotion, nourishing oil, shields in multiple sizes, lash glue, application tools, under-eye pads, and clear timing instructions.
- Beginners should choose an all-in-one sachet kit (best overall) or a no-frills starter kit (best budget) — both keep things simple and the product fresh.
- Single-use sachets beat multi-use tubes for beginners because the chemistry stays potent and hygienic.
- Before buying, verify the kit is sealed and in date, has a full ingredient list, includes specific timing instructions, and uses water-soluble glue.
- Patch test every solution 24 to 48 hours before your lift, and skip DIY entirely if you have eye infections, chronic dry eye, or severe cosmetic allergies.
- At-home kits cost a few dollars per lift versus $75–$150 per salon visit — the trade-off is the learning curve and a smaller safety margin on your first attempts.
Frequently Asked Questions
How many lash lifts do you get from one kit?
It depends on the format. Sachet-based kits typically provide 5 to 15 full applications (one pair of sachets per lift). Multi-use tube kits can stretch further but must be discarded within the manufacturer’s stated window after opening — usually a few weeks to a couple of months. Always divide the kit price by the application count to compare real value.
Are at-home lash lift kits safe?
They can be safe when used correctly: a sealed, in-date kit from a reputable seller, a patch test 24 to 48 hours beforehand, precise timing, and keeping all products on the lashes and out of the eyes. They are not risk-free — the solutions are real chemicals used very close to your eyes. Follow our lash lift aftercare guide after your lift, and stop and rinse immediately if anything stings or burns during the process.
Can I use a lash lift kit on someone else?
Technically yes, but working on another person’s eyes adds risk — you cannot feel what they feel, and timing mistakes affect someone else. Many regions also regulate who can perform lash services on others commercially. For personal use on yourself, take it slow; for others, consider training or leaving it to professionals.
Do I need a lash tint too?
Not necessarily, but it makes a noticeable difference on fair, blonde, or light-brown lashes, where a lift alone can look subtle. Dark lashes often look dramatic with the lift alone. Combo kits that include tint are convenient, but remember to patch test the tint separately from the lift solutions.
What’s the difference between cheap and expensive lash lift kits?
The core chemistry is similar across price points. What you pay for is completeness (multiple shield sizes, tint included), format (fresh sachets vs. oxidizing tubes), instruction quality, and brand accountability (full ingredient lists, batch dates, customer support). A mid-range complete kit is the sweet spot for most beginners.
How long does an unopened lash lift kit last?
Check the expiry date on the box — typically 1 to 2 years from manufacture when stored sealed in a cool, dry place. Once opened, sachets are single-use, and multi-use tubes must be discarded within the period stated on the packaging. Never use expired lifting lotion; it processes unpredictably and can under- or over-process without warning.
Love this? Pin it for later!