How to Apply Winged Eyeliner for Beginners: Easy Step-by-Step
The winged eyeliner look — that sharp little flick at the outer corner — has survived every makeup trend cycle for a reason. It lifts the eye, makes lashes look fuller, and works with everything from bare skin to a full smoky eye. It also has a reputation for being the hardest technique in makeup, which keeps plenty of beginners from ever trying.
Here is the good news: winged liner is a learnable sequence of small steps, not a single feat of hand-eye coordination. With the right formula, a couple of beginner-friendly tricks (including the famous tape method), and a realistic fix-it plan for when wings go uneven, most people get a wearable wing within a couple of weeks of practice.
If you haven’t chosen your liner formula yet, start with [the complete eyeliner guide for beginners → eyeliner-guide-for-beginners], which compares pencil, gel, and liquid and helps you pick the right starting point. This tutorial assumes you have a liner in hand and want the wing.
Key Takeaways
- Gel liner with an angled brush or a felt-tip liquid pen are the easiest formulas for learning wings.
- Always draw the wing with your eyes open, looking straight into the mirror.
- The tape trick gives beginners a crisp edge while they build freehand confidence.
- Build wings in short strokes and small shapes — never attempt the whole wing in one line.
- Uneven wings are almost always fixable with a pointed cotton swab; you rarely need to start over.
- Wing angle and length should follow your eye shape — especially for hooded or downturned eyes.
- Setting the wing with matching eyeshadow keeps it sharp all day.
What You’ll Need
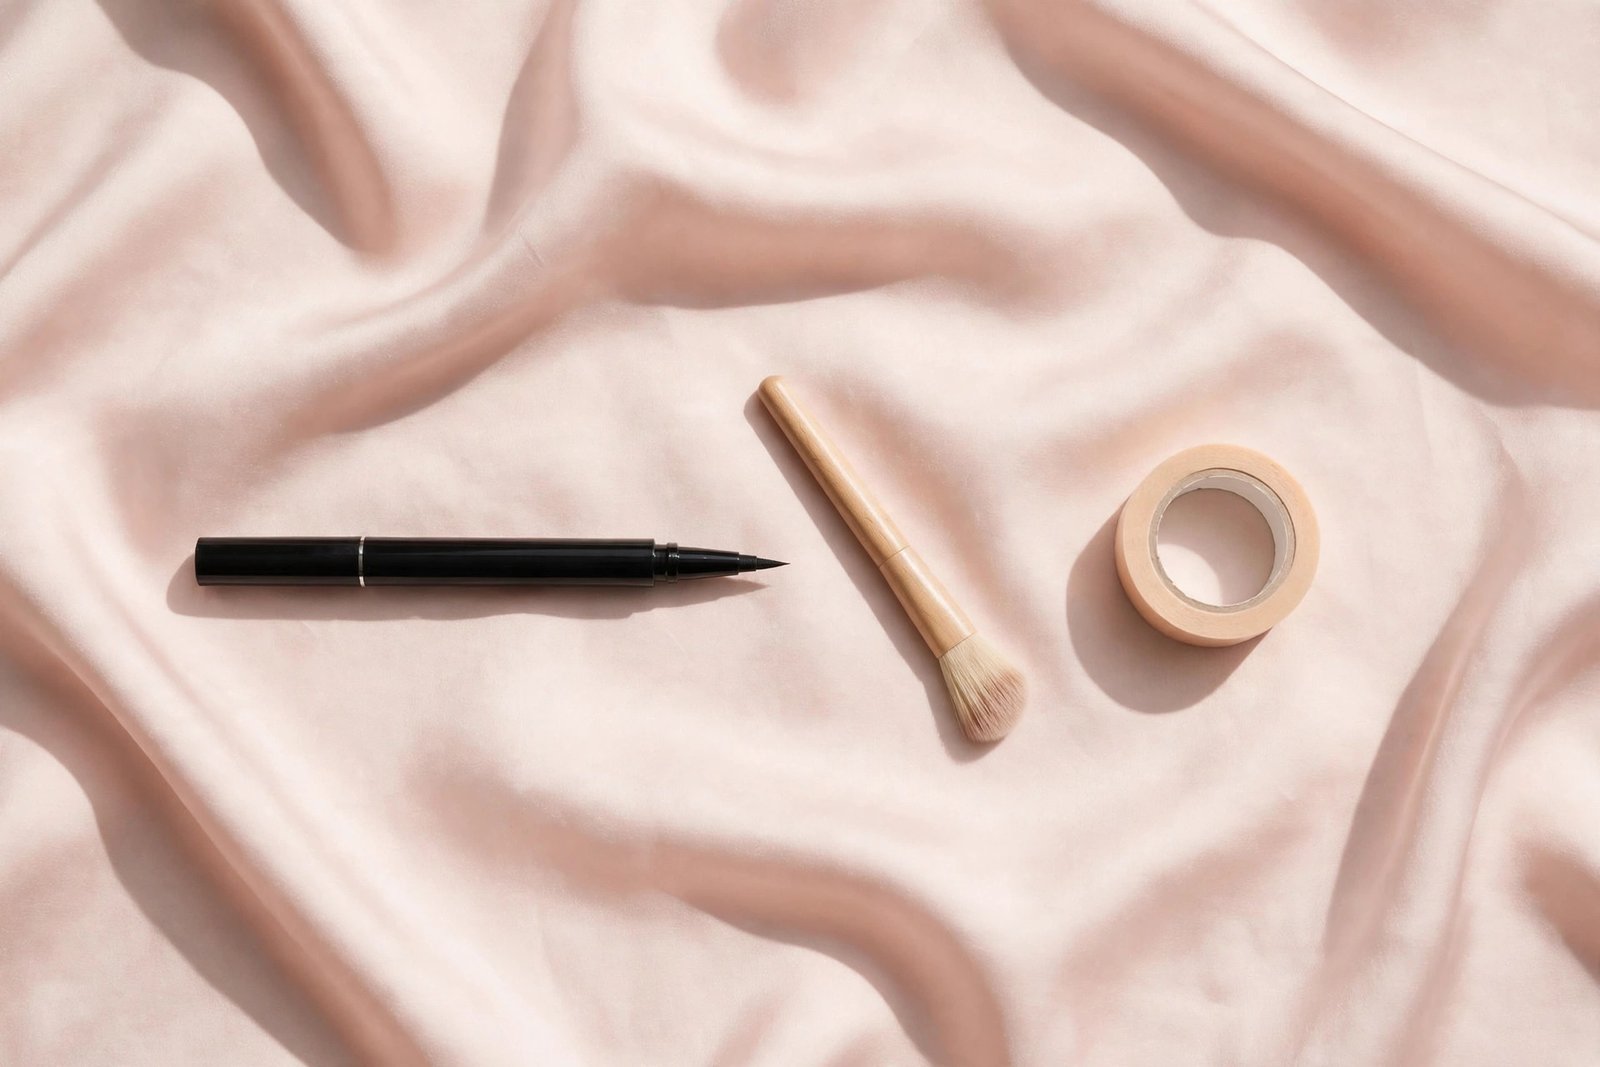
You don’t need a full kit. For learning wings, gather:
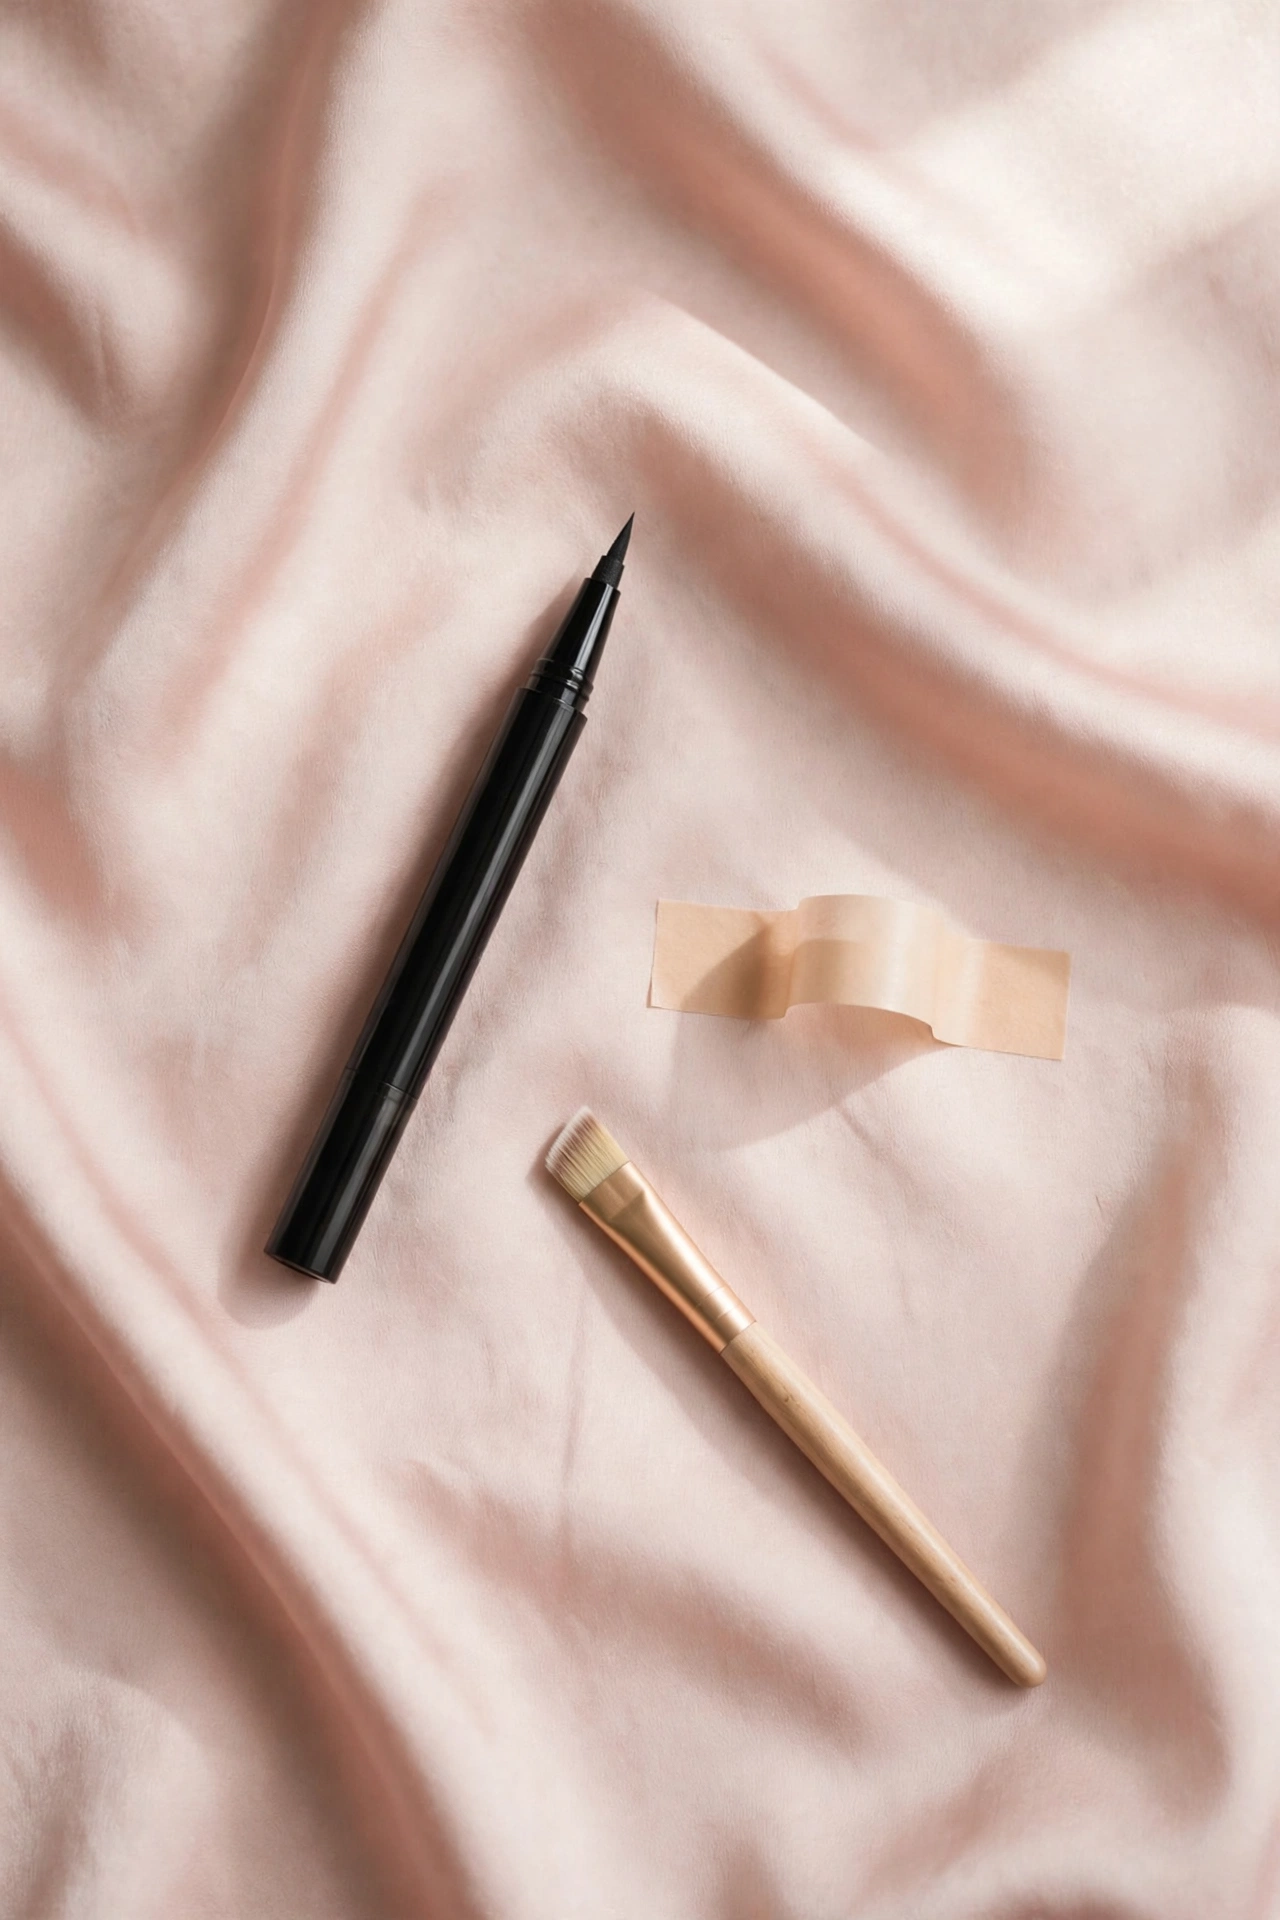
- Your liner: a gel liner pot with a thin angled brush, or a felt-tip liquid pen. Both give you the control a wing needs. (Pencil can work for a soft, smudged wing, but crisp wings need gel or liquid.)
- Tape or a card: regular Scotch tape, a business card, or the edge of a spoon — anything with a straight edge for the tape trick.
- Pointed cotton swabs: the single most important wing tool. Dip one in micellar water or makeup remover for instant, precise corrections.
- Concealer: for carving a razor-sharp edge under the wing once you’re happy with the shape.
- A handheld mirror: lets you look down into it with eyes open, which flattens the lid naturally.
Rest your elbow on a table and brace your pinky against your cheek before you start. A stable hand matters more than an expensive liner.
The 7-Step Winged Eyeliner Method
Work one eye at a time, but check both eyes in the mirror frequently — wings are judged with eyes open, so keep checking that view.
Step 1: Prep the lid. Clean, dry, primed lids. If you skip this, the wing will skip, drag, or transfer. A thin layer of eyeshadow primer or concealer set with powder gives the liner something to grip.
Step 2: Map the wing angle. Look straight into the mirror. Imagine a line extending from your outer corner toward the tail end of your eyebrow — that is your wing’s angle. For most eyes, following the upward angle of the lower lash line gives the most natural lift.
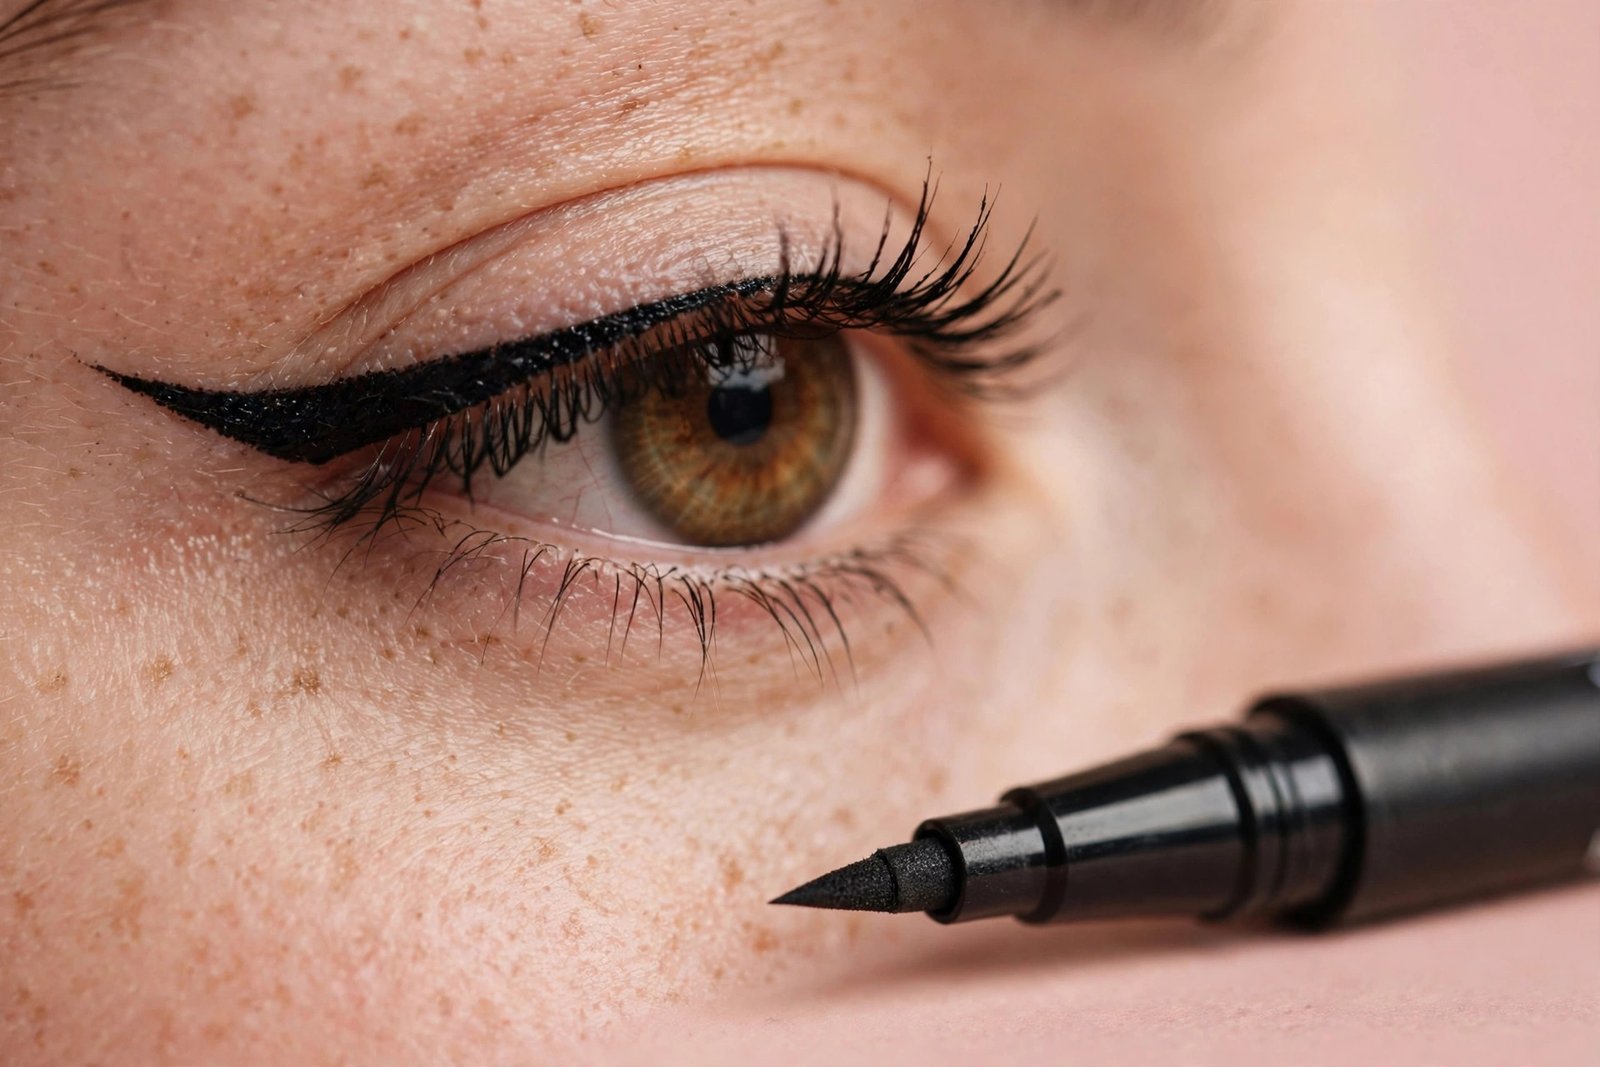
Step 3: Draw the wing’s outer edge. Starting at the outer corner, draw a short flick outward along your mapped angle. Keep it short at first — you can always extend it. This single line is the wing’s most visible edge, so take your time.
Step 4: Connect back to the lash line. From the tip of your flick, draw a line back down to the middle of your upper lash line. You have now made a small, skinny triangle. Don’t worry if it looks rough — the shape matters more than the smoothness right now.
Step 5: Fill in the triangle. Fill the triangle with liner. Small, controlled strokes.
Step 6: Line the rest of the lash line. From where the triangle meets the lash line, draw along the upper lashes toward the inner corner, keeping the line thin near the inner corner and letting it thicken slightly as it reaches the wing. Thin-to-thick is what makes a wing look professional rather than stamped on.
Step 7: Clean and sharpen. Dip a pointed cotton swab in micellar water and tidy the wing’s lower edge. For an ultra-crisp finish, run a thin line of concealer just under the wing and blend the outer edge — this “carves” a sharp boundary that makes even a slightly wobbly wing look precise.
The Tape Trick (Beginner’s Best Friend)
If freehand wings feel impossible, the tape trick removes the hardest part — the straight edge:
- Cut a small piece of regular tape (about an inch). Stick it to the back of your hand once or twice to reduce the tack — full-strength tape tugs delicate eye skin.
- Place it from your outer corner angling up toward the tail of your brow, following the lower-lash-line angle.
- Draw your wing with the tape as a stencil edge — the liner stops at the tape, giving you a perfectly straight lower edge.
- Peel the tape off gently, pulling upward and outward.
- Connect the wing to your lash line and fill in as in the steps above.
Makeup artists use this trick on clients regularly — it is not cheating, it is a tool. As your hand control improves, you will need it less, but there is no deadline for that.
The Dot-and-Connect Method
An alternative for shaky hands: instead of drawing lines, stamp a series of tiny dots along the path your wing should take — one at the flick tip, a few along the lower edge, a few along the lash line. Then connect the dots with short strokes. Dots are easier to place accurately than lines, and connecting them is less intimidating than drawing freehand. This method is especially helpful when learning with liquid pen liners.
How to Fix Uneven Wings (Without Starting Over)
Uneven wings are the number one beginner frustration, and the fix is almost never “remove everything and restart.” Try these in order:
- The cotton swab rescue: Dip a pointed swab in micellar water and shave down the thicker or longer wing to match the other. Removing liner precisely is easier than adding it.
- Thicken the thinner one: If one wing is noticeably thinner, it is usually easier to build up the thinner wing to match than to shrink the thicker one.
- Extend both slightly: A slightly longer wing on both sides can balance out minor angle differences — the eye reads the overall shape, not millimeter symmetry.
- Check with eyes open: Wings drawn with eyes closed often look uneven when open. Always do your final symmetry check looking straight into the mirror with a neutral expression.
- Know when to stop: Chasing perfect symmetry usually makes things worse. Step back from the mirror — if the wings look even at arm’s length, they are even enough. Nobody inspects your wings from six inches away.
Winged Liner for Your Eye Shape
Wing placement is not one-size-fits-all:
- Hooded eyes: The fold can swallow a standard wing. Draw with eyes open, keep the wing shorter and angle it more outward than upward, and use a waterproof formula since the fold transfers liner. The full playbook is in [the best eyeliner for hooded eyes guide → best-eyeliner-for-hooded-eyes].
- Downturned eyes: Angle the wing more steeply upward than feels natural — this counteracts the downward outer corner and lifts the eye.
- Round eyes: Keep the wing more horizontal to elongate; a sharply upward wing can exaggerate roundness.
- Deep-set eyes: A slightly thicker wing brings the eyes forward; thin wings can disappear into the socket shadow.
- Monolids: A straighter, slightly thicker wing stays visible when the eyes are open; very upward-angled wings can look disconnected from the lash line.
- Almond and upturned eyes: Follow the natural upward angle of the outer corner — the wing practically draws itself.
Keep Your Wings Sharp All Day
A beautiful wing that smudges into a gray blur by 2pm is a hollow victory. Three habits keep wings crisp:
- Set the wing. After the liner dries, press a matching eyeshadow (black shadow over black liner) along the wing with a small brush. The powder locks the liner in place and absorbs oil through the day.
- Go waterproof. On oily lids or in humidity, waterproof gel or liquid formulas dramatically outlast standard ones.
- Prime first. Everything adheres better to a primed lid. The full anti-smudge system — primers, setting techniques, and formula picks — is covered in [how to stop eyeliner smudging → how-to-stop-eyeliner-smudging].
Frequently Asked Questions
How long does it take to learn winged eyeliner?
Most beginners get a wearable wing within two to three weeks of practicing a few times a week. The hand control is a motor skill — it genuinely clicks one day. Practicing the motions on the back of your hand on makeup-free days speeds things up without the pressure of your face.
Should the wings point up or out?
Up and out — the classic angle follows the upward line of your lower lash line toward the brow tail. But adjust for your eye shape: hooded eyes do better with a more outward angle, downturned eyes with a steeper upward angle. The mirror test with eyes open is the final judge.
Why does my winged eyeliner always smudge?
The usual culprits are unprimed lids, non-waterproof formulas, and (for hooded eyes) the lid fold transferring liner. Prime, switch to waterproof, and set the wing with matching shadow. If smudging is your main battle, [this guide → how-to-stop-eyeliner-smudging] covers twelve fixes.
Can I do winged eyeliner with a pencil?
You can do a soft, smudged wing with a pencil — draw the flick, then blend it slightly for a smoky effect. But a crisp, sharp wing needs gel or liquid. Pencil wings tend to look smoky rather than graphic, which is a legitimate style choice, just a different look.
What is the easiest winged eyeliner for beginners to buy?
A felt-tip liquid pen is the easiest format to control because you hold it like a pen. Look for one with a firm, fine tip rather than a floppy brush tip — firm tips forgive shaky hands better. Pair it with pointed cotton swabs and micellar water for corrections.
Winged liner looks like talent but behaves like practice. Start with the tape trick, build the wing in small shapes instead of single strokes, and fix mistakes with a cotton swab instead of starting over. Within a few weeks, the wing you once thought required a “steady hand” will just be part of your routine — and [the main eyeliner guide → eyeliner-guide-for-beginners] is there whenever you want to add tightlining or smoky techniques to your repertoire.
complete eyeliner guide for beginners
stop eyeliner from smudging
best eyeliner for hooded eyes
tightlining vs waterline eyeliner
Love this? Pin it for later!