How to Do Gel Nails at Home: Beginner’s Step-by-Step Guide
A salon gel manicure can cost $40–$70 every two to three weeks. Do the math over a year, and that glossy, chip-free finish adds up fast. The good news: learning how to do gel nails at home is entirely achievable for a beginner. With the right kit, careful prep, and a little patience, an at-home gel manicure can look every bit as polished as a salon visit — and cost a fraction of the price per set.
This guide covers everything a beginner needs: the exact kit checklist, nail prep that prevents lifting, how to apply each coat without flooding the cuticles, curing times for LED and UV lamps, the mistakes that cause peeling, aftercare that extends wear, and safety notes worth knowing before you start.
What Is Gel Polish (and How Is It Different from Regular Polish)?
Gel polish looks like regular nail polish in the bottle, but its chemistry is completely different. Traditional polish dries through evaporation — the solvents in the formula evaporate into the air, leaving behind a hard film. Gel polish, on the other hand, cures (hardens) under UV or LED light through a chemical reaction called polymerization. Until it hits that light, it stays wet indefinitely, which means no smudging while you work — but it also means a lamp is non-negotiable.
Here’s how gel polish compares to the other common options:
| Regular Polish | Gel Polish | Acrylics | |
|---|---|---|---|
| How it hardens | Air-dries (evaporation) | Cures under UV/LED light | Chemical reaction (liquid + powder) |
| Typical wear | 3–7 days | 2–3 weeks | 3–4 weeks |
| Finish | Glossy, softens with wear | High-gloss, hard shell | Very hard, thick |
| Removal | Regular remover | Soak-off with acetone | File down + soak |
| DIY difficulty | Easy | Beginner-friendly with a lamp | Hard — best left to pros |
Gel polish sits in the sweet spot for home use: dramatically more durable than regular polish, but far simpler and safer to apply than acrylics. There is no sculpting, no monomer liquid with strong fumes, and no professional certification needed — just a lamp and good technique.
A note on “gel” confusion: Products labeled “gel-effect” polish are regular polish with a glossy finish — they air-dry and need no lamp. True gel polish always requires UV or LED curing.
What You Need: The Complete At-Home Gel Kit Checklist
Before buying anything, it helps to see the full picture. A beginner kit breaks into five groups: the lamp, the polish system, prep tools, finishing supplies, and cleanup essentials.
1. The lamp
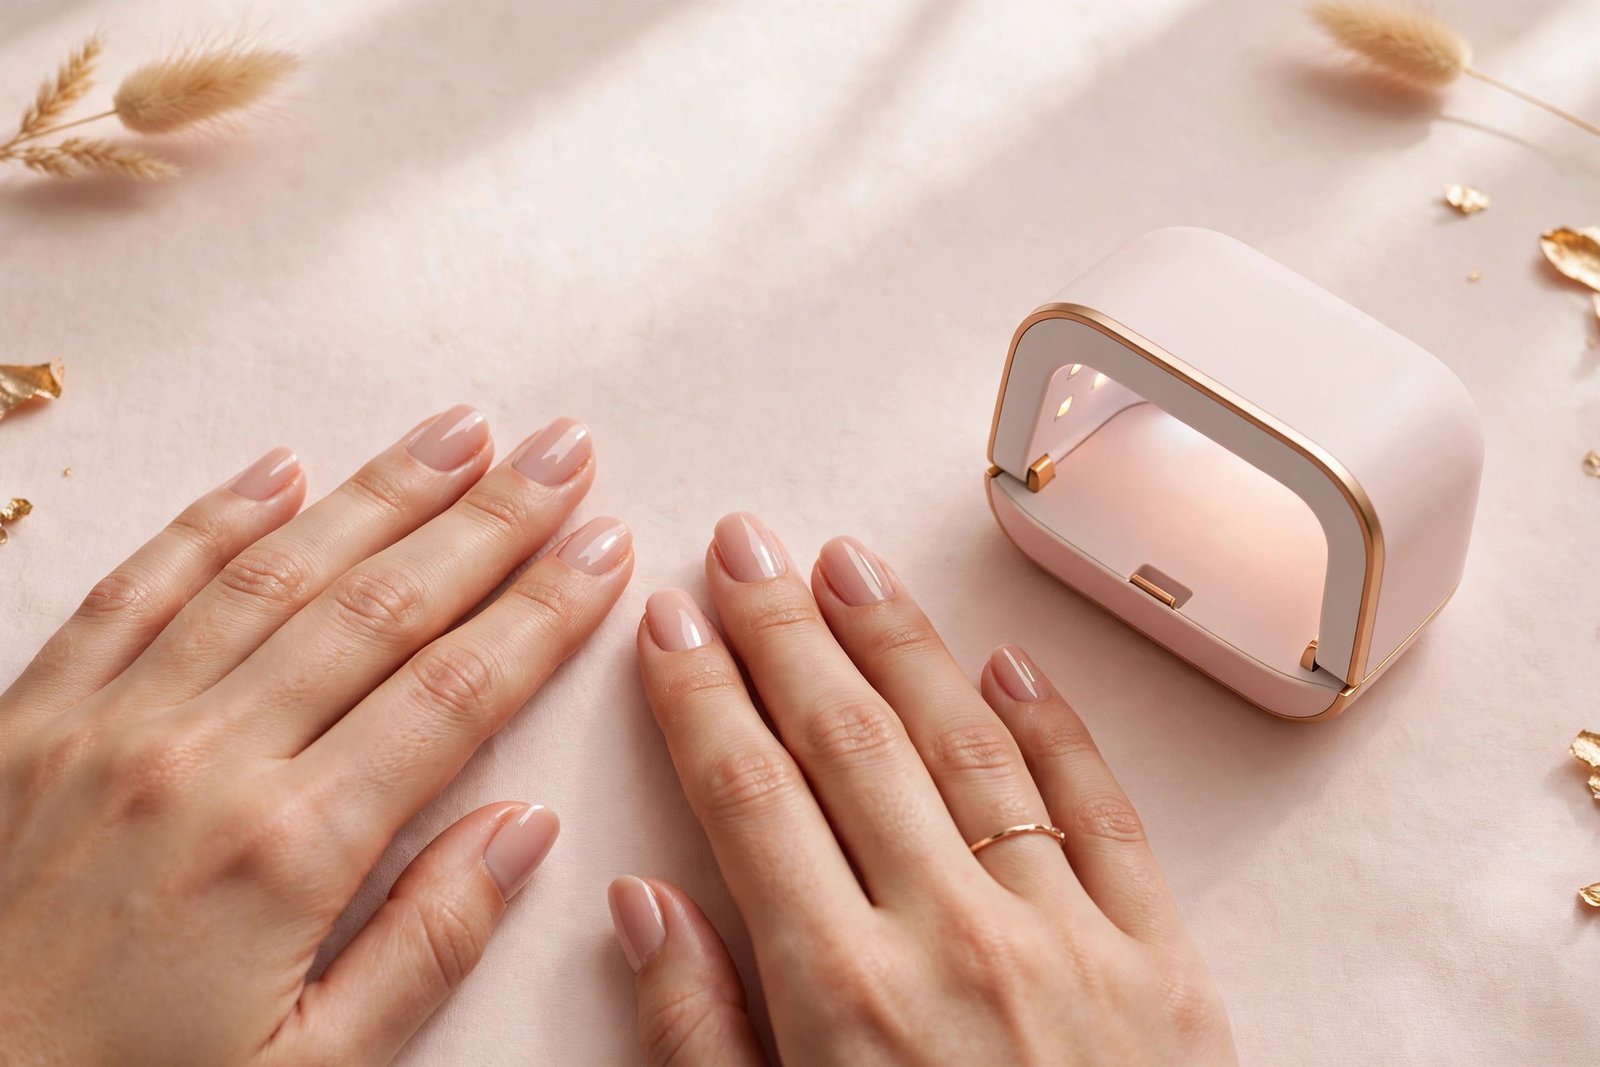
- LED or UV nail lamp — LED lamps cure faster (typically 30–60 seconds per coat) and last longer than UV bulb lamps. Look for at least 36W for even curing; underpowered lamps are a common cause of wrinkling and premature peeling. Most starter kits include one.
2. The polish system (buy these together as a set if possible)
- Gel base coat — the foundation layer that bonds the color to the nail. Skipping it is one of the fastest routes to peeling.
- Gel color polish — start with 2–3 shades you love. Sheer nudes and soft pinks are the most forgiving for beginners because small imperfections show less.
- Gel top coat — seals everything in and creates the signature glassy shine. No-wipe top coats skip the final sticky-layer cleanup step, which makes them ideal for beginners.
- Nail primer or bonder (optional but helpful) — an acid-free primer applied before the base coat can improve adhesion, especially on nails that tend to lift.
3. Prep tools
- Nail file (180-grit for natural nails — avoid coarse files that thin the nail)
- Buffer block — for gently removing shine from the nail surface
- Cuticle pusher (wooden orangewood sticks are gentlest for beginners; metal pushers work but need a light hand)
- Cuticle nipper — for trimming hangnails only, not living cuticle (more on this below)
- Nail clippers — if you want to shorten before shaping
4. Prep and finishing liquids
- Nail dehydrator or 90%+ isopropyl alcohol — removes oils and moisture from the nail plate so polish adheres properly
- Lint-free nail wipes — regular cotton balls leave fibers that get trapped under gel; lint-free wipes are a small upgrade that prevents a common beginner frustration
- Cuticle oil — for aftercare once the manicure is done
5. Cleanup and safety
- Small cleanup brush or orangewood stick + a little alcohol — for wiping away polish that touches skin before curing
- Sunscreen or UV-protective gloves — for the hands during curing (see the safety section)
What a starter kit costs: Decent beginner gel kits with a lamp, base, top, a few colors, and basic tools typically run $30–$60. That’s roughly the price of one salon visit — and the lamp and tools last for dozens of manicures. For more on keeping the nails underneath healthy between sets, a solid at-home nail care routine for beginners is worth building alongside your gel skills.
How to Choose Your Gel Products
Not all gel polishes behave the same, and a few buying decisions make the learning curve much gentler.
Stick to one brand’s system at first. Base coat, color, and top coat are formulated to work together. Mixing brands sometimes works, but incompatible formulas are a real cause of lifting and wrinkling. Once you’re comfortable, experiment freely — but learn on a matched set.
Soak-off vs. hard gel. Beginners should buy polish explicitly labeled “soak-off gel polish.” Hard gels (builder gels) are thicker, used for extensions and overlays, and can’t be removed by soaking — they must be filed off. Soak-off gel removes with acetone and patience, which is far friendlier for home use.
Look for “3-free” or higher formulations. This refers to polishes made without certain controversial ingredients (formaldehyde, toluene, DBP, and beyond). Most reputable gel brands now offer 9-free or 10-free formulas. It doesn’t change wear time, but it’s a reasonable quality signal.
Lamp wattage matters more than brand. A 48W LED lamp cures a coat in about 30 seconds; a weak 6W travel lamp may need 2+ minutes per coat and can leave gel under-cured.
Step 1: Nail Prep (The Step That Decides Everything)
Ask any nail technician what separates a manicure that lasts three weeks from one that peels in three days, and the answer is almost always the same: prep. Gel adheres to a clean, dry, lightly roughened nail — and refuses to stick to anything else.
1. Shape the nails
Start with dry nails (filing wet nails causes splitting). File in one direction — not sawing back and forth — to shape the free edge. For beginners, a soft squoval (square with rounded corners) or oval is the most durable shape; sharp square corners and stilettos catch on everything and chip first. Keep the length moderate for your first few sets; shorter nails are more forgiving while you learn.
2. Push back the cuticles
Soak fingertips in warm water for 2–3 minutes, or apply a drop of cuticle remover to soften the area. Then gently push the cuticle back with an orangewood stick or cuticle pusher. The goal is to clear the nail plate — gel that cures on top of cuticle skin will lift as the skin moves, so the polish needs a clean runway right up to (but not onto) the cuticle line.
Do not cut living cuticle. The cuticle is the seal that protects the nail matrix from bacteria. Trim only hangnails or loose, lifted bits of dead skin with a nipper. If you’re unsure what’s safe to trim, this guide on whether you should cut your cuticles breaks down the do’s and don’ts in detail.
3. Remove shine from the nail plate
Using the fine side of a buffer block, lightly buff the entire nail surface until the natural shine is gone. You’re not trying to thin the nail — just a few gentle passes to create microscopic texture the gel can grip. Over-buffing weakens nails and is a common cause of post-gel damage, so keep it light: if the nail looks matte, you’re done.
4. Dehydrate
Wipe each nail with a lint-free wipe dampened with 90%+ isopropyl alcohol or a dedicated nail dehydrator. This strips away the natural oils and moisture that prevent adhesion. Don’t touch the nail surface with your fingers after this step — fingertips carry oil right back onto the plate. If your nails are naturally oily, an acid-free primer applied now adds extra grip.
Prep checkpoint: Your nails should look matte, feel completely dry, and have a visible gap between the cuticle line and where polish will start. If anything looks shiny or feels tacky, re-wipe with alcohol.
Step 2: Apply the Base Coat
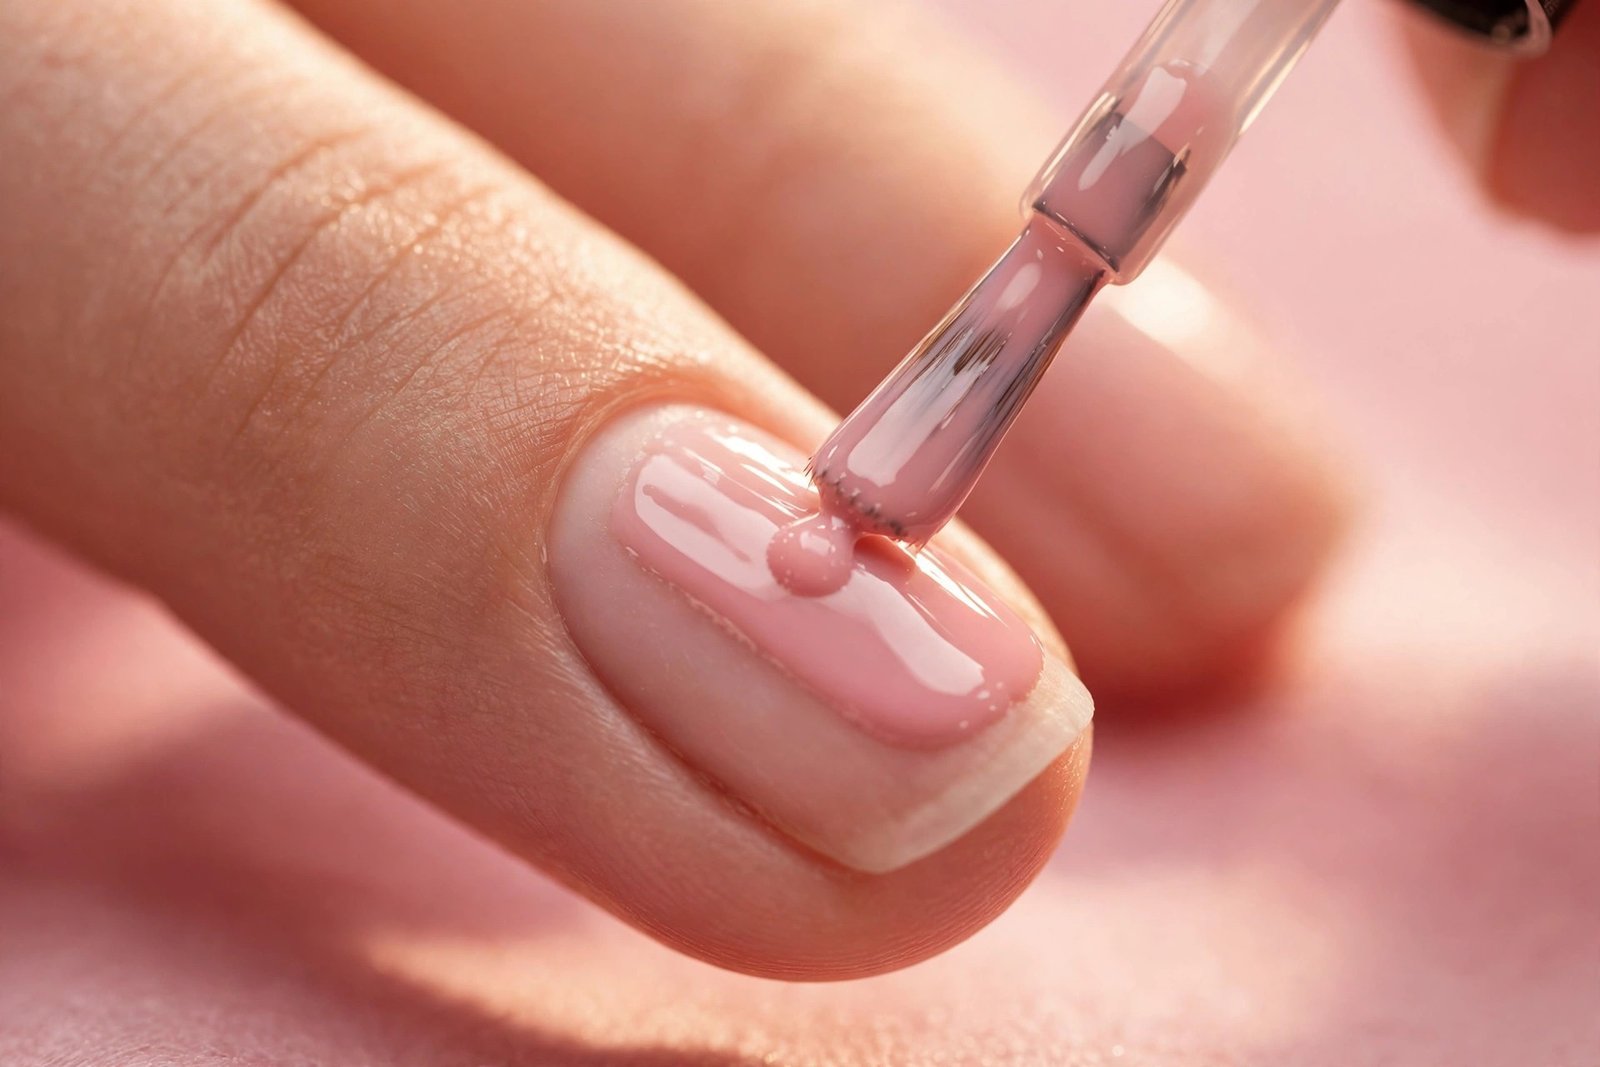
The base coat is the adhesive layer of the whole system — treat it with respect.
- Apply a thin layer to one hand at a time (four fingers, then the thumb separately — thumbs cure at an angle, so they need their own turn in the lamp).
- Keep it thin. Gel self-levels, so a thin coat flows into a smooth layer on its own. Thick coats cure unevenly and wrinkle.
- Cap the free edge. Run the brush lightly along the tip of the nail — this “seals” the edge and dramatically reduces tip wear and chipping.
- Stay off the skin. Leave a hairline gap (about 1mm) between the polish and the cuticle/sidewalls. Gel that touches skin won’t bond to the nail there, and it will lift and peel from that spot. If you flood a cuticle, wipe it away with an orangewood stick or cleanup brush dipped in alcohol before curing.
- Cure fully. LED: 30–60 seconds. UV: 60–120 seconds. Follow your specific product’s instructions — under-curing is worse than over-curing.
After curing, the base coat will have a tacky “inhibition layer” — this is normal and intentional. It helps the next coat bond. Don’t wipe it off.
Step 3: Apply the Color Coats
Color is where beginners either relax or panic. The rules are the same as the base coat, with one addition: two thin coats always beat one thick coat.
- First color coat: Apply thinly, cap the free edge, keep the cuticle gap, and cure fully.
- Second color coat: Same process. This coat builds the true color depth — most gels reach full opacity here. Dark or highly pigmented shades may need a third thin coat.
- Check between coats. If a coat looks streaky after the first layer, don’t add more product to fix it — the second thin coat will even it out. Adding extra gel to “fix” streaks mid-coat is how thick, wrinkly layers happen.
Pro tip for shaky hands: Brace the pinky of your polishing hand against the table or against the finger you’re painting. Work slowly — uncured gel won’t dry on you, so there’s no rush. Rest the hand being painted flat on the table rather than holding it in the air.
Working with both hands: Paint your dominant hand first if you’re right-handed painting your left, then switch. Most beginners find their non-dominant hand looks messier — that’s normal, and it improves fast with practice. Keep the cleanup brush handy for that hand.
Step 4: Apply the Top Coat
The top coat is what gives gel its famous glass-like shine and protects the color underneath.
- Apply one thin-to-medium layer — slightly more generous than the color coats is fine, since this is the protective shell.
- Cap the free edge thoroughly. This is your last chance to seal the tip.
- Keep the cuticle gap, as always.
- Cure fully — give the top coat the full recommended time, since it’s the thickest layer.
- If using a no-wipe top coat: you’re done. Admire your work.
- If using a standard top coat: after curing, wipe each nail with a lint-free wipe dampened with alcohol to remove the sticky inhibition layer. The shine appears as you wipe.
Finish with a drop of cuticle oil massaged around each nail (not on the nail surface — just the surrounding skin). Your manicure is complete.
Curing Times: LED vs. UV
Curing is not drying — it’s a chemical reaction that needs the right light, for the right amount of time, at the right distance. Here’s the general guide:
| Coat | LED lamp (36–48W) | UV lamp (36W) |
|---|---|---|
| Base coat | 30–60 seconds | 60–120 seconds |
| Each color coat | 30–60 seconds | 60–120 seconds |
| Top coat | 30–60 seconds | 60–120 seconds |
Always follow your specific product’s instructions first — some formulas and lamps have their own timing, and the manufacturer’s numbers win over any general chart.
A few curing rules that prevent most problems:
- Place the hand flat and centered in the lamp. Fingers curled or pressed against the lamp’s edge cure unevenly — the thumb especially needs to lie flat and may need its own curing turn.
- Don’t pull your hand out early to check. Interrupting the cure and re-curing can cause wrinkling. Set a timer and wait.
- Dark colors need the full time. Heavily pigmented shades absorb more light energy at the surface, so the layers beneath need every second of the recommended cure.
- Replace aging bulbs. UV lamp bulbs lose intensity over time (typically after a few months of regular use) even though they still light up. If manicures that used to cure fine start wrinkling, tired bulbs are a prime suspect. LED lamps last far longer.
8 Common Beginner Mistakes That Cause Lifting and Peeling
Most at-home gel failures trace back to a short list of fixable errors. Run through this list whenever a manicure doesn’t last:
1. Skipping or rushing nail prep
Oils, moisture, and shine on the nail plate are the #1 cause of lifting. If gel peels off in full sheets — especially within the first few days — prep is almost always the culprit. Revisit the dehydrate step and make sure cuticles are fully pushed back.
2. Applying coats too thick
Thick gel cures on the surface while staying soft underneath, leading to wrinkling, bubbling, and peeling. Every coat should be thin enough that you can faintly see through the first color layer. Two thin coats beat one thick coat every time.
3. Flooding the cuticles and sidewalls
Gel cured onto skin isn’t bonded to the nail — it creates a lip that catches, lifts, and eventually peels the whole nail’s polish off with it. That 1mm gap matters. Clean up any flooding with alcohol before curing, because once it’s cured, it’s locked in. Lifting that starts specifically at the cuticle line has its own set of causes, covered in why gel nails lift at the cuticle.
4. Under-curing
Pulling the hand out early, using a weak lamp, or curing dark colors for the same time as sheers leaves gel partially uncured underneath. It may look fine on day one, then wrinkle, dull, or peel within days. When in doubt, cure the full recommended time.
5. Touching the nail after dehydrating
Fingertips deposit oil instantly. Once nails are prepped and dehydrated, handle fingers by the sides and keep them off the nail surface until the base coat is on.
6. Not capping the free edge
The tip of the nail takes the most abuse — typing, tapping, opening things. An uncapped edge is an open door for water and wear to creep under the gel. Seal every coat’s edge, especially the top coat.
7. Using old or separated polish
Gel polish that’s thick, stringy, or separated won’t cure properly. Store bottles upright, away from sunlight and away from the lamp (ambient UV from a nearby lamp can thicken gel in the bottle over time). Tightly closed, most gels last 2–3 years.
8. Peeling off old gel instead of removing it properly
This one deserves emphasis: peeling gel off by force rips up layers of the natural nail with it, leaving nails thin, weak, and unable to hold the next manicure. Damaged nails lift faster, creating a vicious cycle. For a full breakdown of what goes wrong when gel peels — and how to fix each cause — see why gel nails peel off and how to fix it.
Aftercare: How to Make Your Gel Manicure Last
The manicure doesn’t end when the top coat cures. Daily habits decide whether you get 10 days or 21:
- Oil the cuticles daily. Cuticle oil keeps the surrounding skin flexible so it doesn’t pull away from the polish edge and start lifting. Jojoba-based oils absorb well without greasiness.
- Wear gloves for dishes and cleaning. Prolonged hot water and harsh detergents soften gel and break down adhesion. This single habit adds days to wear time.
- Don’t use nails as tools. Opening cans, scraping stickers, and prying things open chips the free edge — the exact spot you carefully capped.
- Moisturize hands regularly. Dry skin shrinks and pulls at the polish edges. Hand cream plus cuticle oil is the combo.
- Avoid picking at lifted edges. A tiny lift becomes a full peel the moment it’s picked at. If an edge lifts, file it smooth, seal with a dab of top coat, and cure — or remove and redo that nail properly.
- Give nails breaks between sets. After 2–3 consecutive gel manicures, a week of bare nails with daily oil lets the nail plate rehydrate. Constant back-to-back sets without breaks are how nails become thin and brittle over time.
How Long Do At-Home Gel Nails Last?
With good prep and aftercare, an at-home gel manicure typically lasts 2 to 3 weeks — essentially the same as a salon gel manicure. Here’s what to realistically expect:
- Week 1: Fresh, glossy, chip-free. This is the honeymoon phase.
- Week 2: Still solid. You may notice slight growth at the cuticle and minor tip wear if you skip gloves for housework.
- Week 3: Visible outgrowth (about 2–3mm), possible minor lifting at a stress point. Time to plan removal.
When to remove rather than push further: If lifting appears — especially lifting that traps moisture underneath — remove the set rather than wearing it for another week. Water trapped under lifted gel creates a warm, damp environment where bacteria and fungus thrive. Two to three weeks is the sweet spot; stretching to four or five invites problems.
Growth rate matters too: nails grow about 3mm per month on average, so even a perfect manicure looks grown out after three weeks.
Safety Notes Worth Knowing
Gel nails are safe for most people when used correctly, but a few precautions matter — especially with repeated home use.
UV exposure from the lamp. Nail lamps emit UVA light. Exposure during a manicure is brief (a few minutes total), and research suggests the dose is low — but it’s still UV. Dermatologists recommend applying sunscreen to the hands 20–30 minutes before curing, or wearing fingerless UV-protective gloves during curing. This is cheap insurance you’ll thank yourself for in a decade.
Gel allergies are real and permanent. Some people develop an allergy to gel ingredients (often HEMA, a common monomer), usually from repeated skin contact with uncured gel — exactly what happens when cuticles get flooded and the gel isn’t cleaned up. Symptoms include itching, redness, and swelling around the nails. Once sensitized, the allergy is typically lifelong and can even cross-react with dental and medical adhesives. The prevention is simple: keep uncured gel off your skin, clean up floods before curing, and never cure gel that’s touching skin.
Ventilation. Gel products have mild fumes. Work in a ventilated room — an open window or a fan is enough. If a product smells strongly chemical, that’s a sign to improve airflow.
Know when to skip gel. Don’t apply gel over infected, injured, or severely damaged nails, and pause if you notice discoloration, persistent pain, or separation of the nail from the bed. Those warrant a dermatologist, not a manicure.
Pregnancy. There’s no strong evidence of harm, but ventilation matters more and minimizing chemical exposure is a reasonable conversation to have with a doctor.
How to Remove Gel Polish Safely
Removal is part of the skill, not an afterthought — and it’s where most nail damage actually happens. The short version: never peel, pick, or pry gel off. Forcible removal strips layers of keratin from the nail plate, which is the real reason people’s nails feel “ruined” after gel.
The safe method is the soak-off:
- Gently file the shiny top coat to break the seal (just enough to dull the gloss — don’t file into the color).
- Soak cotton pads in 100% acetone, place one on each nail, and wrap fingertips in foil for 10–15 minutes.
- The gel should crumble or slide off with gentle pressure from an orangewood stick. If it resists, re-wrap for another 5–10 minutes rather than scraping.
- Wash hands, then moisturize and oil generously — acetone is drying.
For the complete walkthrough with timing, troubleshooting stubborn spots, and post-removal recovery, follow how to remove gel nails at home without damaging nails. Plan your manicure schedule around removal: a set that goes on in 45 minutes needs a proper 20-minute removal, not a rushed peel.
Gel Polish vs. Other At-Home Options
Gel isn’t the only route to a long-lasting home manicure, and it’s worth knowing where it fits:
- Gel polish: 2–3 weeks of wear, needs a lamp and proper removal. Best for people who want maximum durability and don’t mind the process.
- Press-on nails: Instant length and designs with zero curing, lasting 1–2 weeks with good application. Better for occasional wear, events, or anyone who wants to avoid UV lamps and acetone soaks entirely. The full comparison — longevity, cost, damage risk, and which suits which lifestyle — is in press-on nails vs gel polish: which lasts longer.
- Regular polish: Simplest and cheapest, but 3–7 days of wear. Fine for frequent color changers.
- Dip powder: Very durable (3–4 weeks) but messier to apply at home and harder to remove than gel.
There’s no universally “best” option — only the best fit for how often you want to redo your nails, how much process you’re willing to learn, and how you feel about lamps and acetone.
Taking It Further: Simple Gel Designs for Beginners
Once the basic manicure is comfortable, gel’s long work time (it doesn’t dry until you cure it) makes it genuinely fun for simple nail art:
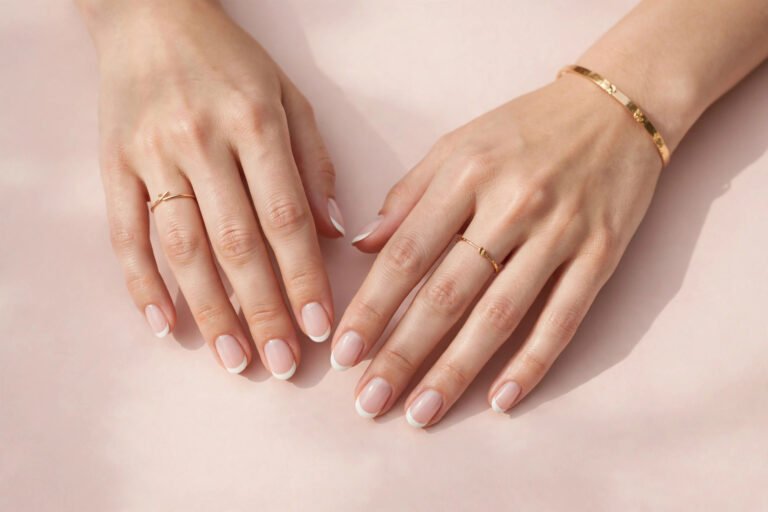
- French tips: The classic. Apply a sheer nude base, paint white tips with a thin brush or the polish brush wiped nearly clean, cure, then top coat. A full walkthrough is in french manicure at home step by step.
- Ombre: Sponge a second color onto the tips before curing for a gradient effect.
- Glitter accent: One glitter gel nail per hand is nearly foolproof — glitter hides every imperfection.
- Negative space: Leave parts of the nail bare (with just base and top coat) for modern, grow-out-friendly designs.
Frequently Asked Questions
Can beginners really do gel nails at home?
Yes — gel is one of the most beginner-friendly nail enhancements specifically because it doesn’t dry until you cure it. There’s no race against the clock like with acrylics or regular polish. The learning curve is mostly in the prep and in keeping coats thin. Most people produce a salon-credible result by their second or third set.
Why do my gel nails peel off after a few days?
Early peeling almost always comes down to prep (oils or moisture left on the nail plate), coats applied too thick, gel flooded onto the cuticles, or under-curing. Full sheets peeling off points to prep; peeling from the tips points to uncapped edges or nails used as tools; peeling from the cuticle points to flooding. Each cause has a specific fix — this troubleshooting guide covers all 7 causes.
Is the UV/LED lamp safe?
For typical manicure use, yes, with sensible precautions. The UVA dose from a few minutes of curing is low, but dermatologists still recommend sunscreen on the hands or UV-protective gloves during curing as a precaution — especially for people who do their nails every two weeks for years. LED lamps cure faster, which means less total exposure time than older UV lamps.
Do gel nails ruin your natural nails?
Gel polish itself doesn’t inherently damage nails — improper removal does. Peeling gel off forcibly strips keratin layers and is responsible for the vast majority of “gel ruined my nails” stories. Proper soak-off removal, gentle buffing (not aggressive filing), and breaks between sets keep nails healthy. If nails feel thin after removal, that’s a sign the removal was too aggressive, not that gel itself is the problem.
How many coats of gel color should I apply?
Two thin coats for most shades. Very sheer colors sometimes need three; highly pigmented dark shades are usually opaque in two. One thick coat is never the answer — it won’t cure through properly and will wrinkle or peel. Thin, even, fully cured: that’s the formula.
Can I do gel nails on short nails?
Absolutely — gel works beautifully on short nails, and shorter length is actually more durable since there’s less leverage on the free edge. Gel adds a protective hard layer that helps short nails grow without breaking. Just be extra careful with cuticle cleanup on small nail beds, where there’s less room for error.
Key Takeaways
- Gel polish cures under UV/LED light (it doesn’t air-dry), giving 2–3 weeks of chip-free wear — far longer than regular polish and simpler to apply than acrylics.
- A beginner kit needs five things: a 36W+ LED lamp, a matched base/color/top coat system, prep tools (file, buffer, cuticle pusher), alcohol and lint-free wipes, and cuticle oil.
- Nail prep decides the manicure: shape, push back cuticles (don’t cut living cuticle), lightly buff away shine, and dehydrate with alcohol — then don’t touch the nail surface.
- Apply every coat thin, cap the free edge, leave a 1mm gap at the cuticles, clean up any flooding before curing, and cure for the full recommended time.
- The most common causes of lifting and peeling are rushed prep, thick coats, flooded cuticles, and under-curing — all fixable with technique, not new products.
- Never peel gel off; soak it off with acetone to avoid damaging the nail plate.
- Daily cuticle oil, gloves for housework, and breaks between sets keep both the manicure and the natural nails underneath in good shape.
- Protect your skin during curing with sunscreen or UV gloves, keep uncured gel off your skin to avoid sensitization, and work in a ventilated space.
Love this? Pin it for later!