Glazed Donut Skin Makeup: Get the Viral Glow Look
Glazed donut skin — that ultra-dewy, light-reflecting, fresh-out-of-a-facial glow — went viral for a reason. It’s the opposite of the flat, matte Instagram makeup of the 2010s, and it photographs beautifully. But there’s a fine line between “glazed” and “greasy,” and most beginners cross it by piling on shimmer products in the wrong order.
This tutorial breaks down glazed donut skin makeup step by step: the layering order that builds glow from underneath, the formulas that glaze without grease, and the finish tricks that keep the look intentional all day. No filter required.
- Key Takeaways:
- Glazed donut skin is built in layers: hydrating skincare → light base → cream glow products → strategic highlighter.
- Cream and liquid formulas create the glaze; powders are for the T-zone only.
- The layering ORDER matters more than the products — wrong order causes pilling and grease.
- The difference between glazed and greasy is control: glow on the high points, matte on the center of the face.
- This look works on most skin types with formula adjustments.
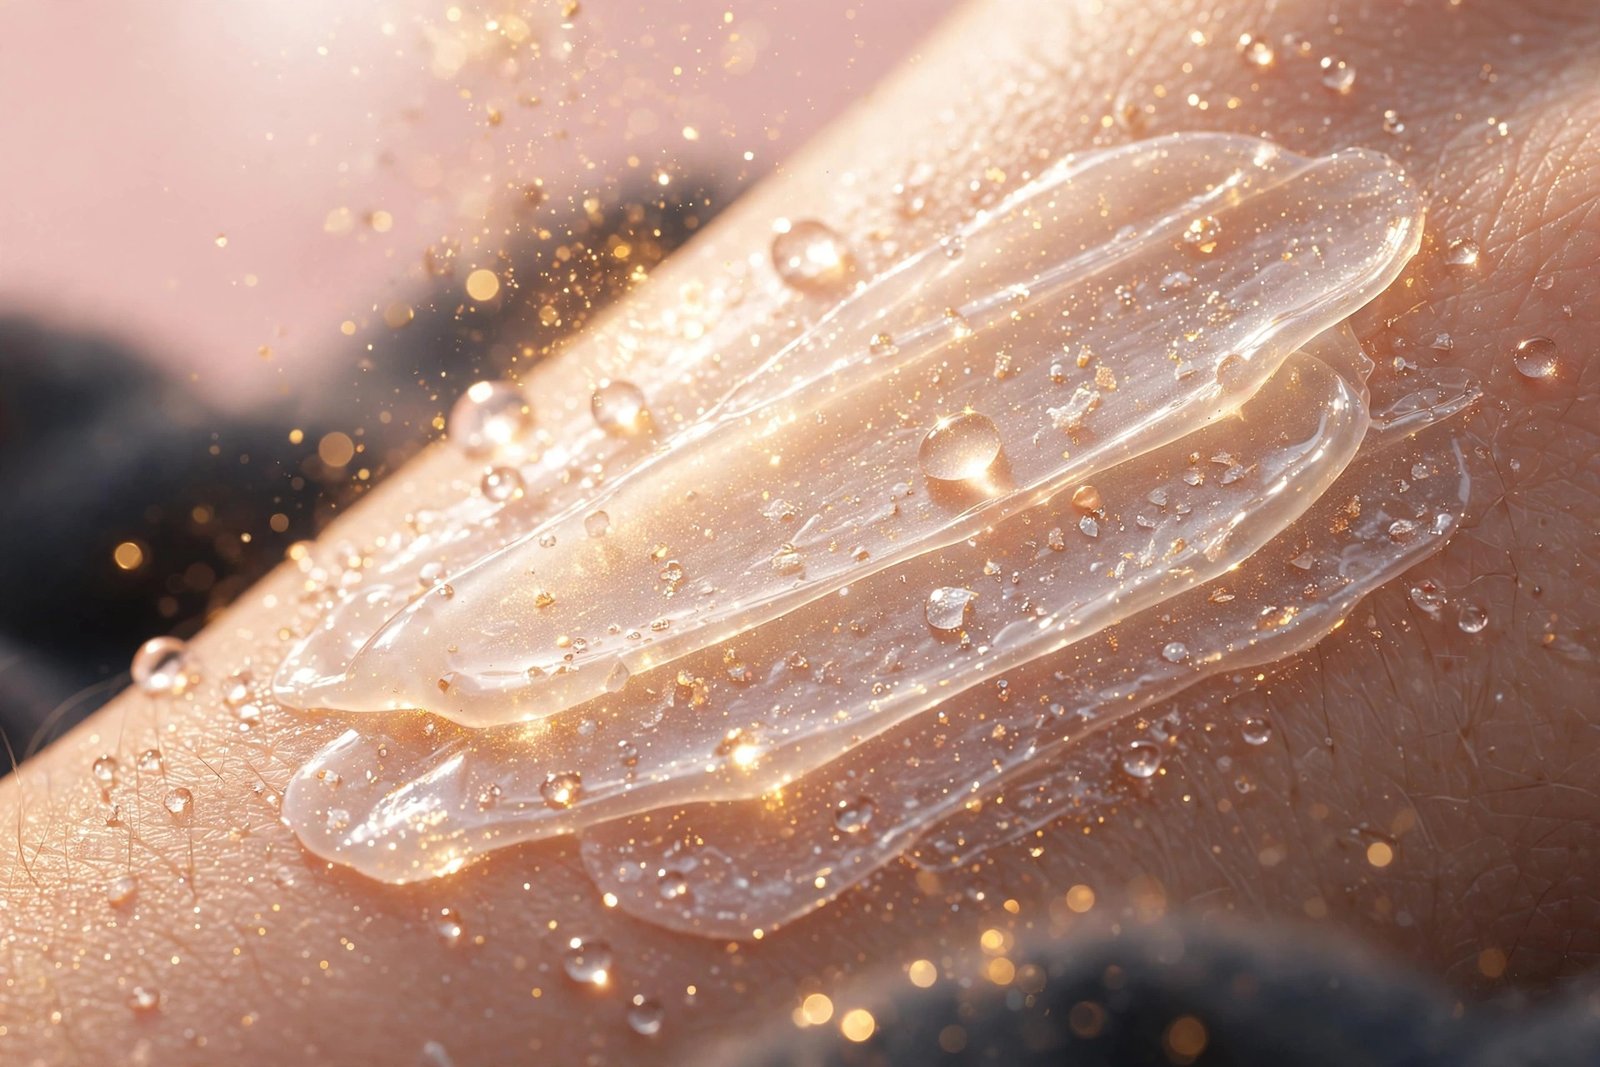
What “Glazed Donut Skin” Actually Means
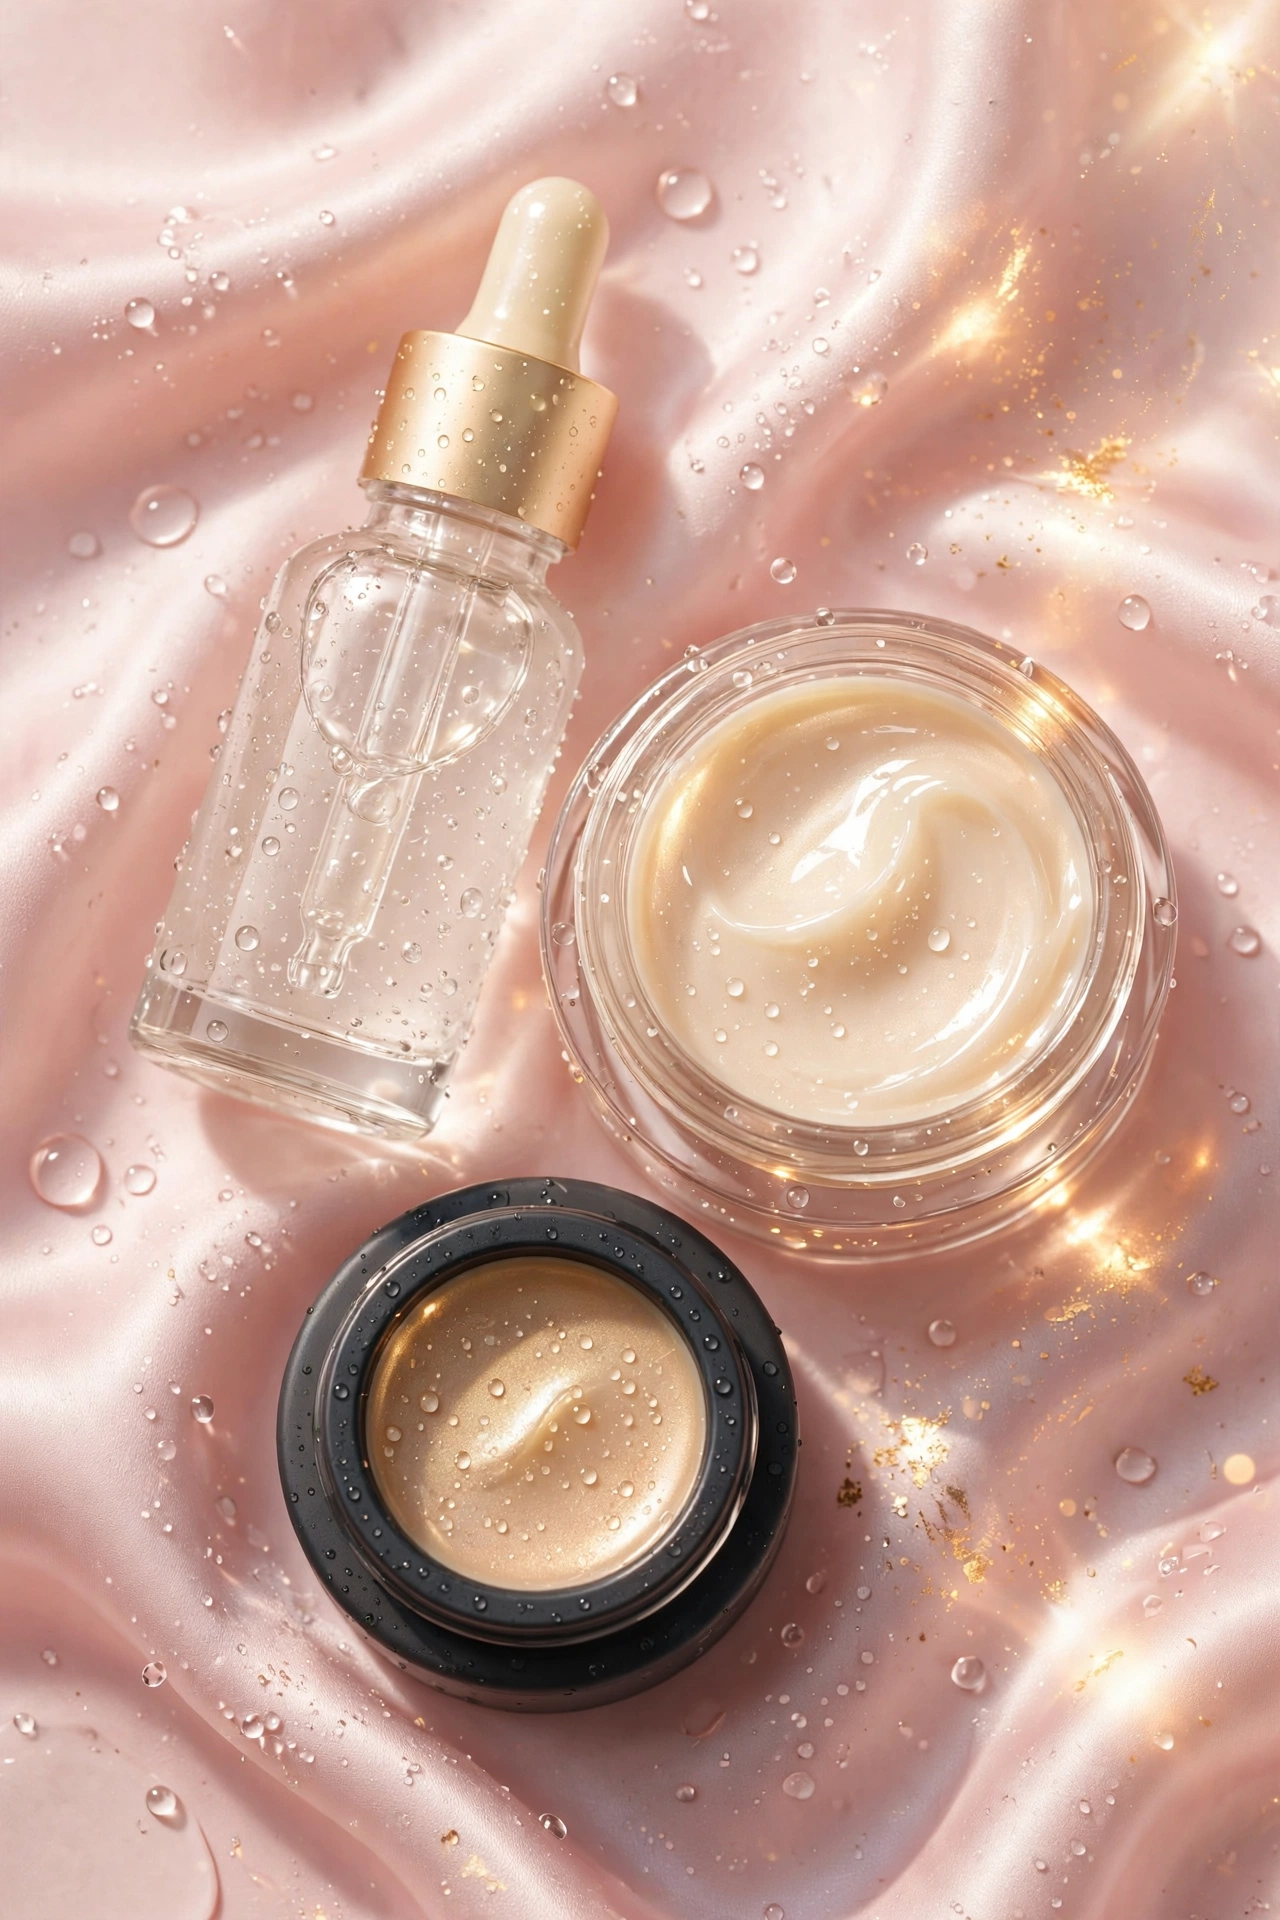
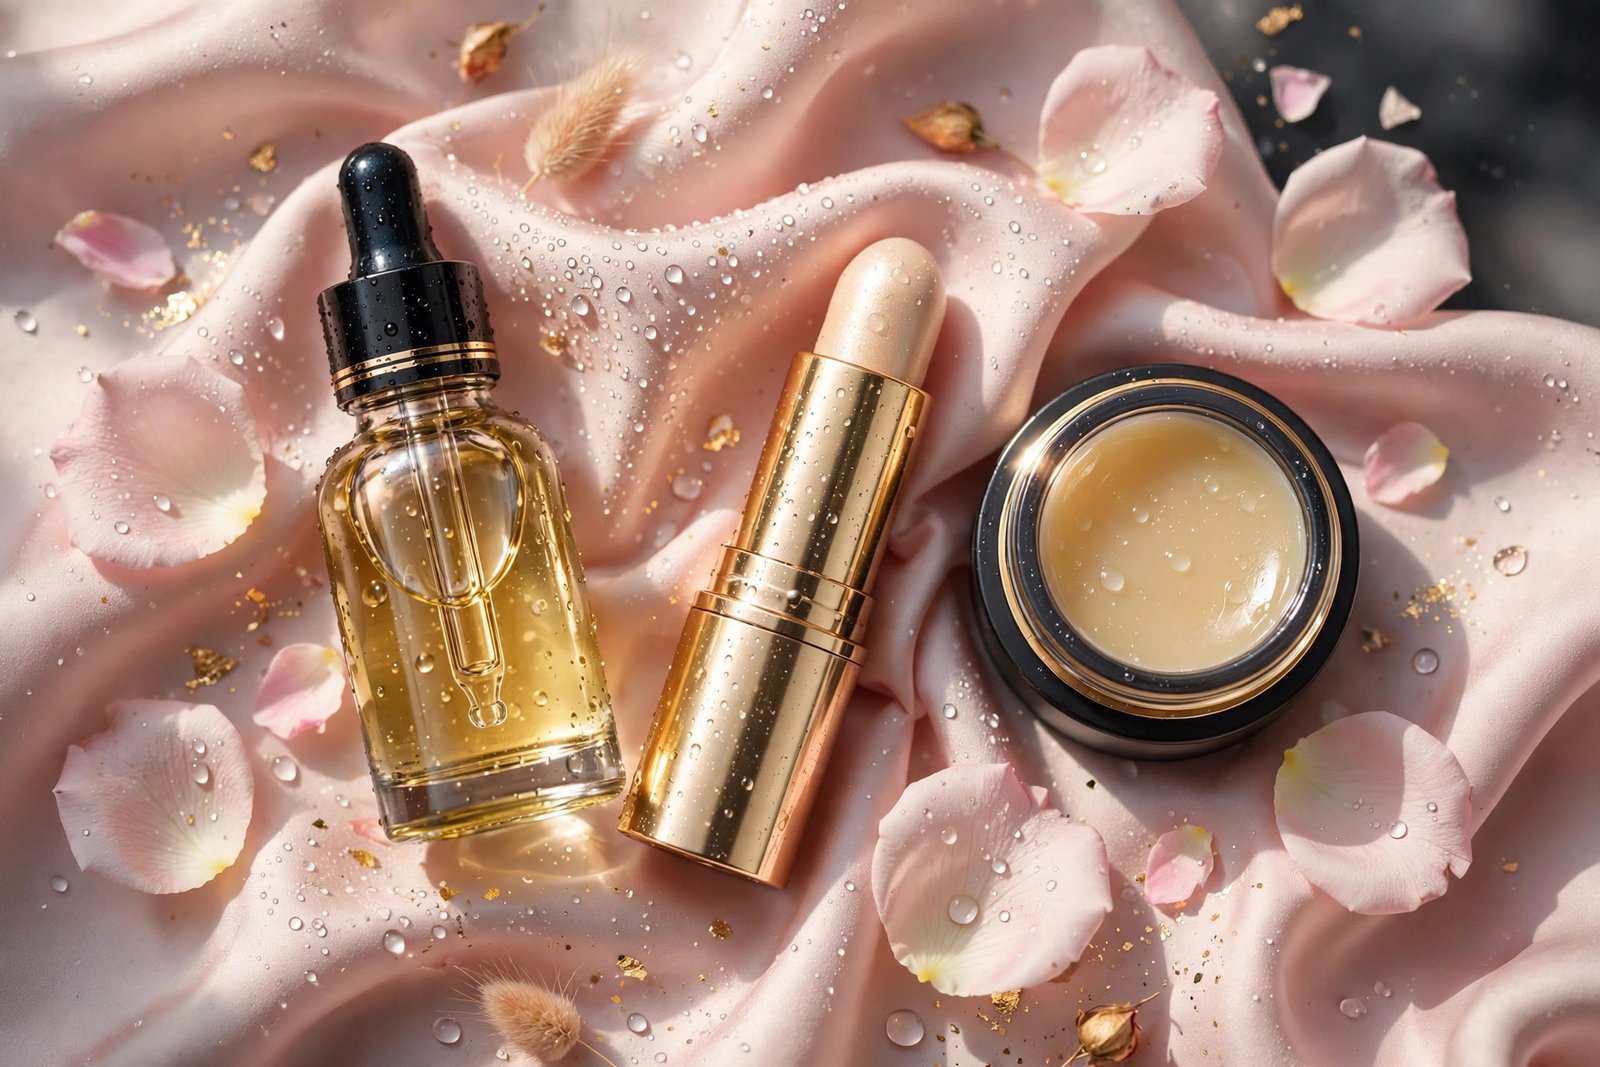
The term describes skin that looks so hydrated and luminous it reflects light like a glazed donut — plump, smooth, and shiny in the right places. The look starts with skincare: the glaze is meant to mimic extremely healthy, hydrated skin. Makeup enhances it, but no highlighter can fake the glazed effect over dry, unprepped skin.
Importantly, glazed donut skin is a HIGHLIGHT look, not a contour look. The philosophy is light everywhere — sculpting takes a back seat. If you’re new to highlighter fundamentals, the beginner’s highlighter guide covers formulas and placement that underpin this whole tutorial.
Step 1: Skincare Prep (The Non-Negotiable Base)
Glaze starts in the bathroom, not the makeup bag. Well-hydrated skin needs less product to look luminous, which is the whole secret to avoiding the greasy version of this trend.
- Cleanse gently. Use a hydrating, non-foaming cleanser. Stripped, squeaky skin fights every layer you put on top of it.
- Hydrating serum. A hyaluronic acid or glycerin serum on damp skin plumps the surface and gives the glazed look something real to reflect off.
- Lightweight moisturizer. Choose one that absorbs in two to three minutes — gel-creams are ideal. Too rich and your makeup will slide; too light and the glaze won’t hold.
- Sunscreen. Non-negotiable for daytime. Pick a dewy-finish sunscreen — it doubles as the first glow layer. Avoid heavy matte sunscreens for this look.
Let each layer absorb before the next. Rushing prep causes pilling, and pilling destroys the glazed effect instantly.
Step 2: A Sheer, Luminous Base
Heavy full-coverage foundation is the enemy of glazed skin. It flattens light reflection and makes the face look mask-like under all that glow product.
Choose one: a tinted moisturizer, a sheer-to-medium foundation with a luminous finish, or a BB cream. The base should even out tone while letting skin texture and natural light show through. Apply with fingers or a damp sponge — brushes can deposit too much product.
Spot-conceal rather than layering foundation everywhere. Under-eye concealer and a dab on any redness, blended well, keeps the base thin. A thin base lets the glow layers read as skin, not makeup.
For pairing glow with dimension, the beginner contouring guide shows how to add back structure without killing luminosity.
Step 3: Cream Blush (The Under-Glow)
Cream blush goes on BEFORE the main highlighter layers in the glazed routine — this is the detail most beginners miss. The blush acts as an under-glow, giving the cheek area a flushed warmth that shows through the sheer glaze layers.
Use a sheer cream blush in a fresh tone (coral, berry, or rose depending on your coloring) on the apples of the cheeks, blended upward toward the temples. Keep it sheer — you want a watercolor flush, not full pigment. The beginner blush guide helps with shade matching if you’re unsure.
Step 4: Liquid Highlighter — The Glaze Core
This is the heart of the tutorial. A liquid highlighter, applied strategically, creates the actual “glaze.”
Where: tops of the cheekbones, down the bridge of the nose, the cupid’s bow, and a small amount on the forehead above the brows. Optionally, a touch on the chin center and the inner eye corners.
How: dot the liquid highlighter with fingers or a damp sponge and press — don’t swipe. Pressing melts it into the base; swiping moves your foundation around and creates patchiness.
How much: less than you think. Start with half a pump for the whole face. The glazed look is about even, sheer luminosity — if you can see distinct stripes of product, you’ve used too much.
This step pairs with bronzing for a sun-kissed version of the glaze — see the freckle makeup with bronzer and blush guide for a related glowing look.
Step 5: Powder Only Where Needed
Here’s what separates glazed from greasy: selective powdering. The glazed effect should live on the high points and outer face. The T-zone — forehead center, sides of the nose, chin — gets a light veil of translucent setting powder to control shine.
Use a large fluffy brush and a very light hand. You’re not mattifying the face; you’re taking the wet look off the areas that would look oily rather than glazed. This single step is the difference between a controlled glow and an all-over shine.
Step 6: Setting Spray for the Melted Finish
A dewy setting spray is the final seal. It melts the layers together so the face reads as one glazed surface rather than stacked products. Hold the bottle eight to ten inches from the face and mist in an X and T pattern — two passes maximum.
Avoid matte or long-wear setting sprays here; they fight the entire concept. Look for sprays marketed as “dewy,” “illuminating,” or “glow.”
Formulas That Glaze vs. Formulas That Grease
| Glaze-friendly | Grease-risky |
|---|---|
| Liquid and cream highlighters | Chunky glitter powders |
| Tinted moisturizers, sheer bases | Full-coverage matte foundations |
| Cream blush | Powder blush layered heavy |
| Dewy setting sprays | Matte setting sprays |
| Balm highlighters | Metallic baked highlighters |
The pattern is simple: anything that melts into skin glazes; anything that sits on top with visible particles greases. Texture is the dividing line, not the amount of product.
Adjusting for Your Skin Type
Dry skin: You’re the natural home of this trend. Focus on rich prep, skip the T-zone powder, and carry a facial mist for midday revival.
Oily skin: You can absolutely do glazed donut skin — but control is everything. Use oil-free hydrating prep, powder the T-zone more thoroughly, and choose a long-wear luminous base. Blotting papers midday (press, don’t rub) keep the glaze intentional.
Combination skin: Treat zones differently. Glaze the cheeks and outer face; keep the T-zone controlled with powder and a matte-leaning primer just in the center.
Mature skin: The glazed look flatters mature skin beautifully because hydration reads as youth. Stick to creams and liquids, avoid glitter particles entirely, and keep shimmer off fine-line areas.
All-Day Wear: Keeping the Glaze Intentional
- Blot before you add. If shine creeps up midday, press blotting papers first, then decide whether you need more product. Adding powder over oil creates cakiness.
- Refresh with mist. A light spritz of dewy setting spray or thermal water revives the glaze without adding product.
- Touch up with balm. A dab of balm highlighter on the cheekbone tops refreshes glow faster and more naturally than re-powdering.
- Avoid the 3 PM powder panic. Your glaze will look more intense in afternoon office lighting. Resist the urge to matte everything down — blot the T-zone only.
Frequently Asked Questions
What products do I need for glazed donut skin?
At minimum: hydrating skincare, a sheer luminous base, one liquid or cream highlighter, a cream blush, translucent powder for the T-zone, and a dewy setting spray. You don’t need a dozen products — the layering order matters more than the product count.
Is glazed donut skin the same as glass skin?
They’re related but different. Glass skin is a Korean skincare concept about ultra-smooth, poreless-looking hydrated skin, achieved mostly through skincare. Glazed donut skin is a makeup trend about visible luminosity and glow, achieved through layering. They overlap heavily in prep but diverge in finish.
How do I get glazed skin without looking greasy?
Three rules: keep shimmer to the high points of the face (cheekbones, nose bridge, brow bone), powder the T-zone lightly, and use cream/liquid formulas instead of glitter powders. The difference between glazed and greasy is control, not quantity.
Can oily skin do the glazed donut look?
Yes. Use oil-free hydrating prep, choose a long-wear luminous base, powder the T-zone properly, and keep blotting papers handy. Many oily-skinned wearers find this trend easier than fighting their skin’s natural sheen with full matte routines.
Does glazed donut skin work for mature skin?
It works beautifully. The emphasis on hydration and luminosity is inherently flattering for mature skin. The one adjustment: use only cream, liquid, or balm formulas — no glitter powders — and keep shimmer off areas with fine lines.
How long does the glazed look last?
With good prep and a dewy setting spray, expect six to eight hours of solid glaze before touch-ups. Oily skin types may need a T-zone blot around hour four. The look is designed to be lived-in, so slight fading reads as natural, not failed.
Conclusion
Glazed donut skin is less about products and more about philosophy: hydrate first, build glow in thin layers, control shine only where it reads as oil, and seal it with a dewy finish. Master the layering order — skincare, sheer base, cream blush, liquid highlighter, selective powder, setting spray — and the viral glow stops being intimidating. Start with the liquid highlighter you already own and one good cream blush; the glaze is in the technique.
Love this? Pin it for later!