Blush Draping Technique Explained: Lifted Cheeks 101
If your blush keeps landing too low and making your face look tired, blush draping might be the fix. This technique — revived from the 1970s by makeup artist Way Bandy and trending again in 2026 — sweeps blush from the cheekbones up toward the temples in a soft, draped curve. The result: a lifted, sculpted flush that doubles as contour. Here’s exactly what blush draping is, how to do it step by step, and which blush formulas actually work for the look.
Key Takeaways
- Blush draping means applying blush in a “C” shape from the outer cheek up toward the temple, replacing heavy contour with a lifted wash of color.
- Cream or liquid blushes work best — they blend into the seamless gradient that draping requires.
- The technique suits every face shape, but the placement shifts slightly for round, long, and heart-shaped faces.
- Draping works on bare skin or over foundation, but it looks best when skin prep is light so the blush can melt in.
- A common beginner mistake is using too much product — draping covers more real estate than classic blush, so build in thin layers.
What Is Blush Draping?
Blush draping is an application technique where blush is swept in a curved, ribbon-like band across the upper cheek and up toward the temple, rather than dotted on the apples of the cheeks. Think of it as painting a soft parenthesis mark along the side of your face. The color starts fuller near the outer cheek and fades as it travels upward.
Makeup artist Way Bandy pioneered it in the 1970s, Rihanna’s Fenty Beauty brought it roaring back a few years ago, and by 2026 it has fully replaced the striped-contour look on runways and social feeds. The appeal is simple: blush draping lifts, sculpts, and adds color in one step, and it suits far more faces than the harsh contour lines of the 2010s.
Unlike traditional blush placement — which sits on the apples and can drag the face downward — draping places color where light naturally hits. That placement is what creates the lifted illusion. For a full primer on classic placement, see our beginner blush guide.
How Blush Draping Differs from Contouring
Draping and contouring share a goal — face sculpting — but they get there differently.
- Contour uses cool-toned, shadow-mimicking shades to carve out dimension below the cheekbone.
- Draping uses warm, flushed tones on the cheekbone itself, lifting with color rather than shadow.
Many makeup artists now recommend draping instead of contour for everyday looks because it’s more forgiving. Harsh contour placement can make the face look muddy or overly hollowed; blush draping adds warmth along with structure. If you’re still deciding between the two approaches, our contouring basics for beginners breaks down classic contour placement in detail.
Can You Drape and Contour Together?
Yes, and advanced looks often layer the two. Apply contour first for definition, then drape blush above it so the two colors blend at the edge. Keep the contour subtle — the draped blush should be the star.
The Best Blush Formulas for Draping
Cream Blushes (Best Overall)
Cream blushes are the draping gold standard. They blend into a seamless gradient with fingertips or a dense brush, and they layer without caking. Stick or liquid formats work equally well; the key is a formula that stays blendable for a few minutes. Apply in thin layers — draping covers a larger area than apples-only blush, so a little goes far.
Liquid Blushes
Liquid blushes give the most natural, skin-like draped finish, but they set fast. Dot small amounts along the drape line and blend immediately. This format is ideal for combination or oily skin because it wears longer than cream without setting powder.
Powder Blushes
Powder can work for draping, but it’s the trickiest option. Loose or pressed powder needs a fluffy brush and a featherlight hand, and it must go over set foundation or it will grab and patch. If you love powder blushes, choose one with a soft-matte or satin finish — glittery finishes emphasize texture along the drape line.
Blush Draping Step by Step
Step 1: Prep Lightly
Draping melts best into skin that isn’t buried under heavy base. Moisturize well, then apply a light foundation or tinted moisturizer — or skip base entirely and drape over bare, evened-out skin. If you use concealer, blend it thoroughly first; thick concealer at the cheek edge creates a visible border under draped blush.
Step 2: Pick Your Two Tones
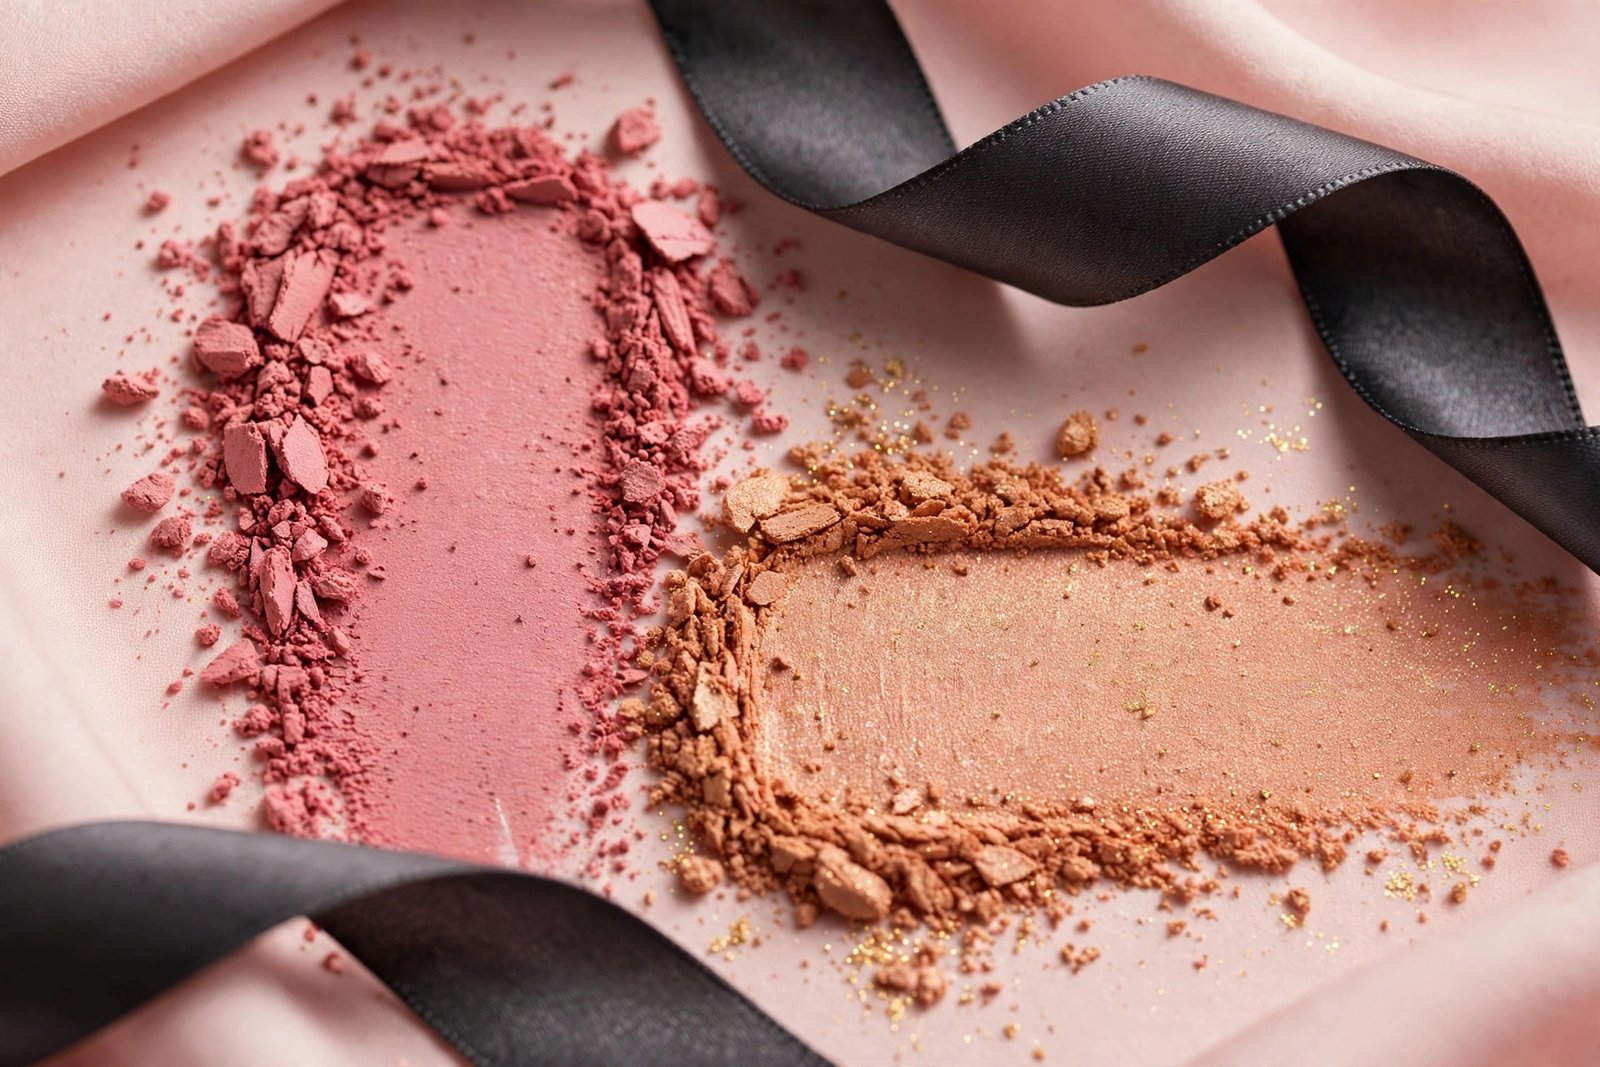
The classic draping technique uses two shades: a deeper blush for the “contour” role and a brighter one for the “blush” role. Choose tones one to two steps apart in the same color family — for example, a deep rose plus a bright pink, or a terracotta plus a coral. Single-shade draping works too, but the two-tone version gives the sculpted gradient the technique is known for.
Step 3: Map the Drape Line
Smile softly, then relax — find the top of your cheekbone, not the apple. The drape line runs in a “C” curve from just outside the corner of the eye area, sweeping down slightly to meet the outer cheek, then rising up toward the temple and blending toward the hairline. Keep it in the upper half of the cheek; draping that drifts onto the lower cheek reads as sunburn, not lift.
Step 4: Apply the Deeper Shade
Place the deeper tone along the lower edge of your drape line — this is what sculpts. Use a stippling brush or fingertips for cream, a fluffy brush for powder. Work in small dots or dashes rather than one big swipe; blending a line is easier than fixing a blob.
Step 5: Layer the Brighter Shade
Apply the brighter blush slightly above and inward from the deeper shade, overlapping them so they melt together. The brightest point should sit high on the cheekbone, roughly in line with the outer corner of the eye. This is the lift.
Step 6: Blend, Then Blend Again
Blend the two tones into each other and soften every edge — visible lines are the main reason draped blush looks off. A clean, dry fluffy brush dragged gently over the area fuses cream layers without removing them. For face-shape-specific guidance on where color should sit, check our blush placement for your face shape.
Step 7: Set If Needed
Oily skin or humid weather? Press a whisper of translucent powder or a matching powder blush over the drape line with a fluffy brush. Dry skin can skip setting entirely — the dewy, just-flushed finish is half the point.
Blush Draping by Face Shape
Round Faces
Keep the drape high and tight along the cheekbone, ending near the temple rather than spreading wide across the cheek. The vertical sweep adds length. Avoid draping below the middle of the cheek — low color widens the face.
Oval Faces
Oval faces can drape generously. Extend the curve a little wider across the cheek and soften the fade toward the hairline for a balanced, flushed look.
Long Faces
Keep the drape curve more horizontal and compact — stop the sweep before the temple and don’t extend high toward the hairline. A wider, lower drape (still on the upper cheek, never the lower) prevents the face from looking longer.
Heart-Shaped Faces
Balance a narrower chin by letting the drape curve down slightly at the temple end. Keep the brightest color at the cheekbone and blend softly toward the forehead.
Square Faces
Soften angular cheekbones by keeping edges extra-diffused. A slightly rounder, less angular drape curve works best — think soft arc rather than sharp wing.
Common Blush Draping Mistakes
Too Much Product
The number-one draping mistake. Because the technique covers more skin than classic blush, your usual two dots are too many. Start with half your normal amount and build. You can always add; removing over-blush requires redoing base makeup.
Starting Too Low
Blush placed on the apples or below reads as youthful when subtle, but in draping quantities it pulls the face down. If you catch yourself starting at the nose-line, stop and move up to the cheekbone.
Visible Harsh Lines
Draping is a gradient technique, not a striping technique. If you can see where the blush starts, blend more. The transition from blush to bare skin should be invisible.
Wrong Undertone Pairing
Mixing a warm terracotta with a cool pink creates a muddy, confused gradient. Keep both draping shades in the same undertone family as each other — and complementary to your skin’s undertone.
Forgetting the Other Side of the Face
Blush draping pairs beautifully with a touch of the same blush on the temples, the bridge of the nose, or even the eyelids for a monochrome moment. A little warmth at the temples connects the drape and stops the cheeks from floating alone. For more warm-tone tricks, our beginner bronzer guide covers how bronzer and blush work together.
Best Blush Shades for Draping by Skin Tone
Fair Skin
- Deeper tone: dusty rose or mauve
- Brighter tone: petal pink or soft peach
- Avoid: neon brights, which read clownish on fair skin at draping volume
Medium Skin
- Deeper tone: rosewood or warm terracotta
- Brighter tone: coral or warm rose
- Medium skin tones carry the most draping shades — experiment freely
Deep Skin
- Deeper tone: berry or deep plum
- Brighter tone: vivid coral or bright fuchsia
- Avoid: shades too sheer to show up — pigmentation matters more than subtlety here
Blush Draping for Mature Skin
Draping is genuinely excellent for mature skin because it skips the apples-of-the-cheeks placement that can emphasize smile lines and nasolabial folds. Cream formulas are the move — they don’t settle into texture the way powder does. Place the brightest color high, where the skin is typically smoothest, and keep the fade toward the temple well-blended. A satin finish (not matte, not shimmery) gives the most youthful draped effect.
Frequently Asked Questions
What is blush draping in simple terms?
Blush draping is applying blush in a curved band from the outer cheek up toward the temple instead of on the apples of the cheeks. It lifts and sculpts the face with color rather than contour shadow.
Do I need two blush shades to drape?
No, but it helps. One shade can be draped effectively by varying pressure — heavier at the outer cheek, lighter toward the temple. Two tones (a deeper sculpting shade and a brighter lifting shade) give the signature gradient, though.
Is blush draping good for beginners?
Yes — it’s actually more forgiving than traditional contouring. The blending is forgiving, the placement is hard to get catastrophically wrong, and cream formulas blend out mistakes easily.
Can I drape with powder blush?
You can, but cream or liquid is easier. If using powder, apply over set foundation with a fluffy brush, build slowly, and keep the shimmer minimal along the drape line.
How is draping different from the “boyfriend blush” or “sunset blush” trends?
Those are placement variations, not separate techniques. Boyfriend blush sits lower and more diffused for a windswept look; sunset blush layers multiple tones across the cheek and nose. Draping is specifically the upward C-curve toward the temple.
Does blush draping work on bare skin?
Beautifully — arguably better than over full foundation. On bare skin, cream blush melts into a natural flush. Just make sure skin is moisturized so the blush doesn’t grip dry patches.
Conclusion
Blush draping earns its 2026 trend status: it’s the rare technique that lifts, sculpts, and adds color in a single, forgiving step. Start with a cream formula, keep the placement high, blend until edges disappear, and let two tones do the sculpting for you. Once you’ve mastered the drape, try pairing it with classic techniques from our beginner bronzer guide and contouring for beginners for a full face-sculpting toolkit.
Love this? Pin it for later!