How to Do Dip Powder Nails at Home (Step-by-Step for Beginners)
Dip powder nails look like a salon luxury, but they are one of the most beginner-friendly nail enhancements you can do yourself. No monomer to mix, no UV lamp to buy, no sculpting skills to learn — just a simple layering process that most people get the hang of on their first or second try. A single kit costing less than one salon visit can give you months of manicures.
In this tutorial, you will learn exactly how to do dip powder nails at home, from prepping your natural nails through the final glossy top coat. We will cover the pour-over hygiene method, how to avoid the bumpy texture beginners often get, and the mistakes that cause lifting. If you haven’t bought supplies yet, our best dip powder kits for beginners shows what a complete kit should include, and if you are still deciding between systems, our dip powder vs acrylic comparison breaks it down.
When you are ready to take them off, follow our safe dip powder removal guide — never peel them.
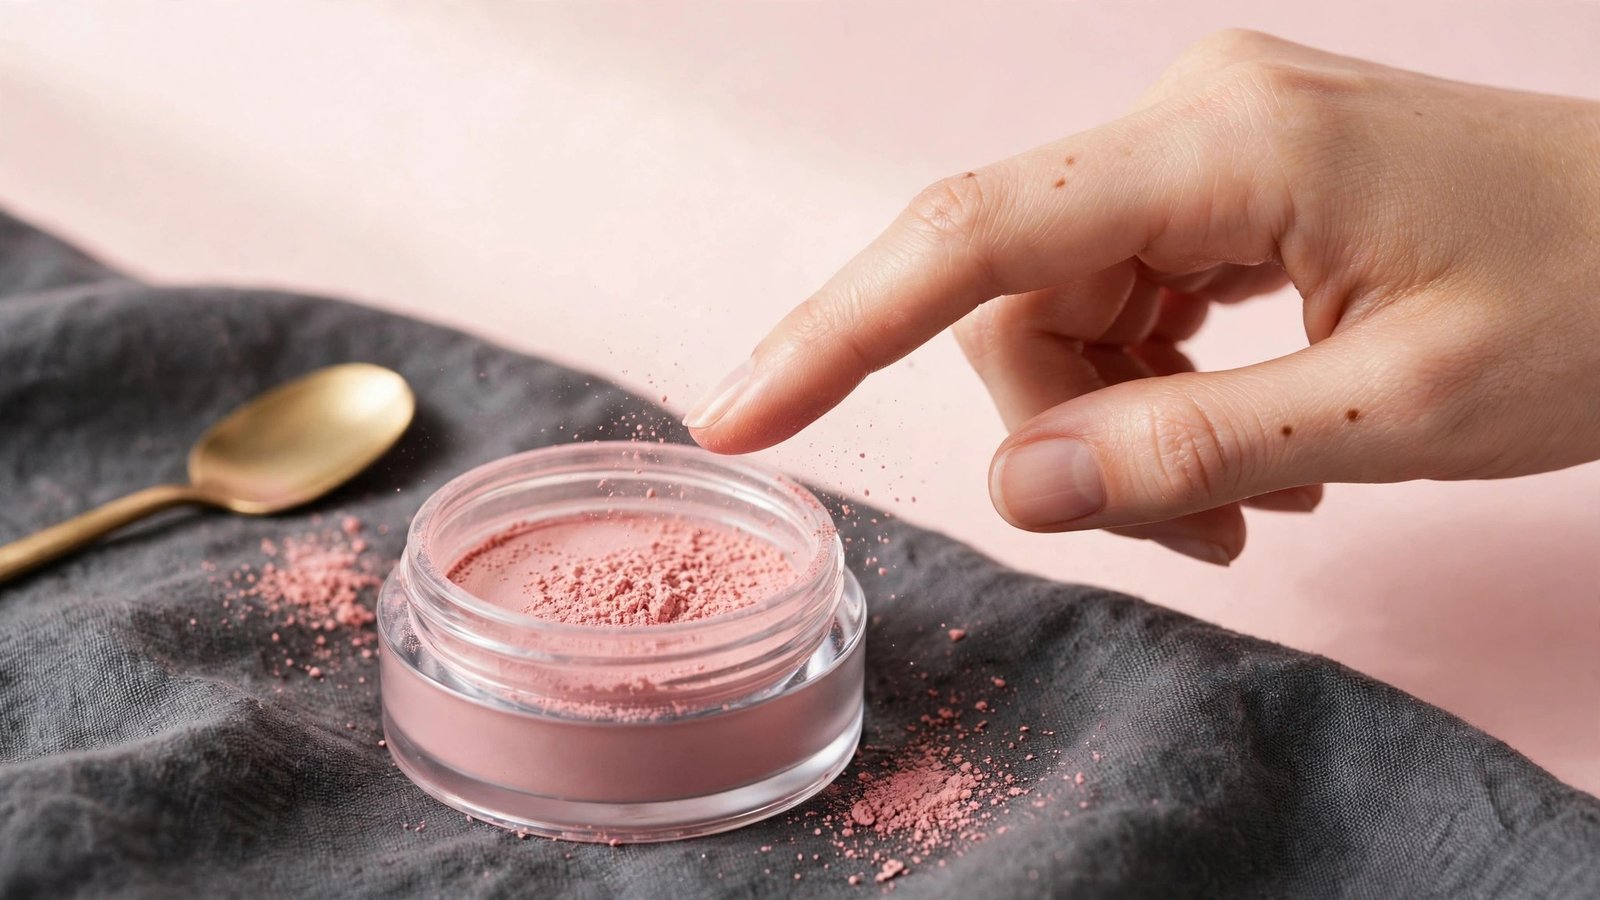
What You’ll Need
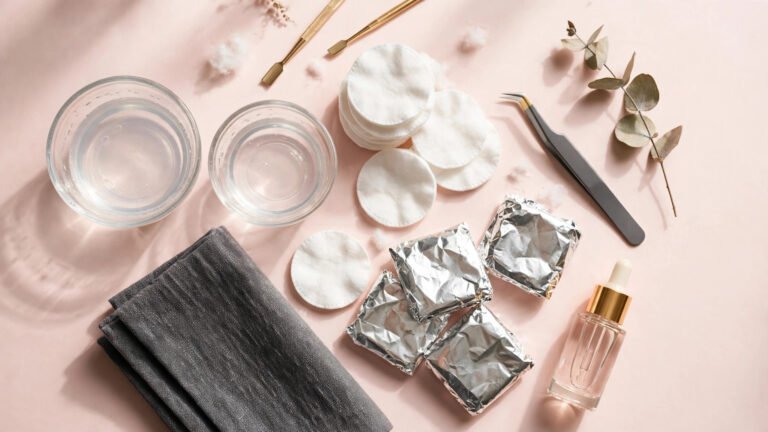
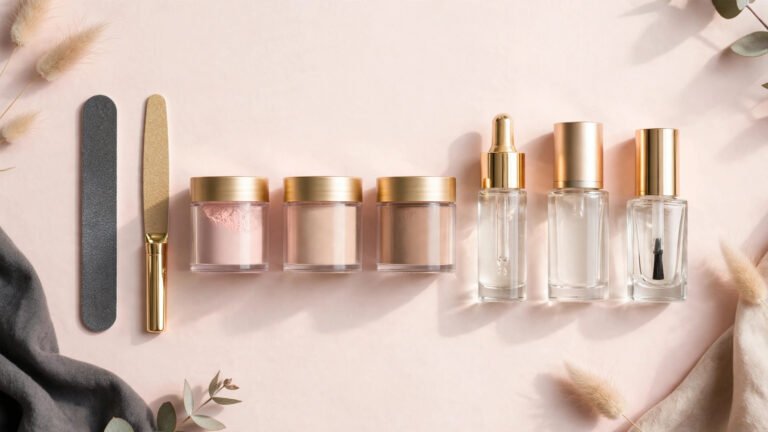
Before you start, gather everything so you are not hunting for supplies with sticky base coat on your fingers. A complete beginner kit should include:
- Dip powder in your chosen color (plus a clear or natural powder for the base layer, which many techs recommend)
- Base coat (the glue-like liquid the powder sticks to)
- Activator (hardens the powder layers)
- Top coat (the glossy seal — most systems use two coats)
- Brush saver / cleanser (keeps your base and top brushes from hardening)
- Nail file (180 grit) and buffer block
- Cuticle pusher (wooden stick or metal pusher)
- Cuticle oil for aftercare
- Lint-free wipes and a small dish or cupcake liner for the pour-over method
- Optional: nail tips and nail glue if you want extra length
Work in a well-ventilated area with good lighting, and lay down paper or a silicone mat — dip powder gets everywhere, and the liquids can stain surfaces. Give yourself a full hour the first time; you will get faster with practice.
Step 1: Prep Your Nails
Prep is the step beginners rush and experienced techs never skip. Good prep is the difference between a manicure that lasts three weeks and one that lifts in five days.
Shape your nails. File your natural nails to the shape you want — the dip will follow your natural shape, so get this right now. File in one direction rather than sawing back and forth, which can cause splitting.
Push back your cuticles. Gently push back the cuticle with your pusher. Do not cut your cuticles unless you really know what you are doing — cutting risks nicks and infection. If you are unsure, our should you cut your cuticles guide explains the pros and cons. The key goal here is to clear any cuticle tissue sitting on the nail plate, because product applied over cuticle skin will lift.
Buff the nail surface lightly. Using your buffer block, gently buff the entire nail plate to remove shine. You are not trying to thin the nail — just scuff the surface enough for the base coat to grip. Think “frosted,” not “filed down.” Over-buffing is one of the top causes of weak nails after enhancements.
Clean and dehydrate. Wipe each nail with a lint-free wipe (some kits include a prep or dehydrator liquid). Oils and moisture on the nail plate are the enemy of adhesion. Avoid touching your prepped nails with your fingertips after this point — the natural oils on your skin transfer instantly.
For a deeper dive into keeping nails healthy between manicures, our at-home nail care routine pairs well with this tutorial.
Step 2: Apply the Base Coat
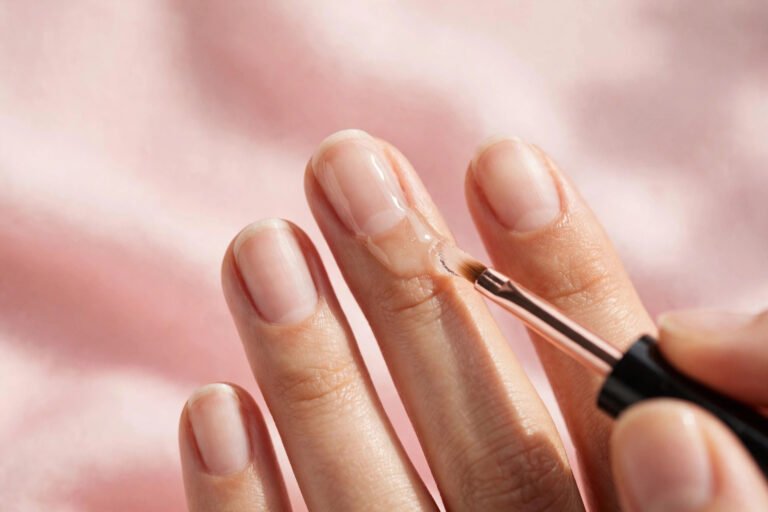
The base coat is a cyanoacrylate-based liquid (similar to nail glue) that grabs the powder. Work one nail at a time — the base stays workable for only 30 to 60 seconds.
Paint a thin, even layer of base coat onto the nail, keeping it slightly away from the cuticle and sidewalls. “Slightly away” means a hairline gap — about half a millimeter. If base coat floods the cuticle, the powder will stick to skin and create a ledge that lifts later.
Beginner tip: Many techs recommend a “clear base layer” first — one round of base coat dipped in clear or natural powder before your color. This adds strength, makes color removal easier later, and prevents darker pigments from staining your natural nail.
Step 3: Dip (or Pour) the Powder
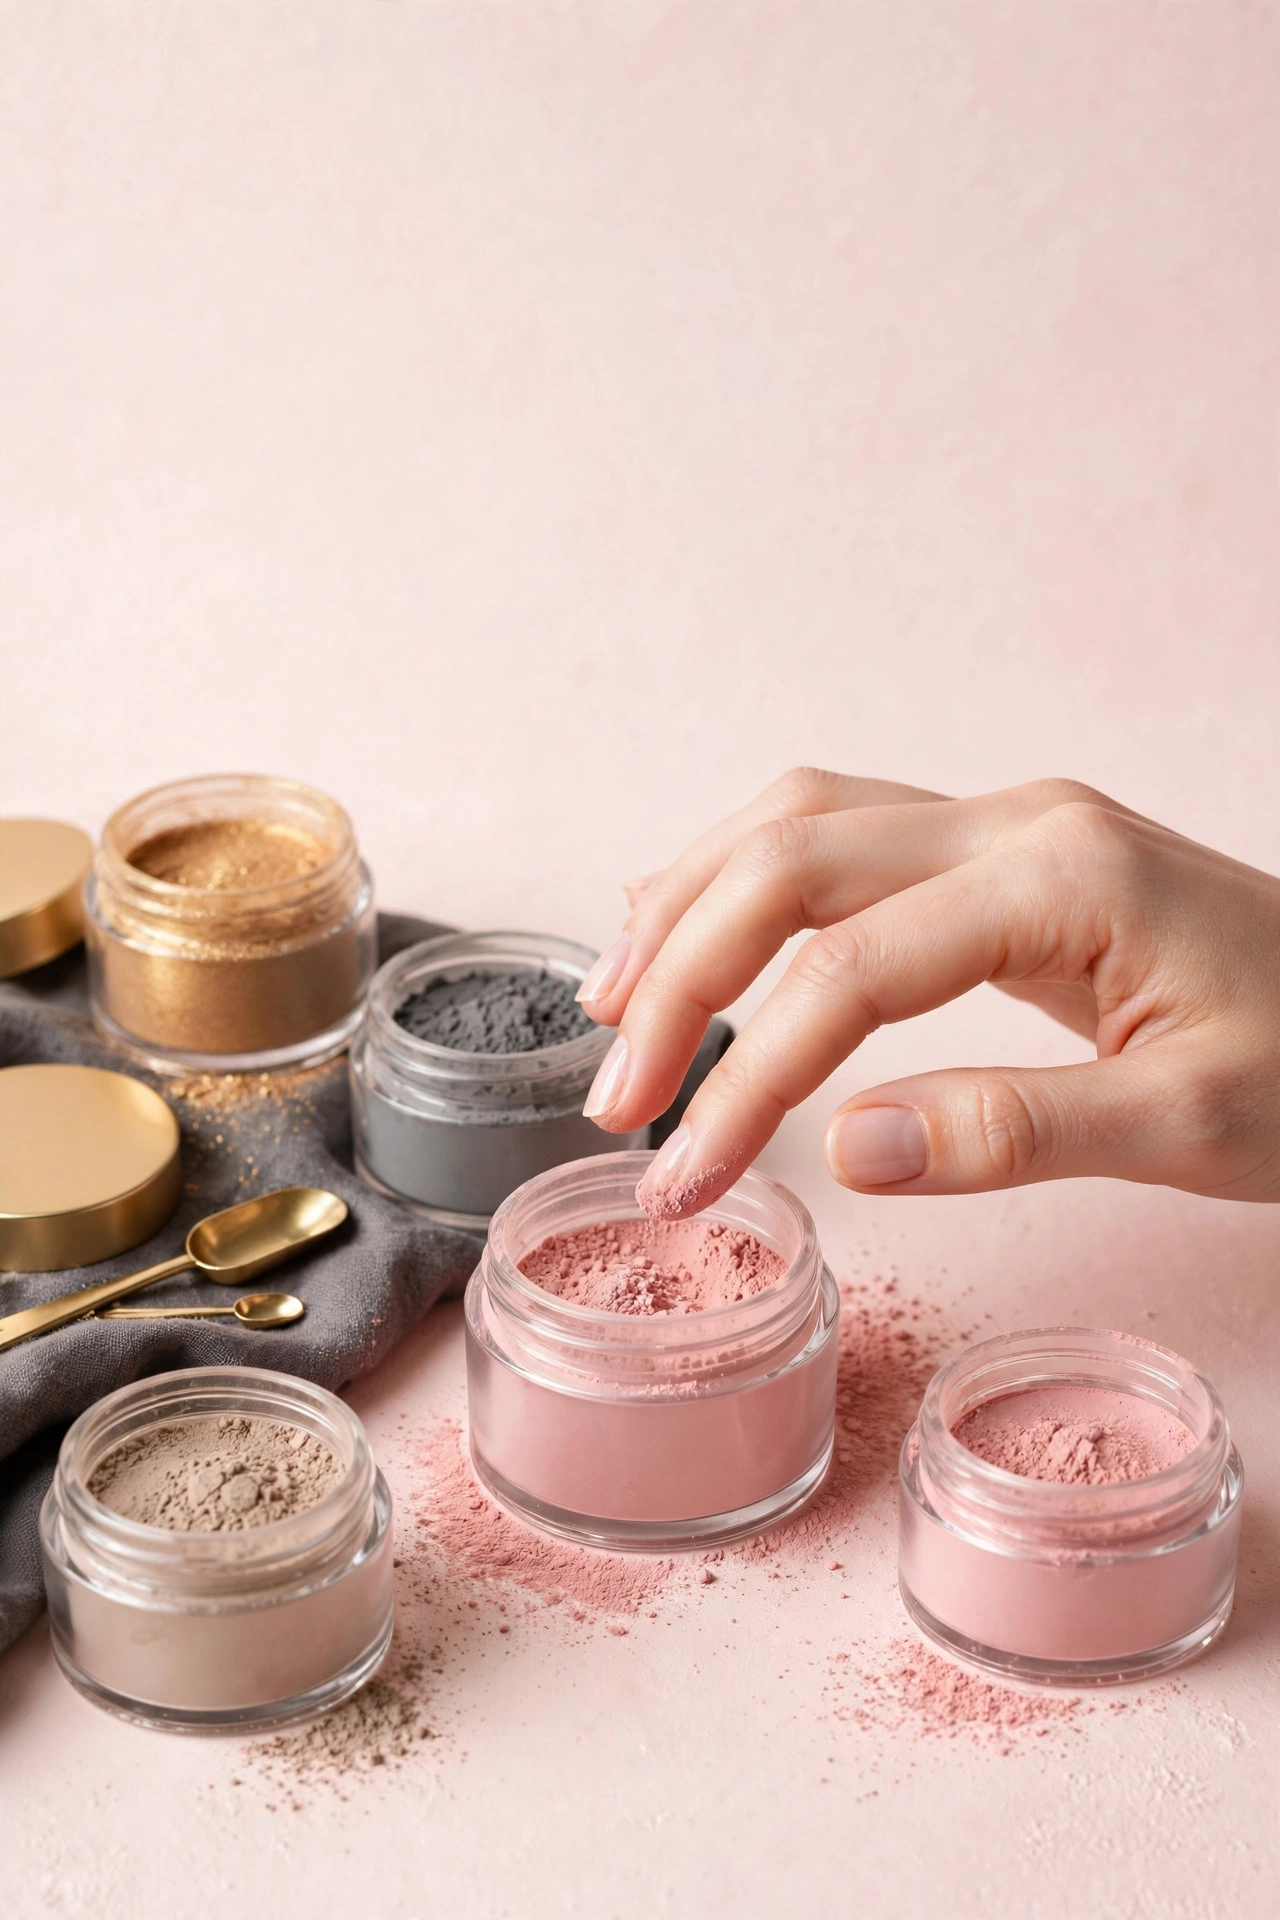
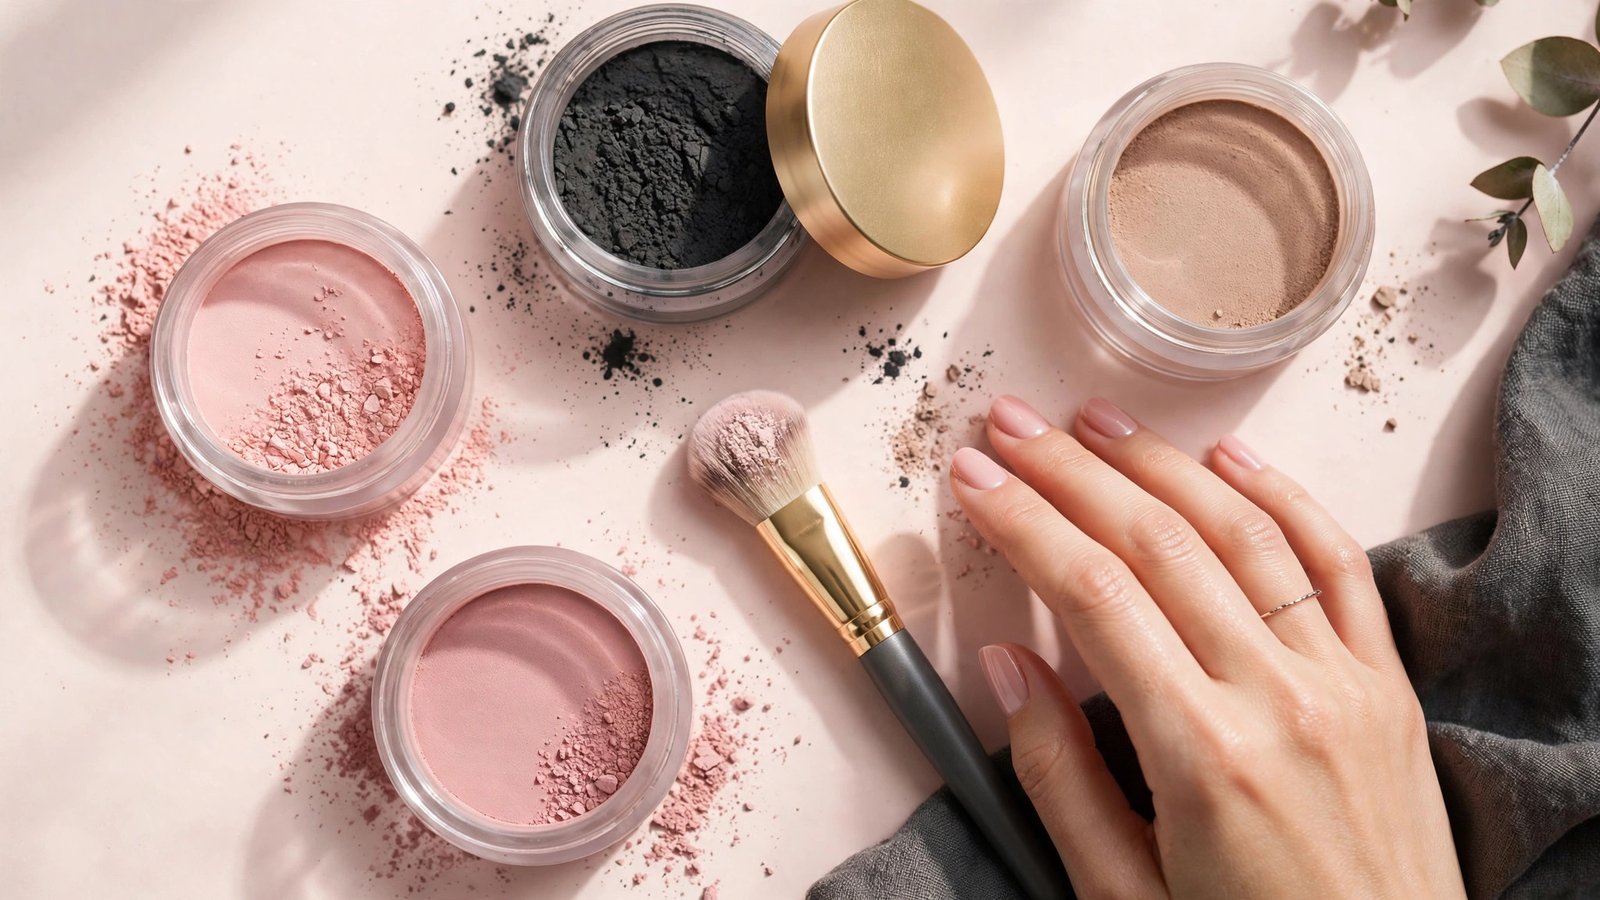
Here is where hygiene matters. The traditional method is dipping your nail straight into the jar — but if you ever share products or do nails for friends, dipping fingers into a communal jar is unhygienic. The pour-over method is the cleaner alternative nail techs increasingly recommend: spoon or shake powder from the jar over your nail while holding it over a small dish or cupcake liner, then funnel the excess back into the jar. You get the same result with zero cross-contamination.
The technique:
- With the base coat still tacky, dip your nail into the powder at a 45-degree angle (or pour powder generously over it).
- Tap your finger firmly to knock off excess powder — tap, don’t blow (moisture from your breath can cause issues).
- Let it sit for a few seconds, then brush off the remaining loose powder with a clean, dry brush.
Repeat steps 2–3 from the base coat stage for a second and third layer of color. Two to three dips is the sweet spot — one looks sheer, four or more gets thick and bulky. Most beginners do three thin dips for full, even coverage.
Step 4: Apply the Activator
Once your final powder layer is on and the excess is brushed off, paint activator over every nail. The activator is what chemically hardens the powder — without it, the layers stay soft and crumbly.
Apply generously, making sure to cover the entire nail including the free edge (the tip). Let it dry for about two minutes. The surface should look matte and feel hard to a light tap. If any spots still feel soft or powdery, apply a second coat of activator and wait again. Rushing this step is a common cause of soft, dent-prone manicures.
Step 5: File, Buff, and Shape
This is the step that separates bumpy beginner dips from smooth salon-looking ones. After the activator dries, your nails will likely have some unevenness — small bumps, a thicker free edge, or powder that migrated near the cuticle.
File the surface. Using your 180-grit file, gently file the entire nail surface to level out bumps. Use light pressure and check your work in the light — hold the nail at an angle to spot uneven areas. Focus especially on the cuticle area, filing away any product that crept onto skin.
Shape the free edge. Refine your nail shape and make sure the tip isn’t too thick. A thick free edge looks bulky and catches on things.
Buff smooth. Follow with your buffer block to smooth everything to an even, satin finish. Brush away all dust with a clean brush — dust left on the nail will show through the top coat.
If your dips consistently come out lumpy no matter what you do, our fixing bumpy dip powder nails troubleshoots every cause, from base coat that’s too thick to contaminated powder.
Step 6: Apply the Top Coat
The top coat is what gives dip nails their signature glassy shine — and it needs a specific technique.
Paint the first coat of top coat over each nail using quick, confident strokes. Work fast: going over the same spot repeatedly can drag and create streaks because the top coat starts setting quickly. Cover the full nail including the free edge to seal everything in.
Wait two to three minutes, then apply a second coat of top coat the same way. Two coats give you that deep, wet-look gloss and extra protection. Some systems ask for a final drop of activator after the top coat — follow your kit’s instructions.
Brush care matters here. Top coat brushes harden fast if contaminated with activator residue. Wipe your brush on a lint-free wipe and use your brush saver liquid between nails if your kit includes one. A hardened top coat brush is the most common kit casualty for beginners.
Step 7: Finishing Touches
Once the top coat is dry to the touch (usually 5–10 minutes), you are essentially done — but two finishing steps make a real difference.
Clean up the edges. If any product dried on the skin around your nails, gently file or buff it away. Don’t pick at it.
Oil your cuticles. Massage cuticle oil into the skin around each nail. This rehydrates skin dried out by the process and makes the whole manicure look professionally finished. Daily cuticle oil from here on is the single best habit for making your manicure last — dry cuticles lead to hangnails and picking, which leads to lifting.
Admire your work! Take a photo in good light — it is satisfying to compare your first set with your fifth.
Common Beginner Mistakes (and How to Fix Them)
Applying base coat too thick. Thick base = lumpy powder adhesion and a bulky final result. Thin, even coats are everything in dip. If your nails look thick after two dips, your base coats were too heavy.
Flooding the cuticle. Product touching skin creates a ledge that water gets under, causing lifting within days. Keep that hairline gap, and file away any mistakes after the activator step.
Skipping the activator wait time. If the powder isn’t fully hardened before you file, you’ll gouge soft product. When in doubt, wait longer and do the tap test.
Not sealing the free edge. The tip of the nail takes the most abuse. Every liquid — base, activator, top coat — should wrap slightly over the free edge to seal it.
Dipping into shared jars. Beyond hygiene, double-dipping contaminates powder with base coat residue, which causes clumping over time. Use the pour-over method or dedicate small portions per manicure.
Peeling off a failed attempt. If a nail comes out badly, don’t peel it — soak it off properly and redo it. Peeling tears up your natural nail and makes the next attempt adhere worse.
Aftercare: Making Your DIY Dip Last
Your manicure’s lifespan now depends on daily habits. Wear gloves for dishes and cleaning — prolonged hot water and harsh chemicals are the top killers of dip manicures. Apply cuticle oil daily. Avoid using your nails as tools (no opening cans, scraping stickers, or prying things). And resist picking at any lifted edge — once lifting starts, picking accelerates it dramatically.
With good aftercare, a well-applied DIY dip set lasts two to four weeks.
Key Takeaways
- Prep determines everything: shape, push back cuticles, buff lightly to remove shine, and dehydrate the nail plate for maximum adhesion.
- Work one nail at a time with thin base coats, keeping product a hairline away from cuticles to prevent lifting.
- Use the pour-over method instead of dipping into shared jars for better hygiene and cleaner powder.
- Two to three thin dips beat one thick dip; let the activator fully harden the powder before filing.
- File and buff after the activator step — this is what turns bumpy beginner dips into smooth, salon-looking nails.
- Apply two quick coats of top coat, sealing the free edge, and finish with cuticle oil; wear gloves for wet work to maximize wear time.
- Never peel off a bad nail — soak it off properly and redo it to protect your natural nail.
Frequently Asked Questions
How long do DIY dip powder nails take for a beginner?
Set aside a full hour for your first set — prep alone takes 15 to 20 minutes when you are learning. Most people get it down to 40–45 minutes by their third or fourth set. Rushing is the main cause of mistakes, so don’t try to squeeze it into a 20-minute window until you are experienced.
Why are my dip powder nails bumpy?
Bumpiness almost always comes from base coat applied too thick, excess powder not tapped off between dips, or filing skipped after the activator. The fix is filing and buffing after the activator hardens — level the surface before top coat. Thinner base coats on your next set prevent it at the source.
Can I do dip powder nails without the activator?
No — the activator is essential. It chemically hardens the powder layers; without it, your manicure stays soft, crumbly, and will fall apart within a day. Every dip system includes an activator (sometimes called “seal” or “bond”), and skipping it isn’t an option.
Do I need a UV lamp for dip powder nails?
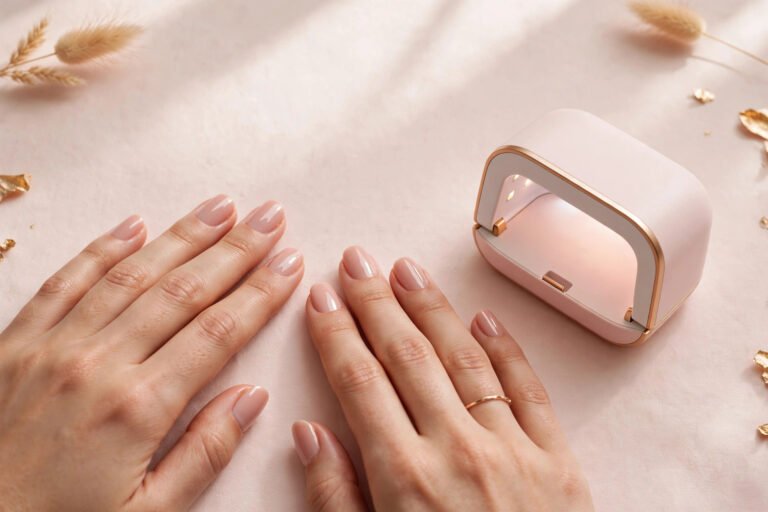
No. Dip powder hardens through a chemical reaction with the activator, not UV light. This is one of dip’s biggest advantages — no lamp to buy and no UV exposure for your hands. If a tutorial tells you to cure dip powder under a lamp, it is confusing dip with gel.
How many times can I dip each nail?
Two to three dips is the standard for full, even color. One dip usually looks sheer or patchy; four or more gets thick and bulky, which looks unnatural and is harder to file smooth. If your color isn’t opaque after three thin dips, the issue is usually base coats that are too thin or a sheer powder formula.
Can I fill dip powder nails instead of redoing them?
Yes. To fill regrowth, gently file down the lifted area near the cuticle, lightly buff the existing product, and apply fresh base and powder just to the regrowth area before continuing with activator and top coat over the whole nail. After two to three fills, most people do a full soak-off and fresh set to avoid excessive thickness.
Love this? Pin it for later!