Cut Crease Tutorial for Beginners: Step-by-Step Guide
The cut crease is one of the most striking eye makeup techniques: a sharp, defined line carved across the crease that separates a deep, smoky upper lid from a bright, clean lid below it. It looks advanced, but it is really just a sequence of simple steps — and beginners can absolutely learn it. This tutorial walks through the full technique, the tools that make it easier, and how to fix the mistakes that trip up first-timers.
If you have not yet learned basic eyeshadow application, start with the complete eyeshadow guide for beginners — the cut crease builds directly on those fundamentals.
Key Takeaways
- A cut crease is a sharp line carved through the crease with concealer, separating lid color from crease color.
- Concealer is the “cutting” tool — its opacity and precision create the crisp edge.
- Map the crease line with eyes open so the cut sits where it will actually be visible.
- Work in thin layers and clean up edges with concealer rather than trying to be perfect on the first pass.
- A flat, synthetic brush gives the sharpest concealer line; fluffy brushes are for the blending around it.
- Hooded eyes need the cut placed above the natural fold — see the adjustment section below.
What Is a Cut Crease, Exactly?
In a standard eye look, shades blend into each other with soft gradients. A cut crease deliberately breaks that rule: the crease is “cut” with a line of concealer (or a light eyeshadow base) that creates a crisp, graphic boundary. Above the line sits blended, usually deeper crease color; below it sits a clean, often light or shimmery lid shade with no blending across the boundary.
The contrast between the sharp cut and the soft blended color above it is what makes the technique so dramatic. It creates the illusion of a deeper, more defined crease and makes the lid space look larger — which is why it photographs so well.
Types of cut crease: the classic full cut crease carves the entire crease from inner to outer corner. A half cut crease stops partway, leaving the inner portion softly blended — more wearable for daytime. A double cut crease adds a second carved line above the first for editorial drama. Beginners should master the classic version first.
Tools You Need for a Cut Crease
- Eyeshadow primer — the base for everything, preventing the multiple layers from creasing. Details in the eyeshadow primer guide.
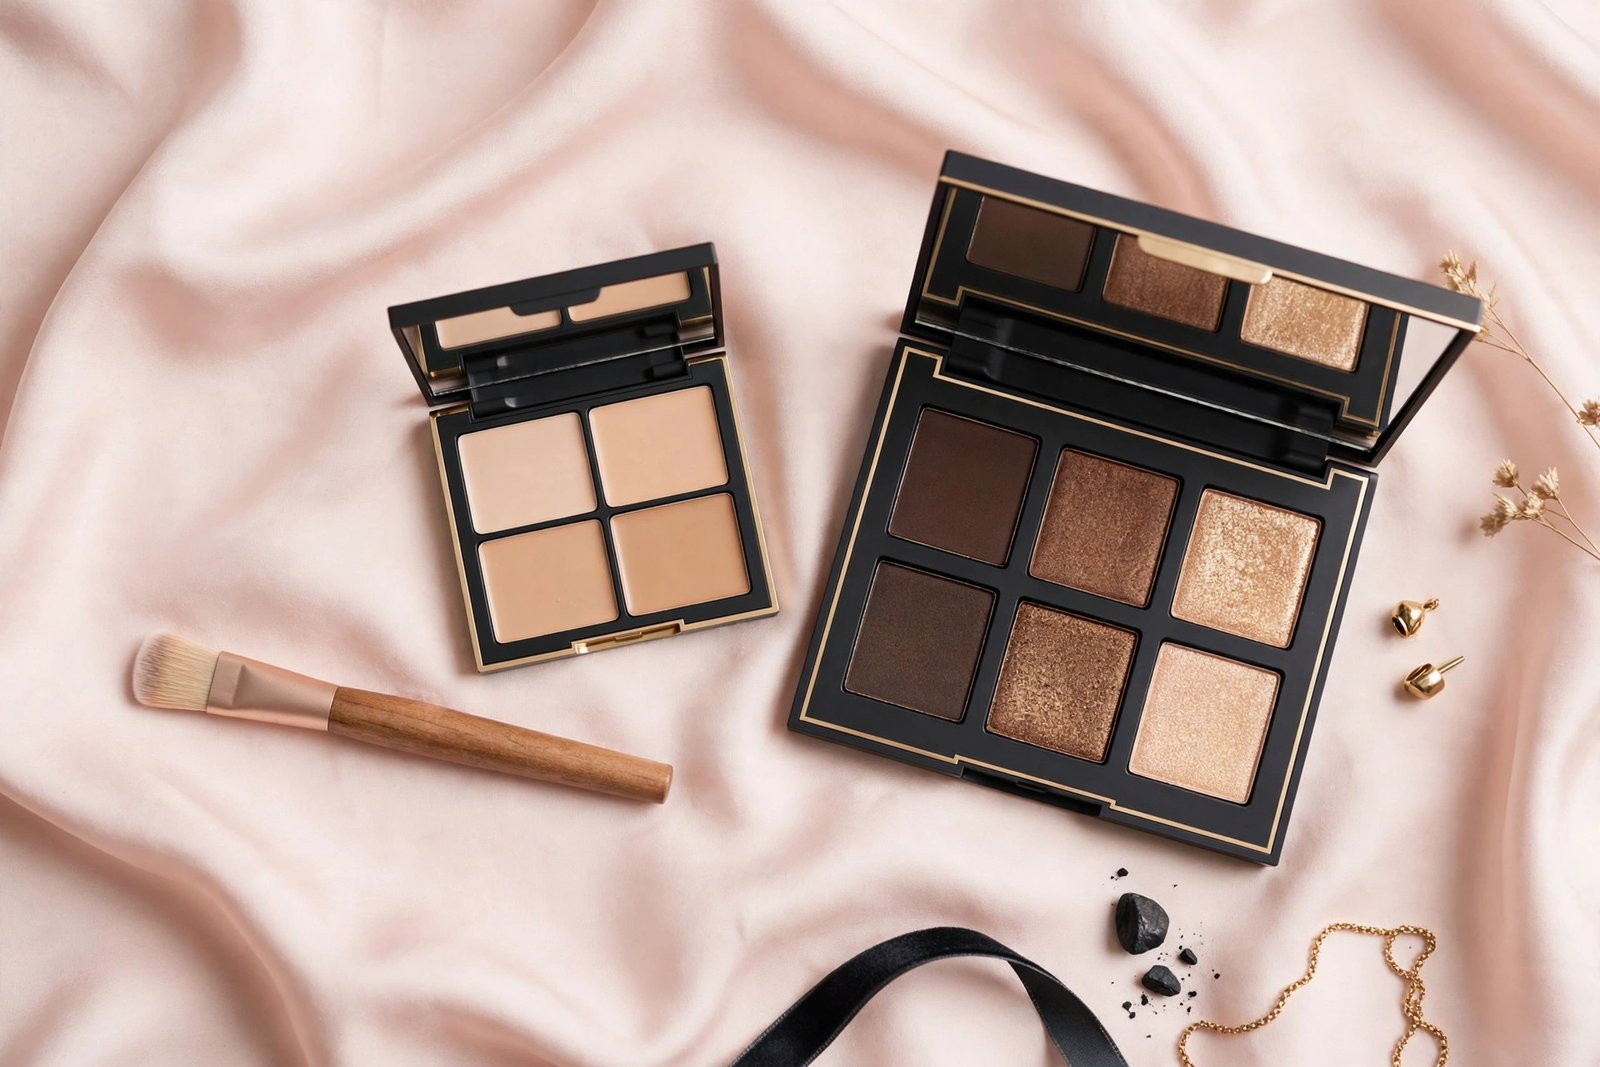
- A matte transition shade and a deeper crease shade — the blended color above the cut.
- A flat, synthetic concealer brush (or a small flat eyeshadow brush) — this does the actual cutting. Synthetic bristles give a crisp edge; the brush should be small enough to draw a precise line.
- A full-coverage concealer one to two shades lighter than your skin — the cutting product. It needs to be opaque enough to cover the shadow beneath it.
- A light lid shade (matte, satin, or shimmer) — applied over the concealer cut.
- A fluffy blending brush and a clean blending brush — for the crease work above the cut. The blending fundamentals are in the beginner’s blending guide.
- Cotton swabs and micellar water — for sharpening edges at the end.
A note on brushes: if your brush collection is still basic, the beginner’s guide to makeup brushes explains which shapes do what.
Step-by-Step Cut Crease Tutorial
Step 1: Prime and set. Apply eyeshadow primer over the whole lid and set it with a skin-toned matte powder. A smooth base keeps the concealer line crisp.
Step 2: Build the crease color. With a fluffy blending brush, sweep a medium matte transition shade through and slightly above the crease using windshield-wiper motions. Then deepen the outer crease with a darker matte, blending inward. Blend this thoroughly — everything above the cut should be a soft gradient.
Step 3: Map the cut line. Look straight into the mirror with eyes open and relaxed. With the concealer brush (no product yet), trace where you want the cut to sit — following the natural crease, or slightly above it. This dry run prevents crooked lines.
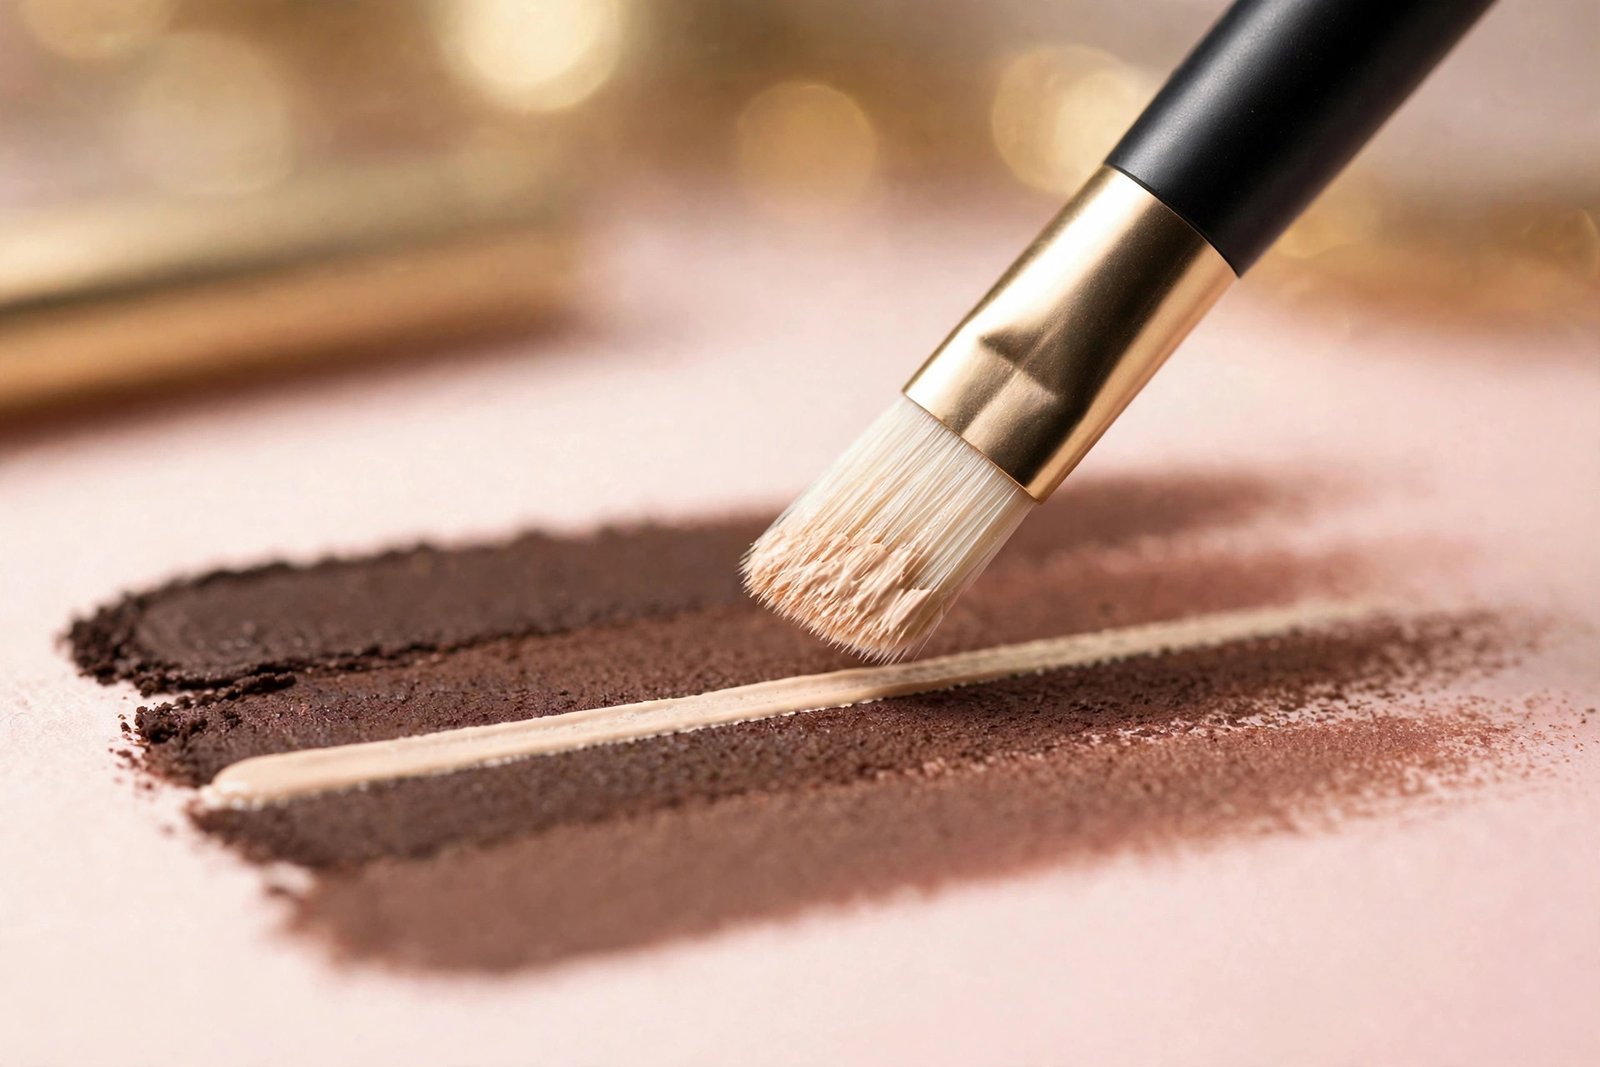
Step 4: Cut the crease. Load the flat synthetic brush with a small amount of concealer. Starting from the inner corner, draw a precise line along the mapped crease, then fill the entire lid area below the line with concealer, working outward. Keep the upper edge of the concealer as sharp as possible — that edge is the whole point of the technique. Use thin layers; thick concealer will crease.
Step 5: Set the cut. Before the concealer sets, press your light lid shade over it with a flat brush or fingertip. Setting immediately locks the concealer and prevents it from moving. Choose your finish deliberately: a matte lid shade looks classic and clean, while a shimmer or metallic makes the lid pop against the matte crease.
Step 6: Sharpen the line. Dip a cotton swab in micellar water (or use a touch of concealer on a clean flat brush) and trace just above the cut line to crisp up any wobbles. This cleanup pass is what separates a good cut crease from a great one — even experienced artists do it.
Step 7: Finish the look. Blend a touch of the transition shade right above the cut to fuse the lid and crease zones without crossing the line. Define the lower lash line, add eyeliner if desired, and finish with mascara or lashes.
Troubleshooting: Fixing Common Cut Crease Mistakes
The line looks wobbly or uneven. Do not try to fix it by adding more concealer freehand — that usually makes it worse. Instead, sharpen the edge with a cotton swab dipped in micellar water, tracing along the top of the line. Small corrections beat big re-dos.
The concealer creases on the lid. This means the concealer layer was too thick or was not set quickly enough. Use the thinnest layer that still covers, set it immediately with powder shadow, and make sure primer was applied first.
The cut disappears when eyes open. The line was carved at the closed-eye crease, which sits lower than the open-eye crease. Map and cut with eyes open, placing the line where it stays visible. This is the most common beginner issue and the easiest to fix once you know the cause.
The crease color bleeds into the lid. The lid shade was not pressed firmly enough over the concealer, or blending above the cut was too aggressive. Press (don’t sweep) the lid shade on, and keep blending motions above the cut line.
One eye looks different from the other. Step back from the mirror — closeness exaggerates asymmetry. Match the height of the cut on both eyes with eyes open, and remember that most faces are naturally slightly asymmetric; close enough is genuinely fine.
Cut Crease for Hooded Eyes: The Adjustment
Standard cut-crease tutorials assume a visible crease, so hooded eyes need one modification: carve the cut above the natural fold, not in it. Map the line with eyes open and place it where the lid remains visible — this is sometimes called a “faux” or “high” cut crease.
Everything else stays the same: blended crease color above the cut, clean lid below it. Because the cut sits higher, use a slightly thicker band of lid space so the sharp edge reads clearly. Full shape-specific guidance is in the eyeshadow guide for hooded eyes.
Cut Crease Variations to Try Next
Once the classic cut crease feels comfortable:
- Half cut crease: carve only the outer two-thirds of the crease, blending the inner third softly. More wearable, less graphic.
- Glitter cut crease: press a glitter shade over the concealer cut instead of a standard shadow. Use a glitter primer or sticky base so the particles stay put.
- Colorful cut crease: keep the lid neutral and use a vivid shade (cobalt, emerald, magenta) in the blended crease above the cut. The sharp line makes bold color look intentional rather than messy.
- Soft cut crease: use a skin-toned shadow instead of concealer for the cut, creating a gentler, more diffused boundary. A good stepping stone between standard blending and the full graphic cut.
When to wear it: the full cut crease is an evening, event, and photography look — its drama can feel heavy for everyday wear. The half and soft variations work for daytime.
Frequently Asked Questions
Is a cut crease hard for beginners?
It looks harder than it is. The technique is a sequence of basic steps — blend crease color, draw a concealer line, set it with shadow. The learning curve is really about mapping the line with eyes open and keeping the concealer thin.
What concealer should I use to cut the crease?
A full-coverage concealer one to two shades lighter than your skin tone. It needs enough opacity to cover the shadow underneath in a thin layer. Avoid hydrating, dewy concealers, which stay tacky and crease faster on the lid.
Can I do a cut crease without concealer?
Yes — a light, opaque eyeshadow base or a cream eyeshadow in a skin-toned shade can work. But concealer gives the sharpest, most opaque line, which is why it is the standard choice.
Why does my cut crease look muddy instead of sharp?
Usually one of three things: the concealer layer was too thick, the crease shade was blended down across the line, or the lid shade was swept on instead of pressed. Thin concealer, pressed lid color, and blending only above the line fix all three.
How do I make a cut crease last all day?
Primer, thin concealer layers, immediate setting with powder shadow, and a light mist of setting spray. The multiple layers in a cut crease make a good base routine even more important than usual.
The cut crease rewards patience over speed: map with eyes open, keep the concealer thin, press rather than sweep, and clean up the edge at the end. Follow those four rules and the graphic, dramatic result will come together even on the first few tries.
Love this? Pin it for later!