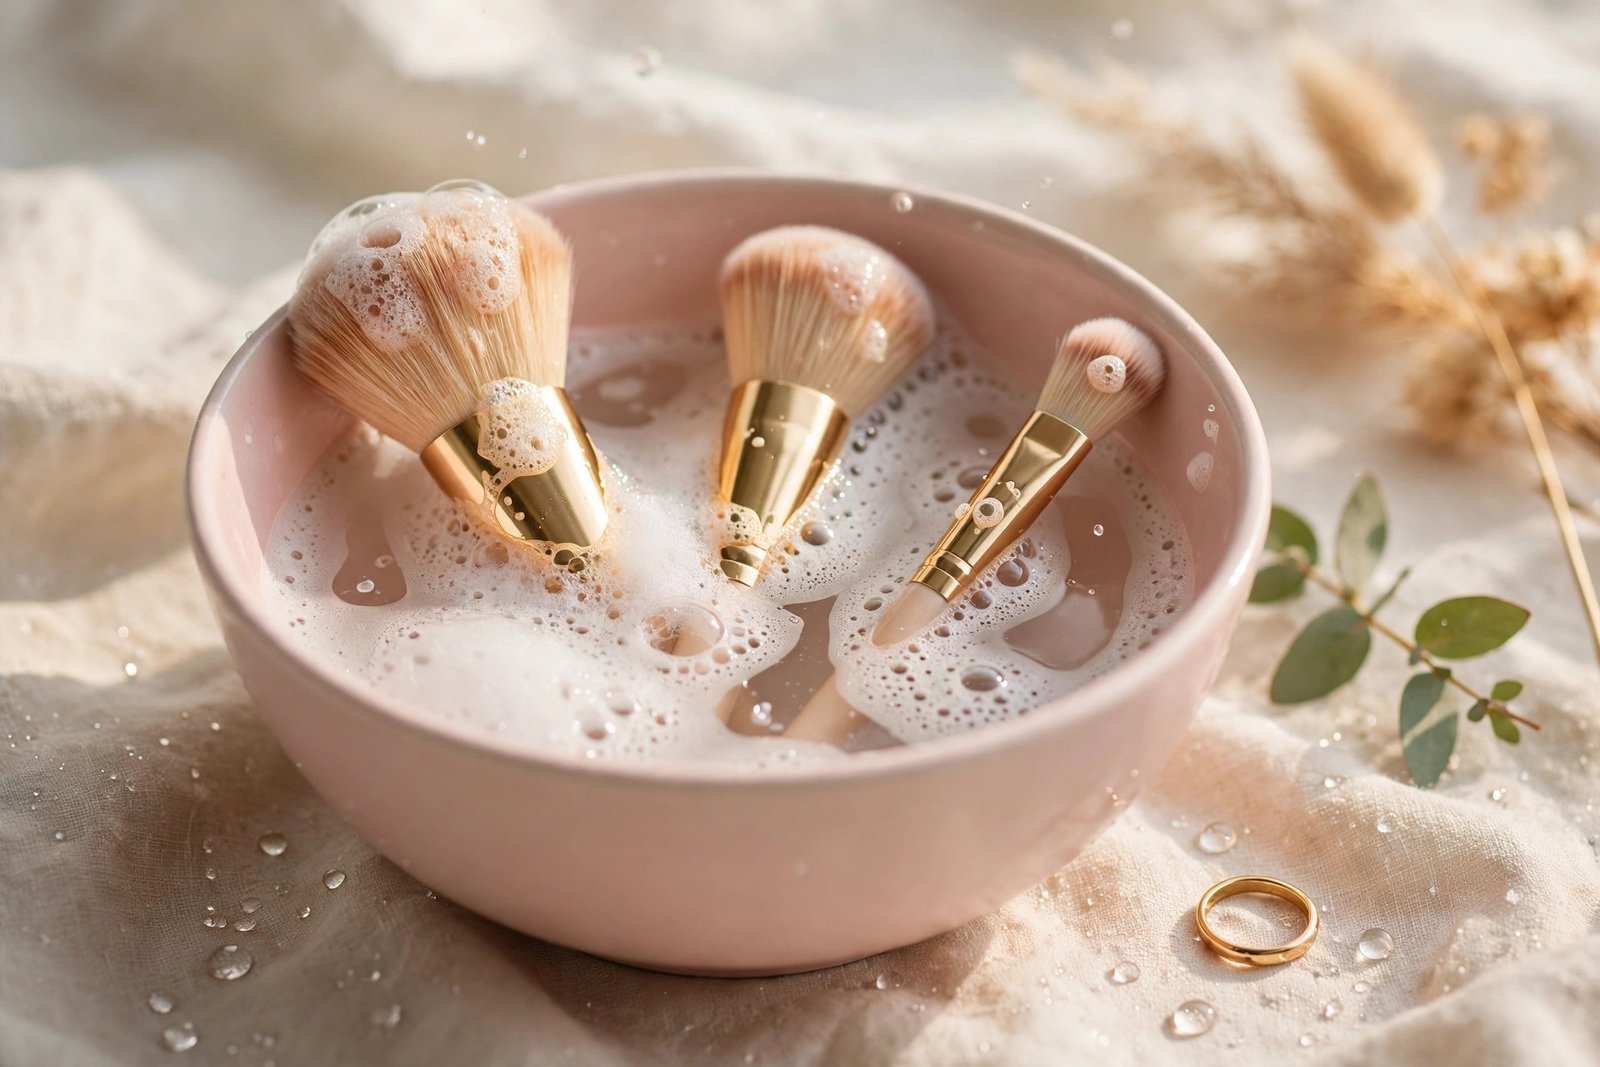
How to Clean Makeup Brushes Without Ruining Them
Dirty makeup brushes are one of the most common — and most overlooked — causes of bad makeup days. Product buildup makes foundation go on streaky, eyeshadow colors turn muddy, and bacteria thrive in damp bristles. But washing brushes the wrong way can wreck them: shed bristles, warped shapes, and loose ferrules are usually the result of soaking, hot water, or harsh soap — not age.
The good news is that cleaning makeup brushes correctly is simple once you know the method. This guide covers how often each brush type needs washing, a gentle deep-cleaning routine, a fast daily method, and the mistakes that destroy brushes — everything you need to keep your tools performing like new. And if you’re still building your kit, the beginner makeup brushes guide breaks down exactly which brushes you need and what each one does.
Why Cleaning Your Makeup Brushes Actually Matters
Dirty brushes cause breakouts
Every time a brush touches your face, it picks up oil, dead skin cells, and bacteria — and then transfers them back onto your skin the next time you use it. Dermatologists and makeup artists widely agree that dirty brushes can contribute to clogged pores and breakouts, especially brushes used with liquid and cream products like foundation and concealer, where moisture feeds bacterial growth. Foundation and concealer brushes are the worst offenders, which is why they need the most frequent cleaning.
Product buildup ruins makeup performance
Caked-on product changes how a brush behaves. A foundation brush stiff with old product can’t buff smoothly, so base makeup goes on streaky. An eyeshadow brush loaded with three different shades will muddy every new color you apply. Clean bristles are soft, flexible, and pick up product evenly — that’s the difference between a flawless blend and a patchy mess.
Clean tools last longer
Dried foundation and concealer stiffen bristles over time, making them brittle and prone to shedding. Regular gentle washing keeps natural and synthetic fibers supple, which extends the life of your brushes — good news whether you own a budget set or invested in premium tools.
How Often Should You Clean Each Brush Type?
Not all brushes need the same schedule. The rule of thumb: the wetter and creamier the product, the more often the brush needs washing.
After every use (daily):
– Foundation brushes (liquid/cream foundation)
– Concealer brushes
– Beauty sponges — sponges are porous and stay damp, so they’re bacteria magnets
2–3 times per week:
– Cream blush or contour brushes
– Cream eyeshadow brushes
– Lip brushes
Once a week:
– Powder brushes (setting powder, bronzer, blush)
– Powder eyeshadow brushes
– Highlighting brushes
Every 2 weeks (minimum):
– Spoolies and brow brushes (less product contact)
– Powder puffs and kabuki brushes used only for dry products
This schedule assumes daily makeup wear. If you wear makeup less often, scale accordingly — but never let liquid-product brushes sit unwashed for more than a week. And if you experience an eye infection or cold sore, wash any brushes used on that area immediately and let them dry fully before using them again.
For a refresher on which brush does what, the makeup brushes guide for beginners has a full breakdown of each brush type and its job.
How to Deep Clean Makeup Brushes: Step-by-Step
A deep clean once a week (or after every use for foundation brushes) keeps bristles in top condition. Here’s the full method:
What you’ll need
- Gentle brush cleanser or mild soap — a dedicated brush shampoo, gentle baby shampoo, or a mild dish soap diluted in water all work. Avoid anything with harsh sulfates, alcohol, or heavy fragrance.
- Lukewarm water — never hot.
- A clean towel or brush-drying mat.
- Optional: a silicone brush-cleaning pad or textured mat (helps work product out of dense brushes without scrubbing).
The method
Step 1: Wet the bristles — tips only. Hold the brush with the bristles pointing downward and wet only the tip-to-midsection under lukewarm running water. Never submerge the whole brush or let water run up into the ferrule (the metal band holding the bristles). Water in the ferrule loosens the glue that holds bristles in place, which is the #1 cause of shedding.
Step 2: Add cleanser. Put a small drop of brush cleanser or gentle soap in your palm (or on a silicone cleaning pad). Swirl the wet bristles in the cleanser using light circular motions. For stubborn foundation buildup, let the cleanser sit on the bristles for a minute before swirling — soaking time does the dissolving work, not pressure.
Step 3: Rinse with bristles pointing down. Rinse under lukewarm water, keeping the brush angled downward so water flows away from the ferrule. Squeeze the bristles gently from base to tip to push out cleanser and loosened product. Repeat the lather-and-rinse cycle until the water runs clear — dense foundation brushes often need two or three rounds.
Step 4: Reshape the bristles. While the bristles are still damp, gently squeeze out excess water and use your fingers to reshape the brush head to its original form — round brushes back to a point, flat brushes smooth and even. This step matters: brushes that dry misshapen tend to stay that way.
Step 5: Remove excess water. Lay the brush on a clean, dry towel and gently roll it to absorb extra moisture. Don’t wring or twist the bristles.
Tips for different brush types
- Dense foundation and kabuki brushes: These hold the most product. Use a silicone cleaning pad and expect extra rinse cycles.
- Natural-hair brushes (if you own any): Use an extra-gentle cleanser and consider a tiny drop of conditioner on the bristles after washing to keep them soft — rinse it out thoroughly.
- Eyeshadow and detail brushes: Smaller and more delicate. Use less pressure and fewer swirls; they’re easy to splay out of shape.
- Sponges: Work cleanser into the sponge by squeezing (not twisting), rinse until the water runs clear, and squeeze out as much water as possible. Sponges need replacing more often than brushes — see the replacement section below.
The Quick Daily Cleaning Method (Between Deep Cleans)
Daily spot cleaning keeps brushes hygienic between deep washes and takes under a minute per brush. This is especially useful for foundation and concealer brushes, which need daily attention but don’t need a full wash every single time.
Option 1: Brush cleansing spray. Spritz a quick-dry brush cleansing spray directly onto the bristles, then sweep the brush back and forth on a clean microfiber cloth or paper towel until no color transfers. The alcohol-based sprays evaporate quickly, so the brush is usable within a minute or two.
Option 2: Solid brush soap. Wet the bristles lightly, swirl them on a solid brush-cleaning soap, and wipe on a clean cloth. Rinse briefly or wipe thoroughly — most solid cleansers are designed to rinse quickly.
Option 3: Micellar water. In a pinch, saturate a cotton pad with micellar water and swirl the brush on it until clean. This works best for powder brushes and light product — it won’t fully cut through heavy foundation buildup.
Daily spot cleaning extends the time between deep cleans, but it doesn’t replace them. Think of it like rinsing a plate before it goes in the dishwasher — helpful maintenance, not the full job.
How to Dry Makeup Brushes Correctly (Shape Matters)
How you dry brushes is just as important as how you wash them. The golden rules:
Dry bristles-down or flat — never bristles-up. When a wet brush stands upright, water seeps down into the ferrule, loosening the glue and causing shedding and splaying. Instead:
- Best method: Dry brushes at an angle, bristles pointing slightly downward. A brush-drying rack or a rolled towel with the handle elevated and bristles hanging off the edge of a counter works perfectly.
- Good method: Lay brushes flat on a clean towel with the bristles extending past the towel’s edge so air circulates around them.
Reshape before drying. As mentioned above, use your fingers to mold damp bristles back to their original shape. For round or pointed brushes, you can loosely wrap the damp bristles in a small piece of tissue or a brush guard to hold the shape while drying — remove it once dry.
Allow full drying time. Dense brushes can take 12–24 hours to dry completely; smaller brushes usually dry within 6–8 hours. Never use a brush that’s still damp, and never store brushes in a closed container or makeup bag while damp — trapped moisture breeds bacteria and mildew.
Skip the heat. Don’t use a hair dryer, radiator, or direct sunlight to speed up drying. Heat damages bristles (especially synthetic ones) and can melt or warp the glue in the ferrule.
7 Mistakes That Ruin Makeup Brushes
- Soaking brushes in water. Submerging the brush — or even letting water sit in the ferrule during washing — dissolves the glue holding bristles in place. This is the most common cause of shedding. Always keep the ferrule dry.
- Using hot water. Hot water can damage synthetic bristles, strip natural hair of its oils, and weaken ferrule glue. Lukewarm is the safe zone.
- Scrubbing aggressively. Mashing bristles into your palm or scrubbing hard against a surface splays and breaks fibers. Gentle swirling with adequate cleanser does the same job without the damage.
- Using harsh soaps. Dish soap at full strength, bar soap with heavy fragrance, or anything containing alcohol can dry out and degrade bristles over time. Stick to gentle, mild cleansers.
- Drying brushes upright. Bristles-up drying lets water drain into the ferrule — the slow-motion version of soaking. Always dry flat or angled downward.
- Sharing brushes without cleaning between users. Beyond hygiene concerns, sharing spreads bacteria and can transfer eye infections. If someone borrows a brush, clean it before and after.
- Storing brushes while damp. Tossing a freshly washed brush into a closed makeup bag traps moisture, encouraging mildew and bacterial growth. Make sure every brush is bone-dry before it goes into storage.
When to Replace Your Makeup Brushes
Even with perfect care, brushes don’t last forever. Replace a brush when you notice:
- Persistent shedding — a few loose bristles after washing is normal, but ongoing shedding means the ferrule glue has failed.
- Permanently splayed or misshapen bristles that won’t reshape when damp.
- Scratchy or stiff texture that doesn’t soften after a proper deep clean.
- A loose or wobbly ferrule — the handle connection is failing and won’t recover.
- Lingering odor after thorough washing, which signals deep bacterial buildup.
Rough lifespan guidelines: Quality synthetic brushes typically last 1–3 years with regular care; natural-hair brushes can last longer if maintained well. Beauty sponges are a different story — replace them every 1–3 months, since their porous structure can’t be fully sanitized and breaks down with use. (For more on the sponge vs. brush debate, see beauty blender vs. makeup brush.)
If your brushes are wearing out faster than expected, it’s worth checking your washing technique against the mistakes above before buying replacements — the method is usually the problem, not the brush.
Frequently Asked Questions
Can I use regular shampoo to clean makeup brushes?
Yes — a gentle, sulfate-free shampoo (baby shampoo is a popular choice) works well as a brush cleanser. Avoid clarifying or anti-dandruff shampoos, which can be too harsh and stripping for bristles. Whatever you use, rinse thoroughly so no residue is left behind.
How do I clean brushes used with waterproof or long-wear products?
Waterproof and long-wear formulas need an oil-based first step. Massage a small amount of cleansing oil or olive oil into the dry bristles to dissolve the stubborn product, then follow with your regular brush cleanser and rinse. The oil pre-treatment prevents you from having to scrub, which is what damages bristles on tough jobs.
Why do my brushes smell bad even after washing?
A musty or sour smell usually means the brush wasn’t dried completely — moisture trapped deep in dense bristles encourages bacterial growth. Rewash the brush, rinse extra thoroughly, and dry it in a well-ventilated spot with the bristles angled downward. If the smell persists after a proper wash and full dry, the brush is past saving and should be replaced.
Is it okay to clean makeup brushes with dish soap?
Diluted mild dish soap can work for cutting through heavy foundation and concealer buildup, but use it sparingly — a single drop mixed into water, not full strength. Used too often or undiluted, dish soap dries out bristles. For regular washing, a dedicated brush cleanser or gentle shampoo is kinder to your tools.
How long do makeup brushes take to dry?
It depends on density. Small eyeshadow brushes usually dry in 6–8 hours; dense foundation and powder brushes can take 12–24 hours. Always wash brushes when you have enough time for a full dry — washing foundation brushes at night so they’re ready for the morning works well. Never speed things up with a hair dryer or direct heat.
Key Takeaways
- Dirty brushes cause breakouts and make makeup apply unevenly — clean foundation and concealer brushes after every use, powder brushes weekly.
- Deep clean with lukewarm water and a gentle cleanser: wet bristles only (never the ferrule), swirl gently, rinse until water runs clear, reshape, and dry flat or angled downward.
- Daily spot cleaning with a brush spray or solid soap keeps brushes hygienic between deep washes.
- The biggest brush killers are soaking, hot water, aggressive scrubbing, harsh soaps, and drying bristles-up.
- Replace brushes when they shed persistently, stay misshapen, feel scratchy after washing, or develop a lingering odor — and swap out beauty sponges every 1–3 months.
- Good technique matters more than expensive tools: even budget brushes last years when washed and dried correctly.
Love this? Pin it for later!