How to Make Nail Polish Last Longer (No Chipping)
There’s nothing more frustrating than spending 45 minutes on a careful at-home manicure, only to spot the first chip the next morning. The good news: polish that chips in two days isn’t a sign you need salon visits — it usually means one or two steps need adjusting.
Making nail polish last longer comes down to three things: proper nail prep, correct application technique, and a little daily maintenance. Get those right, and an at-home manicure can easily last 7 to 10 days. Here’s exactly how.
If you’re new to nail care in general, start with a solid nail care routine at home — healthy nails hold polish far better than weak, damaged ones.
Why Nail Polish Chips (So Fast)
Before fixing the problem, it helps to understand what’s actually causing it. Polish chips when the bond between the polish and the nail breaks down, and that happens for a few predictable reasons:
Oils on the nail plate. Your nails naturally produce oils, and so do the hand creams and cuticle oils you apply. Polish can’t grip an oily surface properly. If you skip the dehydrating step before painting, you’re essentially painting on a slippery surface — chips are almost guaranteed within a couple of days.
Too-thick coats. Thick layers look opaque faster but don’t cure through. The surface feels dry while underneath stays soft, so everything lifts and chips easily — the most common application mistake.
Skipping base or top coat. Base coat creates grip; top coat seals everything in. Skipping either dramatically shortens wear time.
Water exposure. Nails absorb water and expand, then contract as they dry. This flexing breaks the polish seal — which is why manicures chip faster with lots of dishwashing or long baths without gloves.
Using nails as tools. Opening cans, scraping stickers, aggressive typing — everyday wear stresses the polish, especially at the free edge (the tip) where chips almost always start.
The encouraging part: every one of these causes has a straightforward fix.
Nail Prep: The Step That Matters Most
Manicurists will tell you that prep is at least half the manicure. A perfectly prepped nail can make even a drugstore polish last a week; a poorly prepped nail will chip a premium polish in two days. Don’t rush this part.
1. Remove Old Polish Completely
Start with clean nails. Use an acetone-based remover to take off every trace of old polish, including the stubborn bits around the cuticles. Non-acetone removers are gentler but often leave a slight residue — if you use one, follow up by washing your hands with soap and water afterward.
2. Shape and Smooth
File your nails into your desired shape, always filing in one direction rather than sawing back and forth (which creates micro-tears at the edge that polish can’t seal). Then gently buff the nail surface with a fine-grit buffer block — just enough to remove shine, not enough to thin the nail. A slightly roughened surface gives polish something to grip.
3. Push Back Cuticles
Gently push back cuticles with a cuticle pusher or orangewood stick after softening them in warm water for a few minutes. Polish that sits on top of cuticle skin will lift as the skin moves — that’s one of the most common causes of peeling near the base of the nail.
4. Dehydrate the Nail Plate
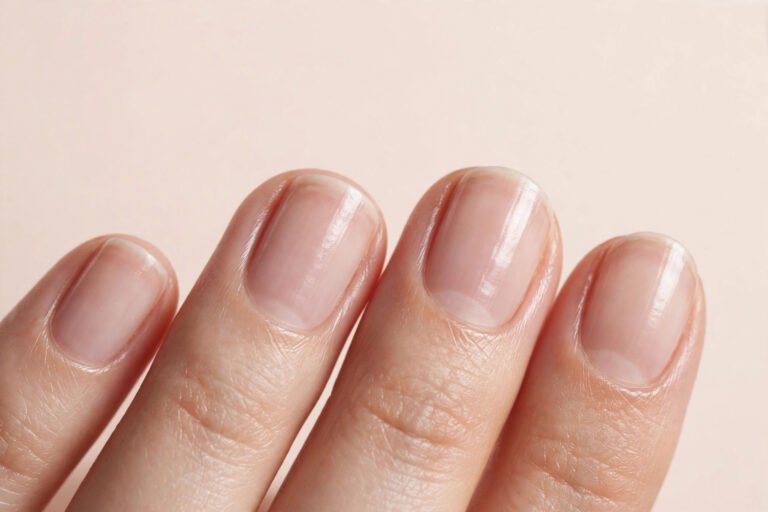
This is the step most people skip, and it’s arguably the most important. After shaping and cuticle work:
- Wash your hands with soap and water to remove filing dust and oils.
- Dry thoroughly.
- Wipe each nail with rubbing alcohol or a dedicated nail dehydrator on a lint-free pad. This removes the last traces of oil and moisture.
Wait until the alcohol evaporates completely (a few seconds) before applying base coat. Your nails should look matte and feel squeaky-clean. If you’ve been dealing with polish that bubbles on the nail, proper dehydration helps with that problem too.
Important: Don’t apply hand cream or cuticle oil before painting. Save all moisturizing for after the polish is fully dry.
Application Technique That Prevents Chipping
With prep done, how you apply the polish makes all the difference. The golden rule: thin coats, and always seal the free edge.
Base Coat: Don’t Skip It
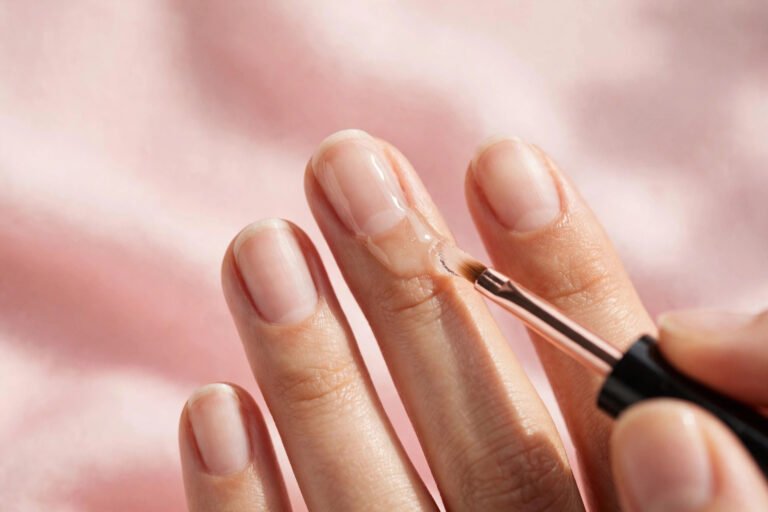
Apply one thin layer of base coat to every nail. Base coat does two jobs — it gives the color something to grip, and it prevents dark pigments from staining your natural nail. Let it dry for 1 to 2 minutes before moving on. If your nails are weak or tend to peel in layers, look for a ridge-filling or strengthening base coat.
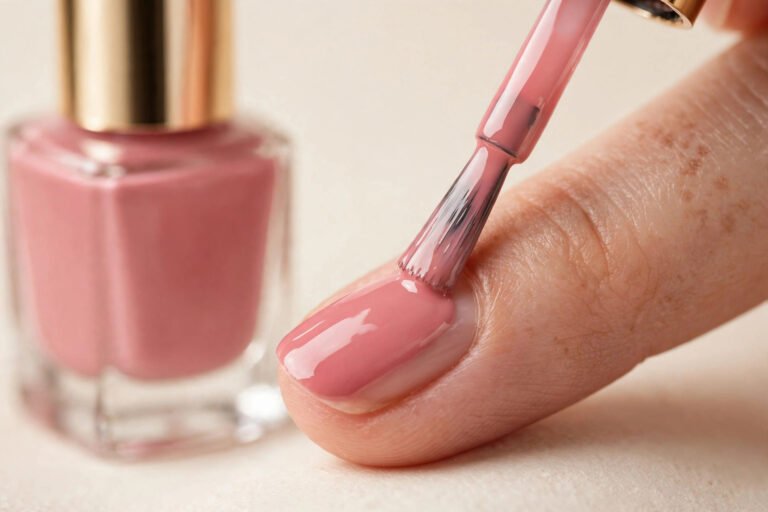
Color: Two Thin Coats, Not One Thick One
This is where patience pays off:
- Wipe excess polish off the brush against the inside of the bottle neck. You want a thin, controlled amount — not a loaded brush.
- Apply the first coat thinly. It will look streaky and sheer. That’s completely fine — the first coat is a foundation, not the final color.
- Let it dry 2 to 3 minutes. The surface should feel dry to a light touch.
- Apply the second thin coat. This is where the color becomes rich and even.
- Cap the free edge. On every coat (base, color, and top), run the brush lightly along the very tip of the nail — the edge you’d see looking straight at your fingertip. This seals the most chip-prone area and is the single best anti-chip technique there is.
If you need a third coat for full opacity, that’s fine — just keep every coat thin and let each one dry first. Paint in a room-temperature, low-humidity space, and avoid painting right after a hot shower when nails are swollen with moisture.
Top Coat Guide: Which One and How Often
Top coat is your manicure’s armor. It seals the color, adds shine, and takes the brunt of daily wear so the color underneath survives.
Choosing a Top Coat
- Quick-dry top coats are the most practical for at-home manicures — they harden fast, so less smudging while you wait.
- Gel-effect top coats (no UV lamp needed) give a thicker, glossier finish with extra chip resistance.
- Matte top coats look trendy but show wear faster — reapply them more often.
Whatever you choose, apply one thin coat and cap the free edge.
The Reapplication Trick
Here’s the secret that extends wear time more than almost anything else: reapply a thin layer of top coat every 2 to 3 days. This refreshes the protective seal, restores shine, and reinforces the free edge before micro-chips can spread. It takes two minutes and can easily add 3 to 5 days to your manicure’s life.
Think of it like reapplying sunscreen — the initial application does the heavy lifting, but maintenance keeps it working.
Daily Maintenance Habits
A long-lasting manicure isn’t just about application day. These small daily habits make a real difference:
Wear gloves for wet work. Dishes, cleaning, gardening — water and chemicals are polish’s worst enemies. Keep a pair of rubber gloves under the sink and actually use them.
Moisturize around (not on) fresh polish. Once your manicure is fully dry (give it at least a few hours, ideally overnight), resume hand cream and cuticle oil. Well-moisturized cuticles and skin flex instead of cracking, which protects the polish seal at the base. Just avoid heavy oils in the first few hours.
Don’t use nails as tools. This sounds obvious, but most chips come from exactly this — opening soda cans, scratching off stickers, prying things open. Use the pads of your fingers or an actual tool instead.
Fix small chips immediately. A tiny chip at the tip will spread if ignored. Dab a little polish on the chipped spot, let it dry, and seal with top coat. A 30-second repair can save the whole manicure.
Avoid prolonged soaking. Long baths, hot tubs, and swimming all swell the nail plate. If you can’t avoid them, the damage is minimized by a good top coat seal — another reason the reapplication trick matters.
Go easy on hand sanitizer. Its high alcohol content can dull top coat over time — a fresh top coat layer afterward helps.
FAQ
How long should a regular manicure last?
With proper prep and application, a standard (non-gel) at-home manicure should last 7 to 10 days before noticeable chipping. If yours consistently chips in 2 to 3 days, the issue is almost always prep (oily nail plate) or thick coats — not the polish brand.
Does expensive polish last longer than drugstore polish?
Not necessarily. Formula quality matters, but prep and technique matter more. A $6 polish on a perfectly prepped nail will outlast a $20 polish on an oily, unprepped one. Invest effort in prep and top coat rather than chasing premium brands.
Why does my polish always chip at the tips first?
The free edge (the tip) takes the most impact in daily life — typing, tapping, grabbing things. It’s also the hardest area to seal because polish naturally pulls back slightly from edges as it dries. Capping the free edge on every coat directly addresses this, and reapplying top coat every few days reinforces it.
Can I make matte polish last longer?
Matte top coats show wear faster because they lack the hard, glossy seal of a standard top coat. To extend a matte manicure, apply a glossy quick-dry top coat first, let it fully cure, then apply the matte top coat over it. Reapply the matte layer every 2 to 3 days.
Should I use a UV/LED lamp with regular polish?
No — regular nail polish dries by solvent evaporation, not UV curing. A lamp won’t speed it up and the heat can actually cause bubbling. Gel-effect top coats are designed to air-dry; only true gel polish needs a lamp.
My polish peels off in one sheet. What am I doing wrong?
Peeling (rather than chipping) means the polish never bonded — which points to oil or moisture on the nail plate. Revisit the dehydration step: wash, dry completely, wipe with alcohol, and avoid touching nails with your fingers before the base coat goes on.
Key Takeaways
- Chips happen when polish loses its bond to the nail — usually from oil on the nail plate, coats that are too thick, or unsealed edges.
- Nail prep is the most important step: remove all old polish, shape and buff gently, push back cuticles, and dehydrate each nail with alcohol before painting.
- Apply thin coats only — two thin color coats beat one thick one every time — and cap the free edge with every single coat.
- Always use base coat and top coat; reapply a thin layer of top coat every 2 to 3 days to extend wear significantly.
- Protect your manicure daily: wear gloves for wet work, don’t use nails as tools, and repair small chips immediately before they spread.
- With the right prep and technique, an at-home manicure can reliably last 7 to 10 days without chipping.
Love this? Pin it for later!