How to Use a Clay Mask: Application, Timing & Removal Guide
Clay masks are the deep-clean workhorses of the masking world — brilliant at absorbing excess oil and loosening pore buildup, but unforgiving when used incorrectly. The difference between a clay mask that leaves your skin clear and smooth and one that leaves it tight, red, and flaky comes down to three things: how you apply it, when you remove it, and how often you repeat it. This guide covers all three, plus the famous dry-time rule that most beginners get wrong.
If you are still deciding whether clay is your mask type, the [face masks guide for beginners → face-masks-guide-for-beginners] compares all five major mask families. Already decided? Read on.
Key Takeaways
- Apply clay masks to clean, slightly damp skin in a thin, even layer, avoiding the eye and lip areas.
- The golden rule: remove the mask while it is still slightly tacky (about 10 minutes) — never let it dry until it cracks.
- Remove with lukewarm water and gentle circular motions; a soft damp cloth helps with stubborn edges.
- Always moisturize after a clay mask — clay removes oil, and your skin needs hydration put back.
- Frequency by skin type: oily 1–2x/week, combination 1x/week, dry or sensitive once every 1–2 weeks or skip.
- Mild tingling is normal with some clays; burning or spreading redness means rinse off immediately.
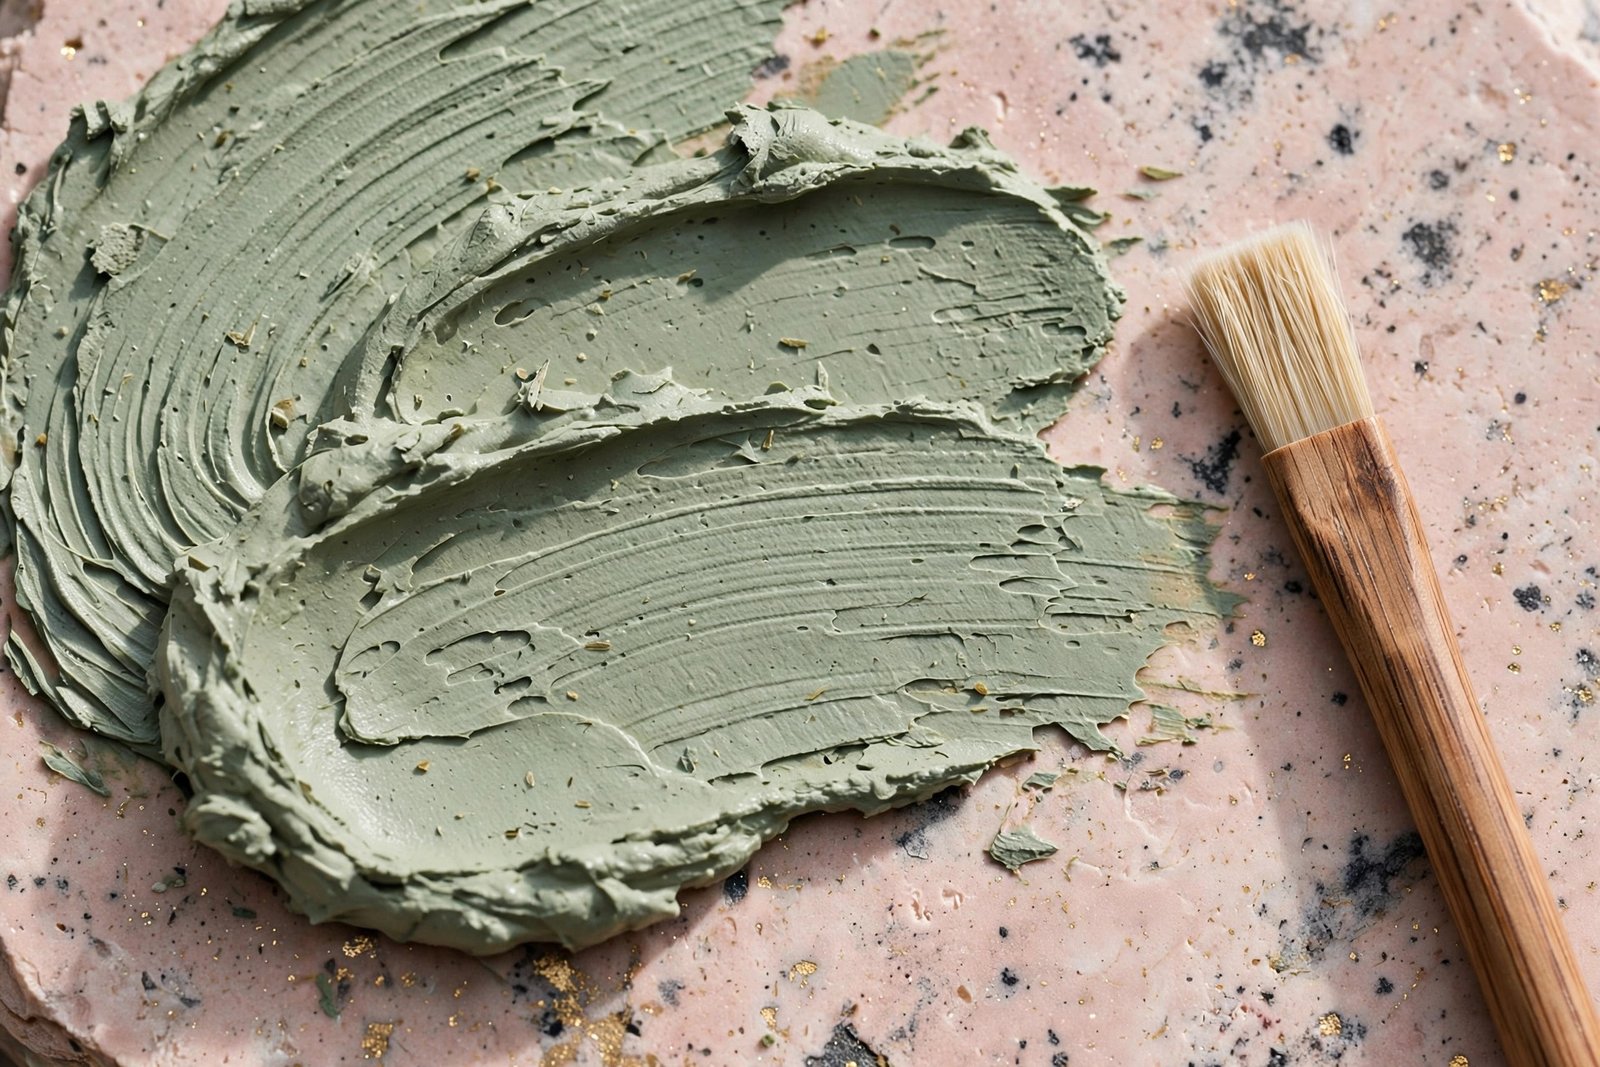
What Clay Masks Actually Do
Clay masks work through absorption. Clays like kaolin, bentonite, and French green clay are naturally absorbent minerals: as the mask sits on your skin, the clay draws excess sebum (oil) out of the pores and onto itself. When you rinse the mask away, that oil goes with it.
This makes clay masks genuinely useful for oily skin, visible pores, and the kind of congestion that shows up as blackheads on the nose and chin. What they do not do: permanently shrink pores (pore size is largely genetic), “pull toxins” from deep in the skin (a popular but unproven marketing claim), or replace a good cleanser. Think of clay as a periodic deep-clean treatment, not a daily detox.
Different clays have different strengths. Kaolin (white or pink clay) is the gentlest and a good starting point for beginners or combination skin. Bentonite is more absorbent and better suited to very oily skin — it is also the clay behind the famous Aztec-style masks. French green clay sits in the middle. If you are new to clay, start with kaolin and work up only if your skin wants more.
How to Apply a Clay Mask, Step by Step
Step 1: Start with clean skin. Wash your face with your regular cleanser and pat it so it is slightly damp — not dripping, not bone dry. Clay spreads more evenly and works more gently on damp skin.
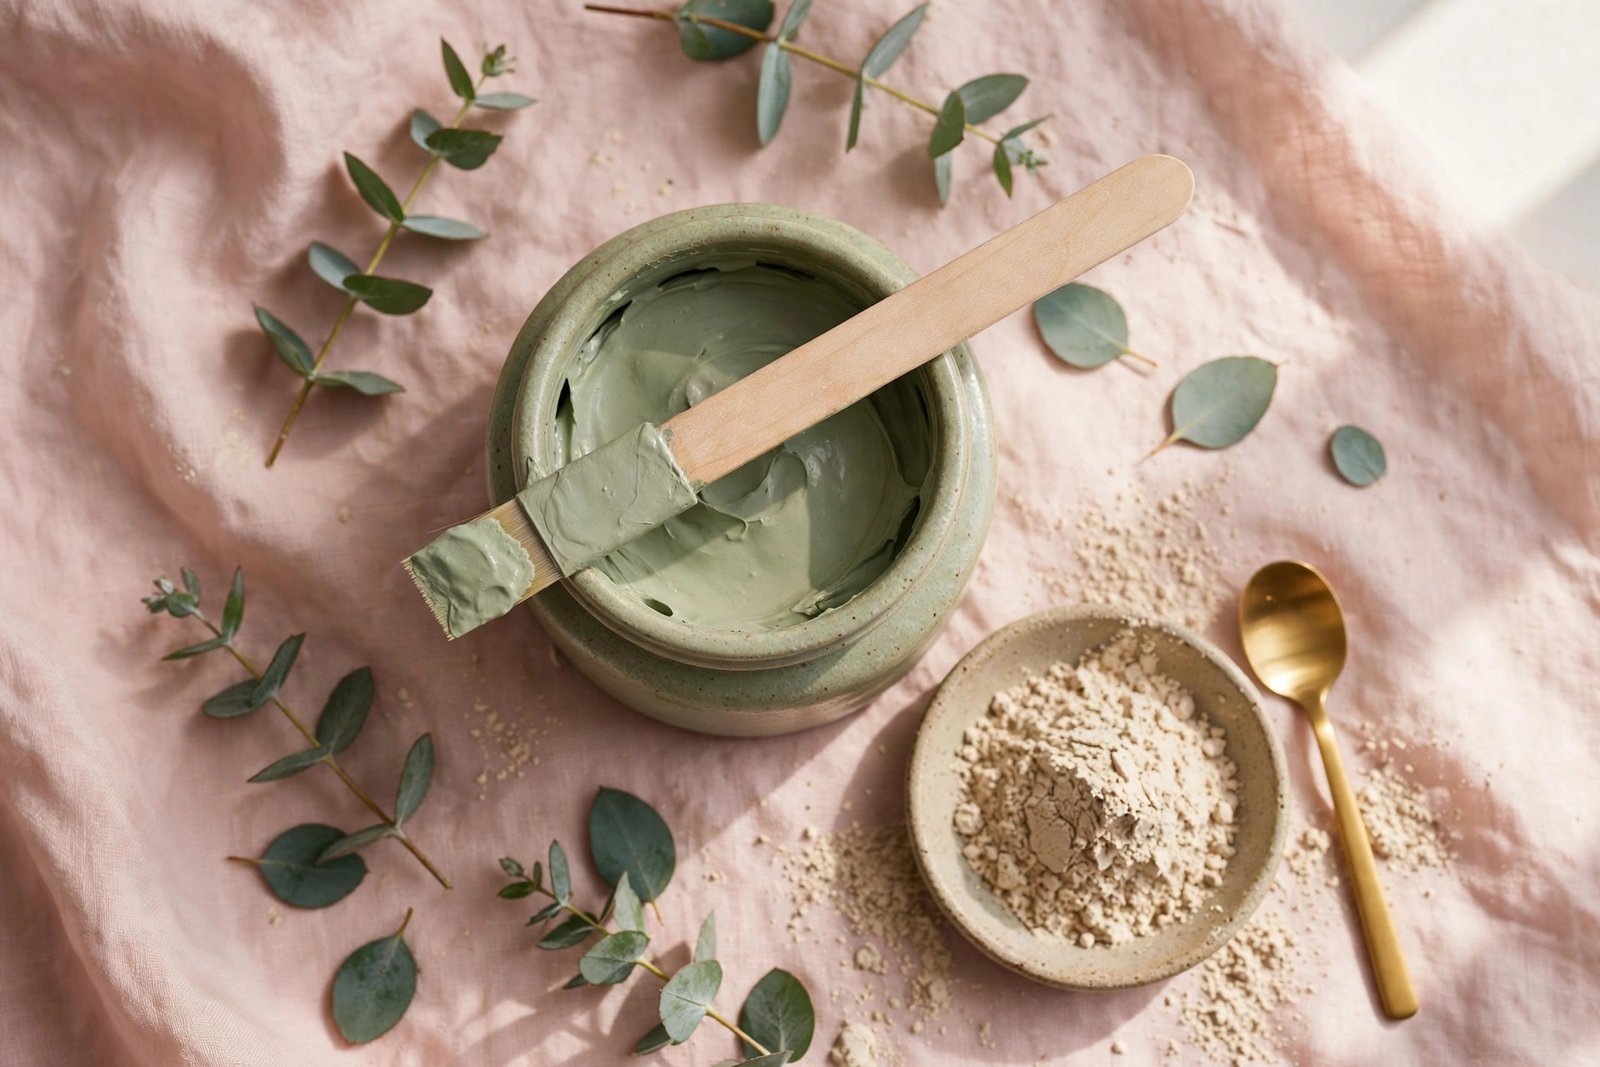
Step 2: Apply a thin, even layer. Using clean fingers or a flat mask brush, spread the clay over your face in a thin layer — thick enough that you cannot see skin through it, thin enough that it does not take forever to set. Avoid the delicate eye area and the lips entirely; the skin there is too thin for clay’s absorbent action.
Step 3: Target where you need it. You do not have to mask your whole face. For combination skin, apply clay only to the oily T-zone (forehead, nose, chin) and use a hydrating mask — or nothing — on drier cheeks. This targeted approach, sometimes called multi-masking, gives each zone what it actually needs.
Step 4: Set a timer for 10 minutes. This is non-negotiable for beginners. Clay timing is the whole game (more on the rule below), and “I’ll just check in a bit” is how 10 minutes becomes 30.
Step 5: Keep the mask workable. If your bathroom is warm or your skin runs dry, you can lightly mist your face with water or a facial spray halfway through to slow the drying. The goal is a mask that sets but never hardens completely.
The Dry-Time Rule: The #1 Thing Beginners Get Wrong
Here is the rule that determines your entire clay mask experience: remove the mask when it is still slightly tacky to the touch — when the color has lightened but the surface has not cracked. Never let it dry into a hard, cracked shell.
Why it matters: as clay dries, it keeps absorbing — first oil, then moisture from your skin itself. A fully dried, cracked mask has crossed from “absorbing excess oil” into “stripping your skin’s natural moisture.” The result is that tight, uncomfortable feeling, and with repeated over-drying, redness, flakiness, and a compromised skin barrier.
How to judge it: at around the 10-minute mark, lightly touch the mask on your cheek. If it feels cool and slightly tacky and leaves a faint mark on your fingertip, it is ready to come off. If it feels powdery, tight, and cracked like a dry riverbed, you have waited too long — remove it immediately and moisturize well.
Thinner layers dry faster than thick ones, and dry environments speed things up, so in winter or air-conditioning, check at 8 minutes. When in doubt, remove early. A slightly under-dried clay mask still did its job; an over-dried one undid it.
How to Remove a Clay Mask Properly
Removal technique matters because dried clay clings, and scrubbing it off aggressively irritates the skin you just treated.
Step 1: Re-wet the mask. Splash lukewarm water over your face several times, or press a soft cloth soaked in lukewarm water against your face for 30 seconds. Re-wetting loosens the clay so it slides off instead of needing to be scraped.
Step 2: Massage gently in circles. With wet fingertips, massage in small circular motions. The combination of water and gentle friction dissolves the clay. Work section by section — forehead, cheeks, nose, chin.
Step 3: Rinse thoroughly. Splash until the water runs clear and your skin feels clean but not squeaky. Check the hairline, jawline, and sides of the nose, where clay loves to hide.
Step 4: Pat dry, then moisturize immediately. Pat (don’t rub) with a clean towel, then apply moisturizer while your skin is still slightly damp. This is essential: clay has removed oil from your skin, and moisturizer restores the hydration balance. Skipping this step is the second most common clay mask mistake after over-drying.
Water temperature note: lukewarm is the target. Hot water strips additional oil and compounds the drying effect; cold water does not dissolve the clay efficiently.
How Often Should You Use a Clay Mask?
Frequency depends on your skin type, and this is where restraint pays off:
- Oily skin: 1 to 2 times per week. Twice weekly is the maximum for most people; start with once and increase only if your skin handles it well.
- Combination skin: Once a week, applied mainly to the T-zone.
- Normal skin: Once a week or every other week, as a periodic deep clean.
- Dry skin: Once every 1 to 2 weeks at most, using a gentle kaolin formula — or skip clay entirely in favor of hydrating masks.
- Sensitive skin: Approach with caution. Patch test first, use the gentlest kaolin formula, keep it to 5–8 minutes, and stop if any irritation appears.
A useful rhythm for oily skin: clay mask once a week for maintenance, plus a hydrating [sleeping mask → what-is-sleeping-mask-how-to-use] on a different night to keep the moisture balance healthy. Masking is about balance, not just oil removal. For the full frequency chart across all mask types, see [how often to use a face mask → how-often-should-you-use-a-face-mask].
The Aztec Clay Mask: What to Know
No clay mask guide is complete without addressing the most famous one: the Aztec-style bentonite clay mask (typically mixed with apple cider vinegar or water). It is beloved for a reason — bentonite is powerfully absorbent — but it is also the mask most likely to humble a beginner.
The intense tingling and the famous “pulsating” sensation people describe are normal with this mask and come from increased blood flow to the skin’s surface as the clay tightens. Mild versions of these sensations are expected. But intense burning, spreading redness, or swelling are not — those mean rinse off immediately.
For the full breakdown of what is normal versus what is a warning sign, read this detailed [Aztec clay mask review → aztec-clay-mask-tingle-pulsate-normal], which covers the tingle-and-pulsate experience honestly. Beginners should start with a shorter application time (5 to 10 minutes) and a gentler mix before working up to the full-strength version.
Clay Masks and Exfoliation: Do Not Double Up
Clay masks provide a mild physical exfoliating effect as they are massaged off, which means they count as an exfoliating step. Using a clay mask in the same routine as a chemical exfoliant (AHA/BHA), a scrub, or a retinol is asking for irritation.
Keep clay masking and strong exfoliation on separate days, especially while you are learning your skin’s tolerance. If you are unsure about your exfoliation schedule, check [how often to exfoliate your face → how-often-should-you-exfoliate-face] and plan your masking days around it. Those with oily routines may also find the [skincare routine for oily skin → skincare-routine-for-oily-skin-guide] helpful for fitting clay masks into a balanced week.
Frequently Asked Questions
Why does my face feel tight after a clay mask?
Mild tightness that fades within minutes after moisturizing is common — the clay absorbed surface oil. But pronounced, lasting tightness means the mask stayed on too long or your skin type needs a gentler formula or less frequent use. Next time, remove it earlier and moisturize immediately.
Can I use a clay mask if I have dry skin?
Yes, but carefully: choose a kaolin-based (gentle) formula, apply a thin layer, remove at 8 minutes maximum, and moisturize well afterward. Many people with dry skin prefer to clay-mask only the nose and chin where congestion actually occurs, rather than the whole face.
Is tingling normal with clay masks?
Mild tingling for the first few minutes is normal, especially with bentonite-based masks — it reflects increased circulation as the mask tightens. Persistent stinging, burning, or itching is not normal; rinse off and do not use that product again.
Can I mix a clay mask powder with apple cider vinegar instead of water?
You can, and many people do with bentonite masks — the acidity is part of the traditional recipe. But vinegar increases the potential for irritation, so beginners should start with water, patch test any new mix, and keep the first application short.
Should I moisturize after a clay mask even if my skin is oily?
Absolutely — especially if your skin is oily. Clay removes oil, and skin stripped of oil often compensates by producing more. A lightweight, oil-free moisturizer after masking keeps the balance healthy and prevents rebound oiliness.
The Bottom Line
Clay masks are simple but technique-sensitive: clean damp skin, thin even layer, remove while tacky at around 10 minutes, rinse gently with lukewarm water, and moisturize immediately after. Respect the dry-time rule and the frequency limits for your skin type, and clay becomes one of the most satisfying steps in your routine. For the wider masking picture, revisit the [face masks guide for beginners → face-masks-guide-for-beginners], or plan your week with [how often to use a face mask → how-often-should-you-use-a-face-mask].
face masks guide for beginners
Aztec clay mask review
sleeping mask
how often to use a face mask
how often to exfoliate your face
skincare routine for oily skin
Love this? Pin it for later!