How to Bleach Hair Safely at Home (Damage Control)
Bleach is the most powerful chemical most people will ever put on their hair, and it demands respect. The good news: “safely” and “at home” can coexist. The bad news: most of what goes wrong with DIY bleaching comes from rushing, guessing, and skipping the unglamorous prep work. This guide is the damage-control method — the full process with every safeguard built in, from the strand test to the warning signs that mean you stop and rinse right now.
This is not a shortcut guide. There are no shortcuts with bleach. What there is: a methodical process that minimizes damage, avoids the classic disasters, and leaves your hair in the best possible condition afterward. Follow it in order, do not improvise, and your odds of a good outcome go way up.
Key Takeaways
- “Safely” means minimizing damage, not eliminating it — bleach always alters the hair’s structure.
- A strand test 24–48 hours before is non-negotiable; it is your only preview of how your hair will react.
- 20 volume developer is the at-home standard; 30 volume only for strong, very dark virgin hair; never 40 volume at home.
- Roots go on last — scalp heat accelerates processing and causes “hot roots” if applied first.
- Bond builders in the mix and weekly afterward measurably reduce breakage.
Bleaching always causes some degree of damage to your hair — there is no product, technique, or bond builder that makes lightening damage-free, no matter what marketing claims suggest. Every round of bleach permanently breaks down some of your hair’s protein structure, and that damage is cumulative across sessions. Always do a strand test first to check how your hair responds before committing. And if your hair is already damaged, severely breakage-prone, or previously chemically relaxed, do not attempt this at home — see a professional colorist instead, because weakened hair can snap during processing even with perfect technique.
Before You Touch the Bleach: The Readiness Checklist
Run through this list honestly. If you check any “stop” item, do not proceed.
Green lights (safe to continue):
– Hair is virgin or has grown-out old color, feels strong and elastic when wet and dry
– No chemical relaxers, perms, or keratin treatments in the past 6 months
– No henna in the past year (natural henna can react unpredictably with bleach)
– You have done a strand test and the test hair stayed strong
Red lights (stop and see a professional):
– Hair feels gummy, stretchy, or breaks easily — especially when wet
– Previous bleach damage that has not fully grown out or been cut off
– Chemical relaxer or Japanese straightening, ever, on the hair you plan to bleach
– Hair is currently shedding more than usual or feels thinner than normal
– The strand test strand broke, stretched without springing back, or felt mushy
The wet-stretch test is a quick at-home check: take a single shed hair, wet it, and gently stretch it. Healthy hair stretches a little and springs back. Damaged hair stretches far without returning, or snaps immediately. If your hair fails this test, bleaching now is asking for breakage. the full beginner’s guide to planning a blonde transformation
Your Damage-Control Kit
Gather everything before mixing day. Mid-process shopping trips are how mistakes happen.
- Powder lightener from a professional beauty-supply brand — not a pre-mixed box bleach. Powder gives you control over consistency and processing.
- Cream developer: 20 volume as your default. Buy 30 volume only if your hair is strong, virgin, and very dark. Never buy 40 volume for home use.
- Bond builder: An at-home bond-building treatment to mix into the bleach and use weekly afterward. It protects the disulfide bonds that give hair its strength.
- Toner chosen for your actual lift level — wait until after bleaching to buy it if you are unsure. how to pick the right toner shade for your lift level
- Deep conditioning mask with both protein and moisture — you will use it twice in the first week.
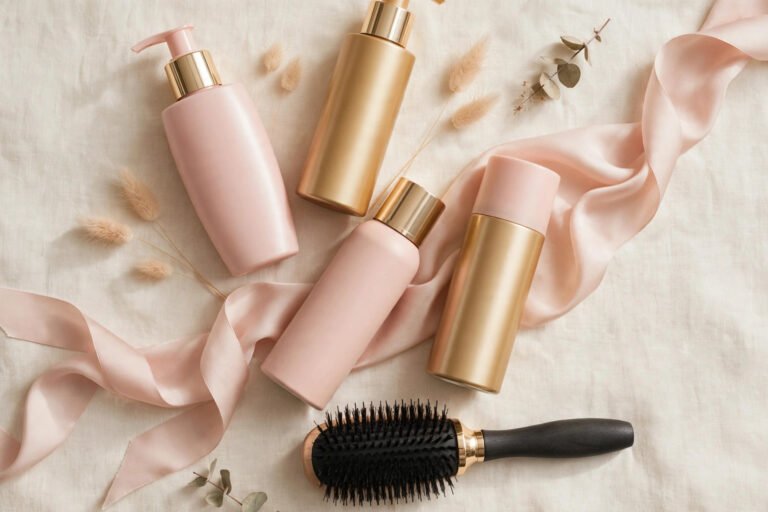
- Tools: non-metal mixing bowl, tint brush, sectioning clips, gloves, old t-shirt, petroleum jelly, and a real timer.
Mix ratio matters: follow your specific powder’s instructions, but the standard is roughly 1 part powder to 2 parts developer, mixed to a thick, creamy consistency — like yogurt, not soup. Too runny and it drips and processes unevenly; too thick and it dries out before finishing.
The Strand Test: Your Crystal Ball
Mix a tablespoon of your exact formula, apply it to a small hidden section (behind the ear or at the nape), and process for your planned time. Rinse, dry fully, and evaluate in natural light:
- Lift level: How many levels did it lift? This tells you whether one session gets you where you want — or whether you need to plan a second session weeks later.
- Hair integrity: Stretch the test strand when wet. Strong and springy means proceed. Gummy, stretchy, or snappy means stop.
- Tone: What color did you actually get — yellow, orange, pale yellow? This determines your toner choice.
Do this 24–48 hours before bleaching day. The waiting period also lets you do an allergy patch test behind the ear — bleach and developer can irritate skin, and discovering a sensitivity on your whole scalp is miserable.
Sectioning: The Skill That Prevents Patchiness
Patchy DIY bleach jobs are almost always a sectioning problem, not a product problem. Clean sections mean even saturation, and even saturation means even lift.
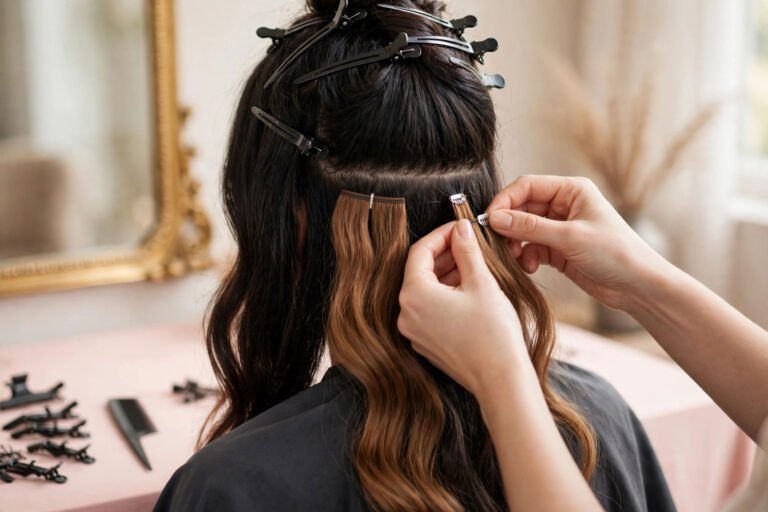
- Divide dry, unwashed hair into four quadrants: center part from forehead to nape, then ear to ear. Clip each quadrant up.
- Working one quadrant at a time, take thin horizontal slices — about a quarter inch thick. If you can see scalp through the slice, it is thin enough.
- Apply bleach to the mid-lengths and ends first, working through all four quadrants before touching the roots.
- Go back and apply to the roots last, in the same thin slices. Roots process faster because of scalp heat — giving them a 10–15 minute head start on the lengths evens everything out.
Work quickly but carefully. The first section you applied started processing the moment the bleach touched it, so dawdling creates uneven timing. If you are slow at sectioning, practice the motions with conditioner the day before — seriously. It helps.
Timing: The Rules That Keep Hair on Your Head
- Maximum processing time: 45–50 minutes from the moment the first section is applied. Set a real timer. “A little longer” is how hair melts.
- Check every 10 minutes by gently wiping a small section with a damp cloth to see the lift. You are watching for your target pale yellow — not white, not “a bit more.”
- Never apply external heat. No blow dryers, no sitting in the sun with a cap on. Heat accelerates damage faster than it accelerates lift.
- Ventilate the room. Bleach fumes are unpleasant and irritating; open a window and take breaks if your eyes or throat bother you.
Warning Signs: Stop and Rinse NOW
Rinse immediately — do not wait for the timer — if you notice any of these:
- Scalp burning or intense itching beyond mild tingling. Mild warmth is normal; pain is not.
- Hair feeling gummy or mushy when you check a section. This means the protein structure is failing.
- Smoke or excessive heat from the hair. This is rare but serious — rinse with cool water immediately.
- Breakage during processing — if hair is snapping while the bleach is on, the session is over.
Rinsing early gives you a less-lifted result, but it saves your hair. You can always do another session in a few weeks. You cannot un-break hair.
Rinsing, Toning, and the First Wash
Rinse with lukewarm water until the water runs clear, then shampoo gently — twice if needed — with a sulfate-free shampoo. Towel-dry and assess your tone in natural light before toning. Pale yellow means you are ready for toner; orange means the lift was insufficient and toner will not fix it (plan a second session in 2–4 weeks instead).
Apply toner to damp hair per the product instructions, watching the clock — toner works in 5–20 minutes and over-processing pushes the color too ashy or grayish. the complete beginner toner walkthrough
For the first wash after bleaching day, keep it simple: sulfate-free shampoo, deep conditioner, no heat styling. Your hair needs rest, not a styling session.
The 4-Week Recovery Plan
First week: Wash 2–3 times max. Deep-conditioning mask twice. No heat styling if you can avoid it. Sleep on a satin pillowcase to reduce friction.
Week 2: Introduce a bond-building treatment weekly. Start purple shampoo once a week if brassiness appears. how to use purple shampoo without overdoing it
Weeks 3–4: Continue weekly bond builder, alternating protein and moisture masks. Assess honestly: is the hair strong enough for a second session if you need one, or does it need more recovery time? If you see broken hairs around the crown or hair snapping when brushed, the answer is more recovery — not more bleach.
Trim split ends promptly. Bleached ends split faster, and splits travel upward. A small trim every 6–8 weeks protects length far better than avoiding the scissors.
The Mistakes That Cause the Most Damage
Bleaching dirty-buildup hair. Product buildup and oils are fine — actual dirt and heavy styling residue can cause uneven processing. Hair should be unwashed for a day or two, not a week.
Overlapping onto already-bleached hair. On root touch-ups, apply bleach to new growth only. Overlapping onto previously lightened hair double-processes it and causes breakage at the line where the two meet.
Using 40 volume “to go faster.” Higher volume does not give better color — it gives faster cuticle destruction. The lift difference between 30 and 40 volume is marginal; the damage difference is not.
Bleaching twice in one week. Back-to-back sessions compound damage exponentially, not linearly. The minimum wait between full bleaching sessions is 2 weeks for very strong hair, 4+ weeks for everyone else.
Skipping the bond builder to save money. Of all the optional-seeming products, this is the one with the most evidence behind it. It is the cheapest insurance in the whole process.
Frequently Asked Questions
How do I know if my hair can handle bleach?
The strand test is the real answer — everything else is guessing. Supplement it with the wet-stretch test: healthy hair stretches slightly and springs back; damaged hair stretches limply or snaps. If both tests look good, your hair is likely a fine candidate. If either fails, wait and repair first.
Can I bleach over previously dyed hair?
Permanent dye — especially dark box dye — lifts unpredictably and often unevenly, leaving banding. Semi-permanent color usually lifts out more cleanly. Always strand-test the dyed sections specifically, and consider a color remover first for dark permanent dye. When in doubt, this is a colorist job.
Why did my hair turn orange instead of blonde?
Orange means insufficient lift, not failed bleach. Your hair needed more processing time or a second session — the underlying pigment ladder goes through orange before reaching yellow. Toner cannot fix orange; only more lift (after proper recovery time) can. fixing brassiness and orange tones at home
Is it safe to bleach my roots at home for touch-ups?
Root touch-ups are actually the most DIY-friendly part of bleaching, because you are only processing virgin new growth. The key rule: apply to new growth only, never overlap onto previously bleached lengths. Touch up every 6–8 weeks before the regrowth gets long — long regrowth bands are harder to blend.
How long should I wait between bleaching sessions?
Minimum 2 weeks for strong, healthy hair; 4+ weeks is safer for most people. Spend the waiting time deep-conditioning and using bond builders. If the hair still feels fragile at the 4-week mark, wait longer. There is no prize for speed here.
The Bottom Line
Bleaching safely at home is not about finding a gentler bleach — it is about running a tighter process. Strand-test, section cleanly, use 20 volume, put roots on last, watch the clock, respect the warning signs, and recover properly afterward. Every safeguard in this guide exists because someone learned its absence the hard way. Be the person who learns from the guide instead, and your hair will thank you. For the bigger picture — planning the full transformation, choosing toner, and maintaining the result — start with the complete beginner’s blonde guide.
Love this? Pin it for later!