Protective Styles for Natural Hair: The Beginner Guide
If you’re new to natural hair care, “protective styling” is the single most important concept to understand. The idea is simple: tuck your fragile ends away, minimize daily handling, and let your hair rest and grow. Length retention — not just growth — is how natural hair gets long, and protective styles are the primary tool for it.
But beginners often run into the same traps: styles installed too tight, hair left in too long, or ends neglected underneath the style. A protective style only protects when it’s installed and maintained correctly. This guide covers everything a beginner needs: what counts as a protective style, how to prepare your hair, the most popular styles ranked by beginner-friendliness, daily care while you’re wearing them, and safe takedown.
Key Takeaways
- Protective styles reduce manipulation and shield fragile ends, which is how natural hair retains length.
- Prep matters as much as the style: cleanse, deep condition, and moisturize before installing anything.
- Never keep a style in past its lifespan — 6 to 8 weeks is the ceiling for most braided styles.
- Tightness is the enemy: pain, bumps, or headaches mean the style is too tight and must be loosened or removed.
What Makes a Style “Protective”?
A protective style is any style that tucks the ends of your hair away and reduces how much you handle it day to day. Your ends are the oldest, most fragile part of each strand — they’re the first to break, split, and tangle. When they’re tucked into braids, twists, or under a wig, they’re shielded from friction, weather, and your own hands.
That means loose wash-and-gos, daily twist-outs, and styles that leave ends exposed don’t count as protective, even though they’re beautiful. True protective styles include box braids, twists, faux locs, cornrows, wigs, weaves, and buns where the ends are fully tucked.
The goal is always length retention. Your hair is growing every month regardless — protective styling is about keeping what grows instead of losing it to breakage.
Before You Install: Hair Prep Is Everything
Installing a protective style on dry, dirty, or tangled hair is the fastest way to turn a protective style into a damaging one. Set aside time for proper prep — your hair will live in this style for weeks, so what goes underneath matters enormously.
1. Clarify or cleanse thoroughly. Product buildup under a long-term style can cause itching and odor. Use a clarifying shampoo or a regular sulfate-free shampoo with a double cleanse.
2. Deep condition. A 20- to 30-minute deep conditioning treatment restores moisture before the dry stretch ahead. This is non-negotiable prep.
3. Detangle completely. Work through every section with a wide-tooth comb or your fingers while the conditioner is in. Any knot left now becomes a matted tangle in week six.
4. Moisturize and seal. Apply a leave-in conditioner, then seal with a light oil or butter. Well-moisturized hair going in means healthier hair coming out.
5. Stretch if needed. For braided styles, blow-drying on low heat with a heat protectant (or banding/air-drying stretched) makes installation easier and reduces tension on the roots.
6. Trim split ends. Installing over split ends lets them travel up the strand under the style. A light dusting now saves length later.
If your edges are already fragile, read how to care for your edges and hairline before braiding — protecting the hairline starts before the first braid goes in.
The Beginner’s Style Menu
Not all protective styles are equally beginner-friendly. Here’s the landscape, from easiest to most involved.
Braids (Beginner-Friendly: 4/5)
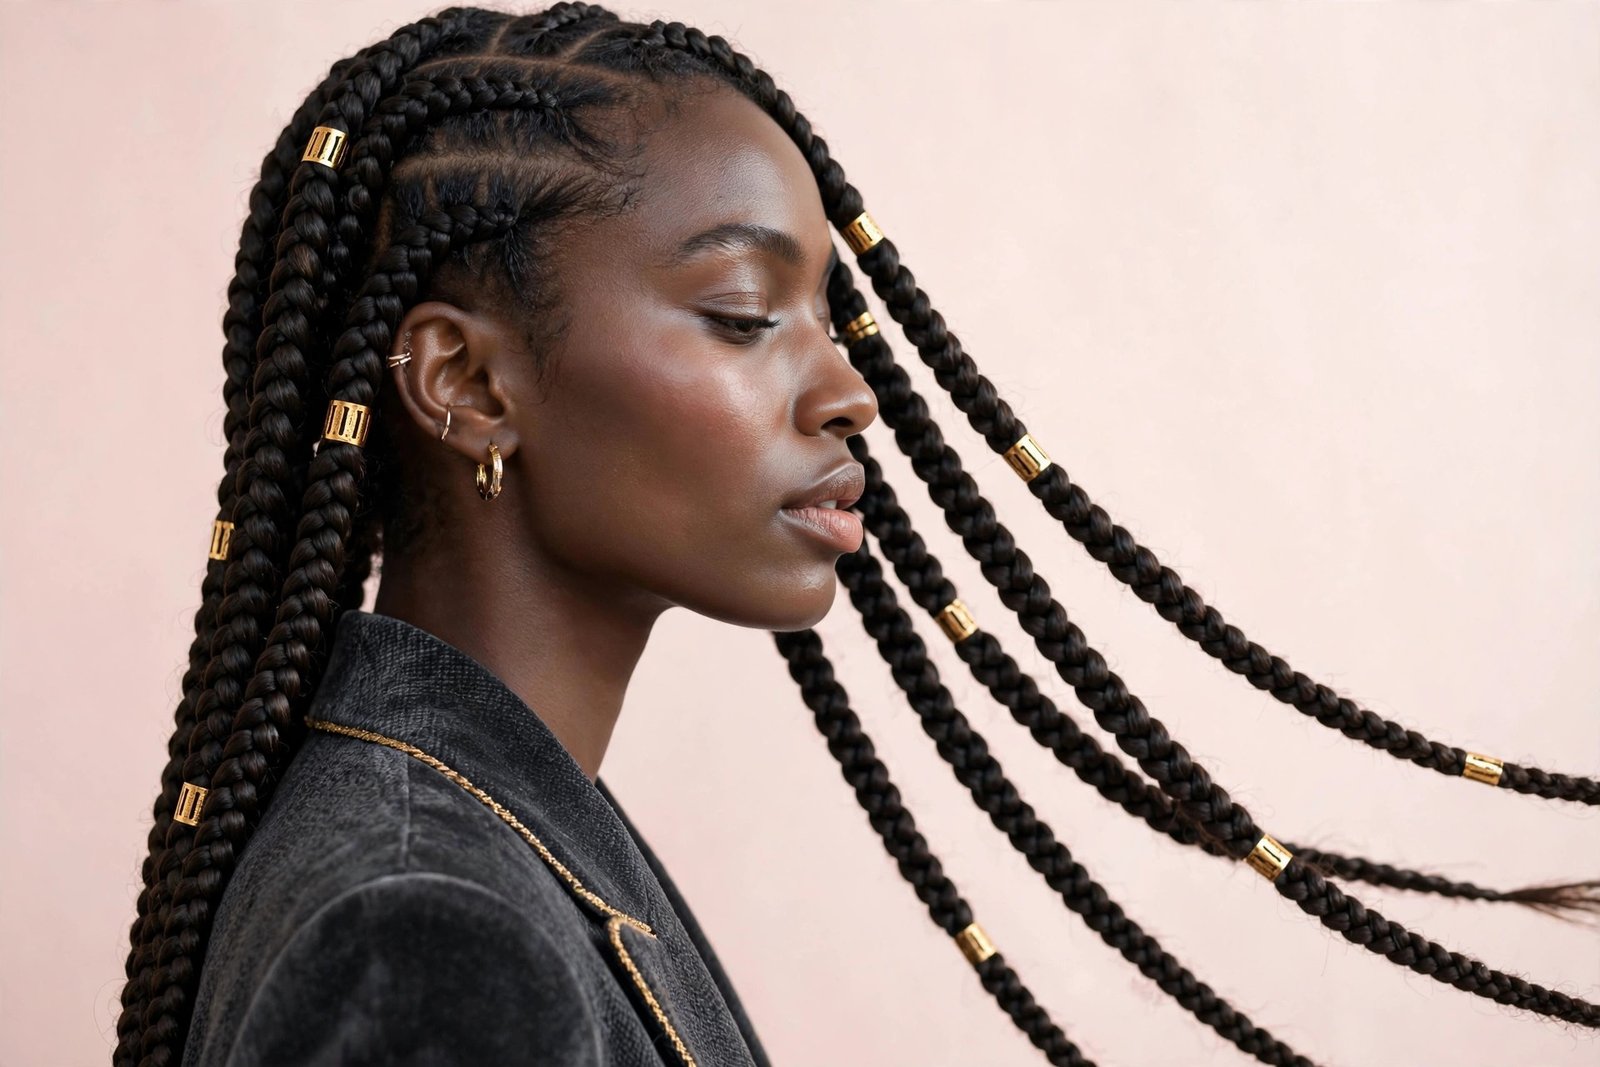
Box braids, knotless braids, and cornrows are the classic protective styles — and the subject of the complete beginner’s guide to braids. Box braids last 6 to 8 weeks; knotless braids are gentler on the hairline because they start with your natural hair instead of a tight knot. Cornrows last 2 to 4 weeks and are the most affordable option.
For a full comparison of the two most popular options, see twists vs braids: which lasts longer and suits your goals.
Beginner tip: Ask for medium or large braids for your first install. Small braids take 6+ hours to install and put more tension on each section.
Twists (Beginner-Friendly: 5/5)
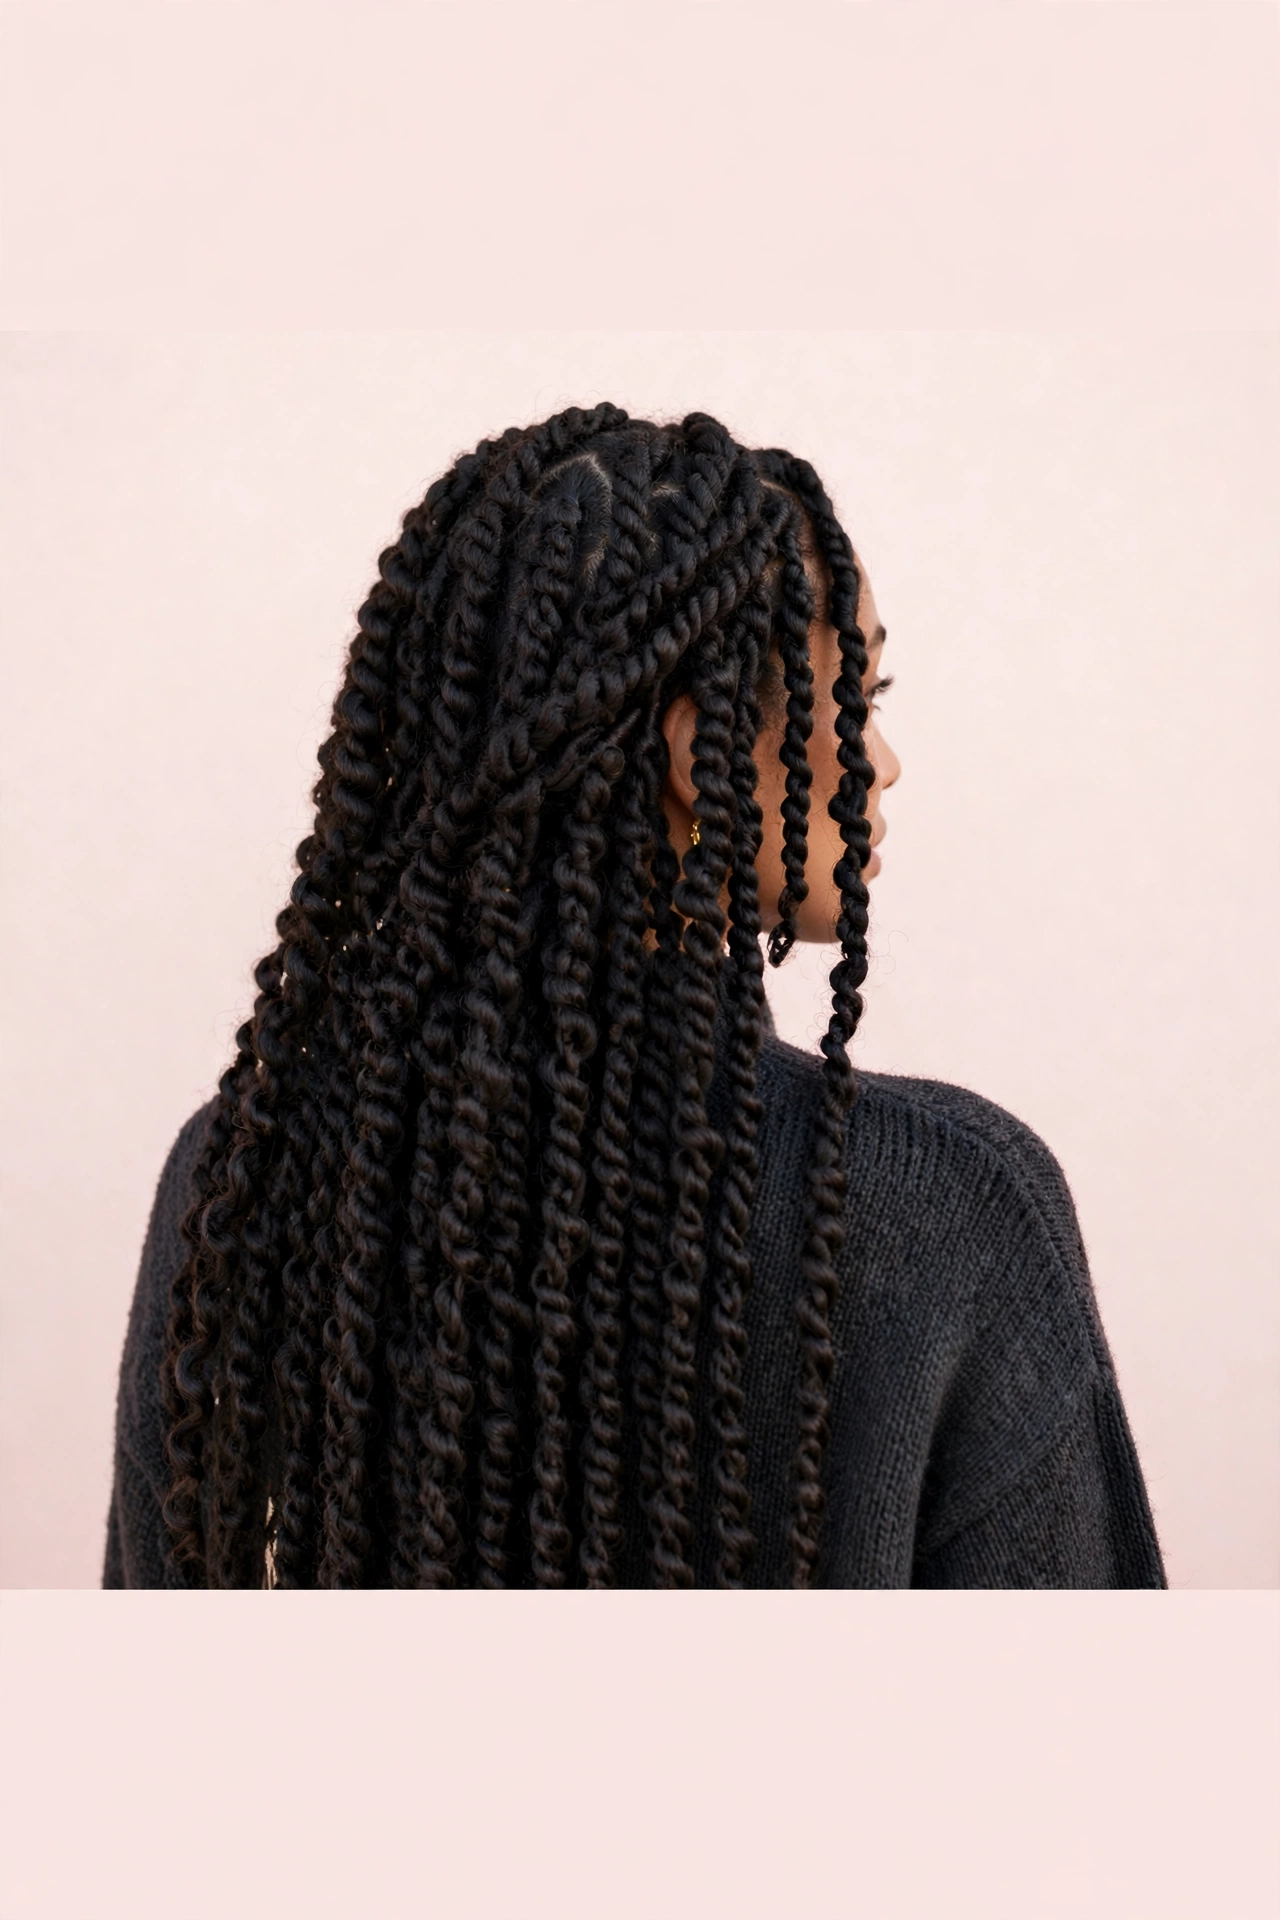
Two-strand twists, flat twists, and passion twists are arguably the best first protective style. They’re faster to install than braids, easier to take down, and gentler on the hairline. Passion twists and spring twists offer a natural, voluminous look with less weight.
Twists last 4 to 6 weeks. They’re also the easiest style to DIY, which makes them budget-friendly for beginners learning the ropes.
Faux Locs (Beginner-Friendly: 3/5)
Faux locs give the look of mature locs without the permanent commitment — gorgeous, versatile, and long-lasting at 6 to 8 weeks. They’re heavier than twists, so proper installation (not too tight, not too much added hair) matters. Beginners should read the faux locs care guide for keeping them fresh for weeks before committing, since locs have specific washing and frizz-control needs.
Wigs (Beginner-Friendly: 5/5)
Wigs are the lowest-commitment protective style: no installation tension on your hair at all, instant style changes, and your natural hair stays braided flat underneath. The key is caring for both the wig and the hair beneath it — the daily wig care routine that keeps them looking new covers detangling, washing schedules, and storage.
Beginners love wigs because takedown is instant and there’s zero risk of traction damage when they’re worn correctly (not glued down daily, edges left alone).
Weaves and Sew-Ins (Beginner-Friendly: 2/5)
Sew-ins last 6 to 8 weeks and offer a sleek, natural finish, but they require a professional install and the cornrow base must not be too tight. Leave-out should be minimal to keep the style truly protective. This is a better second or third style than a first one.
Tucked Buns and Updos (Beginner-Friendly: 5/5)
The simplest protective style of all: moisturize, twist or braid your hair, and pin it into a bun with the ends fully tucked. Zero cost, zero installation time, and genuinely protective — perfect for weeks between bigger styles.
How to Choose Your First Style
With so many options, beginners often freeze at the decision. Use these four questions to narrow it down:
How much time do you have for the appointment? Twists take 2 to 4 hours; medium box braids take 4 to 6; small braids or faux locs can take 6 to 8+. If you’re booking around work or school, twists or a wig win.
What’s your budget? A wig is a one-time purchase you reuse for months. Twists use the least added hair. Small, intricate braids cost the most in both hair and labor.
How tender is your head? If tight styles give you headaches, start with twists or a wig — both put minimal tension on the scalp. Knotless braids are the gentlest braided option if you have your heart set on braids.
How long do you want it to last? For a one-week trial run, try flat twists you install yourself. For a two-month break from daily styling, box braids or faux locs are the workhorses.
There’s no wrong answer for a first style — the goal is simply to experience the routine of wearing, moisturizing, and taking down a protective style. You’ll learn what your hair and your schedule prefer, and your second style choice will be much more informed.
Protective Styling on a Budget
Protective styling does not require a salon-sized budget. Many beginners start with affordable synthetic hair and free online tutorials, then upgrade to premium hair or a professional install once they know which styles suit their routine. Spending more makes sense only after you have confirmed the style works for your lifestyle.
Protective styles have a reputation for being expensive, but some of the most effective options cost almost nothing. Tucked buns, flat twists, and banded ponytails are free — they use only your hair, your products, and your time. Two-strand twists need just a pack or two of affordable braiding hair if you want added length, and many beginners learn to install them from video tutorials in a single weekend.
Wigs sit in the middle: a quality synthetic wig costs less than one professional braid install and lasts through many wears. The priciest route is salon-installed small braids or faux locs with premium human-blend hair — worth it occasionally, but not required to get the benefits.
The real budget killer isn’t the style — it’s redoing a failed style. A cheap install that’s too tight, installed on unprepared hair, or kept in too long costs you in breakage what you saved in cash. Spend your money where it protects your hair: good prep products, a skilled installer for your first braided style, and a satin bonnet that actually stays on at night.
How Long Can You Keep a Style In?
This is where beginners most often go wrong. A style that’s protective at week four becomes damaging at week ten.
| Style | Recommended max wear | Why the limit exists |
|---|---|---|
| Box / knotless braids | 6–8 weeks | New growth tangles with braided hair; buildup accumulates |
| Twists | 4–6 weeks | Twists loosen and frizz; matting risk rises |
| Faux locs | 6–8 weeks | Weight + new growth strain roots over time |
| Cornrows | 2–4 weeks | Shorter style; frizz shows fast |
| Wig (with braids under) | 2–4 weeks per cornrow base | Re-braid the base to keep scalp healthy |
| Sew-in weave | 6–8 weeks | Same matting and buildup concerns as braids |
Pushing past these limits is the number one cause of breakage blamed on “protective styles.” The style didn’t fail — the timeline did. Set a takedown date when you install, and keep it.
Caring for Your Hair While It’s Installed
“Protective” doesn’t mean “ignore for two months.” Your hair still needs moisture and your scalp still needs attention.
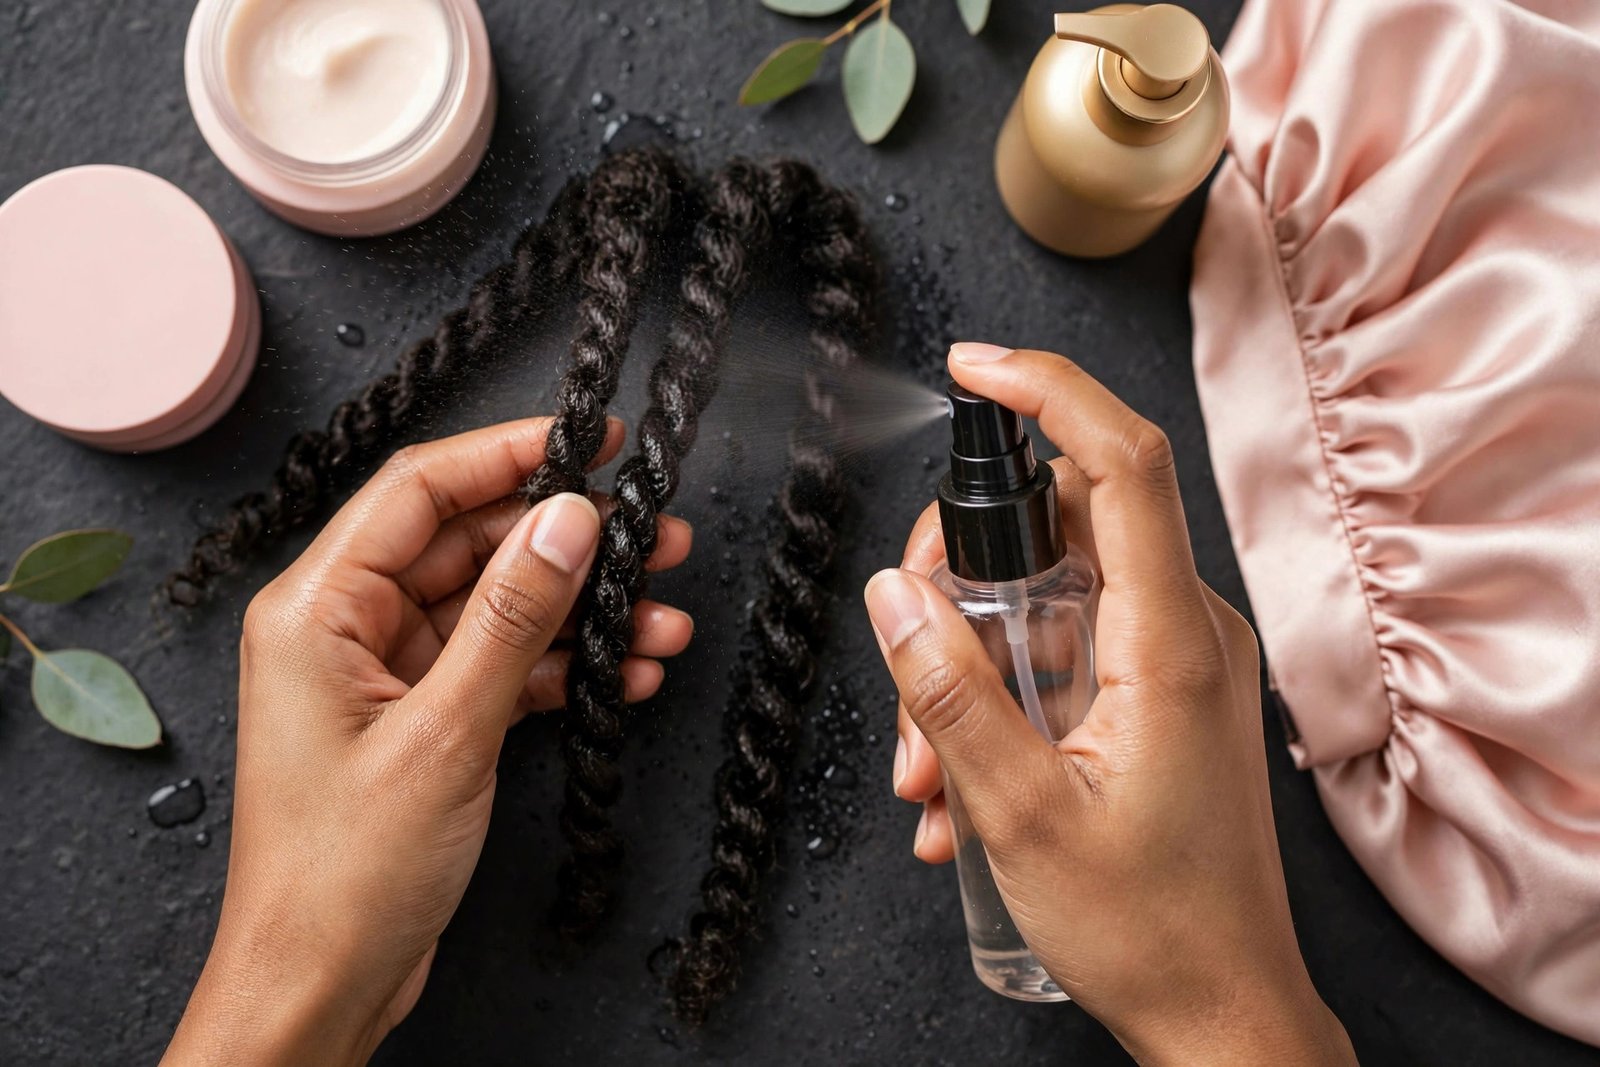
Moisturize regularly. Spritz braids or twists with a water-based moisturizer or diluted leave-in 2 to 3 times a week, then seal lightly with oil. Focus on your actual hair, not just the added hair.
Cleanse the scalp. An itchy, flaky scalp under braids is miserable. Use a diluted shampoo in an applicator bottle to cleanse the scalp every 1 to 2 weeks, rinse carefully, and dry thoroughly — damp braids that stay wet breed mildew.
Oil the scalp sparingly. A light oil on the scalp relieves itching, but heavy daily oiling causes buildup. Once or twice a week is plenty.
Protect at night. A satin or silk bonnet or scarf every single night prevents frizz and friction. Cotton pillowcases rough up braids and dry out twists.
Watch the edges. If baby hairs start thinning or you see bumps along the hairline, the style is too tight — see a stylist to loosen it, or take it down. Edges don’t recover from repeated traction damage, so a dedicated edge care routine.
Safe Takedown: Where Length Is Won or Lost
Takedown day determines whether your eight weeks of protection paid off. Rushing it causes the exact breakage you were trying to prevent.
- Soak first. Apply conditioner or oil to each braid/twist and let it sit 15 to 20 minutes. Lubricated hair releases with far less breakage.
- Cut the added hair, not yours. If extensions were used, cut the extension hair several inches below where your natural hair ends — never cut close to your own ends.
- Unravel gently, then detangle. Undo one section at a time, finger-detangle the shed hair out, then follow with a wide-tooth comb from ends to roots.
- Expect shed hair. You’ll see a lot of it — that’s normal. Hair sheds 50 to 100 strands daily, and weeks of shed hair has been trapped in the style. It’s alarming but normal.
- Clarify, deep condition, and rest. After takedown, give your hair a full wash day and at least a few days of rest (or a simple low-manipulation style) before installing the next protective style.
Mistakes Beginners Should Avoid
- Installing on unprepared hair. Dirty, dry, tangled hair under braids is a recipe for matting.
- Ignoring pain. “Beauty is pain” does not apply here. Pain means traction, and traction means damage.
- Keeping styles in too long. See the timeline table above — set the takedown date at install.
- Skipping moisture. Your hair can’t drink through braids on its own; you have to moisturize it.
- Neglecting the hairline. Edges are the most vulnerable zone; baby the gentle edge care even under a style.
- DIY beyond your skill level. There’s no shame in paying a professional for your first few installs. Bad tension from an inexperienced hand (including your own) costs more in damage than a salon visit.
Frequently Asked Questions
Do protective styles actually make hair grow faster?
They don’t change your growth rate — that’s determined by genetics and health. What they do is reduce breakage, so you retain more of what grows. The result looks like faster growth, and over a year the difference in retained length is dramatic.
Which protective style is best for a complete beginner?
Two-strand twists or a wig. Twists are fast, cheap, gentle, and easy to remove; wigs involve zero tension on your hair. Both are forgiving while you learn what your hair likes. For a deeper comparison, twists vs braids breaks down install time, cost, and longevity.
Can I wash my hair while it’s in braids?
Yes — and you should. Use diluted shampoo in an applicator bottle aimed at the scalp, rinse thoroughly, and dry completely (a hooded dryer or air-drying in a well-ventilated space). Never leave braids damp for long periods.
How do I know if my braids are too tight?
Pain, headaches, visible bumps along the hairline, or an inability to move your forehead are all red flags. Mild tightness for a day can be normal; anything beyond that needs loosening. Don’t wait it out — traction alopecia from repeatedly tight styles can become permanent.
Should I get braids or a wig for my first protective style?
If budget allows either: a wig is the gentlest introduction (no tension, instant removal), while braids teach you the full protective-style routine of moisturizing and scalp care under a style. Many beginners start with a wig, then graduate to braids once they’re comfortable with the maintenance.
How often should I take breaks between protective styles?
Give your hair at least one to two weeks of rest between long-term installs. Use the break for a thorough wash day, a protein-moisture balance check, and a trim if needed. Back-to-back installs with no rest increase breakage risk.
Conclusion
Protective styling is a skill, and like any skill, your first attempt won’t be your best — but even a decent first install with good prep will retain more length than months of daily manipulation. Start with an easy style like twists or a wig, prep your hair properly, moisturize while it’s in, and take it down on time. Then do it again. That’s the whole formula, and it works. For your next step, explore the beginner’s braids guide or the daily wig care routine linked above depending on which style calls to you first.
Love this? Pin it for later!