How to Test Foundation Shade In-Store (Without the Guesswork)
Picking foundation in a store can feel like a gamble. The overhead lighting is harsh, the display has fifty near-identical shades, and the color that looked perfect on your hand turns orange on your face by the time you get home. Sound familiar? This guide walks you through exactly how to test foundation shade in-store so you buy the right color the first time — no returns counter required.
A few minutes of deliberate testing saves you the frustration of a $40 mistake sitting in your drawer. Whether you’re choosing your very first foundation or switching formulas, these pro techniques will help you match like a makeup artist.
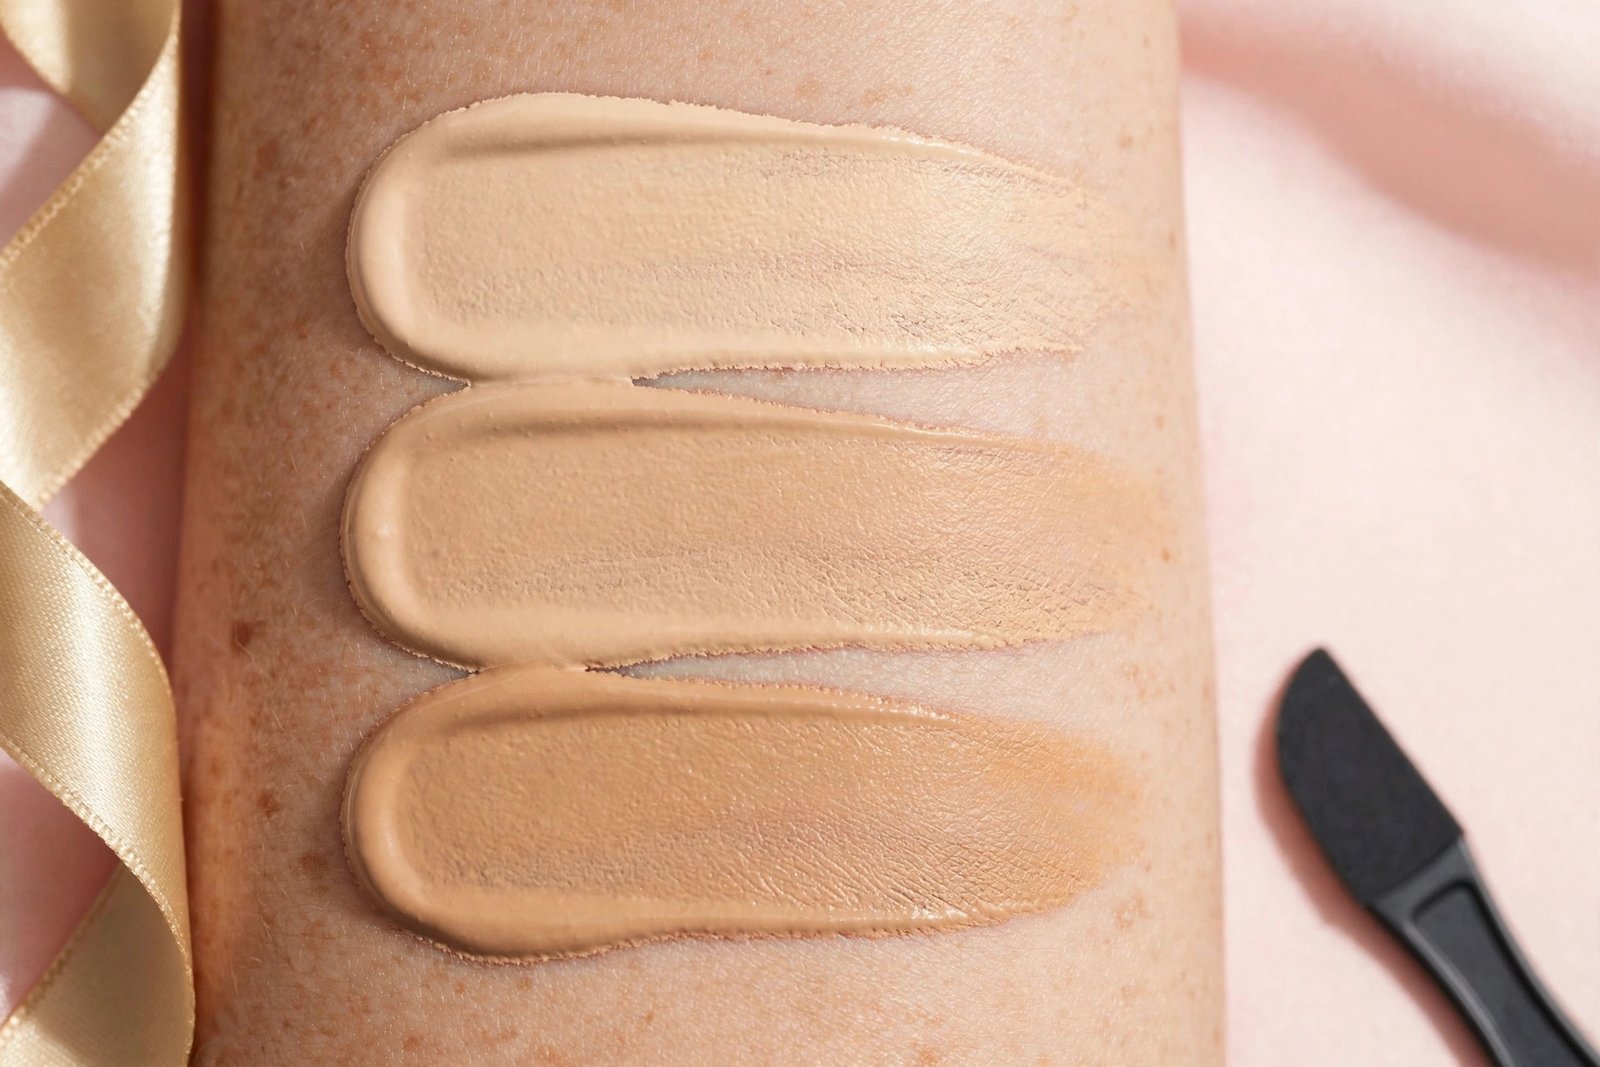
Key Takeaways
- Swatch on your jawline, not your hand — hands are almost always a different shade than your face.
- Always check the swatch in natural daylight before buying; store lighting lies.
- Wait 10–15 minutes for the formula to oxidize before judging the true color.
- Test 2–3 shades at once in parallel stripes to compare honestly.
- When in doubt, pick the shade that’s slightly lighter — foundation often deepens with wear.
1. Prep Your Skin Before You Shop
Start with a clean, bare face. Foundation swatches read most accurately on skin that isn’t already covered in tinted moisturizer, concealer, or heavy SPF that leaves a cast. Wash your face before heading to the store, apply a light moisturizer, and skip base products for that day.
Why does this matter? A fresh layer of moisturizer smooths the skin’s texture so the swatch sits the way the foundation will sit in real life, and testing over bare skin means you see the true interaction between formula and your skin tone — no guesswork about what’s underneath.
2. Swatch on Your Jawline (Not Your Hand)
This is the single biggest mistake beginners make. The back of your hand and your wrist are usually darker, redder, or otherwise a different tone than your face. A shade matched to your hand will almost certainly look wrong on your jaw.
Where to test instead: Draw 2–3 short stripes along your jawline, blending downward onto your neck slightly. This is the boundary zone — your foundation needs to bridge your face and neck seamlessly. If the stripe disappears into both areas without an edge, that’s your match.
If you’re shopping somewhere that frowns on face swatching, the side of your jaw near the ear or just below the cheekbone is a good compromise, but the true jawline is the gold standard. For a fuller grounding on how formula and shade interact, see how to choose the right foundation formula for your skin type.
3. Test Three Shades at Once — The Stripe Method
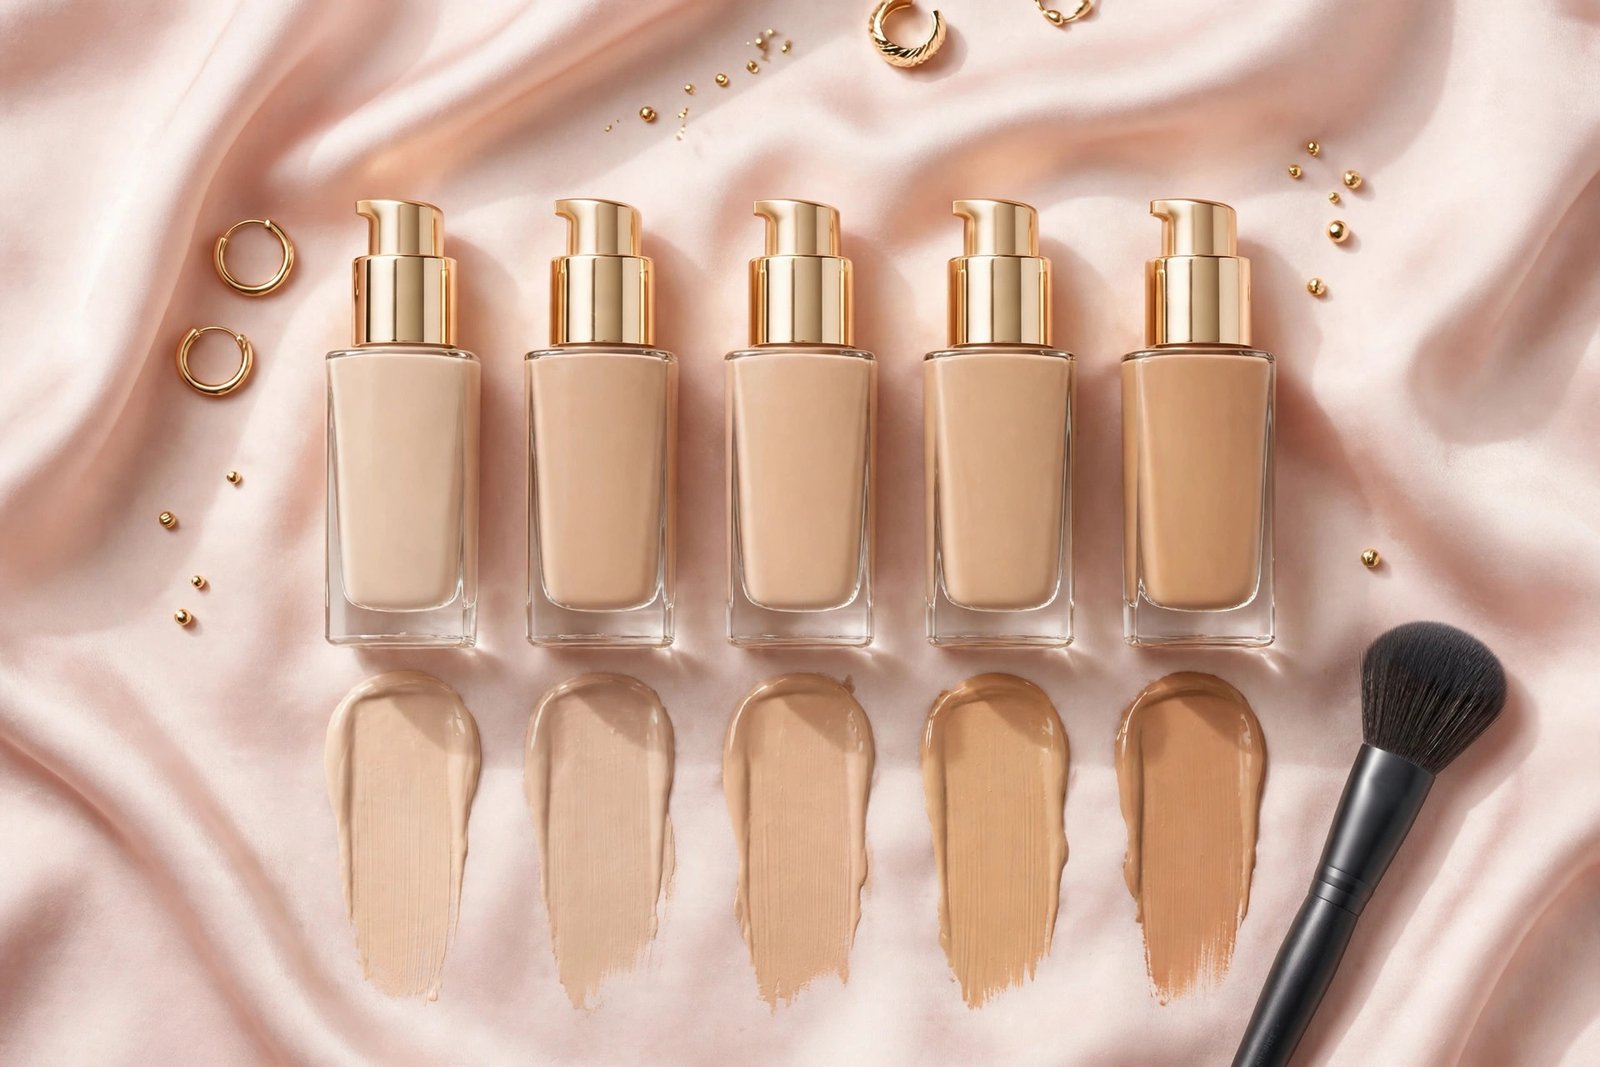
Never test just one shade. Narrow the display down to your two or three most likely candidates (based on your undertone and depth), then stripe them in parallel down the jaw:
- Stripe 1: your best guess
- Stripe 2: one shade lighter
- Stripe 3: one shade deeper
Step back and look straight ahead. The shade that vanishes is your match — the one that’s closest to disappearing into your skin tone without leaving a visible line. This side-by-side comparison removes the wishful thinking that creeps in when you test a single color.
A common mistake is testing too many shades at once. Four or five stripes turn into a muddy mess where everything blends together. Three is the sweet spot.
4. Check Your Undertone First
Shade matching isn’t just about light, medium, or deep — undertone determines whether a foundation makes you look radiant or slightly off. The three undertones are:
- Warm: skin leans golden, peachy, or yellow
- Cool: skin leans pink, red, or blue
- Neutral: a balance of both
If you’re unsure which camp you fall into, read our guide to finding your undertone before you shop. Knowing your undertone narrows the shade wall from fifty options to a handful and prevents the classic mistake of buying a neutral shade when your skin is clearly warm.
Quick in-store hint: hold the swatch next to your jaw and ask whether it makes your skin look even (right undertone) or slightly gray/ashy (wrong undertone). The wrong undertone shows up as a dull cast even when the depth looks right.
5. Do the Daylight Check
Store lighting — especially fluorescent or warm spotlights — is designed to flatter products, not to render skin accurately. It can make foundations look lighter, yellower, or pinker than they really are.
The fix: After applying your stripes, walk to the nearest window or step outside briefly. Natural daylight is the only honest lighting for shade matching. Look at the swatches in daylight and check:
- Does one shade still disappear?
- Is there a visible line where the stripe ends?
- Does the color look harmonious from a few feet away (have a friend stand back, or use your phone’s front camera)?
Many beauty counters also hand out samples — ask for one. Wearing a sample for a full day tells you more than any five-minute counter test ever will.
6. Wait 10–15 Minutes for Oxidation
Some foundation formulas oxidize — they darken or shift slightly as they interact with your skin’s natural oils and air. A swatch that looked perfect at minute one can turn noticeably deeper or more orange by minute fifteen.
This is why the daylight check and a waiting period go together. Apply your stripes, browse the rest of the store for ten to fifteen minutes, then return and re-check in daylight. If the formula oxidized noticeably darker, go one shade lighter than your initial instinct.
Oxidation is especially common with long-wear and matte formulas. If you wear a lot of long-wear foundation, also check that your routine prevents makeup separating around the nose, since heavy formulas plus oils are the usual culprit.
7. Blend Before You Judge
A heavy, unblended stripe is not how foundation looks on a finished face. Before making your final call, use a clean fingertip or a sponge to blend out each stripe the way you would actually apply foundation — sheering it into the skin.
Blending reveals two things:
- True color payoff: some formulas deepen dramatically when sheered out, others stay truer.
- Edge behavior: a good match feathers out without a hard line, while a wrong shade leaves a visible border no matter how much you blend.
Also pay attention to texture: if the formula grabs or looks patchy on your jaw, it may not play well with your skin type — even if the color is right.
Bonus Tips for Tricky Situations
Matching for Different Seasons
Most people are slightly deeper in summer than in winter. If you’re buying in July, your match may be too dark by December. Some makeup artists keep two shades (summer and winter) and mix them during transition months — an easier solution than repurchasing seasonally.
When You Can’t Test on Your Face
If you’re uncomfortable swatching on your face in a busy store, the upper chest/neck area is the next best site — it’s closer to your face tone than your hands. As a last resort, hold the bottle against your jaw and compare the glass color to your skin, but treat this as a rough filter, not a final answer.
Ask for Samples
Don’t skip this. Samples let you test at home in your own lighting, over your own skincare, worn for a full day. Most counters and drugstores (ask at the beauty desk) will provide small sample pots or sachets of liquid foundation. It’s the closest thing to a free return policy.
Frequently Asked Questions
Where exactly on the face should I swatch foundation?
The jawline is the best spot — it sits at the boundary between face and neck, which is where a foundation match either succeeds or fails. Swatch 2–3 shades in stripes along the jaw and blend slightly downward. Avoid the back of the hand or wrist; those areas are rarely the same shade as your face.
How long should I wait before deciding on a shade?
Wait at least 10–15 minutes. This gives the formula time to oxidize and settle into your skin. Re-check the swatches in natural daylight after waiting — what looked right at minute one can shift darker or warmer.
Should I test foundation on bare skin or over moisturizer?
Bare skin with a light moisturizer applied beforehand. Avoid testing over tinted moisturizer, concealer, or other base products — they distort the true shade. A light moisturizer also helps the swatch sit the way the foundation will in real life.
Why does my foundation always look too dark by midday?
That’s usually oxidation combined with natural oil production. The formula deepens as it reacts with sebum and air. When testing in-store, wait the full 10–15 minutes and check in daylight — then consider choosing one shade lighter than your initial match if you see noticeable darkening.
Is store lighting really that misleading?
Yes. Fluorescent and warm spotlighting can shift how a shade reads by a full level in either direction. Always step to a window or outside for a daylight check before buying. It’s the single most reliable part of the in-store testing process.
Conclusion
Testing foundation shade in-store doesn’t have to be a guessing game. Swatch on your jawline, stripe three candidates side by side, confirm your undertone, wait for oxidation, and always — always — check in daylight. Follow these seven tips and you’ll walk out with a foundation that disappears into your skin instead of sitting on top of it.
Once you’ve nailed your shade, make sure the formula matches your skin type too — a perfect color in the wrong finish still won’t look right. Start with our foundation formula guide to complete the picture.
Love this? Pin it for later!