How to Clean False Lashes to Reuse Them: A Step-by-Step Care Guide
A good pair of false lashes doesn’t have to be single-use. Quality strip lashes can be worn 5, 8, even 10+ times — but only if they’re cleaned properly after each wear. Skip the cleaning, and glue buildup stiffens the band, mascara residue clumps the fibers, and bacteria accumulate along the strip. The lashes look worse every wear, feel uncomfortable sooner, and can irritate your eyes.
The good news: cleaning false lashes takes about five minutes, requires nothing you don’t already own, and becomes second nature quickly. This guide covers the full routine — removing old glue, gently washing the lashes, drying and reshaping them, and storing them so the band keeps its curve. You’ll also learn how many wears to realistically expect, the signs a pair is done, and the mistakes that destroy lashes prematurely.
Still working on application itself? Our beginner’s guide to applying false lashes covers the full placement method, including the safe removal technique that sets up easy cleaning.
Why Cleaning Matters (Beyond Saving Money)
Saving money is the obvious benefit — stretching a $10 pair across 8 wears instead of 2 cuts your cost per wear dramatically. But hygiene is the more important reason.
Every wear deposits a layered record on the lash strip: lash glue along the band, eyeshadow fallout and eyeliner transfer on the fibers, skin oils from your lids, and mascara if you applied any over the falsies. Left in place, this buildup becomes a breeding ground for bacteria sitting millimeters from your eyes. Reapplying dirty lashes is one of the common causes of the mild eye irritation, redness, and itchiness that some lash wearers blame on “sensitive eyes” — when the actual culprit is a dirty strip.
Cleaning also preserves performance. Old glue on the band creates an uneven surface, so the next application bonds poorly and lifts sooner. Mascara-caked fibers lose their wispy separation and look clumpy. A clean lash applies better, looks better, and feels better — every single wear.
What You’ll Need
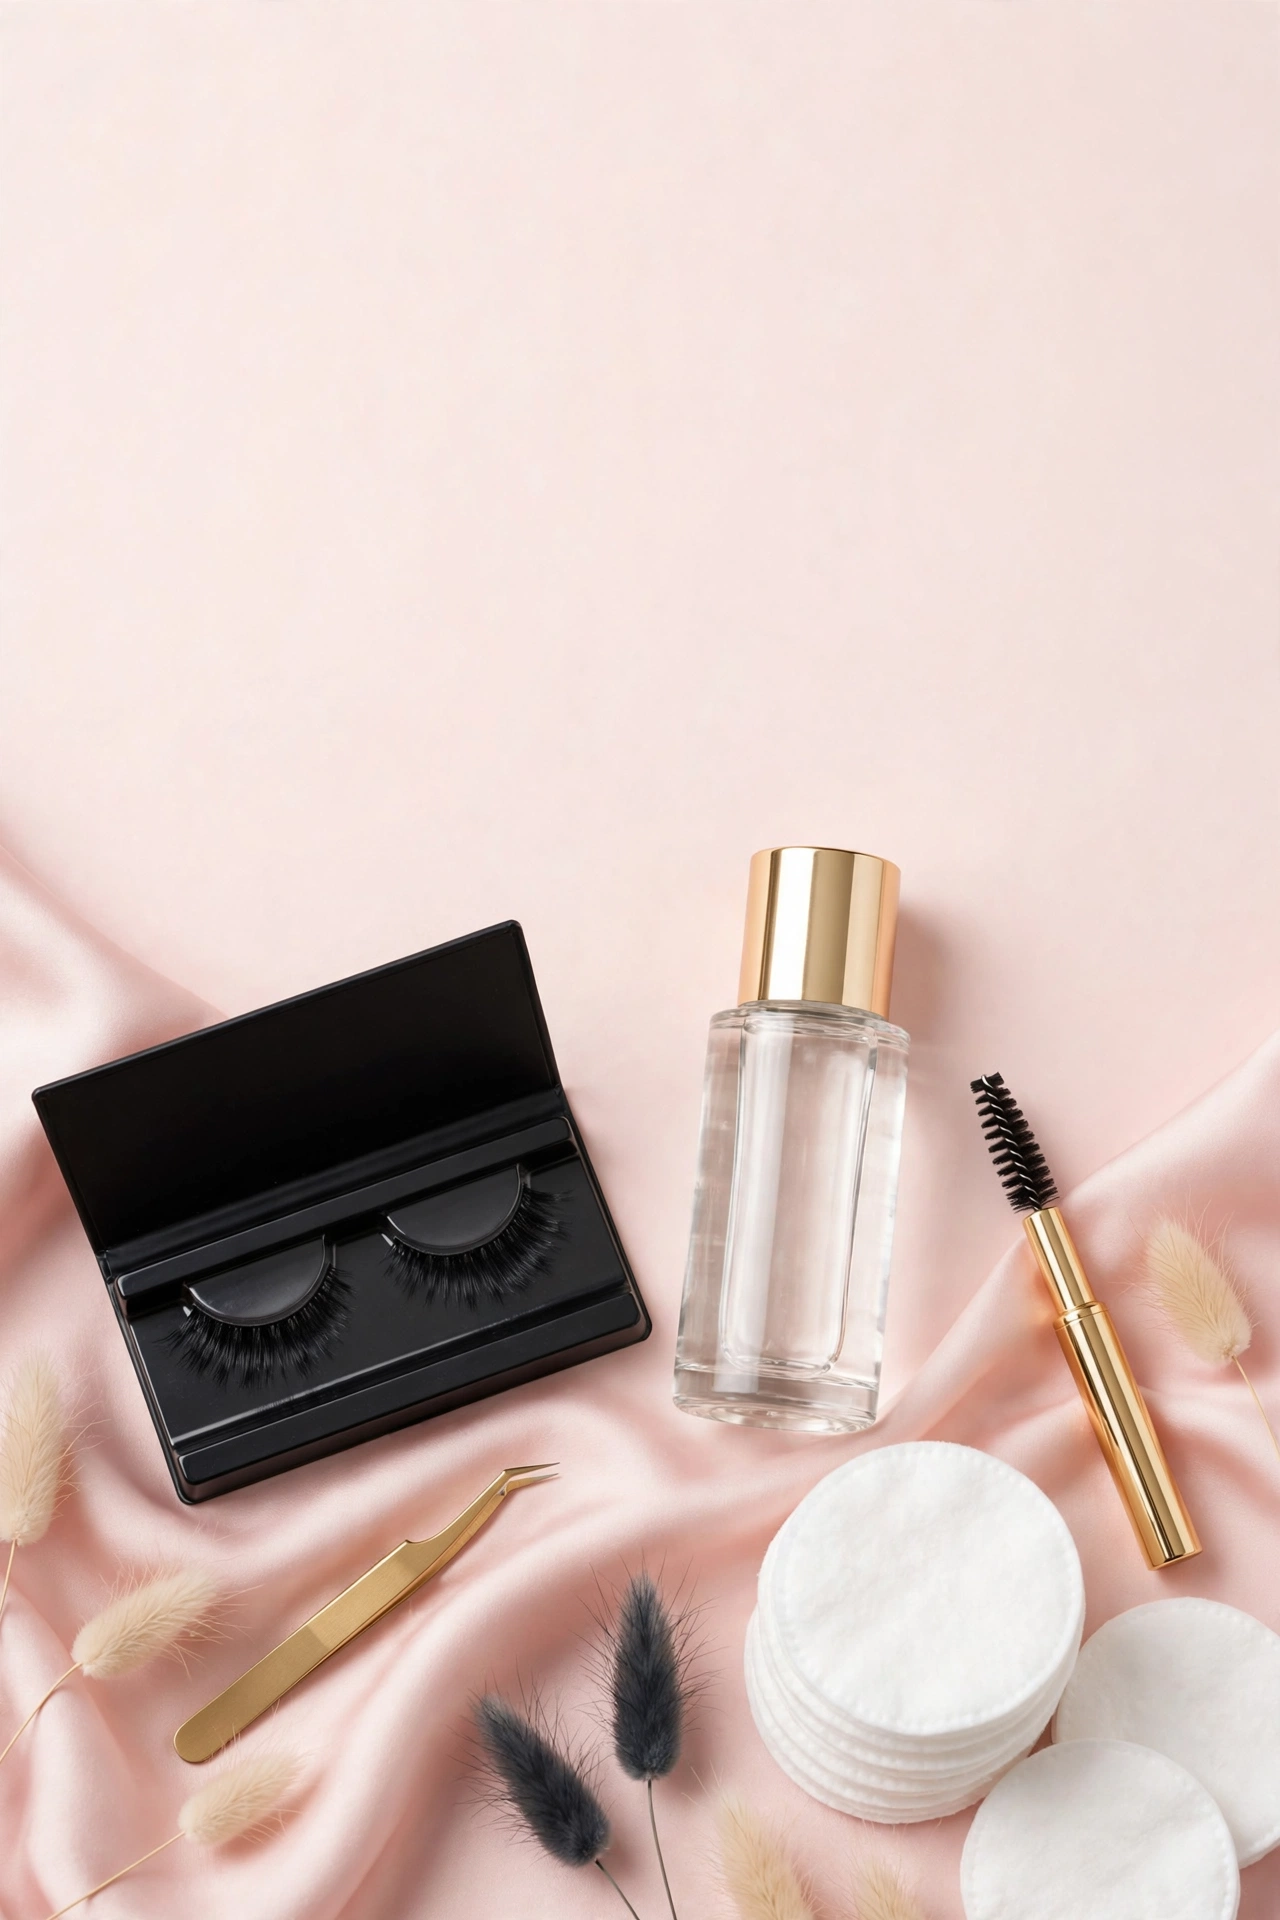
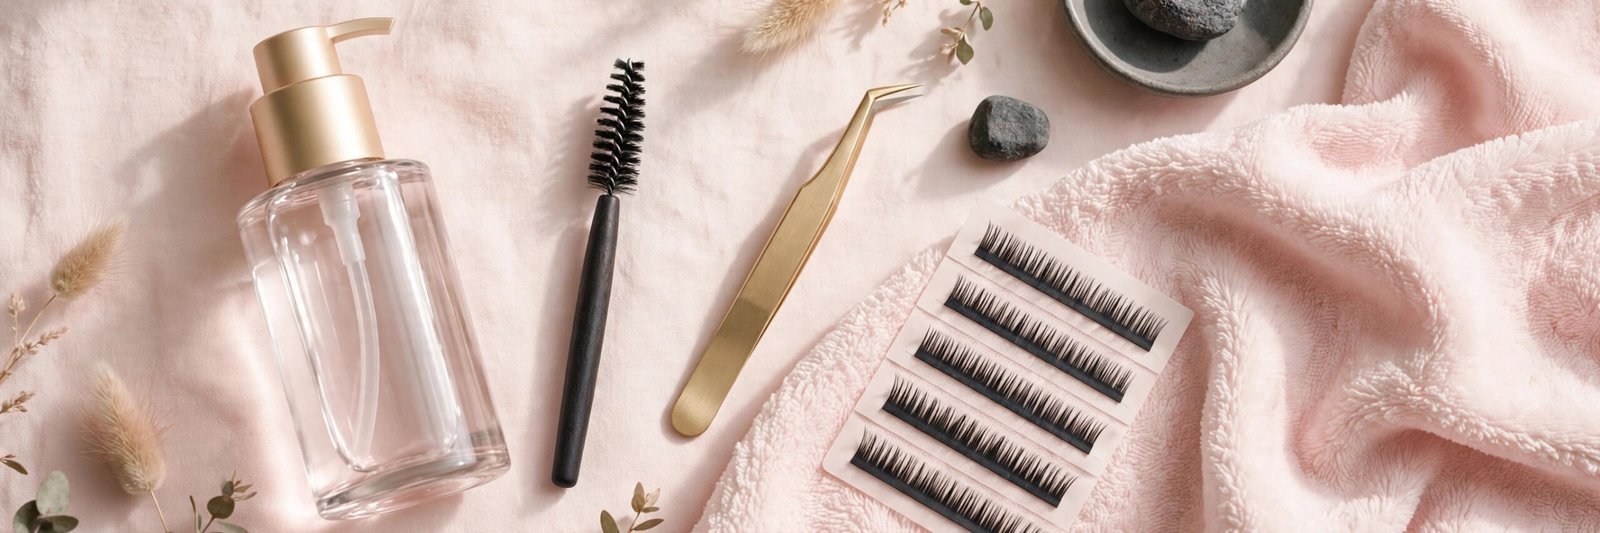
Gather these before you start. Nothing here is exotic:
- Oil-free makeup remover or micellar water. Oil-free matters: oils break down lash glue effectively, but they also coat synthetic fibers and can loosen the knots or adhesive holding individual fibers to the band. For routine cleaning, oil-free is the safer choice. (A tiny amount of oil is fine for stubborn glue spots specifically on the band — just keep it off the fibers.)
- Cotton swabs and cotton pads. Swabs for precision work along the band; pads for soaking.
- A clean spoolie brush (a mascara-wand-style brush). For gently combing fibers back into shape.
- Tweezers. For peeling off dried glue strips from the band — fingers work too, but tweezers give better precision.
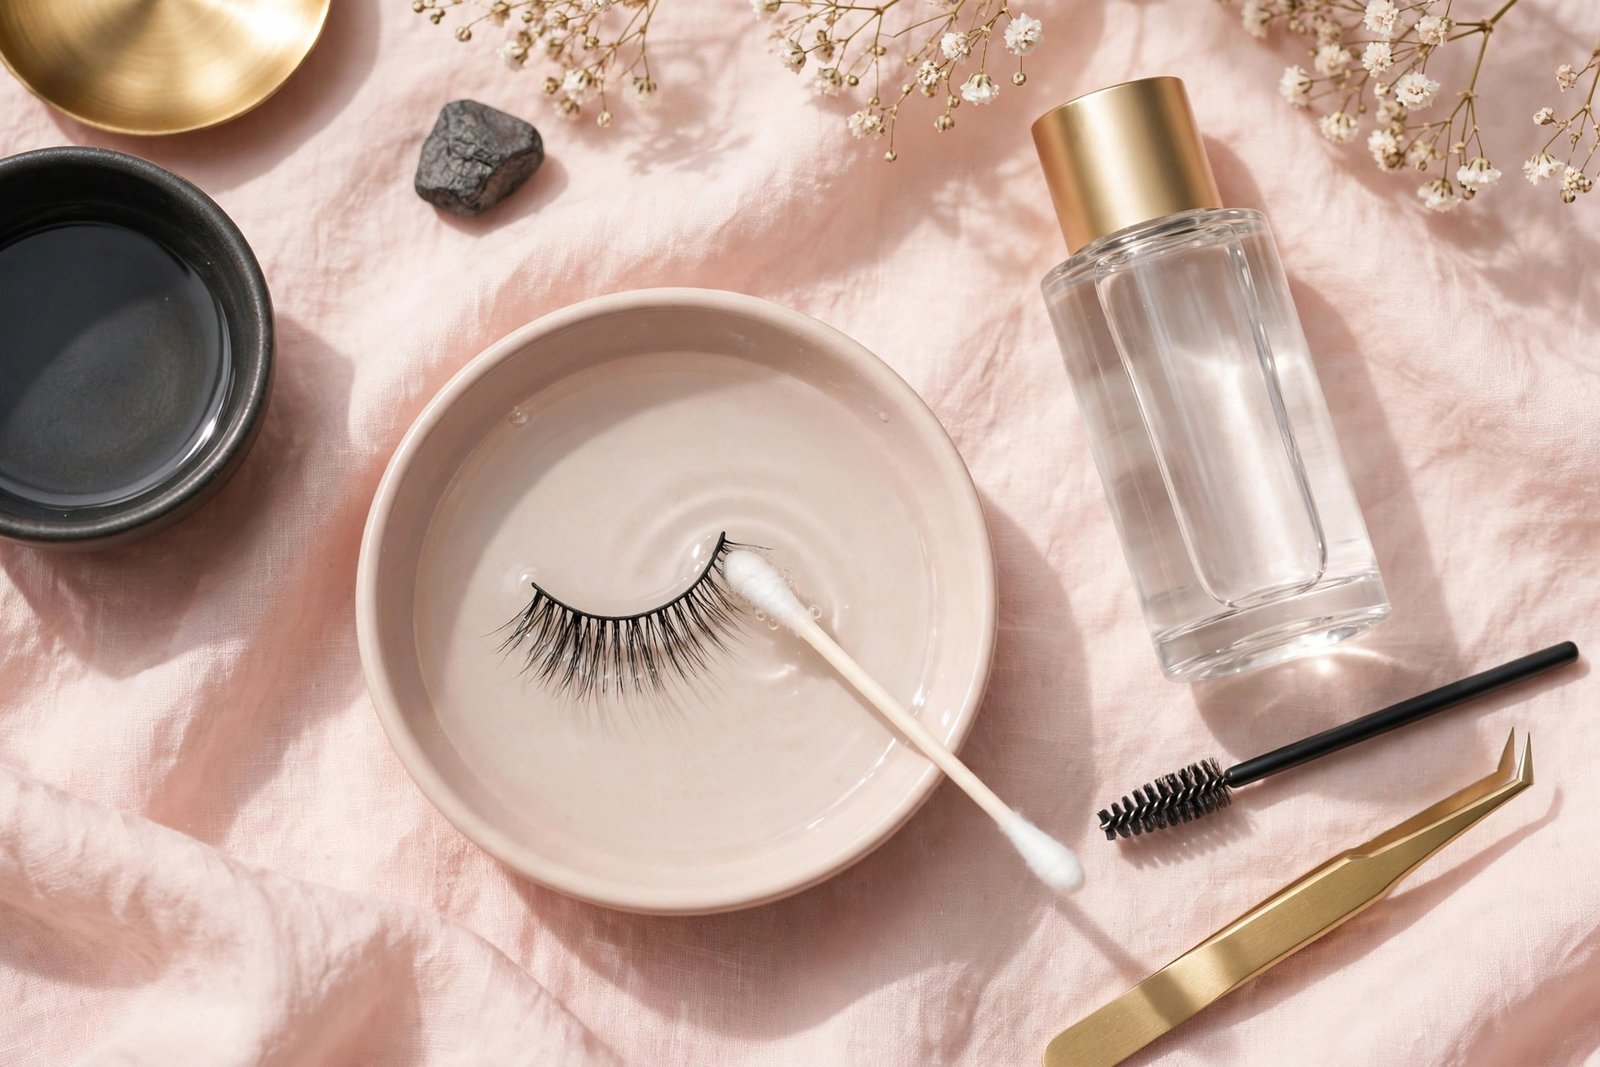
- A small dish or the lash tray. For soaking and for storage afterward.
- Optional: gentle, fragrance-free soap or baby shampoo diluted in water, for deeper cleans when lashes are heavily soiled.
Step 1: Remove the Old Glue From the Band
Start with the band, where most buildup lives. After removal, the band will have a visible line of dried glue — sometimes a continuous strip, sometimes patchy.
Peel off what you can dry. Using tweezers or your fingernails, gently grip one end of the dried glue and peel it slowly along the band. Dried lash glue often comes off in satisfying long strips. Work in the direction of the band (end to end, not across it), and support the band with your other hand so you’re not stretching or warping it. Never yank — if a section resists, move to the next step rather than forcing it.
Dissolve the stubborn remainder. Soak a cotton swab in oil-free makeup remover and hold it against the stubborn glue sections for 15–20 seconds to soften them, then gently roll the swab along the band. The rolling motion (rather than dragging across the fibers) keeps remover on the band where it belongs. Repeat until the band feels smooth and flexible, with no hard or crusty spots.
Check the band’s flexibility. A clean band should bend easily. If sections still feel stiff, there’s still glue there — repeat the soak-and-roll. Stiff spots are what cause corner lifting on the next wear, so this step directly affects future performance.
Step 2: Gently Wash the Lash Fibers
With the band clean, address the fibers — eyeshadow dust, liner transfer, and any mascara.
For light soil (no mascara on the falsies): Dampen a cotton pad with micellar water, fold it, and sandwich the lash strip between the folded pad. Press gently and pull the pad slowly from base to tip, following the direction of the fibers. This wipes residue off without bending fibers backward. Repeat with a clean section of the pad until it comes away clean. This handles the vast majority of post-wear cleaning.
For heavier soil (mascara on the falsies, heavy eyeshadow): Mix a drop of gentle fragrance-free soap or baby shampoo into a small dish of lukewarm water. Submerge the lashes for 1–2 minutes — no longer. Then, using a clean spoolie, gently brush through the fibers in the direction of growth while they’re damp, which releases trapped mascara and shadow. Rinse by swishing briefly in clean lukewarm water.
What never to do: don’t scrub, don’t use hot water (it warps synthetic fibers and softens the band’s adhesive), don’t use alcohol-based cleansers on the fibers (drying and damaging), and don’t wring or twist the strip. False lashes are delicate; every cleaning motion should follow the fiber direction, base to tip.
Step 3: Dry and Reshape
How you dry lashes determines whether they keep their shape.
Blot, don’t rub. Lay the clean lash on a dry cotton pad or paper towel and gently press another pad on top to absorb moisture. Never rub — rubbing tangles and bends fibers.
Reshape while damp. This is the step most people skip. While the lash is still slightly damp, use the spoolie to gently comb the fibers in their natural direction, restoring the wispy separation. If the band lost some curve, gently bend it back into shape with your fingers. Then lay the lash in its original tray — the molded curve of the tray re-forms the band’s arc as it dries. This is the single best thing you can do for lash longevity: the tray is a custom-shaped drying mold.
Air-dry completely. Leave the lashes in the tray, in open air, until fully dry — usually 1–2 hours. Don’t use a hairdryer (heat warps fibers), don’t seal them in a bag while damp (trapped moisture breeds bacteria), and don’t rush them back into a makeup bag. Patience here pays off across every future wear.
Step 4: Store Them Right
Storage between wears matters as much as cleaning:
- Always return lashes to their original tray or case. The molded shape preserves the band’s curve. Tossing strips loose into a makeup bag crushes fibers, flattens the band, and tangles pairs together.
- Keep them dry and at room temperature. Humidity degrades both fibers and any residual adhesive properties; heat warps synthetic fibers.
- Keep pairs separated. If you own multiple pairs, don’t stack strips on top of each other — fibers tangle and bands pick up each other’s shape. The original individual trays are ideal.
- Don’t store them with the glue tube touching the fibers. Keep applicators and glue separate from the clean lashes.
How Many Wears Can You Realistically Expect?
It depends on the lash quality and your care routine:
- Budget synthetic strips ($3–$6): 2–4 wears. The fibers and band simply aren’t built for more; the band often warps after a few applications regardless of care.
- Mid-range faux-mink strips ($8–$15): 5–8 wears with proper cleaning. This is the sweet spot for most wearers.
- Premium strips ($15–$30): 8–15 wears. Higher-quality bands hold their curve and fibers resist tangling far longer.
- Magnetic lashes: 15–30 wears, since there’s no adhesive degrading the band. Cleaning is simpler too — just wipe the magnets with a damp swab. See our magnetic vs glue lashes comparison for the full breakdown.
Mascara applied directly onto the falsies cuts these numbers roughly in half — it’s the single biggest lifespan reducer, because mascara bonds to fibers in a way that’s genuinely hard to remove without damaging them. If longevity matters to you, keep mascara on your natural lashes only.
5 Signs a Pair Is Done
Retire lashes when you notice:
- The band won’t hold its curve — it stays straight or warped even after tray-drying, and corners lift no matter how carefully you apply.
- Fibers are permanently tangled or clumped — spoolie-combing no longer restores separation.
- Noticeable fiber loss — bald patches along the strip where fibers have shed.
- Persistent stiffness or crustiness on the band that cleaning no longer resolves.
- Any eye irritation that started when you began reusing a particular pair — when in doubt, throw it out. Eyes aren’t worth the $2 saved.
6 Mistakes That Destroy False Lashes
1. Pulling glue off aggressively. Yanking dried glue stretches and warps the band. Soak, soften, then peel gently.
2. Using oil-based removers on the fibers. Oil breaks down the adhesive bonding fibers to the band, causing shedding. Oil-free for fibers; oil only on stubborn band glue, sparingly.
3. Soaking too long. More than a couple of minutes in water loosens fiber bonds and softens the band. Quick soaks only.
4. Sleeping in lashes, then trying to salvage them. Sleep crushes the shape, grinds in oils and bacteria, and mats the fibers. Remove lashes before bed, always.
5. Storing them loose. The makeup-bag toss is how bands get bent and fibers get tangled beyond rescue. The tray exists for a reason.
6. Sharing lashes. Beyond the obvious hygiene issue, another person’s eye shape, oils, and makeup residue transfer to the strip. Lashes are personal items — like toothbrushes, not like lipstick testers.
Key Takeaways
- Clean lashes after every wear: peel dried glue from the band, dissolve stubborn spots with oil-free remover on a cotton swab, and wipe fibers base-to-tip with micellar water.
- For heavy soil, do a brief 1–2 minute soak in diluted gentle soap, comb with a spoolie, and rinse in lukewarm water — never hot water, never scrubbing.
- Reshape while damp with a spoolie, then dry completely in the original tray — the tray acts as a mold that preserves the band’s curve.
- Store dry, at room temperature, in the original tray; never toss strips loose into a makeup bag.
- Expect 5–8 wears from mid-range faux-mink strips, fewer from budget pairs, more from magnetic lashes; mascara on the falsies roughly halves lifespan.
- Retire lashes with warped bands, tangled fibers, bald patches, or any associated eye irritation.
- New to lashes? Master application first with our false lash application tutorial.
Frequently Asked Questions
Can I clean false lashes with just water?
Water alone won’t dissolve lash glue or cut through makeup residue effectively. Micellar water or an oil-free makeup remover is the minimum for real cleaning — water is fine for rinsing after a soap wash, but not as the cleaning agent itself.
Is it safe to reuse false lashes?
Yes, provided you clean them after every wear and store them properly. The safety issues with reuse come from uncleaned reuse — bacteria buildup on a dirty strip can cause eye irritation or infection. A properly cleaned pair is as safe on wear 6 as on wear 1. Stop reusing any pair that causes irritation.
How do I get mascara off false lashes?
Soak briefly in diluted gentle soap or baby shampoo, then comb through the damp fibers with a clean spoolie in the direction of growth. Stubborn mascara may need a second pass. Prevention beats cure, though: applying mascara only to your natural lashes (before the falsies) keeps the strips clean and doubles their lifespan.
Can I use makeup wipes to clean false lashes?
In a pinch, yes — an oil-free makeup wipe used gently along the band and fibers is better than no cleaning. But wipes tend to snag fibers and leave their own residue, so they’re a travel backup, not a routine method. The micellar-water-and-cotton-pad method is gentler and more thorough.
Do magnetic lashes need cleaning too?
Yes, though it’s simpler. Wipe the magnets and band with a damp cotton swab after each wear to remove transferred eyeliner, and comb the fibers with a spoolie if needed. Since there’s no glue buildup, magnetic lashes stay cleaner longer — one reason they average 15–30 wears per pair.
Love this? Pin it for later!