How to Fill in Eyebrows Naturally: The Beginner’s Guide to Realistic Brows
There’s a fine line between beautifully defined brows and brows that look drawn on. Most beginners cross it on their first try — pressing too hard, choosing a shade too dark, or filling the entire brow like a coloring book. The result screams “makeup” instead of whispering “great brows.”
Filling in eyebrows naturally is a skill, but it’s a learnable one. The secret is imitating real hair: short strokes, the right shade, a light hand, and knowing where to add product (and where to leave your brows alone). This guide covers the full technique with both pencil and powder, so you can pick the method that suits you.
If you haven’t shaped your brows yet, start with our beginner’s eyebrow shaping guide — filling works best on a clean, tidy base.
What “Natural” Actually Means for Brows
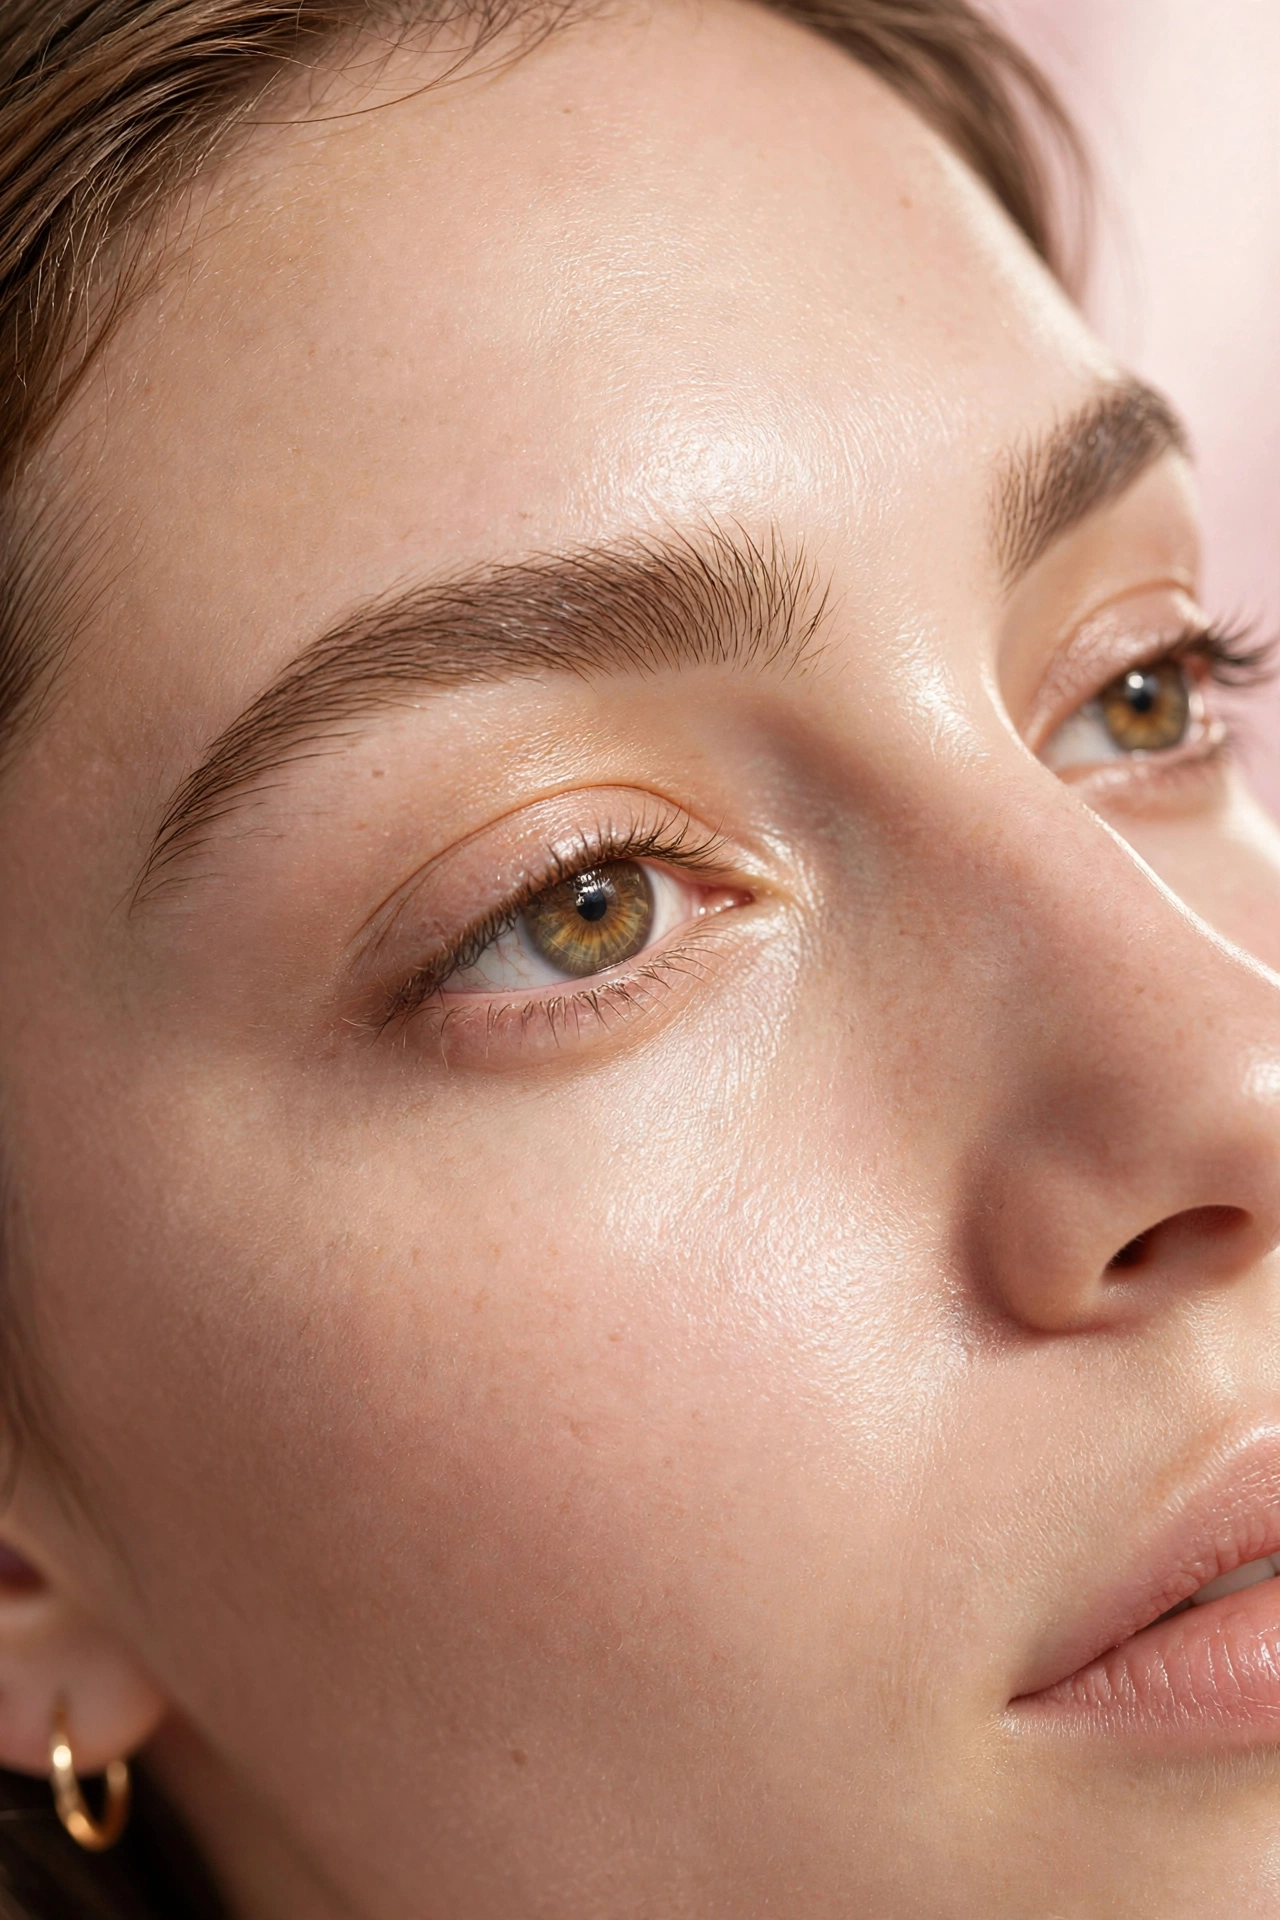
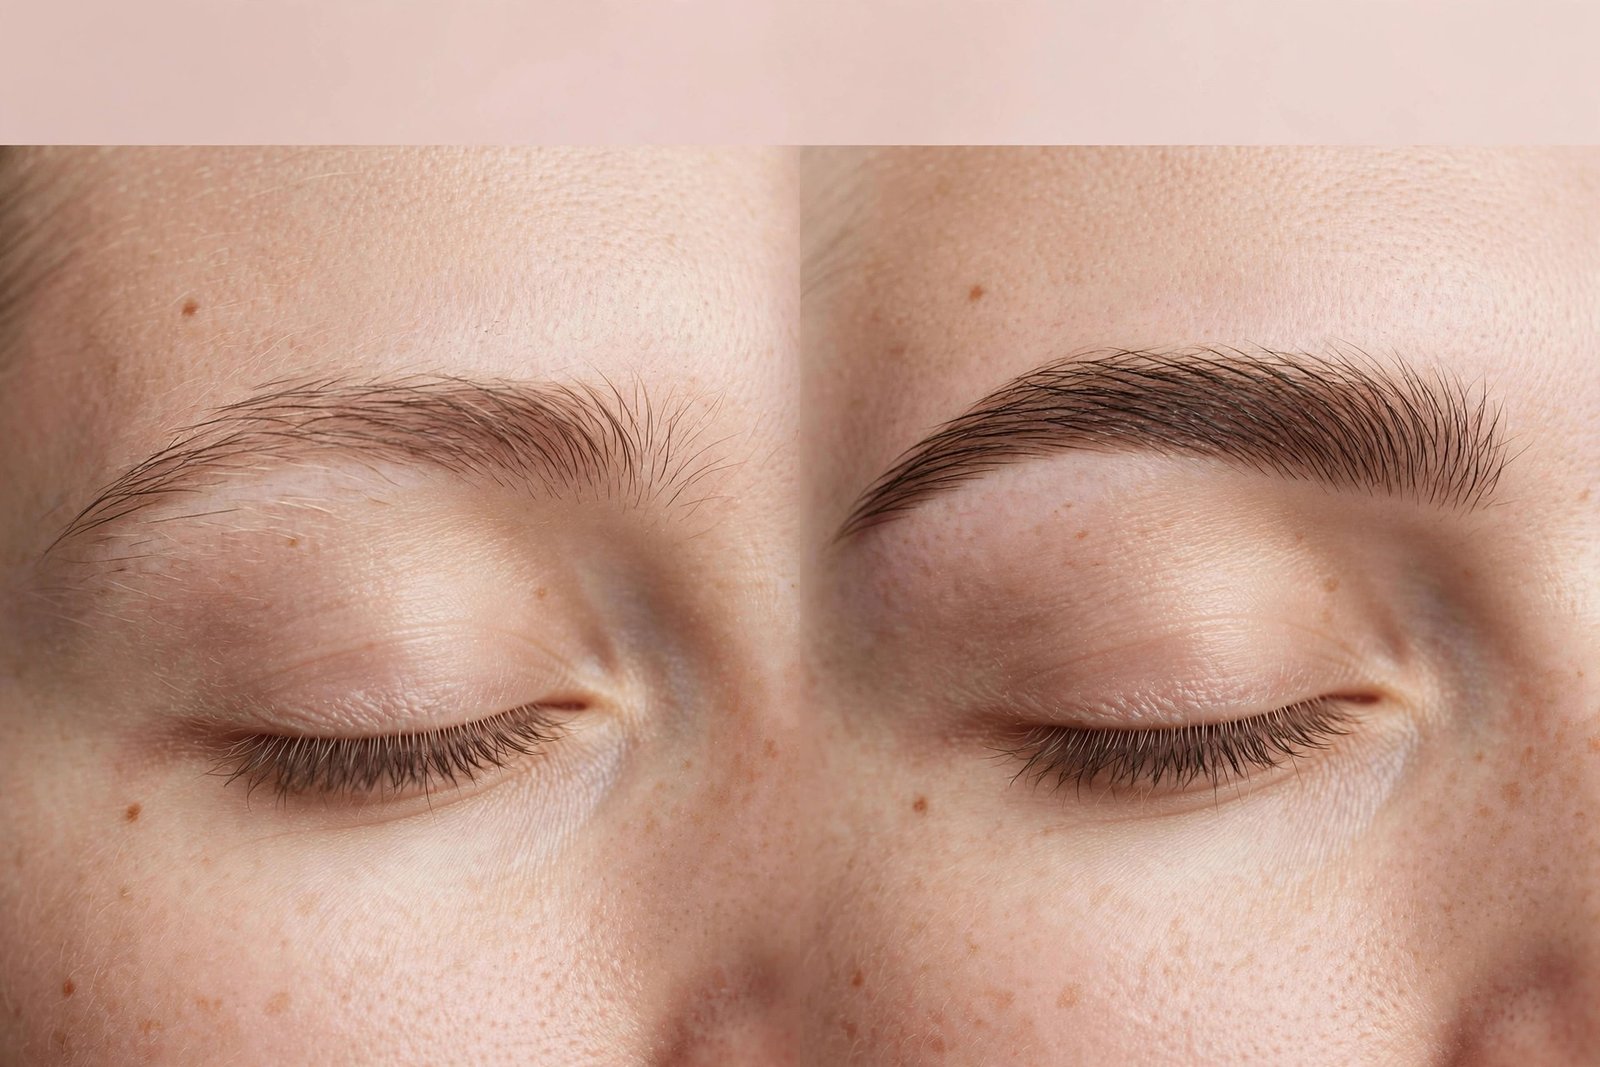
Natural-looking filled brows have three qualities: they follow your real brow shape, they vary in density (darker in some spots, sheer in others, like real hair growth), and the edges look soft rather than stamped on. Real eyebrows are never one flat color from inner corner to tail — the inner third is usually lighter and sparser, the middle is fullest, and the tail tapers.
Before you pick up any product, look at your bare brows in the mirror and notice where hair is actually missing. Most people need product in only two or three small zones — commonly the tail, the arch underside, or a sparse patch in the middle — not across the whole brow. Targeting just those zones is the single biggest difference between natural and overdone.
Choosing Your Product: Pencil vs Powder
Both pencils and powders can create natural brows, but they behave differently. Here’s how to choose:
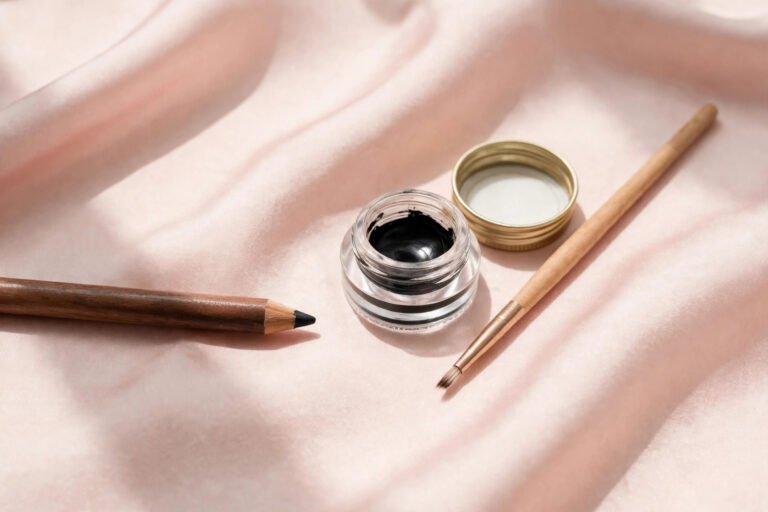
Brow pencil (best for most beginners). Gives you the most control for drawing hair-like strokes. Ideal for sparse brows, defining the tail, and filling small gaps precisely. Look for a retractable pencil with a fine tip and a spoolie on the other end. If you’re shopping for your first one, our guide to the best eyebrow pencil for beginners breaks down exactly what features to look for.
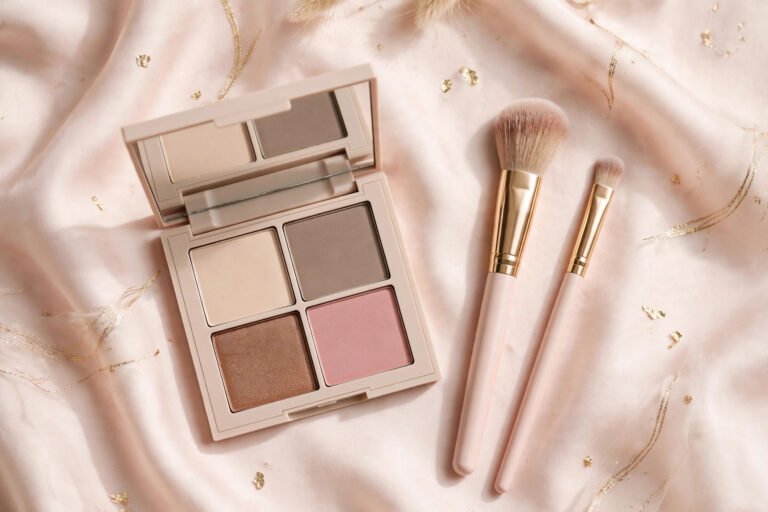
Brow powder (best for a soft, diffused look). Applied with a small angled brush, powder fills larger areas with a soft wash of color that mimics the shadow of dense hair. Great for brows that have decent hair but need more fullness, and for anyone who finds pencils look too harsh. The trade-off is less precision for fine detail work.
Many people use both: pencil for the tail and precise strokes, powder to softly fill the body of the brow. There’s no rule against combining.
Brow gel (finishing step, not a filler). Clear or tinted gel sets hairs in place and adds a hint of color and fullness. Tinted gel alone can be enough for a natural look on days when your brows just need a little boost.
Shade Matching: The Rule That Prevents 90% of Mistakes
The most common reason filled brows look fake is the wrong shade. Here’s how to get it right:
- For dark brown or black hair: choose a pencil one shade lighter than your brow hair. Going too dark is what creates that harsh, stamped look.
- For medium brown hair: match your brow hair or go half a shade lighter.
- For blonde hair: go one to two shades darker than your brow hair, choosing an ashy taupe rather than anything warm or orange. Blonde brows disappear without some added depth.
- For red/auburn hair: choose a warm medium brown or auburn-toned shade — never a cool ash, which will look gray against warm hair.
- For gray or silver hair: a soft taupe or light ash brown usually looks most natural.
Undertone matters as much as depth. Hold the pencil next to your brow in natural light. If your hair has warm undertones, a cool-toned pencil will look ashy and off; if your hair is cool-toned, a warm pencil will look reddish. When in doubt, neutral or slightly ashy shades are the safest bet for most people — very few people have truly warm-toned brow hair.
Test the shade on the back of your hand first, then do a light stroke at the tail of your brow (the least visible area) before committing to the full brow.
The Pencil Technique: Hair-Like Strokes Step by Step
This is the core skill. Practice it slowly the first few times — speed comes later.
Step 1: Brush through first. Comb your brow hairs upward and outward with the spoolie. This reveals the true shape and shows you exactly where the gaps are.
Step 2: Start at the arch, not the inner corner. Beginners almost always start at the inner brow and go too heavy there. Instead, begin where your brow is naturally fullest — usually the arch area — and work outward toward the tail, then come back to the inner brow last with whatever product remains on the pencil.
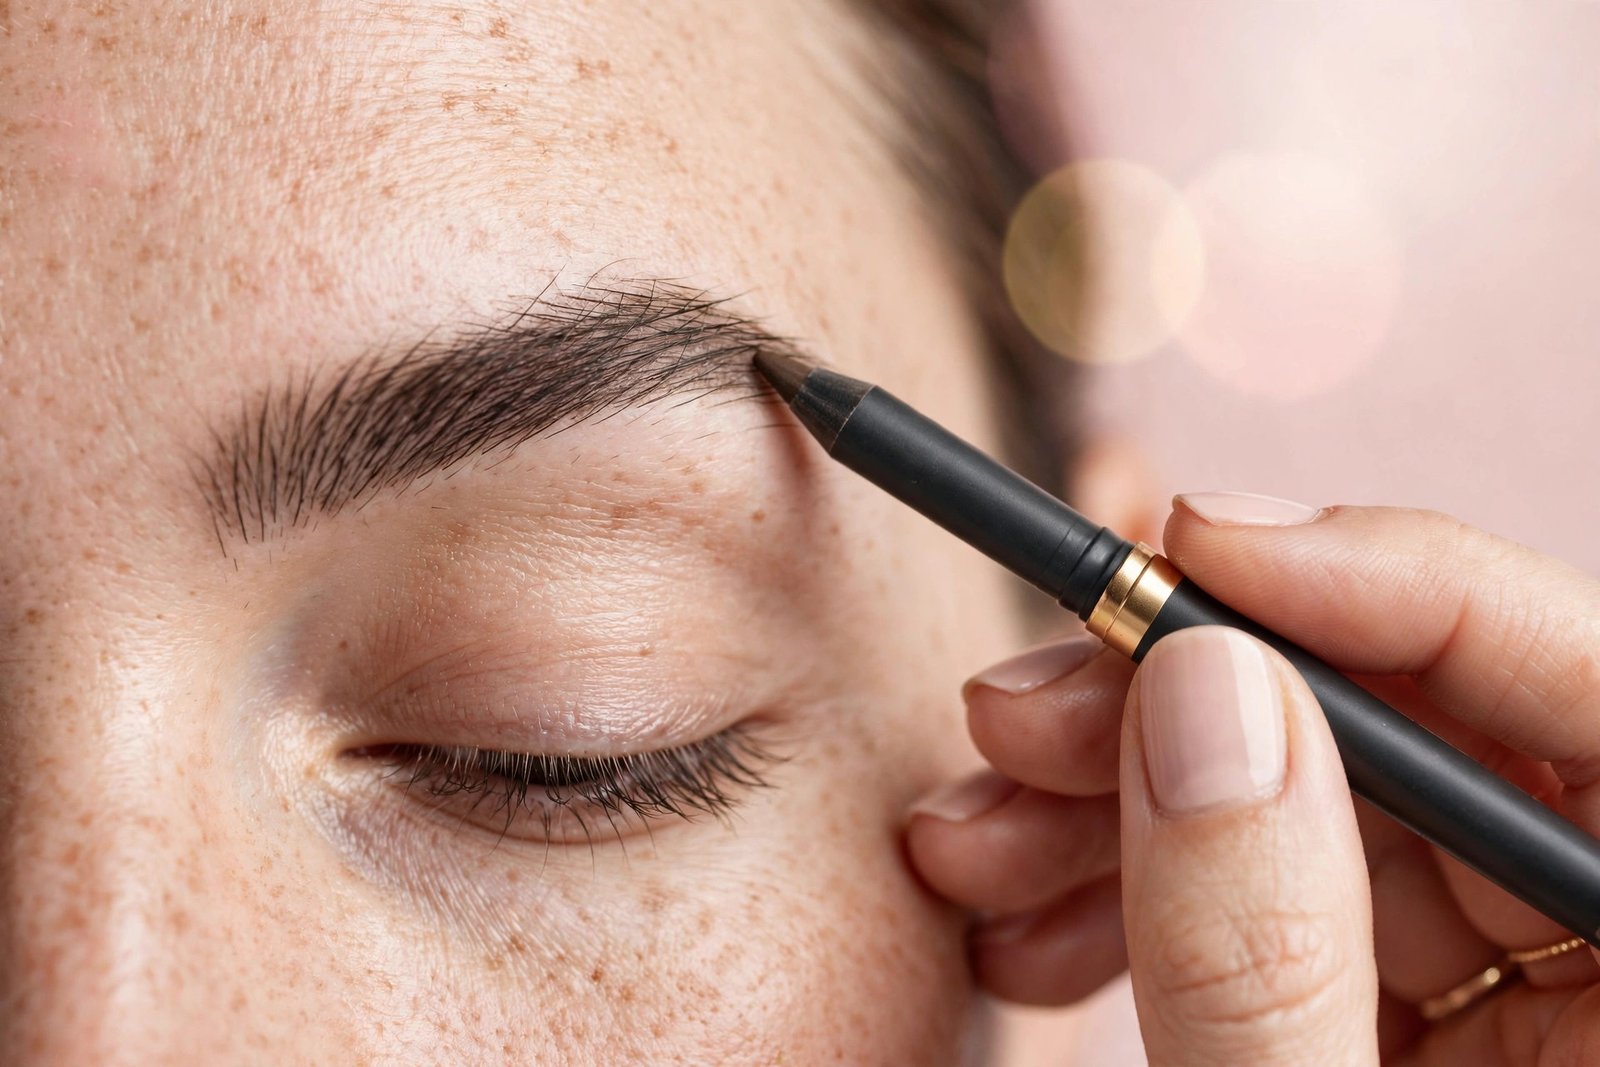
Step 3: Use short, upward flicks. Hold the pencil at a low angle (almost flat against the skin, not upright like a pen). Draw short strokes — 2 to 3 millimeters — flicking upward and outward in the direction your hair grows. Think of sketching individual hairs, not shading an area. Use almost no pressure; let the pencil barely touch the skin.
Step 4: Build slowly in layers. One light pass, then brush through with the spoolie to blend. Assess. Add a second light pass only where you still see sparseness. Two sheer layers always look more natural than one heavy one.
Step 5: Keep the inner brow soft. The inner third of your brow should be the lightest part. Use just the residue on the pencil — don’t add fresh product here. Brush upward firmly with the spoolie to diffuse any visible strokes.
Step 6: Define the tail lightly. The tail gives brows their finished look, but a tail that’s too dark or too long looks drawn on. Extend the natural line of your brow with a few light strokes, following the direction the hairs point (slightly downward at the very end).
Step 7: Blend everything with the spoolie. This is the step beginners skip, and it’s what makes the difference. Brush through the entire brow — up, then over in the direction of growth — to soften every stroke into the real hairs. If any area still looks too intense after blending, brush through it again or lightly press with a clean fingertip.
Step 8: Set with gel (optional but recommended). A light pass of clear brow gel keeps hairs in place and melds the pencil work into your real brows so nothing looks separate or chalky.
The Powder Technique: Soft Fullness
If you prefer powder, the approach is different — less drawing, more diffusing:
Step 1: Brush brows into shape with the spoolie.
Step 2: Pick up a small amount of powder on a stiff angled brush. Tap off the excess — this is critical. Too much powder on the brush is the number-one cause of muddy, overdone powder brows.
Step 3: Starting at the arch, use short, feathery strokes to press (not drag) the powder into sparse areas, following hair growth direction. Work in the same order as the pencil method: arch first, tail second, inner brow last with residual product.
Step 4: Blend thoroughly with the spoolie, then set with gel.
Powder excels at creating the illusion of density across a broad area, while pencil excels at precision detail. Sparse tails and defined edges favor pencil; overall fullness favors powder.
Fixing Common Problems
“My brows look too dark.” You pressed too hard or chose too dark a shade. Brush through aggressively with a clean spoolie to remove excess, or go over the area with a cotton swab. Next time, use a lighter hand and build in layers.
“You can see individual stroke marks.” You didn’t blend enough. The spoolie pass after every layer is non-negotiable. Also check that your pencil tip isn’t too sharp — an ultra-fine point draws lines that look like pen marks. A slightly dulled tip deposits softer color.
“The front of my brows looks blocky.” The number-one beginner giveaway. The inner brow should fade gradually, not start with a hard vertical edge. Use only residual product there, brush upward firmly, and consider leaving the first few millimeters completely bare.
“One brow looks different from the other.” Fill both brows simultaneously — a few strokes on the left, a few on the right — rather than finishing one completely before starting the other. Step back to a regular mirror frequently.
“The color looks wrong — too red / too gray / too warm.” That’s an undertone mismatch. Swap to a shade with the opposite undertone lean and test at the tail first.
“It looks fine up close but harsh in photos.” Cameras flatten and intensify brow makeup. If you photograph a lot, go one notch lighter or sheerer than what looks right in the mirror — flash and daylight photography both deepen brow color.
Making It Last All Day
Brow product fades from the areas where skin is oiliest (usually the tail and the skin beneath the inner brow). A few habits extend wear:
- Apply brow product to clean, dry skin — moisturizer or sunscreen directly under the brow makes product slide.
- Set with a brow gel or a tiny amount of translucent powder pressed over the filled areas.
- Avoid touching your brows during the day.
- If you have very oily skin, a swipe of eyeshadow primer or a mattifying primer through the brow area before filling gives product something to grip.
For a full face routine that incorporates brows in the right order, see our makeup for beginners step-by-step guide — brows typically come after base makeup but before eye makeup.
Key Takeaways
- Fill only where hair is actually missing — most brows need product in just two or three small zones, not everywhere.
- Choose a shade one step lighter than dark brows (or slightly darker than very light brows) and match the undertone to your hair.
- Start at the arch, use short upward flicks with almost no pressure, and save the inner brow for last with residual product.
- Build in sheer layers and blend with a spoolie after every pass — blending is what makes it look like hair instead of makeup.
- Pencil gives precision for gaps and tails; powder gives soft fullness across larger areas; many people use both.
- Keep the inner brow soft and faded — a hard blocky front is the biggest natural-look killer.
Frequently Asked Questions
Should I fill in my eyebrows every day?
Only if you want to. Well-shaped brows often look fine bare, and many people fill them just for work, events, or photos. There’s no requirement — it’s purely aesthetic preference. On no-makeup days, a quick brush-through with tinted gel takes ten seconds and adds subtle polish.
Is brow pencil or powder better for beginners?
Pencil, for most people. It offers more control, it’s easier to correct mistakes (just blend or wipe), and the hair-stroke technique is intuitive. Powder requires brush skills and a lighter touch to avoid looking muddy. That said, if your brows are fairly full and just need soft enhancement, powder can be more forgiving.
How do I fill in eyebrows if I have very little brow hair?
Map your ideal shape first using the three-point method from our shaping guide, then build the shape with pencil using the stroke technique — but keep it sheer. With very sparse brows, less product looks more convincing than more. A slightly lighter shade than you’d expect also helps; heavy dark filling on bare skin is what reads as “drawn on.”
Why do my filled brows look good in the mirror but bad in photos?
Two reasons: cameras increase contrast, making brow makeup look darker and harsher than it appears to your eye, and flash washes out the surrounding skin while leaving the brow pigment intense. Compensate by going sheerer than you think you need, and always check your brows in a phone photo before an event.
Can I use regular eyeliner or eyeshadow to fill my brows?
In a pinch, a matte eyeshadow close to your brow shade applied with an angled brush works fine — it’s essentially the same as brow powder. Eyeliner is riskier: most eyeliners are too creamy, too pigmented, or the wrong undertone, and they tend to look harsh and smudge. A dedicated brow product is worth the small investment.
Conclusion
Natural-looking filled brows come down to restraint: the right shade, a light hand, hair-like strokes, and thorough blending. Start at the arch, keep the inner brow whisper-soft, build in sheer layers, and always finish with the spoolie. The first few attempts might take ten minutes; within a couple of weeks, you’ll do it in two.
Remember that the goal is believable brows, not perfect brows. A little variation and softness is what makes them look real. Master this technique once, and it becomes one of the highest-impact, lowest-effort steps in your entire makeup routine.
Love this? Pin it for later!