Best Self Tanner for Fair Skin: A Beginner’s Guide
Fair skin and self tanner have a complicated reputation. We’ve all seen the cautionary tales — the pale friend who went two shades too dark and emerged looking unmistakably orange. But that outcome isn’t a fair-skin problem; it’s a wrong-product problem. Fair skin takes self tanner beautifully when the formula is chosen correctly, because the contrast between “before” and “after” is exactly what makes a subtle glow so striking.
The challenge for fair skin is specific: high-DHA formulas designed for medium and deep skin tones overwhelm pale skin, and warm/red-based formulas can pull orange on cool, pink undertones. The solution isn’t to avoid self tanner — it’s to know which product types, undertones, and DHA levels are built for you. This guide covers exactly that, with no hype and no exaggerated product claims — just honest, research-based buying guidance. For the full application method, pair this with the complete beginner’s guide to self tanner.
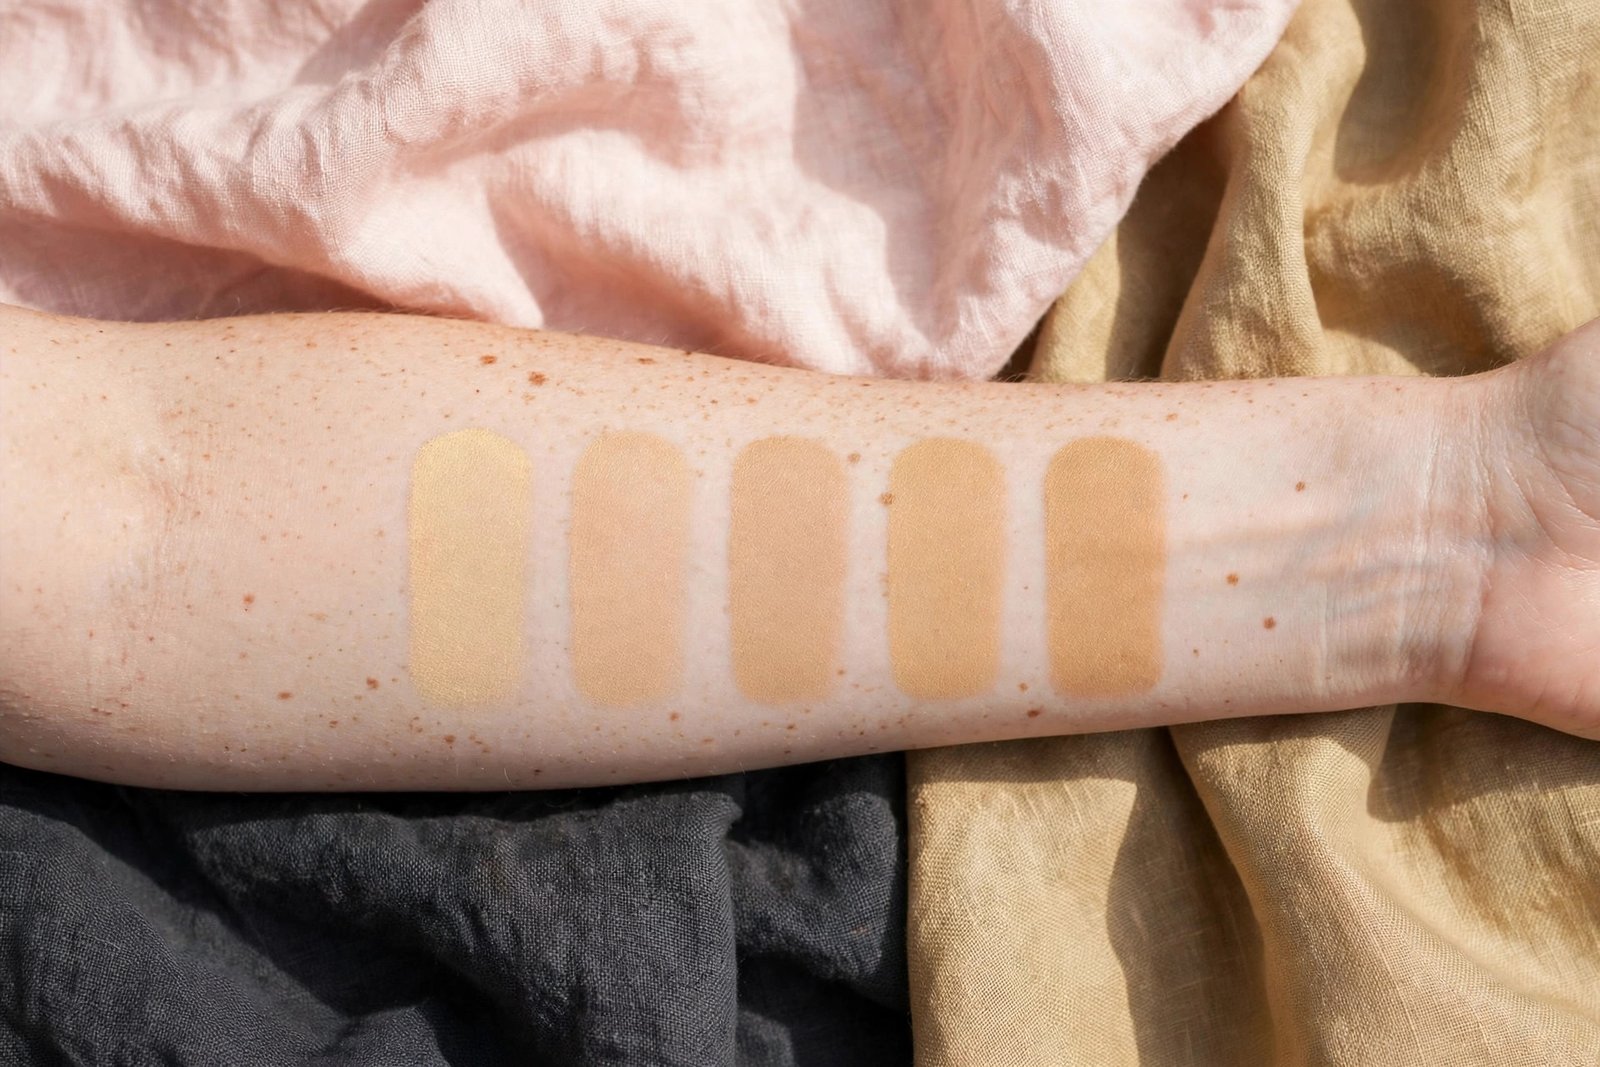
Why Fair Skin Needs a Different Approach
Self tanner color comes from DHA reacting with your skin, and the result depends on both the formula and your starting point. On fair skin, three things work differently than on deeper tones:
- There’s less margin for error. A formula that’s one shade too dark on medium skin looks “deep bronze”; on fair skin, the same formula can look artificial. The visual jump from pale to dark is simply larger.
- Undertone matters more. Fair skin often has cool or pink undertones. DHA naturally develops with warm, golden-brown tones — and when warm development meets cool skin with too much DHA, the result can read orange rather than bronze.
- Fair skin shows mistakes more. Streaks, dark knees, and missed patches are all more visible against a pale background. This doesn’t mean you shouldn’t tan — it means prep and technique matter even more. The streak-free application guide is essential reading.
None of this is a reason to skip self tanner. It just means the smartest fair-skin strategy is: start light, choose the right undertone, and build gradually.
What to Look for: The Fair-Skin Checklist
When evaluating any self tanner for fair skin, run through these criteria before buying:
Low to Medium DHA (3–6%)
DHA percentage is the single biggest predictor of how dark your result will be. For fair skin, look for formulas in the light to medium range — typically 3–6% DHA. Avoid anything labeled “dark,” “ultra dark,” or “extra dark” until you have experience and know your skin’s response. Remember: you can always apply a second layer or reapply the next day for more depth, but removing excess color is work (see the self tanner removal guide).
Green or Olive-Based Formulas (Not Red/Orange-Based)
This is the insider detail that matters most. Self tanners are formulated with different color bases — some lean red/golden, others lean green/olive. On fair, cool-undertoned skin, green-based formulas develop into a more natural, neutral bronze, while red-based formulas are more likely to pull orange. Product descriptions sometimes mention “olive undertone” or “neutral bronze”; reviews from fair-skinned users often note whether a formula runs orange. This is worth researching per product.
A Visible Guide Color
For beginners with fair skin, a tinted guide color is genuinely useful — it lets you see exactly where product has been applied, which prevents the missed patches that show up starkly on pale skin. Don’t be alarmed if the guide color looks dark in the bottle or on application; it rinses off, and the developed color underneath is typically much softer.
Hydrating or Gradual Options for Dry Fair Skin
Fair skin is often on the drier side, and dry skin absorbs DHA unevenly. Formulas with built-in moisturizers — or the gradual-tanner approach of mixing drops into your regular body lotion — help color develop evenly. If your skin runs dry or bumpy, the roundup of body lotions for dry, bumpy skin can help you prep a smooth canvas.
The Best Product Types for Fair-Skinned Beginners
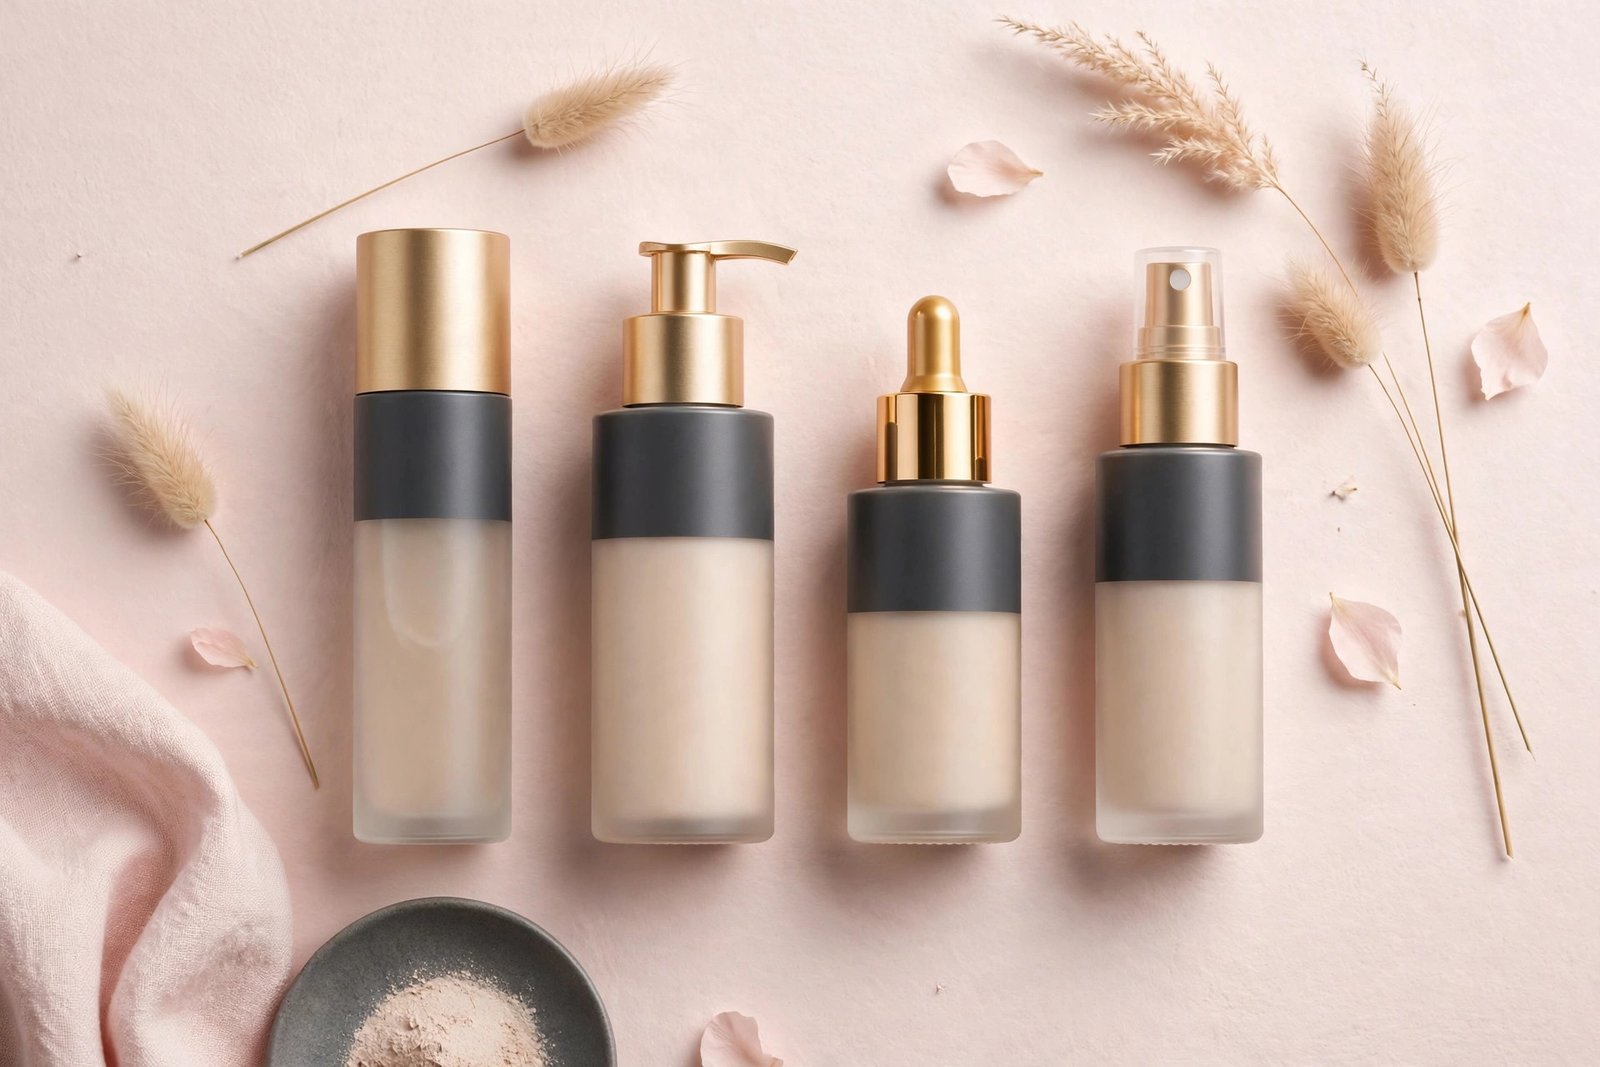
Rather than pushing specific brand claims, here’s an honest breakdown of which types of products suit fair-skinned beginners best, and why.
1. Gradual Tanning Lotions: The Safest Starting Point
Why they work for fair skin: Gradual tanners contain very low DHA (around 1–3%) in a moisturizing lotion base. Each application deposits a whisper of color, building to a natural glow over 3–5 days. The margin for error is enormous — it’s genuinely difficult to go too dark, turn orange, or create harsh streaks with a gradual formula.
Best for: The nervous first-timer, very pale skin (think “burns immediately in sun” territory), and anyone who wants a subtle “just back from a long weekend” glow rather than a dramatic transformation.
What to look for: A formula marketed as “light” or “fair to medium,” fragrance-free options if you’re sensitive, and one with a pleasant lotion texture you’ll actually enjoy applying daily. Apply like regular body lotion after showering; wash hands afterward.
Limitation: Patience required. You won’t see a dramatic result after one use — that’s the point, but it’s worth knowing going in.
2. Light Mousses with a Mitt: The Classic Route
Why they work for fair skin: Mousses give a more noticeable result in a single session than gradual lotions, and the “light” or “fair/medium” versions are formulated with lower DHA specifically for paler skin. The foam texture spreads thinly and evenly, and the guide color shows your work.
Best for: Beginners who want visible results tonight, not in four days — for an event this weekend, for example.
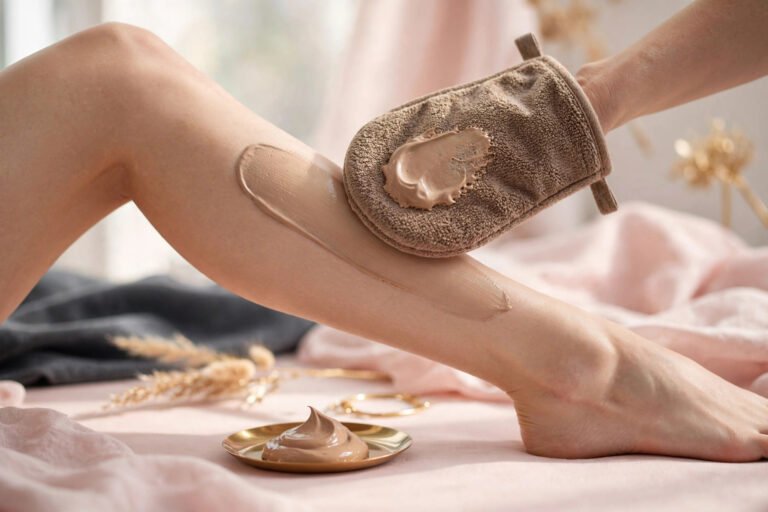
What to look for: Explicitly “light” or “medium” shade options (never start with dark), a green/olive base if you can determine it, and a fast-drying formula. Always apply with a tanning mitt using the sweeping technique from the streak-free guide.
Limitation: Less forgiving than gradual tanners. Technique matters — prep and mitt work make or break the result.
3. Tanning Drops Mixed into Moisturizer: The Control Freak’s Choice
Why they work for fair skin: Drops let you control DHA dose precisely — 1–2 drops in your body lotion for the faintest glow, more for deeper color. This makes them ideal for fair skin because you can start extremely subtle and calibrate over days. They’re also the gentlest introduction to tanning the face.
Best for: People who already have a body moisturizer they love, precision-minded beginners, and face tanning (more on that in the face tanning guide).
What to look for: A drop formula with clear dosing guidance (e.g., “2–3 drops = light glow”), and a moisturizer you apply evenly — patchy lotion application means patchy tan. Mix thoroughly in your palm before applying.
Limitation: Requires consistent, even moisturizer application. If you slap lotion on hastily, the tan will be hasty too.
4. Tanning Waters and Mists: The Lightweight Option
Why they work for fair skin: Tanning waters are clear, water-based formulas — usually DHA-based with minimal added ingredients — that mist on and develop into a light, natural tan. They tend to produce subtler color than mousses, which suits fair skin, and the clear formula means no guide-color staining on sheets.
Best for: Oily or acne-prone skin (lightweight, non-comedogenic-leaning formulas), and anyone who hates the feel of lotions or the biscuit smell of traditional mousses.
What to look for: “Light” or “gradual” positioning, a fine mist applicator (or apply with a mitt for control), and hydrating ingredients since water-based formulas can be slightly drying.
Limitation: The lack of guide color makes even application harder for true beginners — consider applying with a mitt rather than misting directly until your technique is solid.
5. Face-Specific Formulas: Don’t Use Body Tanner on Your Face
Fair skin on the face deserves its own product. Facial skin is thinner, more reactive, and more visible than body skin — and body formulas are often too strong and too fragranced for it. Face tanning drops or dedicated facial tanning serums use lower DHA and gentler bases. Full guidance is in the face tanning guide.
Ingredients and Features Worth Seeking Out
Beyond formula type, these features make a tanner more fair-skin-friendly:
- Erythrulose alongside DHA. This second tanning sugar develops more slowly and produces warmer, more natural tones — it softens the sometimes-ashy or orange edge of DHA alone.
- Aloe, hyaluronic acid, or glycerin in the formula. Hydrating ingredients help color develop evenly, which matters more on fair skin where unevenness shows.
- Fragrance-free or lightly fragranced. The DHA smell bothers everyone, but heavy fragrance on top of it — especially on sensitive fair skin — is a common irritant.
- Clear development-time guidance. Good beginner products tell you exactly how long to leave the formula on (e.g., “rinse after 4 hours for light, 8 for medium”). Vague instructions are a red flag for beginners.
5 Mistakes Fair-Skinned Beginners Make
- Buying the dark shade “for better results.” On fair skin, dark formulas are the #1 cause of orange, artificial-looking tans. Start light or medium — always.
- Skipping the patch test. Apply a small amount to your inner forearm 24 hours before a full application. Fair, sensitive skin reacts more often, and a patch test costs nothing.
- Ignoring undertone. If you have cool/pink undertones, prioritize green/olive-based formulas. Warm-based formulas on cool fair skin are the classic orange-tan recipe.
- Applying to unexfoliated skin. Fair skin shows every dry patch as a dark spot. Exfoliate thoroughly 24 hours before — the body exfoliation guide covers the method.
- Tanning the face with body formula. The face needs lower DHA and gentler ingredients. Using body mousse on your face is a fast track to breakouts and an unnaturally dark face against a lighter neck.
Key Takeaways
- Fair skin tans beautifully with self tanner — the key is choosing low-to-medium DHA (3–6%) and starting with light/medium shades, never dark.
- Green or olive-based formulas develop more naturally on cool, fair undertones than red-based ones.
- Gradual tanning lotions are the safest beginner option; light mousses with a mitt give faster results; drops offer precise control.
- Use a dedicated face formula, not body tanner, on your face.
- Patch-test 24 hours before full application, exfoliate thoroughly, and moisturize dry areas first.
- You can always build color up with a second layer — removing excess color is much harder.
FAQ
Will self tanner turn my fair skin orange?
It can, but it’s avoidable. Orange results on fair skin come from too-high DHA, red-based formulas on cool undertones, or over-application on dry areas. Choose a light/medium green-based formula, prep well, and apply sparingly to trouble spots.
How many shades darker should a fair-skinned beginner go?
Aim for 1–2 shades deeper than your natural tone for the most believable result. A subtle glow that makes you look rested beats a dramatic transformation that invites questions.
Can very pale skin use self tanner, or will it always look fake?
Very pale skin can absolutely use self tanner successfully. Gradual tanning lotions are ideal here — they build such subtle color that the result reads as a natural healthy glow rather than an obvious tan.
Should I use a different tanner for my face than my body?
Yes. Facial skin is thinner and more reactive, and the face is far more visible. Use a dedicated face tanning product (drops or a facial tanning serum) with lower DHA rather than your body formula.
How do I know if a formula is green-based or red-based?
Check the product description for terms like “olive undertone” or “neutral bronze” (green-based) versus “golden” or “warm bronze” (which may lean red). Reviews from fair-skinned users are also a reliable signal — they tend to mention orange tones quickly.
Conclusion
The best self tanner for fair skin isn’t a specific brand — it’s a specific approach: low DHA, the right undertone base, a forgiving formula type, and solid prep. Start with a gradual lotion or a light mousse, patch-test, exfoliate, and build color slowly. Fair skin rewards patience with the most natural-looking fake tans of all, because even a subtle glow transforms a pale canvas.
Once you’ve chosen your formula, make sure your technique is solid with the streak-free application guide, review the full process in the beginner’s guide, and keep the removal guide bookmarked — just in case.
Love this? Pin it for later!