Flash-Friendly Photo Makeup: Look Good in Holiday Photos
You’ve seen it happen: the makeup looks perfect in the mirror, but in the party photos your face is a pale ghostly mask while your neck is three shades darker. That white cast is called flashback, and it’s the most common holiday-photo makeup disaster — entirely preventable once you know what causes it.
Flash-friendly makeup isn’t a separate routine. It’s your normal routine with a few strategic swaps: avoiding the ingredients that reflect camera flash, building dimension that reads on a flat photo, and placing blush and bronzer where the camera actually sees them. This guide covers all of it. For the full party-night plan, see the [Christmas party beauty guide → christmas-party-beauty-guide].
Key Takeaways
- Flashback is caused by SPF (zinc oxide, titanium dioxide) and silica/HD powders reflecting camera flash
- Switch to an SPF-free moisturizer and primer for evening events
- Blend foundation down the neck — the face/neck mismatch is the #1 photo crime
- Photos flatten the face, so slightly stronger contour, blush, and brow definition read as “natural” on camera
- Matte skin photographs better than dewy under direct flash; keep glow to the high points only
- Take a test photo with flash before you leave — it takes ten seconds and saves the evening
What Causes Flashback (and How to Avoid It)
Flashback happens when light-reflecting ingredients in your makeup bounce the camera’s flash straight back at the lens, turning your face white in photos.
The main culprits:
- SPF in moisturizer, primer, or foundation. Mineral UV filters — zinc oxide and titanium dioxide — are designed to reflect light. That’s their job in daylight, and it’s exactly what causes flashback at night. This is why your daytime routine needs a swap for evening events: use an SPF-free moisturizer and primer after dark. Your [sunscreen → best-sunscreens-oily-acne-prone-skin-no-white-cast] stays in the morning routine where it belongs.
- Silica and “HD” powders. Silica is a fantastic oil-absorber, but it’s also highly light-reflective. HD finishing powders that look invisible in person can glow white under flash. If you set with powder for photos, choose a tinted pressed powder over a loose translucent silica one.
- Heavy white or very light concealer. Overly bright under-eye concealer (several shades lighter than your skin) reads as white patches in flash photos. Keep concealer one to two shades lighter than foundation, max — and these [concealer tips → best-drugstore-concealers-dry-under-eyes] help with blending.
The fix is simple: for evening events, go SPF-free on moisturizer and primer, skip silica-heavy powders, and keep concealer close to your skin tone. You lose nothing in real life — SPF does nothing for you indoors at night anyway.
Building a Camera-Ready Base
Camera sensors see differently than human eyes. A photo flattens dimension, washes out subtle color, and exaggerates texture under harsh light. The camera-ready base compensates:
1. Even out, don’t mask. Apply foundation in thin layers (the same [long-wear technique → christmas-party-long-wear-makeup] applies here) and build coverage only where needed. Heavy foundation looks heavier on camera, not smoother.
2. Blend past the jawline. Extend foundation slightly down the neck and blend well. In person, a small mismatch is invisible; in a flash photo, it’s a glaring line. This single step fixes more photo complaints than any product.
3. Set strategically. Powder the T-zone to control shine — forehead shine under flash reads as sweat. But leave the outer face and cheekbones with a natural or slightly luminous finish; fully matte skin can look flat and lifeless in photos. The [setting spray vs. powder guide → setting-spray-vs-setting-powder] helps you pick the right combo.
4. Add dimension back. Photos flatten the face, so features need slightly more definition than real life requires: a touch more contour under the cheekbones, slightly stronger brows, and defined lashes. What looks “a bit much” in the mirror usually reads as natural on camera. This is also why [contour basics → how-to-contour-for-beginners] are worth learning before party season.
5. Skip shimmer on the T-zone. Shimmery highlighter on the forehead and nose plus camera flash equals glare. Keep highlighter to the tops of the cheekbones, the brow bone, and the inner eye corners.
Blush and Bronzer Placement for Photos
In person, a soft wash of blush looks lovely. In photos, it can disappear entirely — flash washes out subtle color. The camera needs you to be a little bolder than real life.
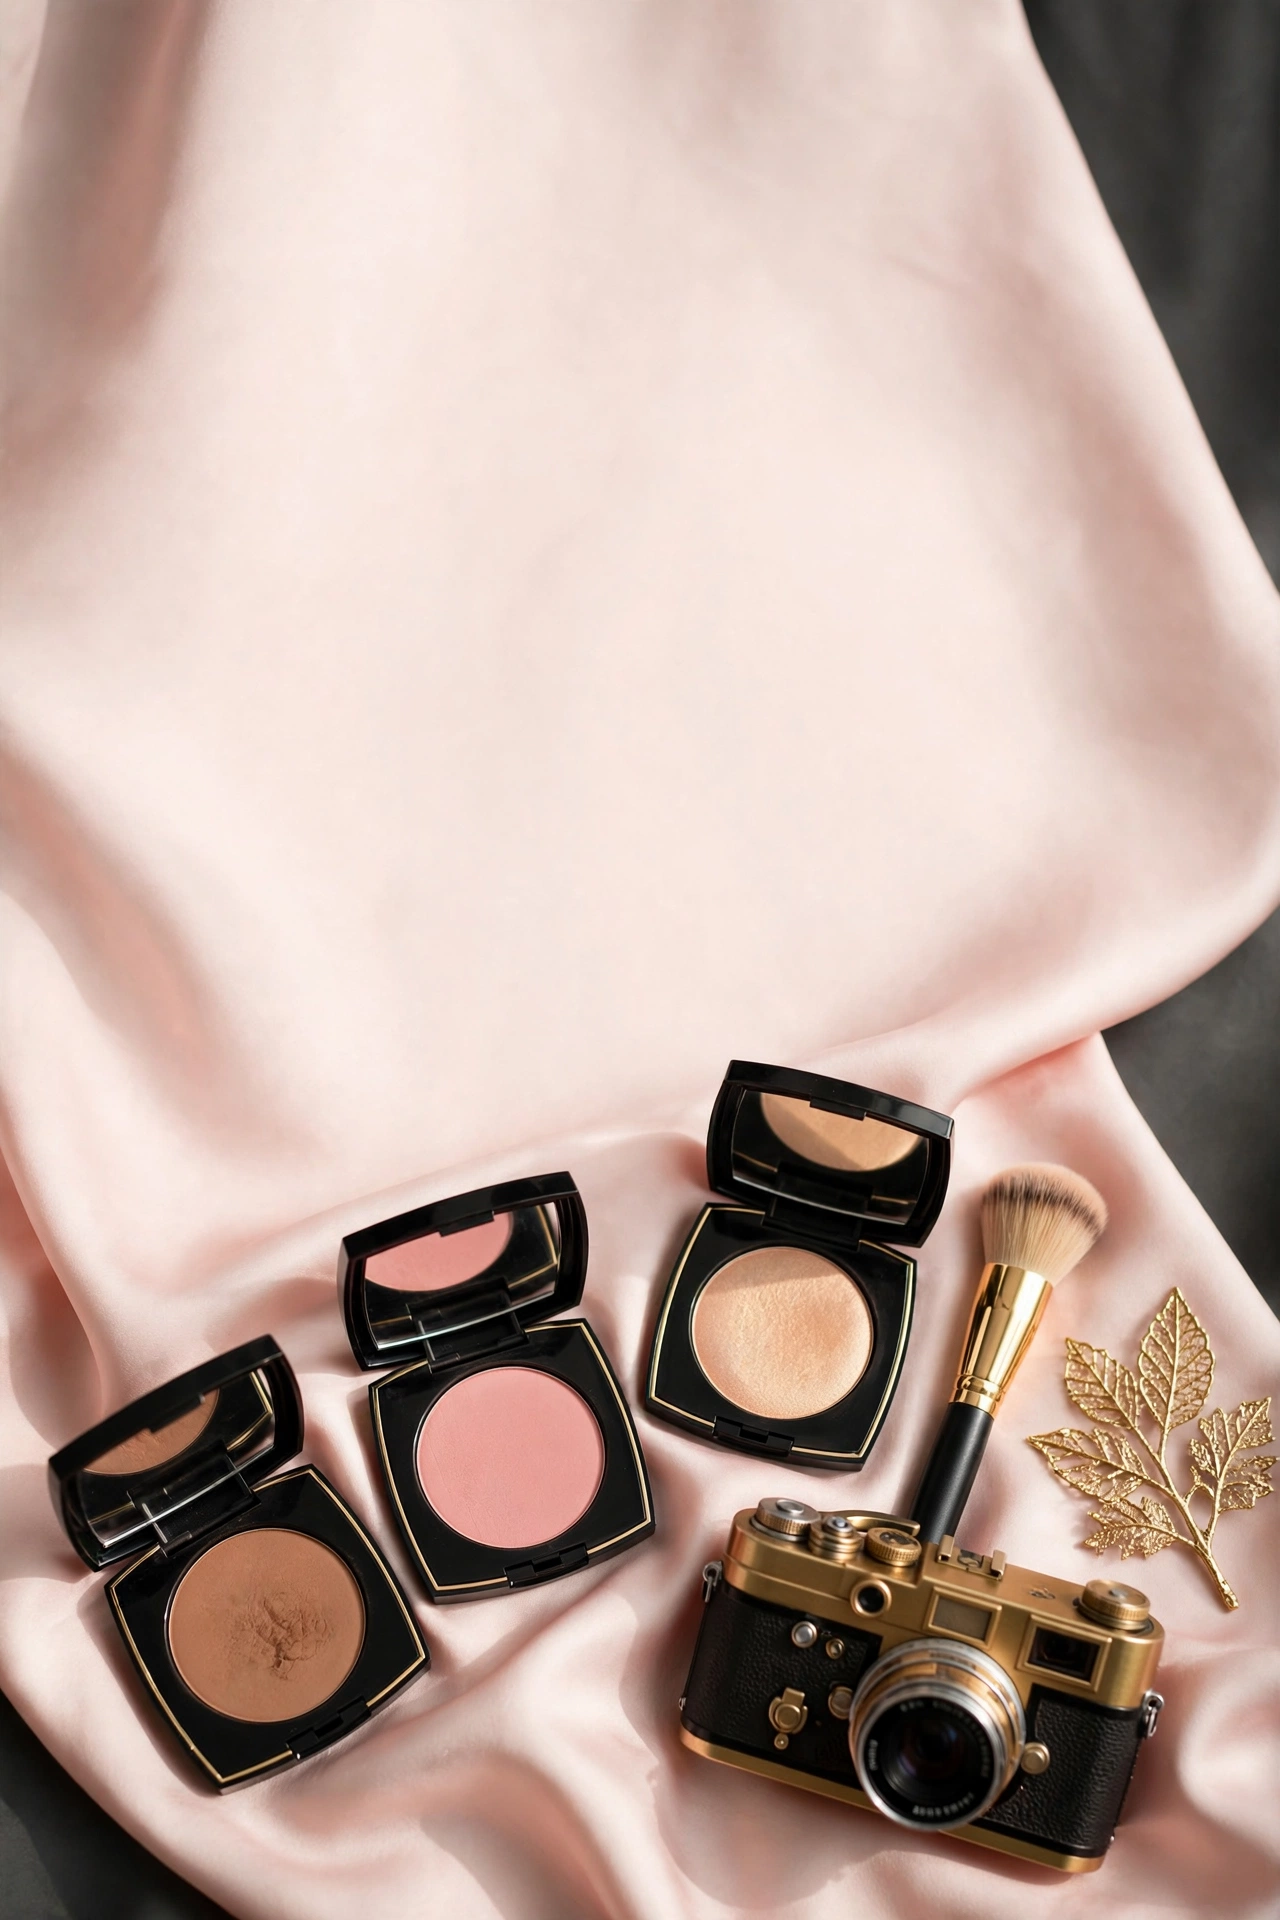
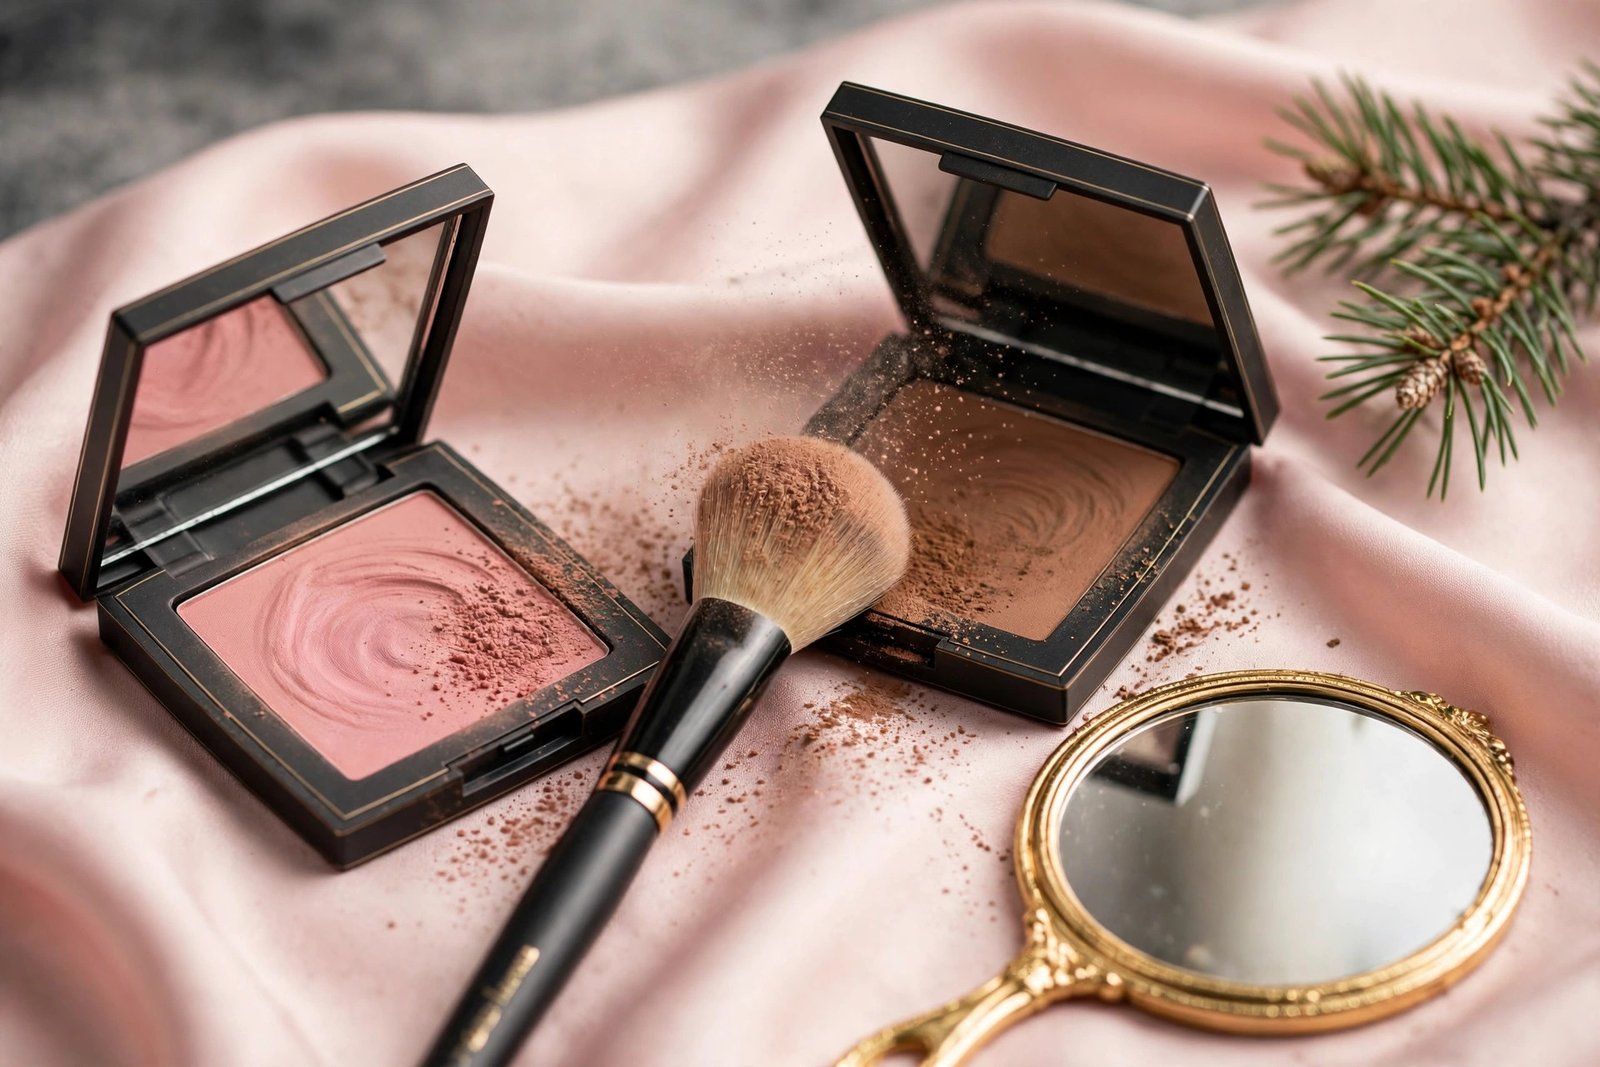
Blush: apply slightly more than you think you need, placed on the apples of the cheeks and blended upward toward the temples. Smile to find the apples, then place color there — not too close to the nose (which reads as flushed rather than sculpted). Warm pinks, corals, and berry tones photograph better than cool or ashy shades. Cream blush layered with a powder blush on top gives the most photo-stable color — the same layering trick from the [long-wear guide → christmas-party-long-wear-makeup].
Bronzer: apply where the sun would hit — forehead perimeter, cheekbones, jawline, and a touch on the nose. For photos specifically, a light contour under the cheekbones adds the dimension that flash erases. Blend thoroughly; harsh contour lines are very visible in high-resolution phone photos. The [bronzer and blush guide → freckle-makeup-bronzer-blush-guide] covers placement in detail.
The test: take a selfie with flash after applying blush and bronzer. If the color has vanished, add a little more. If it looks strong in person but balanced in the photo, you’ve hit the sweet spot.
Eyes and Lips for the Camera
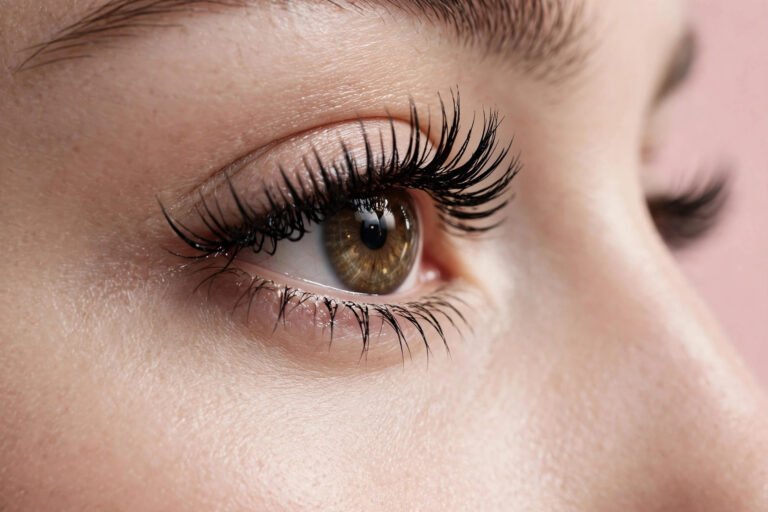
Eyes: define the lash line. Eyeliner and mascara matter more in photos than eyeshadow color does — dark, defined lashes frame the eyes and keep them from disappearing under flash. If you’re doing a [glitter eye → nye-glitter-makeup-tutorial], know that glitter photographs beautifully (camera flash loves sparkle) but keep it off the lower lash line to avoid emphasizing under-eye texture.
Brows: fill them slightly stronger than usual. Brows frame the face in photos, and washed-out brows make the whole face look undefined. You don’t need a dramatic brow — just filled, shaped, and set.
Lips: defined lips photograph far better than blurred ones. Use lip liner to define the edge, even under a gloss. Deep berry, classic red, and warm nude shades all photograph well; very pale nudes can wash out under flash and make lips disappear. Blot glossy finishes once — too much shine on lips plus flash creates a white highlight blob.
The Pre-Party Photo Test
This takes sixty seconds and prevents every disaster above:
- Finish your makeup completely, including setting spray.
- Stand in the room lighting closest to the party’s (or just a normally lit room).
- Take a selfie with the flash ON — front camera and back camera.
- Check for: white cast on the face, face/neck mismatch, disappeared blush, shiny T-zone, harsh contour lines, under-eye brightness.
- Fix whatever shows up. Add blush if it’s gone. Blend the jawline if there’s a line. Blot and powder if there’s shine.
Do this before you leave, not at the party. It’s the closest thing to a guarantee in makeup.
Frequently Asked Questions
Why does my face look white in flash photos but fine in the mirror?
Light-reflecting ingredients — SPF (zinc oxide, titanium dioxide), silica powders, and very light concealer — bounce camera flash back at the lens. Your eyes don’t see this effect; only the camera does. Switch to SPF-free evening products and tinted powder.
Should I wear SPF moisturizer to an evening party?
No. SPF serves no purpose indoors at night, and its UV filters are the top cause of flashback. Use your SPF moisturizer in the morning and an SPF-free one for evening events.
How much more blush should I wear for photos?
Roughly 20-30% more than your everyday amount. Flash washes out subtle color, so what looks slightly bold in the mirror reads as natural on camera. Always verify with a flash test photo.
Does dewy skin photograph badly?
Under direct flash, very dewy skin can look oily — the shine reads as sweat. The fix isn’t going fully matte; it’s controlling shine on the T-zone with powder while keeping a natural glow on the cheekbones. Strategic, not all-over.
What lipstick shades photograph best?
Classic red, deep berry, and warm rose or nude shades photograph reliably. Avoid very pale nudes (they wash out) and frosty finishes (they can look white under flash). Defined edges matter more than the exact shade.
Can I fix flashback in photos after the fact?
Editing apps can reduce mild flashback, but heavy white cast is very hard to fix naturally — the detail is blown out. Prevention (SPF-free base, right powder, the photo test) takes a minute and works far better than any filter.
Flash-friendly makeup is just smart makeup: SPF-free base for the evening, powder that doesn’t contain silica, blended jawlines, slightly bolder color, and a sixty-second flash test before you leave. Combine it with the [12-hour wear system → christmas-party-long-wear-makeup] and the [full party beauty guide → christmas-party-beauty-guide], and you’ll look as good at midnight — in every photo — as you did walking in.
christmas party beauty guide
long-wear party makeup
glitter makeup tutorial
setting spray vs powder
contour for beginners
Love this? Pin it for later!