Long-Wear Thanksgiving Makeup That Survives the Whole Day
Thanksgiving is not a three-hour dinner. It’s an entire production — early-morning prep, midday hosting chaos, cooking heat, endless hugs, happy tears during speeches, the group photo everyone will frame, and the late-evening pie. Your makeup needs to be there for all of it.
The problem? Thanksgiving is the hardest wear test of the year. Heat from a 400°F oven melts foundation. Steamy kitchens loosen everything. Hugs rub blush off your cheeks. And phone-camera flash finds every bit of powder that looked fine in daylight. A normal everyday routine simply isn’t built for this.
The good news: all-day makeup is a system, not a miracle product. Layering, priming, and setting in the right order does more for longevity than any single “24-hour” foundation. This guide walks through the complete routine — skin prep, primer strategy, foundation, the cream-plus-powder layering trick, waterproof eyes, lips that survive dessert, setting spray technique, and a tiny touch-up kit. By dessert, you’ll look like you just finished getting ready.
Why Thanksgiving Makeup Fails (and How to Fix It)
Most days, makeup needs to survive your desk. Thanksgiving asks it to survive a marathon:
- Cooking heat: Standing over a hot stove raises the temperature around your face, breaking down foundation — especially in the T-zone.
- Steam and humidity: Boiling pots and dishwashers turn the kitchen into a sauna. Moisture weakens setting products and turns concealer cakey.
- Physical contact: Constant hugs rub blush, bronzer, and foundation off cheeks and jawlines.
- Emotions: Happy tears and laughing-until-you-cry threaten eye makeup first.
- Flash photography: Evening group photos punish powder flashback instantly.
Each step below builds on the last, so don’t skip ahead — the order matters as much as the products.
Step 1: Skin Prep for Longevity
Makeup lasts longest on balanced skin — not too oily, not too dry, not too damp. The biggest mistake on event days is over-prepping: five serums, a rich moisturizer, and a facial oil, then foundation 90 seconds later. All that slip means nothing grips.
Start 30–40 minutes before makeup application so everything absorbs:
- Cleanse gently. A non-stripping cleanser gives you a clean canvas without triggering rebound oil production by midday.
- Use a lightweight, gel-based moisturizer. Heavy creams create a slippery base that foundation slides off. If skin is very dry, layer a hydrating toner underneath instead.
- Skip facial oils on the morning of. Oil and long-wear foundation are not friends on application day.
- Exfoliate the night before, not the morning of. A gentle AHA or PHA the evening before smooths the surface; morning exfoliation can leave skin reactive.
- Let sunscreen fully set. Apply SPF 30 and wait 10–15 minutes before foundation. Unset sunscreen causes pilling and patchiness.
When skin feels dry to the touch, move to step two.
Step 2: Primer Strategy — Match It to Your Skin Type
Primer is double-sided tape: it grips skin on one side and foundation on the other. But primers aren’t universal — the right one depends on your skin’s behavior.
- Oily/combination: A mattifying or oil-controlling primer, concentrated on the forehead, nose, and chin. Thin layers only — thick primer pills.
- Dry: A hydrating, gripping primer with a slightly tacky finish. Avoid mattifying formulas; they emphasize dry patches.
- Visible pores/texture: Press (don’t rub) a pore-blurring primer into textured areas after your all-over primer.
The Thanksgiving-specific move: Prime your eyelids and lips too. Eyeshadow primer prevents creasing through cooking heat and emotional moments, and a thin layer of lip primer on the lips gives lip color something to hold onto through dessert. These are the two spots where holiday makeup fails first — protect them from the start.
Step 3: Long-Wear Foundation Application
Formula matters, but technique matters more. A medium-coverage long-wear foundation applied correctly outlasts a full-coverage formula rushed on in a hurry.
Choose a long-wear or transfer-resistant formula in a matte or natural-matte finish. Dewy finishes are beautiful but break down fastest in heat.
Build in thin layers, not one thick one. Thick foundation cracks, creases, and transfers onto everything — including cheeks during hugs:
- Dot foundation over the center of the face and blend outward with a damp sponge, which presses product into skin.
- Wait 30–60 seconds, then add a second thin layer only where needed — chin, around the nose, redness.
- Blend edges into the neck and hairline. Nothing ruins a photo faster than a foundation line.
Concealer goes after foundation, not before. Use a small amount on dark circles and blemishes, set with the lightest dusting of translucent powder. Under-eye creasing is the top reason concealer fails midday — for causes and fixes, read why concealer creases.
Apply your base before serious cooking. Foundation needs 5–10 undisturbed minutes to set. Leaning over a steaming pot immediately after melts it before it ever had a chance.
Step 4: The Cream + Powder Layering Trick
This is the single most effective longevity technique in this guide, and it works for blush, bronzer, and highlighter. The principle: creams stick, powders set. Layering a powder over a cream in the same shade gives you the longevity of the cream with the polish of the powder — and the color survives hugs, heat, and hours.
For blush:
- Apply cream blush to the apples of the cheeks, blending upward. Creams meld with foundation and move with skin, so they fade slower.
- Wait a minute, then press a powder blush in the same color family over the top with a fluffy brush.
- The result reads as one seamless flush — and lasts dramatically longer than either formula alone.
The same trick works for bronzer (cream + powder) and highlighter (cream/liquid + a light powder on top — keep it light so you don’t dull the glow).
Blush that survives: If your blush is always gone by dinner, it’s because powder alone can’t survive hours of heat and hugs. The cream base gives color something to anchor to. Apply the cream slightly heavier than you think — it fades to the right intensity rather than disappearing.
One caution: match your formulas. Water-based creams under silicone-based powders (or vice versa) can pill — do a quick wrist test first if the brands differ.
Step 5: Waterproof Eye Makeup That Won’t Budge
Thanksgiving eyes must survive happy tears, steam, and possibly a couch nap. This is the one day where “waterproof everything” is genuinely the right call.
- Eyeshadow primer first. Even the best shadow creases by hour eight without it. Apply lash line to brow bone; wait 30 seconds.
- Powder shadow over cream for the base. Cream shadows crease faster under heat. Use powder shimmer over a matte base — the matte gives shimmer something to grip.
- Waterproof eyeliner. Pencil liners migrate; waterproof gel and liquid formulas stay. Set gel liner with matching powder shadow for double insurance.
- Waterproof mascara. It resists tears and steam far better than regular formulas. But under-eye smudging usually isn’t about the mascara — it’s about moisture on the lower lash line from concealer or natural oils. For the full fix, see stop mascara smudging. Tubing mascara is also worth knowing about: it forms water-resistant polymer tubes around each lash and removes with warm water alone.
- Keep the lower lid minimal. Heavy lower liner is the first thing to smudge into raccoon territory. A soft smudge of neutral shadow at the outer corner gives definition without the risk.
Step 6: Lip Strategy — Stain First, Gloss Later
Thanksgiving lips have one brutal enemy: the meal. Eating and drinking strip lip color faster than anything else. Assume your lipstick will face the turkey — and plan for it.
The stain + gloss method:
- Lip stain as the base. Stains sink into lips rather than sitting on top, so they survive eating and drinking far better than lipstick. Apply on clean, dry lips before cooking.
- Blot and reapply. Two thin layers, blotted between, build color that lasts hours.
- Gloss or balm on top for photos and comfort. Reapply the gloss after the meal — the stain underneath means you’re never starting from zero.
Why this beats lipstick: Lipstick transfers onto glasses, napkins, cheeks, and turkey legs. A stain stays put, and gloss reapplication takes five seconds. Pack the gloss in your touch-up kit and you’re covered through pie.
Exfoliate the night before. Smooth lips hold stain evenly; flaky lips grab color in patches.
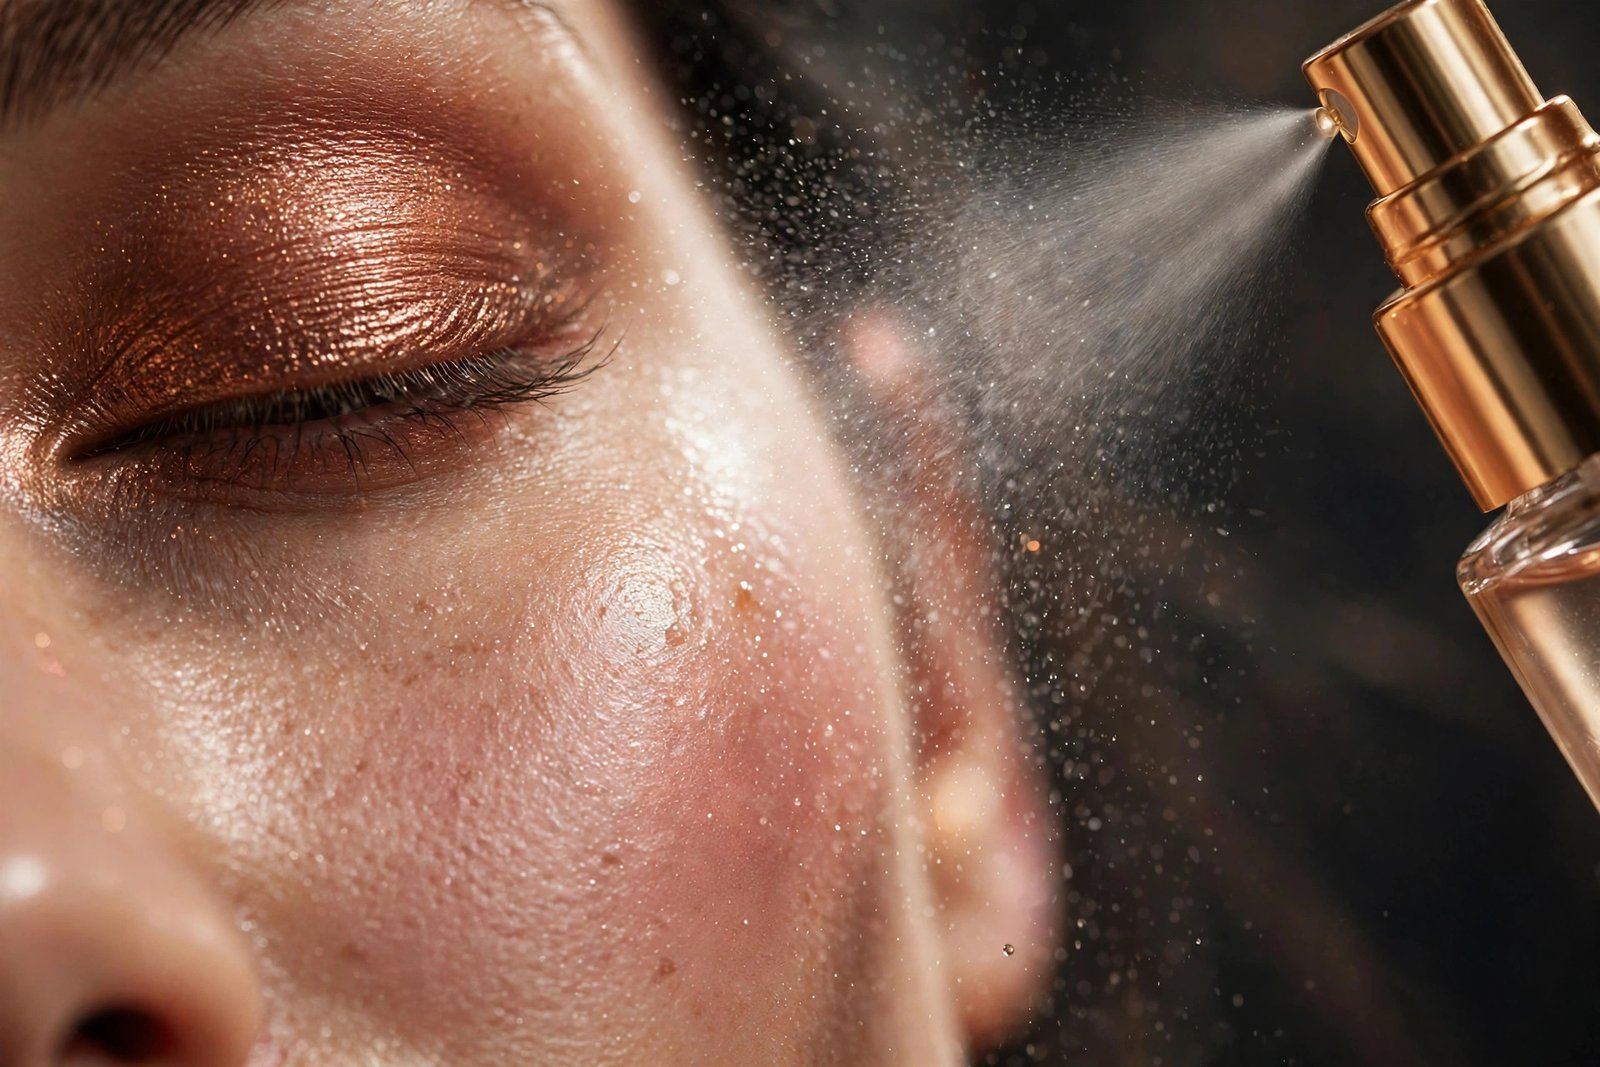
Step 7: Setting Spray Technique
Setting spray is the final seal — but a single careless spritz does almost nothing. The technique that actually locks makeup down:
- Hold the bottle 8–10 inches away. Too close gives wet spots; too far and the mist evaporates.
- Spray in an “X” then a “T” — four to six pumps total covering the whole face.
- Let it air-dry. Don’t fan it or touch your face. Give it two full minutes.
- Sandwich it for extreme longevity: mist after primer and after everything. The first layer helps foundation grip; the second seals it. This backstage trick genuinely adds hours of wear.
Setting spray vs. setting powder — know the difference. Powder absorbs oil and mattifies; spray melts layers together and extends wear time. For the full comparison, see setting spray vs setting powder. On Thanksgiving, use both: light powder in the T-zone, setting spray everywhere. If you had to choose one for a long day, the spray wins.
Step 8: Your Midday Touch-Up Kit
Even the best routine benefits from one midday check. But over-touching-up is worse than skipping it — powder on powder creates cake. Pack a small kit and use it once, strategically:
- Blotting papers — Press (don’t rub) the T-zone before adding product. Removing oil first means less powder needed.
- Travel pressed powder — Nose and forehead only, after blotting. One light press.
- Your lip gloss or tinted balm — The stain is still there; the gloss just needs refreshing.
- Mini setting spray — One light mist after touch-ups re-melts everything and erases powderiness.
- Cotton swabs — Clean up under-eye smudges or lip migration without disturbing surrounding makeup.
When: Once, about 30 minutes before the group photos or dessert. One well-timed refresh beats five anxious ones.
Don’t pack: A full foundation bottle (fresh foundation over eight-hour-old foundation cakes instantly) or any product you haven’t used before.
Photo-Friendly Tips: No Flashback
- Avoid flashback. That ghostly white cast in flash photos comes from silica-heavy HD powders and high-zinc sunscreens. Use silica powders sparingly, and do a flash test selfie before guests arrive — it’s the only way to know.
- Deepen cheek color slightly. Cameras wash out ~20% of makeup intensity. Go one notch bolder than feels natural; it photographs perfectly.
- Matte the center, glow the edges. A shiny T-zone reflects flash into hot spots. Keep the center matte; put glow on cheekbones, brow bones, and cupid’s bow.
- Check your teeth. After applying lip color, put a finger in your mouth, close your lips around it, and pull — excess comes off on your finger, not your teeth.
- Blend down the neck. Check the jawline in natural light. Photo lighting is out of your control; the blend must work everywhere.
Key Takeaways
- All-day Thanksgiving makeup is a system: skin-matched primer, thin foundation layers, cream-under-powder cheeks, waterproof eyes, stain-based lips, and sandwiched setting spray.
- Start skin prep 30–40 minutes before makeup so everything absorbs — damp, over-moisturized skin is the top reason foundation slides.
- The cream + powder layering trick is the single best longevity move for blush, bronzer, and highlighter.
- Lip stain with gloss on top survives the meal far better than lipstick; gloss reapplication takes seconds.
- Sandwich your setting spray — after primer and after everything — in X and T motions, and let it air-dry untouched.
- Pack a small touch-up kit and do one strategic refresh before photos or dessert, not five anxious ones.
- Test for flashback with a flash selfie before guests arrive.
Frequently Asked Questions
How do I make my makeup last 12+ hours on Thanksgiving?
Build in layers: primer matched to your skin type, thin layers of long-wear foundation, cream products set with matching powders, waterproof eye makeup, lip stain under gloss, and setting spray applied both after primer and after everything. Give each layer a few undisturbed minutes to set, and do one midday touch-up — blot first, then powder.
Why does my foundation separate around my nose by afternoon?
Usually oil breaking through, foundation applied too thickly there, or skincare that hadn’t absorbed. Fix it with mattifying primer just on the nose, one thin foundation layer, a light dusting of powder, and midday blotting before oil breaks through. Apply your base before cooking — steam accelerates separation.
Should I use setting spray or setting powder for long wear?
Use both — they do different jobs. Powder absorbs oil and controls shine; setting spray melts layers together and extends wear time. If you must pick one for a long day, choose the spray. Full breakdown: setting spray vs setting powder.
How do I stop my mascara from smudging by evening?
Use waterproof or tubing mascara, set under-eye concealer with powder so the area stays dry, and skip heavy lower liner. Most smudging comes from moisture on the lower lash line, not the mascara itself. Full fix: stop mascara smudging.
What makeup should I avoid on Thanksgiving?
Dewy-finish foundations (they break down fastest in heat), any brand-new untested product, heavy lower-lash eyeliner, silica-heavy HD powders if flash photos are likely, thick single layers of foundation, and facial oils in morning skincare.
Love this? Pin it for later!