How to Shave Legs Without Razor Bumps: Technique, Direction & Blade Care
Razor bumps on legs — those red, irritated spots that show up hours after shaving — are one of the most common shaving complaints. The frustrating part is that they’re almost always caused by fixable technique problems: pressing too hard, shaving in the wrong direction, using a dull blade, or skipping prep.
Legs are actually the most forgiving area to shave. The skin is relatively flat, the hair is usually fine to medium, and you can see what you’re doing. Once your technique is dialed in, smooth bump-free legs are the norm, not the exception. This guide covers every variable: prep, direction, pressure, blade care, and aftercare.
For the full picture on shaving every body area, see the complete shaving guide for women.

Why Razor Bumps Happen on Legs
Razor bumps (technically “pseudofolliculitis”) occur when shaved hair curls back and re-enters the skin, or when the blade irritates the hair follicle itself. On legs, the usual culprits are:
- Too much pressure — pressing the razor into the skin scrapes off too much of the top skin layer and cuts hair below the surface, where it’s likely to become ingrown.
- Too many passes — going over the same spot three or four times multiplies irritation with each pass.
- Wrong direction — shaving against the grain on the first pass tugs hair and increases the chance it retracts below the surface.
- Dull blades — a dull blade drags and pulls instead of slicing cleanly, irritating follicles.
- Skipped prep — dry or unsoftened hair resists the blade, forcing more pressure and more passes.
Every fix in this guide targets one of these causes.
Step 1: Prep Your Legs Properly
Never start shaving on unprepared skin. Here’s the sequence:
- Exfoliate. Before you even turn on the shower, or as the first step in it, gently exfoliate your legs. An exfoliating mitt, a body scrub, or a glycolic-acid body lotion used regularly lifts dead skin cells and frees hairs lying trapped under the surface. Trapped hairs are future ingrown hairs — clearing them before the blade arrives is one of the highest-impact things you can do. A full how-to is here: how to exfoliate your body properly.
- Soak for at least 3 minutes. Shave at the end of your shower. Warm water swells the hair shaft and softens it, so it cuts with far less resistance. Shaving in the first minute of a shower is one of the most common causes of tugging and bumps.
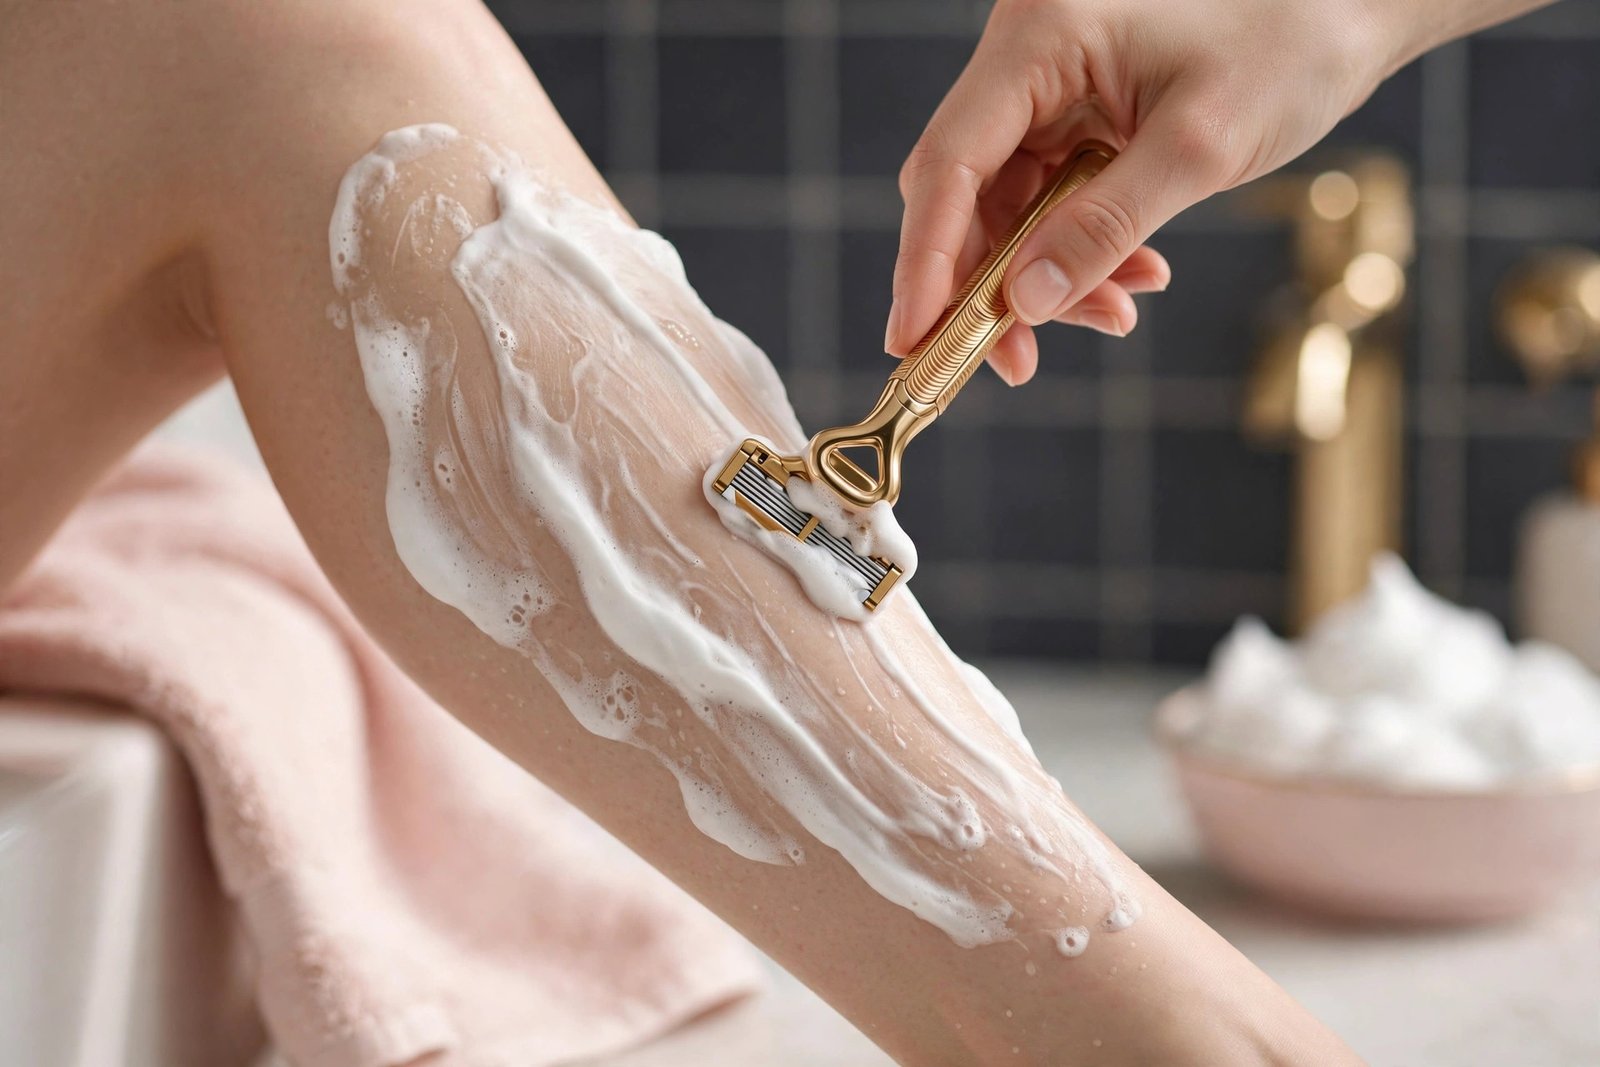
- Apply shave gel or cream generously. Use a real shave product — gel, cream, or oil — in a thick, visible layer. Let it sit for about a minute to keep softening the hair. Body wash and shampoo are not substitutes; they’re formulated to remove oil, which makes the razor drag.
- Check the blade. Run through a quick mental checklist: is this blade fresh enough? No rust, no nicks, no pulling on the last shave? If it tugged at all last time, replace it now.
Step 2: Shave in the Right Direction
Direction is where most people go wrong. Here’s the correct order:
First pass: with the grain. Hair on legs generally grows downward (from knee toward ankle), though the direction can vary on the thighs and around the knees. To find your grain, run your fingertips over unshaved skin — the smooth direction is with the grain, the rough direction is against it. Shave your first pass with the grain, from ankle upward in short strokes. This removes the bulk of the hair with minimal irritation.
Second pass (optional): across or against the grain. If you want a closer shave, re-lather the area and do a second pass. Going across the grain (sideways) is a good middle ground — closer than with-the-grain, less irritating than against. A full against-the-grain pass gives the closest result but is the most likely to cause bumps; only do it on a fresh layer of lather, with very light pressure, and skip it on any area that tends to bump.
The rule that prevents most bumps: never do your first pass against the grain, and never do multiple against-the-grain passes over the same spot.
The Tricky Spots: Knees and Ankles
Knees and ankles cause a disproportionate share of nicks and bumps because the skin is curved and bony. The fix:
- Bend the joint to stretch the skin flat — straighten your knee when shaving over the kneecap, flex your foot when shaving the ankle.
- Use your free hand to pull the skin taut around the curve.
- Use shorter strokes here than on the flat of the shin or thigh.
- Slow down. Rushing over curves is how nicks happen.
Step 3: Master Your Pressure and Stroke
This is the single biggest factor. Most people press far too hard.
Pressure: The razor’s own weight should do the work. Hold the handle lightly — imagine you’re holding a paintbrush, not scrubbing a pan. The blades are designed to cut on contact; pressing harder doesn’t cut closer, it just scrapes more skin off and pushes the blade into follicles. If light pressure isn’t giving you a close shave, the blade is dull. Replace it instead of pressing harder.
Stroke length: Use short strokes — about 2 to 3 inches. Long strokes clog the blade with hair and shave cream, which forces you to press harder to keep cutting. Rinse the blade under the shower stream after every few strokes. A clogged blade tugs; a clean blade glides.
Speed: Slow, deliberate strokes beat fast sweeping ones. Speed plus pressure is the combination that produces nicks.
Number of passes: Two passes maximum over any spot — one with the grain, one optional re-lathered pass across or against. If a spot still has stubble after two passes, your blade is too dull. Do not do a third pass; it won’t help and it will irritate.
Step 4: Blade Care (Your Blade Is Half the Battle)
A sharp blade is the difference between a blade that slices hair cleanly at the surface and one that drags, pulls, and irritates. Blade care rules:
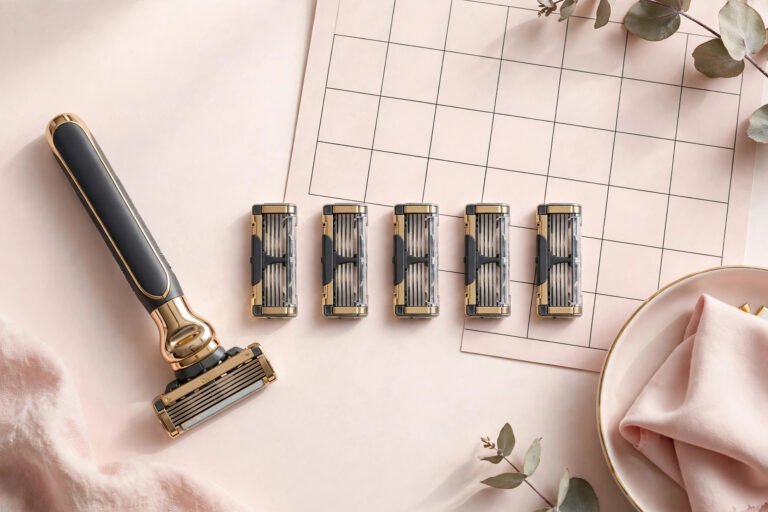
- Replace on schedule. Cartridge blades last 5–10 shaves depending on hair coarseness; replace sooner if you feel any tugging. Disposables last 3–5 shaves. Mark it on your calendar if you shave infrequently — a blade sitting wet in the shower for two weeks is duller than one used five times and dried properly.
- Rinse after every use. Run hot water through the cartridge to clear hair and product buildup, which dulls the edge and harbors bacteria.
- Dry the blade. Shake off excess water — don’t tap the blade against a hard surface, which damages the fine edge. Store the razor outside the shower or in a ventilated holder so it dries fully between uses. Moisture causes microscopic rust that dulls the blade fast.
- Don’t share razors. Beyond the obvious hygiene issue, someone else’s blade dulls differently and can transfer bacteria into your micro-cuts.
If you’re getting bumps despite good technique, try a fresh blade before changing anything else — it’s the most common single fix.
Step 5: Aftercare That Prevents Bumps
What you do after the blade leaves your skin matters as much as the shave itself:
- Rinse with cool water to calm the skin and close pores.
- Pat dry — never rub freshly shaved skin with a towel.
- Apply a soothing, fragrance-free product. Aloe vera gel is the classic for a reason; a gentle post-shave balm or even plain witch hazel also works. Avoid alcohol-based aftershaves and heavily fragranced lotions right after shaving — they sting and dry out the skin.
- Moisturize within minutes. Shaving removes the top layer of dead skin, so freshly shaved legs lose moisture faster. A fragrance-free body lotion or body oil applied while skin is still slightly damp locks in hydration and prevents the itchy regrowth that leads to scratching and further irritation.
- Wear loose clothing for a bit. Tight jeans or leggings rubbing on freshly shaved legs can trigger irritation. Give your skin at least 30–60 minutes before tight fits.
Between shaves: Moisturize daily and exfoliate 2–3 times per week. Hairs growing back through well-exfoliated, hydrated skin are far less likely to become ingrown. For prevention-focused detail, read how to prevent ingrown hairs after shaving.
What to Do If You Already Have Razor Bumps
If bumps are already there, stop shaving the affected area until they calm down — shaving over active bumps makes them worse and risks infection.
- Apply a cold compress or cool aloe vera gel to reduce redness and inflammation.
- A salicylic acid or glycolic acid product helps exfoliate the trapped hair free.
- Don’t pick or squeeze the bumps — it introduces bacteria and can cause scarring.
- Once the area is calm, resume shaving with the full prep-and-technique routine above.
Persistent, painful, or spreading bumps that don’t improve in a week deserve a dermatologist’s look — what looks like razor bumps can occasionally be folliculitis (an infection of the follicle) that needs treatment.
Key Takeaways
- Exfoliate before shaving and soak legs in warm water for at least 3 minutes.
- First pass always with the grain; second pass (re-lathered) across or against only if your skin tolerates it.
- Use light pressure — let the razor’s weight do the work; pressing harder never helps.
- Short strokes, rinse the blade often, maximum two passes per spot.
- Replace blades on schedule (5–10 shaves for cartridges) and store razors dry.
- Aftercare: cool rinse, pat dry, soothe, and moisturize within minutes.
- Exfoliate 2–3 times weekly between shaves to keep regrowth from becoming ingrown.
FAQ
How do I know which direction my leg hair grows?
Run your fingertips lightly over unshaved skin. The direction that feels smooth is with the grain; the direction that feels rough or prickly is against it. On most people, lower-leg hair grows downward toward the ankle, but check your thighs and around your knees — growth patterns vary.
Can I prevent razor bumps if I have coarse or curly hair?
Yes, but you need to be stricter about the rules: always exfoliate before shaving, always go with the grain on the first pass, consider skipping the against-the-grain pass entirely, and consider a single-blade safety razor, which cuts at the surface rather than below it and causes fewer ingrowns on curly hair.
How many times can I use a razor before replacing it?
For cartridge razors, 5–10 shaves is the range — closer to 5 for coarse hair, up to 10 for fine hair. The real test is feel: the moment a blade tugs or pulls instead of gliding, it’s done, regardless of the count.
Should I shave my legs in the morning or at night?
Either works, but nighttime shaving has a small advantage: your skin gets hours to calm down before clothing friction and sun exposure, and moisturizer applied before bed has all night to absorb. If you shave in the morning, give your skin at least 20–30 minutes before tight clothing.
Why do my legs itch a day after shaving?
Post-shave itch is usually dry skin plus stubble pushing through. The fix is consistent moisturizing — daily, not just on shave days — and exfoliating between shaves so regrowth comes through cleanly instead of catching under dry skin.
Conclusion
Bump-free legs come down to a repeatable routine: exfoliate, soak, lather, shave with the grain using light pressure and short strokes, use a sharp blade, and moisturize afterward. It sounds like a lot written out, but in practice it adds about two minutes to your shower — and it’s the difference between dreading your shave and forgetting you even did it.
Struggling with a different area? The bikini line needs its own approach — see how to shave the bikini line without irritation. And if you’re wondering whether shaving is even the right method for you, waxing vs shaving pros and cons lays out the honest trade-offs.
Love this? Pin it for later!