How to Remove Calluses at Home Safely: Pumice vs. Chemical Exfoliation
Calluses are your skin’s defense mechanism — thickened patches that form where feet endure repeated pressure or friction. They’re not inherently bad. But when they get thick, rough, or unsightly, most people want them gone, and the question is always the same: what’s the safest, most effective way to remove calluses at home?
This guide covers exactly that: the two main approaches (mechanical exfoliation with pumice stones and files, versus chemical exfoliation with urea and acids), step-by-step technique for each, what to avoid, and — critically — who should not attempt callus removal at home at all.
Callus care is one part of a complete routine. For the bigger picture, see our foot care routine at home.
What Calluses Are and Why They Form
A callus is a thickened area of skin (hyperkeratosis) that develops in response to repeated pressure or friction. On feet, they most commonly appear on the heels, the balls of the feet, the outer edges of the big and little toes, and anywhere a shoe rubs consistently.
Calluses are protective by design. The problem is that protection can overshoot: thick calluses become dry, crack (see our guide on getting rid of cracked heels), catch on fabrics, and in some cases become painful when the thickened skin presses on underlying tissue.
The most common causes:
– Ill-fitting shoes — too tight, too loose, or with seams in the wrong place. This is the cause behind the majority of foot calluses.
– High heels — concentrate pressure on the ball of the foot.
– Standing or walking for long hours — occupational pressure on the heels and forefoot.
– Not wearing socks — bare feet in shoes means direct friction.
– Foot structure — bunions, hammertoes, or flat feet change pressure distribution and create callus-prone spots.
Important framing: removing a callus treats the symptom. If the shoe or pressure pattern that caused it doesn’t change, it will come back. Lasting results require both removal and prevention.
Safety First: Who Should NOT Remove Calluses at Home
This is the most important section of this guide. At-home callus removal is safe for most healthy people — but not everyone.
Do not attempt DIY callus removal if you have:
– Diabetes — especially with neuropathy (reduced foot sensation) or poor circulation. You may not feel damage as it happens, wounds heal slowly, and minor injuries can become serious infections. The standard medical advice is clear: people with diabetes should have callus care done professionally.
– Poor circulation in the feet (peripheral artery disease) — same healing concerns as above.
– Blood thinners or bleeding disorders — even minor nicks bleed excessively.
– Neuropathy from any cause — if you can’t fully feel your feet, you can’t safely judge pressure or detect injury.
If any of these apply to you, see a podiatrist for callus care. It’s routine, quick, and far safer than DIY. Everyone else: proceed, but follow the technique guidance below — most at-home callus injuries come from impatience, not from the tools themselves.
Method 1: Pumice Stone (Best for Most People)
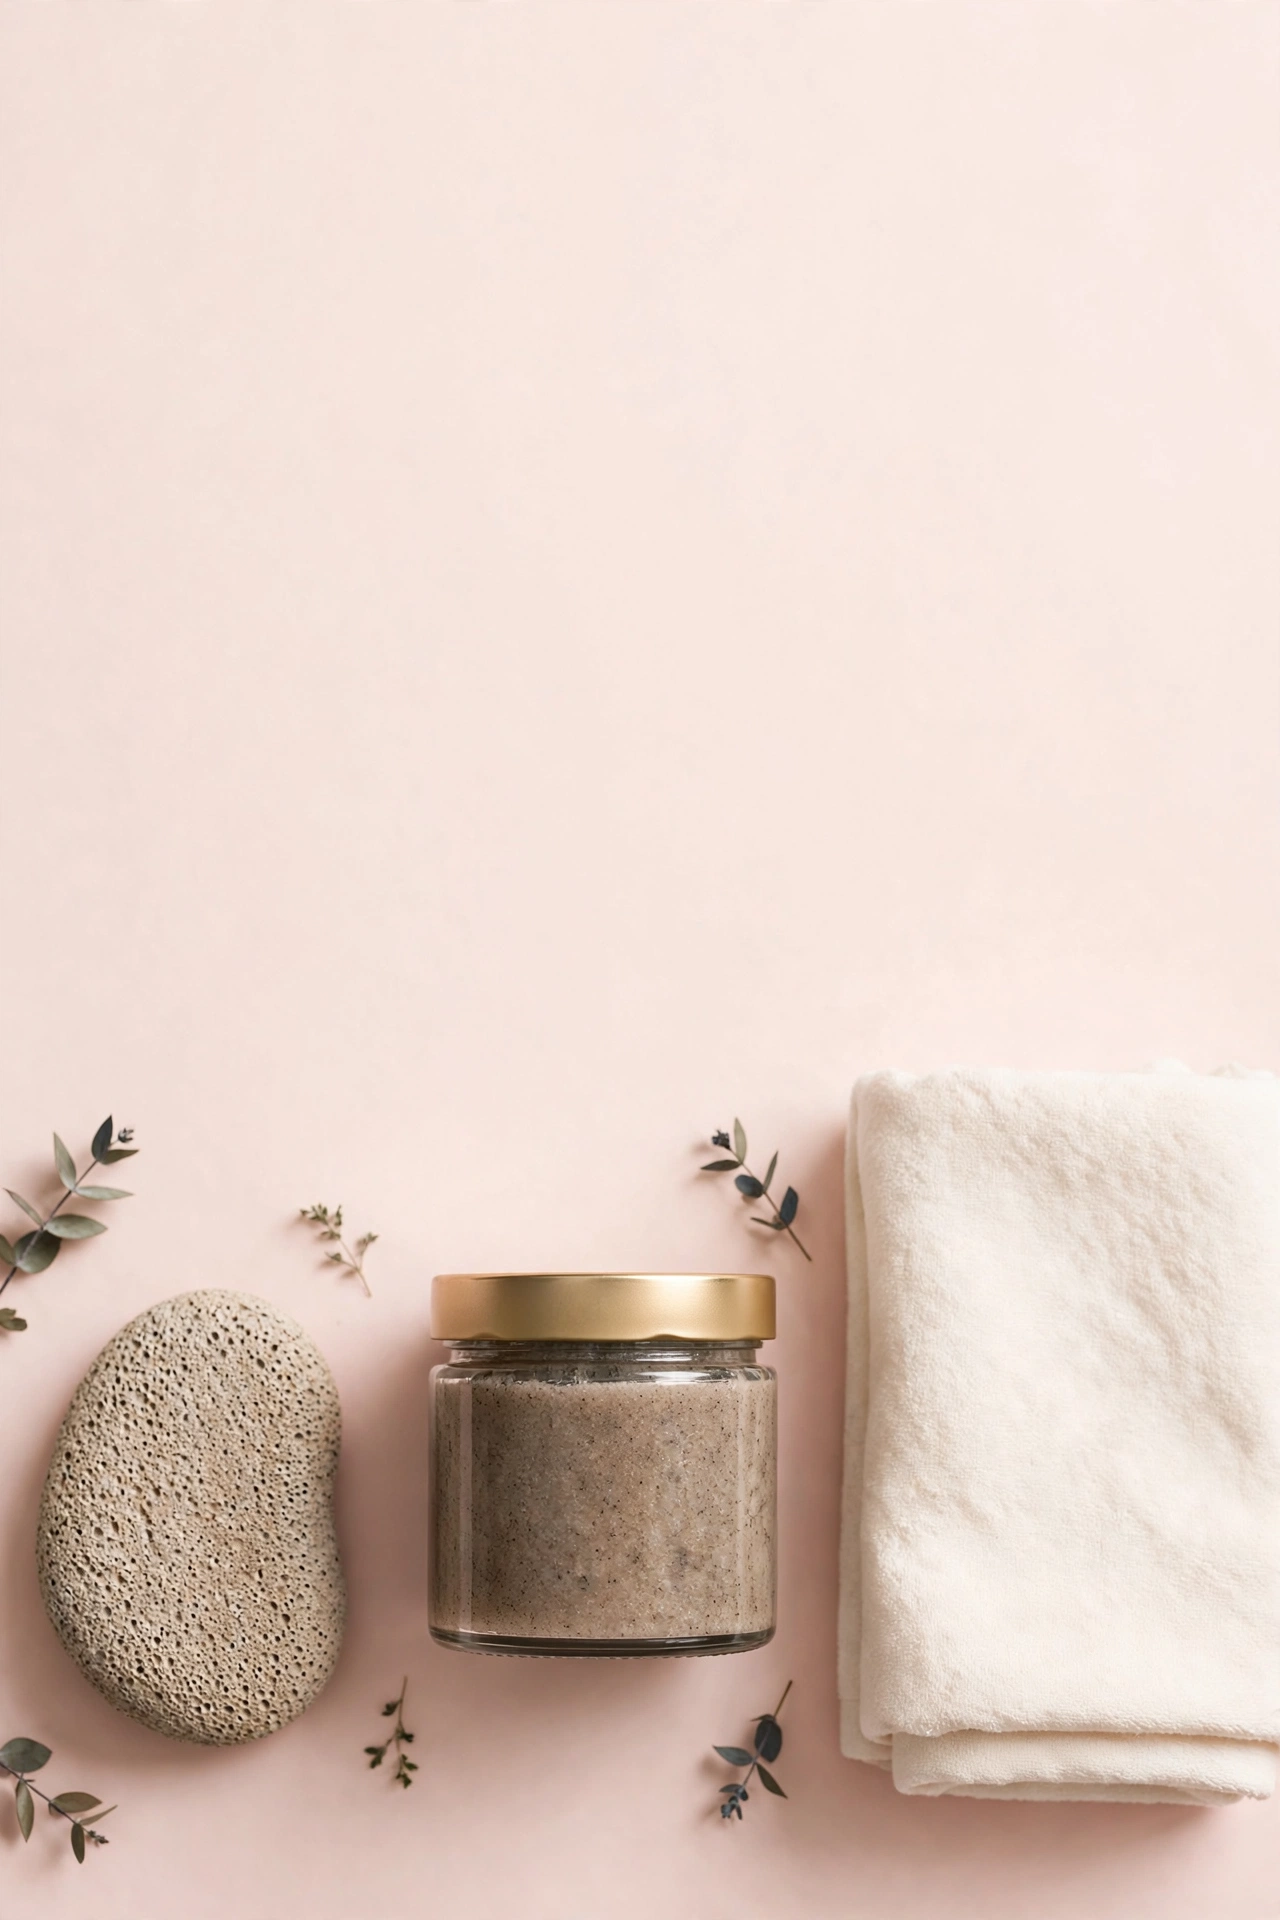
The pumice stone is the classic callus removal tool for good reason: it’s gentle, controllable, inexpensive, and hard to misuse badly. It’s the best starting point for anyone new to callus care.
What you need: A pumice stone (natural or synthetic — both work), lukewarm water, and moisturizer for after.
Step-by-step technique:
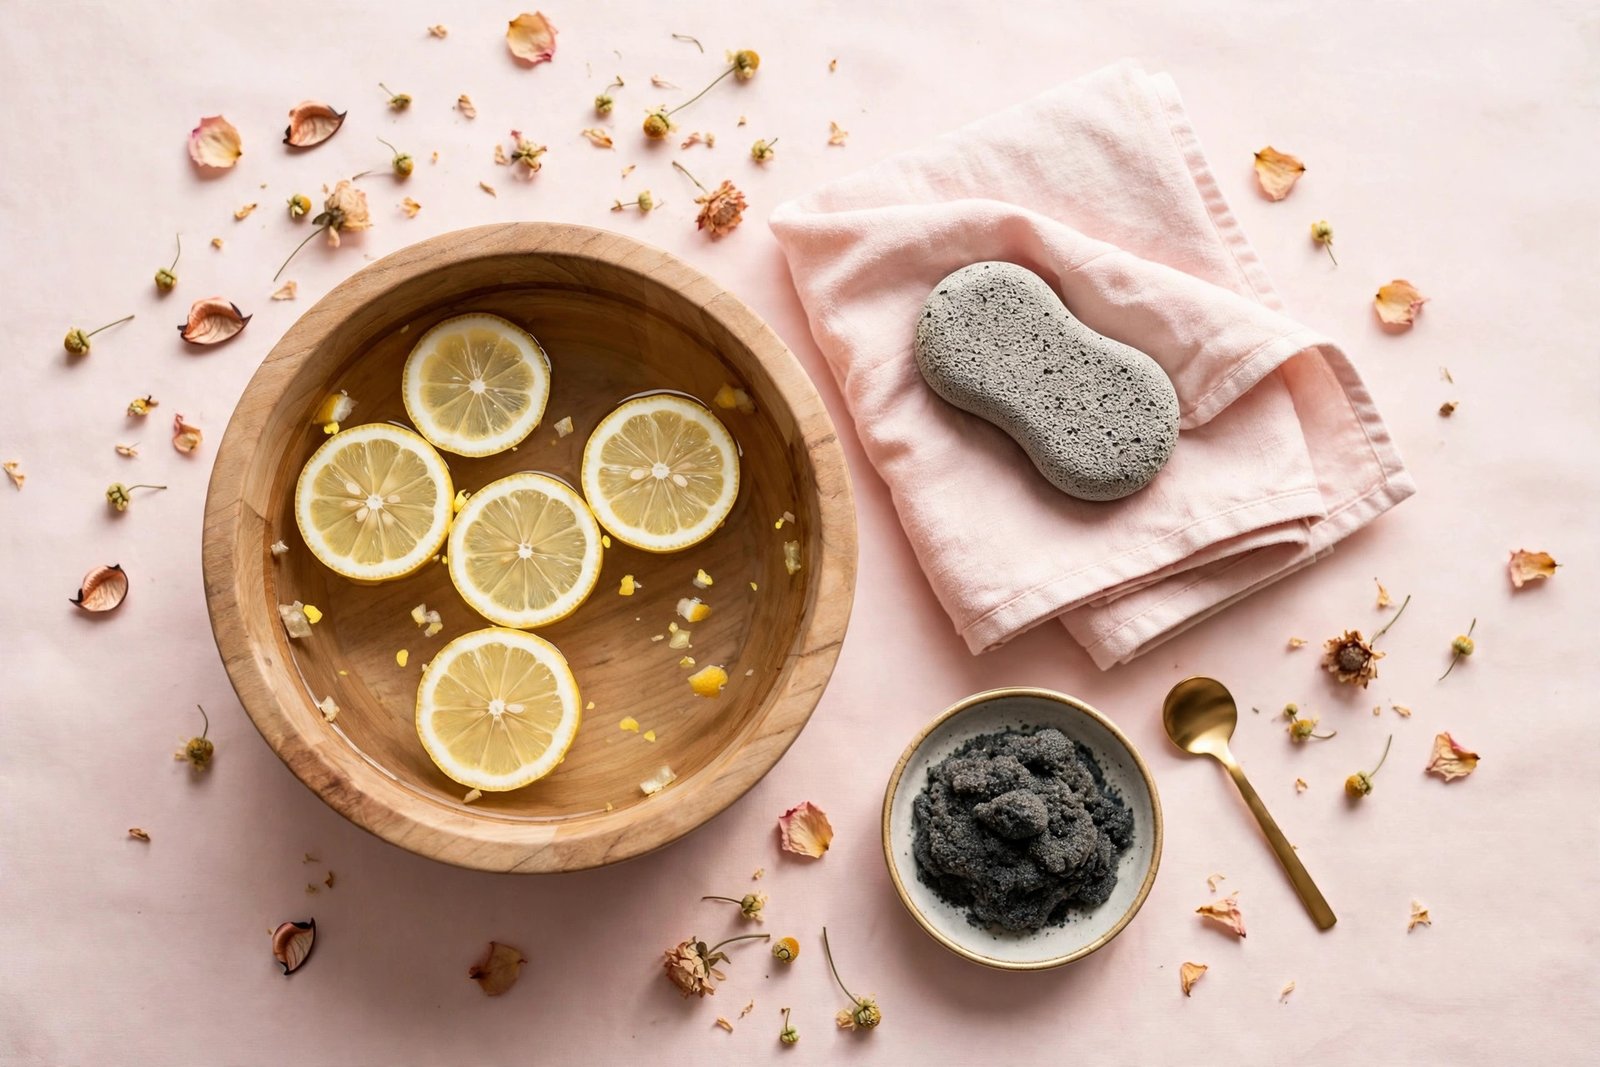
1. Soften first. Soak your feet in lukewarm water for 10–15 minutes, or work right after a shower. Never pumice dry calluses — dry friction is harsh and ineffective.
2. Wet the stone. A dry pumice stone drags and irritates. Keep both the stone and your foot wet throughout.
3. Use light, circular motions. Work the stone over the callus in small circles or gentle back-and-forth strokes. Let the stone’s texture do the work — pressing hard is the main cause of soreness and over-thinning.
4. Work in short passes. Do 20–30 seconds on one spot, then rinse and feel the area with your fingers. You’re aiming for gradual improvement across sessions, not total removal in one go.
5. Stop at the right time. Stop when the callus feels noticeably smoother and thinner. If the skin looks pink, feels tender, or you see any redness beyond the surface — stop immediately. You’ve gone far enough for today.
6. Rinse, dry, moisturize. Pat feet dry and apply a rich moisturizer or urea-based foot cream immediately. Exfoliated skin absorbs moisturizer exceptionally well, and this step is what keeps the callus from rebounding.
Pumice stone care: Rinse the stone after each use and let it air-dry completely — a damp stone left in the shower grows bacteria. Replace it every few months when the surface wears smooth. Boiling it occasionally sanitizes it.
How often: Once a week is right for most people. Twice a week temporarily if calluses are very thick. Daily pumicing is counterproductive — constant abrasion signals the skin to thicken faster, which is the opposite of what you want.
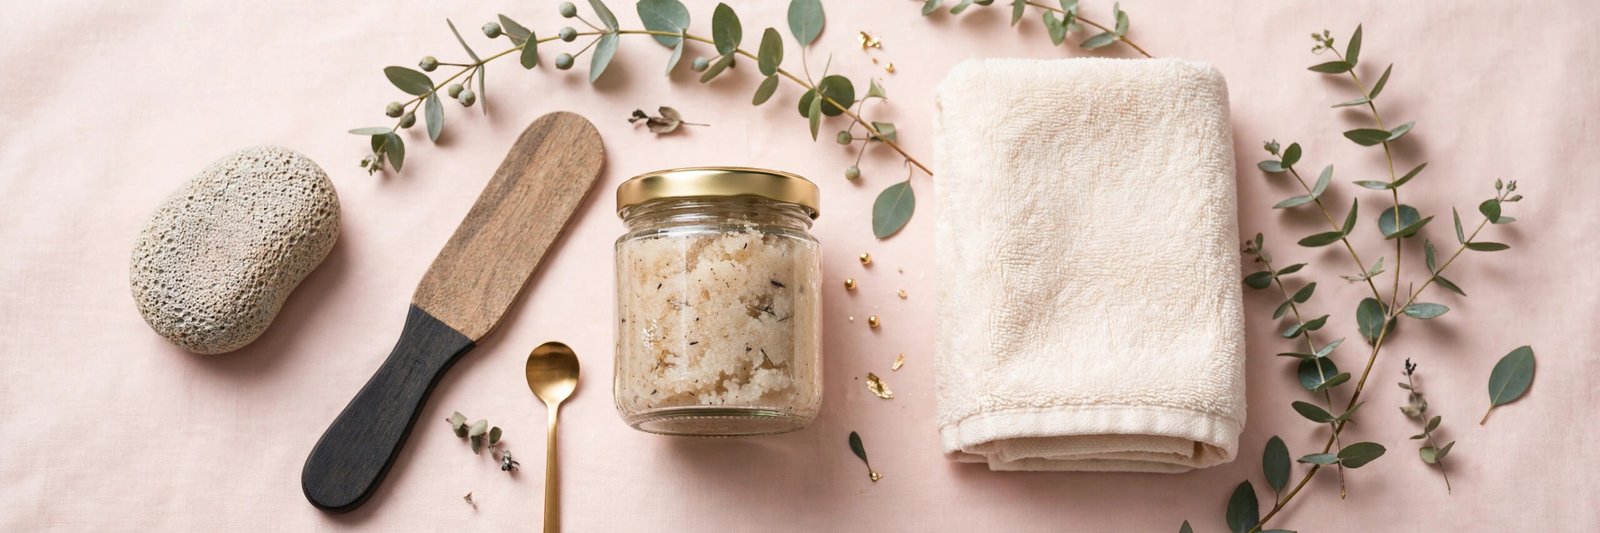
Method 2: Foot Files and Electric Callus Removers
Foot files (including the popular paddle-style files with a rough and smooth side) work on the same principle as pumice but are more aggressive — they remove skin faster, which is both their advantage and their risk.
Manual foot files: Use on dry or slightly damp feet (unlike pumice, which needs wet skin). Use the coarse side first with light, even strokes in one direction, then smooth with the fine side. The dry-skin approach gives you more control and lets you see exactly how much you’re removing — but it also makes it easier to overdo it. Check your progress frequently.
Electric callus removers: Battery-powered rotating files that buff away callus quickly. They’re effective and popular, but the speed is the danger — it’s very easy to remove too much skin before you realize it, especially on thinner areas. Use the lowest effective pressure, keep the device moving (never hold it in one spot), and stop early. They’re best for maintenance of mild calluses, not for tackling thick buildup in one session.
Which is better — pumice or file? For beginners and sensitive skin, pumice. For stubborn, thick calluses that pumice barely dents, a foot file used carefully. Many people use both: a file for periodic heavier reduction, pumice for weekly maintenance.
Method 3: Chemical Exfoliation (Urea, Salicylic Acid, AHAs)
Chemical exfoliation dissolves the bonds between dead skin cells rather than physically abrading them. For calluses, it’s often the most effective long-term approach — and the gentlest on the surrounding healthy skin.
Urea creams (10–40%): Urea is both a humectant and a keratolytic — it hydrates while breaking down thickened skin. At 20–25%, used daily, urea gradually softens and thins calluses over 1–2 weeks with zero mechanical effort. At 40% (available in some specialized formulas), it’s a serious callus treatment. Urea is the dermatologist-favored option for a reason: it’s effective, well-tolerated, and improves the skin’s overall condition rather than just stripping the surface. Our foot cream guide covers urea formulas in detail.
Salicylic acid callus removers: Available as medicated pads, liquids, and plasters, typically at higher concentrations than facial products. Salicylic acid softens and loosens callus tissue effectively. However, it can irritate or damage surrounding healthy skin — the classic problem is the acid spreading beyond the callus and creating a sore spot. If you use these, protect the surrounding skin with petroleum jelly first, follow the product instructions exactly, and don’t combine with mechanical exfoliation on the same day.
AHA foot products (lactic acid, glycolic acid): Lactic acid lotions and glycolic foot peels exfoliate more gently than salicylic acid while also hydrating. They’re a good middle ground — more effective than a basic moisturizer, less aggressive than salicylic treatments.
Foot peeling masks: The plastic booties filled with exfoliating acids cause dramatic peeling over 3–7 days. They work, but the experience is intense — large sheets of skin shedding for days — and they’re too aggressive for sensitive skin, cracked heels, or anyone with the conditions listed in the safety section. A urea cream used consistently achieves similar softening without the drama.
Pumice vs. Chemical Exfoliation: Which Is Better?
Honestly? They solve different parts of the problem, and the best results come from combining them.
| Mechanical (pumice/file) | Chemical (urea/acids) | |
|---|---|---|
| Speed | Immediate visible results | Gradual (days to weeks) |
| Control | High — you feel what you’re doing | Lower — works on its own schedule |
| Risk of overdoing it | Moderate (technique-dependent) | Low with urea; moderate with salicylic acid |
| Effect on surrounding skin | Minimal if careful | Urea improves it; salicylic acid can irritate it |
| Best for | Quick smoothing, maintenance | Thick calluses, cracked heels, long-term management |
| Effort | Active — requires a session | Passive — apply cream daily |
The recommended combination: Use a urea-based foot cream daily (chemical exfoliation working quietly in the background), plus a gentle pumice session once a week for maintenance. This pairing handles most calluses completely — the urea prevents thick buildup from forming, and the pumice handles whatever surface roughness remains. It’s also the lowest-risk approach.
For a deeper dive into the chemical side, our guide to how to exfoliate your body properly covers acids and techniques beyond just the feet.
What to Avoid
Blades, razors, and callus shavers. The tools with replaceable blades (sometimes sold as “callus shavers” or “corn planes”) are the most dangerous at-home option. They remove skin far too aggressively, it’s nearly impossible to judge depth, and cuts on the foot are infection-prone. If a callus is thick enough that you’re considering a blade, that’s a podiatrist visit, not a DIY project.
Over-filing in one session. Whether pumice, file, or electric remover — the goal is gradual reduction. Skin that’s been thinned too aggressively becomes tender, then overcompensates by building callus faster. If your feet hurt after exfoliating, you went too far.
Exfoliating irritated or broken skin. Never work on blisters, cuts, rashes, warts, or areas with active athlete’s foot. Exfoliation spreads infection and worsens damage.
Corn plasters used carelessly. Medicated corn/callus plasters contain concentrated salicylic acid. They work, but the acid doesn’t distinguish between callus and healthy skin — misplaced or oversized plasters create painful sores. Use only on the callus itself, protect surrounding skin, and don’t use them if you have diabetes or circulation issues.
Picking at calluses with fingers or tweezers. Tearing at thick skin creates jagged edges and micro-tears that invite infection. Let your tools do the work.
Aftercare and Prevention
Removing the callus is only half the job. Here’s how to keep it from coming back:
Moisturize immediately after every exfoliation session — and daily regardless. Urea-based creams both hydrate and provide ongoing gentle exfoliation that prevents re-thickening.
Fix the footwear. Identify what’s causing the pressure. Common fixes: shoes with a wider toe box, cushioned insoles, moleskin or gel pads on known rub spots, and simply replacing worn-out shoes whose support has collapsed. If one specific spot always calluses, that shoe is telling you something.
Wear socks. Going sockless in shoes is a fast track to friction calluses. Moisture-wicking socks reduce both friction and the dampness that softens skin into blister territory.
Consider insoles or orthotics if calluses form in the same spots despite good shoes — a persistent pressure point may indicate a gait or foot-structure issue worth addressing. A podiatrist can assess this in one visit.
Don’t aim for baby-smooth. A thin, even layer of slightly thickened skin on high-pressure areas is normal and protective. The goal is comfortable, smooth-enough feet — not the complete elimination of all thickened skin. Over-thinning leaves feet vulnerable.
Key Takeaways
- Calluses are protective thickened skin caused by pressure or friction — usually from footwear.
- The two main removal approaches: mechanical (pumice stone, foot files) and chemical (urea, salicylic acid, AHAs).
- Pumice on wet, softened skin with light pressure is the safest starting method for most people.
- Urea cream (20–25%) used daily is the most effective low-effort long-term callus treatment.
- The best results come from combining both: daily urea cream plus weekly gentle pumicing.
- Never use blades or callus shavers at home; never aggressively exfoliate in a single session.
- People with diabetes, poor circulation, or neuropathy should have callus care done professionally — not DIY.
- Prevention matters as much as removal: fix the shoes causing the pressure, moisturize daily, wear socks.
FAQ
How often should I remove calluses at home?
Exfoliate once a week with a pumice stone or file. If calluses are very thick, twice a week temporarily — but never daily. Pair it with daily urea-based moisturizer, which provides ongoing gentle exfoliation between sessions and often reduces how much mechanical exfoliation you need.
Is it better to use a pumice stone on wet or dry feet?
Wet. Always pumice on wet, softened skin (after soaking or showering) — dry pumicing is harsher, less effective, and more likely to irritate. Note that manual foot files are the exception: those are typically used on dry feet for better control.
Can I use a cheese-grater-style foot file?
Those aggressive metal graters remove skin very fast and it’s easy to go too deep, especially on the thinner skin at the edges of calluses. A pumice stone or a fine-grit foot file gives you far more control. If you own one, use it with an extremely light touch or retire it in favor of gentler tools.
Why do my calluses keep coming back in the same spot?
Because the cause hasn’t changed. A callus that always returns to the identical location is telling you exactly where abnormal pressure or friction is happening — almost always a specific shoe or a foot-structure issue. Removing the callus without addressing the cause is a loop. Check that shoe’s fit, add cushioning or a gel pad to the spot, or see a podiatrist if it persists across all footwear.
Are electric callus removers safe?
They’re safe when used carefully: light pressure, keep the device moving, stop early, and don’t use them on thin or sensitive areas. The risk is their speed — it’s easy to over-thin skin before you notice. They’re better suited to maintaining mild calluses than to tackling thick buildup, and they’re not recommended for anyone with diabetes, neuropathy, or circulation problems.
Love this? Pin it for later!