How to Make Your Makeup Last All Day (Event-Proof Tips)
You’ve found the perfect outfit, your hair looks great, and your makeup is flawless at 9 a.m. — but by 3 p.m., your foundation has separated around your nose, your eyeliner has migrated, and your blush has quietly disappeared. If you’ve ever wondered how other people keep their makeup looking fresh for twelve hours straight, the secret isn’t expensive products. It’s technique.
Learning how to make makeup last all day comes down to three things: prepping your skin correctly, layering products in the right order, and locking everything in with smart setting techniques. Get these three pillars right, and your makeup can survive weddings, long workdays, holiday parties, and everything in between. This guide walks you through the full event-proof routine, whether you’re getting ready for a [special occasion that calls for a polished look → special-occasion-makeup-guide-for-beginners] or just want your everyday face to go the distance.
Key Takeaways
- Skin prep decides longevity: well-moisturized, properly primed skin holds makeup 2–3 hours longer than skipped prep.
- Thin layers last longer: multiple thin layers of foundation beat one thick layer every time.
- Setting is a two-step job: powder locks down cream/liquid products, and setting spray melts everything together and seals it.
- Blotting beats powdering: blotting papers absorb oil without adding cake-y layers; powder should be a targeted tool, not a habit.
- Touch-up kit essentials: blotting papers, a pressed powder compact, lip product, and a mini setting spray fit in any clutch.
Why Makeup Fades (And What “Long-Wear” Actually Means)
Before fixing the problem, it helps to understand it. Makeup breaks down for four main reasons: oil, moisture, movement, and product conflict.
Your skin produces sebum throughout the day, and that oil gradually dissolves foundation, concealer, and powder from underneath. Sweat and humidity do the same from the outside. Every time you touch your face, rub your eyes, or rest your chin in your hand, you physically displace product. And when you layer products with incompatible bases — like a silicone-based primer under a water-based foundation — they can pill, separate, or slide apart.
“No makeup truly lasts all day without maintenance,” makeup artists say, “but a well-constructed base comes close.” Products labeled “long-wear,” “24-hour,” or “transfer-proof” use film-forming ingredients that cling to skin better, but even those perform dramatically better with proper prep and setting. The goal is realistic: 8–12 hours of great-looking wear with one or two small touch-ups, not perfection at hour fourteen with zero effort.
Step 1: Skin Prep — The Foundation Under Your Foundation
Everything about long wear starts here. Makeup applied to dry, flaky, or unprimed skin has nothing stable to grip, so it breaks apart within hours.
Cleanse and Exfoliate (Gently)
Start with a clean canvas. Wash your face with a gentle cleanser to remove overnight oil and residue. If your makeup tends to pill or look patchy by midday, a light exfoliation the night before an event makes a real difference — chemical exfoliants like lactic acid remove the dead skin cells that foundation clings to unevenly. Avoid harsh scrubs on the day itself; irritated skin produces more oil and holds makeup worse.
Moisturize for Your Skin Type
Dehydrated skin drinks up liquid foundation, which is why makeup looks great at 9 a.m. and patchy by noon on dry skin types. Oily skin needs lightweight, oil-free hydration — skip the moisturizer and makeup slides off the oil slick. Match your moisturizer to your skin type, then give it 5–10 minutes to fully absorb before applying anything else. Rushing this step is one of the most common reasons makeup separates.
Primer: Your Makeup’s Grip Tape
Primer fills in texture, controls oil, and gives foundation something to adhere to. For long-wear days, choose a primer that targets your main concern:
- Oily skin / large pores: a mattifying or pore-blurring primer on the T-zone
- Dry skin: a hydrating, illuminating primer all over
- Textured skin: a smoothing silicone-based primer (but match it with a silicone-based foundation — mixing silicone and water bases causes pilling)
Apply primer with your fingers, pressing it into the skin rather than rubbing, and let it set for a minute before foundation. Eyeshadow primer on the lids is equally important for preventing creasing — don’t skip it on long days.
Keep reading: complete beginner’s guide to special occasion makeup
Step 2: Layer Thin, Build Smart
The single biggest longevity mistake beginners make is applying too much product at once. Thick layers crack, crease, and slide; thin layers bond to skin and flex with it.
Foundation: Less Is More
Start with a pea-sized amount of foundation and build only where you need coverage. Blend thoroughly with a damp beauty sponge — the damp sponge sheers product out and presses it into skin for a skin-like finish that lasts. For event days, a medium-coverage, long-wear or matte foundation outperforms dewy formulas, which are designed to look fresh rather than last.
Apply foundation in thin layers, letting each layer set for 30–60 seconds before adding more. This “layer and let set” approach is what makeup artists use for bridal makeup that has to last from morning prep to the last dance. If you need full coverage for an event, consider this your cue to check the full [beginner routine for polished special-occasion looks → special-occasion-makeup-guide-for-beginners] — the coverage-building principles are the same.
Concealer and Cream Products: Set as You Go
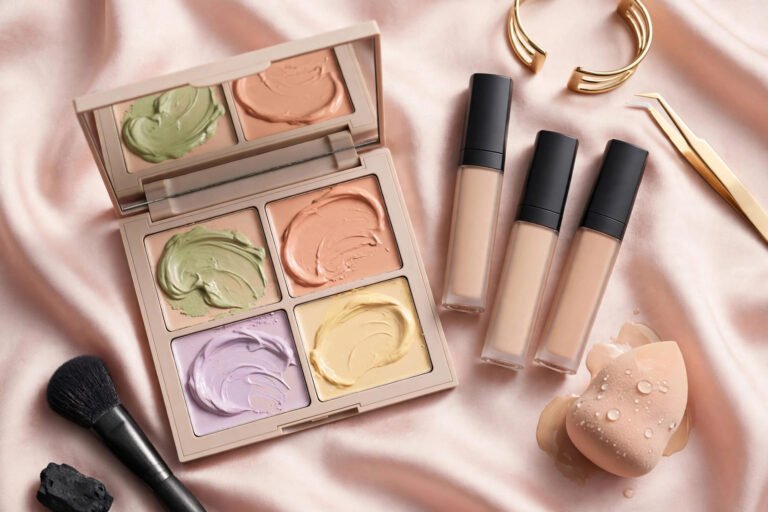
Apply concealer after foundation, in thin layers, and set each cream or liquid product with a light dusting of translucent powder before moving on. This “set as you go” method — foundation, set, concealer, set, cream blush, set — locks each layer independently instead of letting everything melt together into one sliding mass. It takes an extra minute and adds hours of wear.
Cream Blush and Bronzer Before Powder
Cream products (blush, bronzer, contour) always go under powder products. The correct order is: liquid/cream products first, then powder products on top. Powder blush over unset cream blush grabs unevenly and looks patchy; cream over powder cakes instantly. If you love the glow of cream blush but need it to last, apply cream blush, set lightly with translucent powder, then add a whisper of powder blush on top — the “sandwich” technique gives you the glow and the staying power.
Step 3: The Setting System — Powder, Then Spray
Setting is where most of the magic happens, and it works best as a two-step system. If you’ve ever wondered about the difference between the two setting products, the short version is: powder absorbs oil and locks down liquid products, while setting spray melts powder into skin and seals the whole face. For a full breakdown, see [setting spray vs setting powder and when to use each → setting-spray-vs-setting-powder].
How to Set With Powder (Without Looking Cakey)
Use a fluffy brush and a light hand — pressed powder or loose translucent powder both work. Focus powder on the areas that get oily first: the T-zone, around the nose, and the chin. The “baking” technique (packing on thick powder under the eyes and letting it sit) works for heavy event makeup, but for most days, a light dusting is enough. Under-eyes need the lightest touch of all; too much powder there causes creasing by afternoon.
Pro tip: press powder in with a damp sponge instead of sweeping it on with a brush. Pressing pushes powder into the makeup rather than sitting it on top, which looks more natural and lasts longer.
Setting Spray: The Final Seal
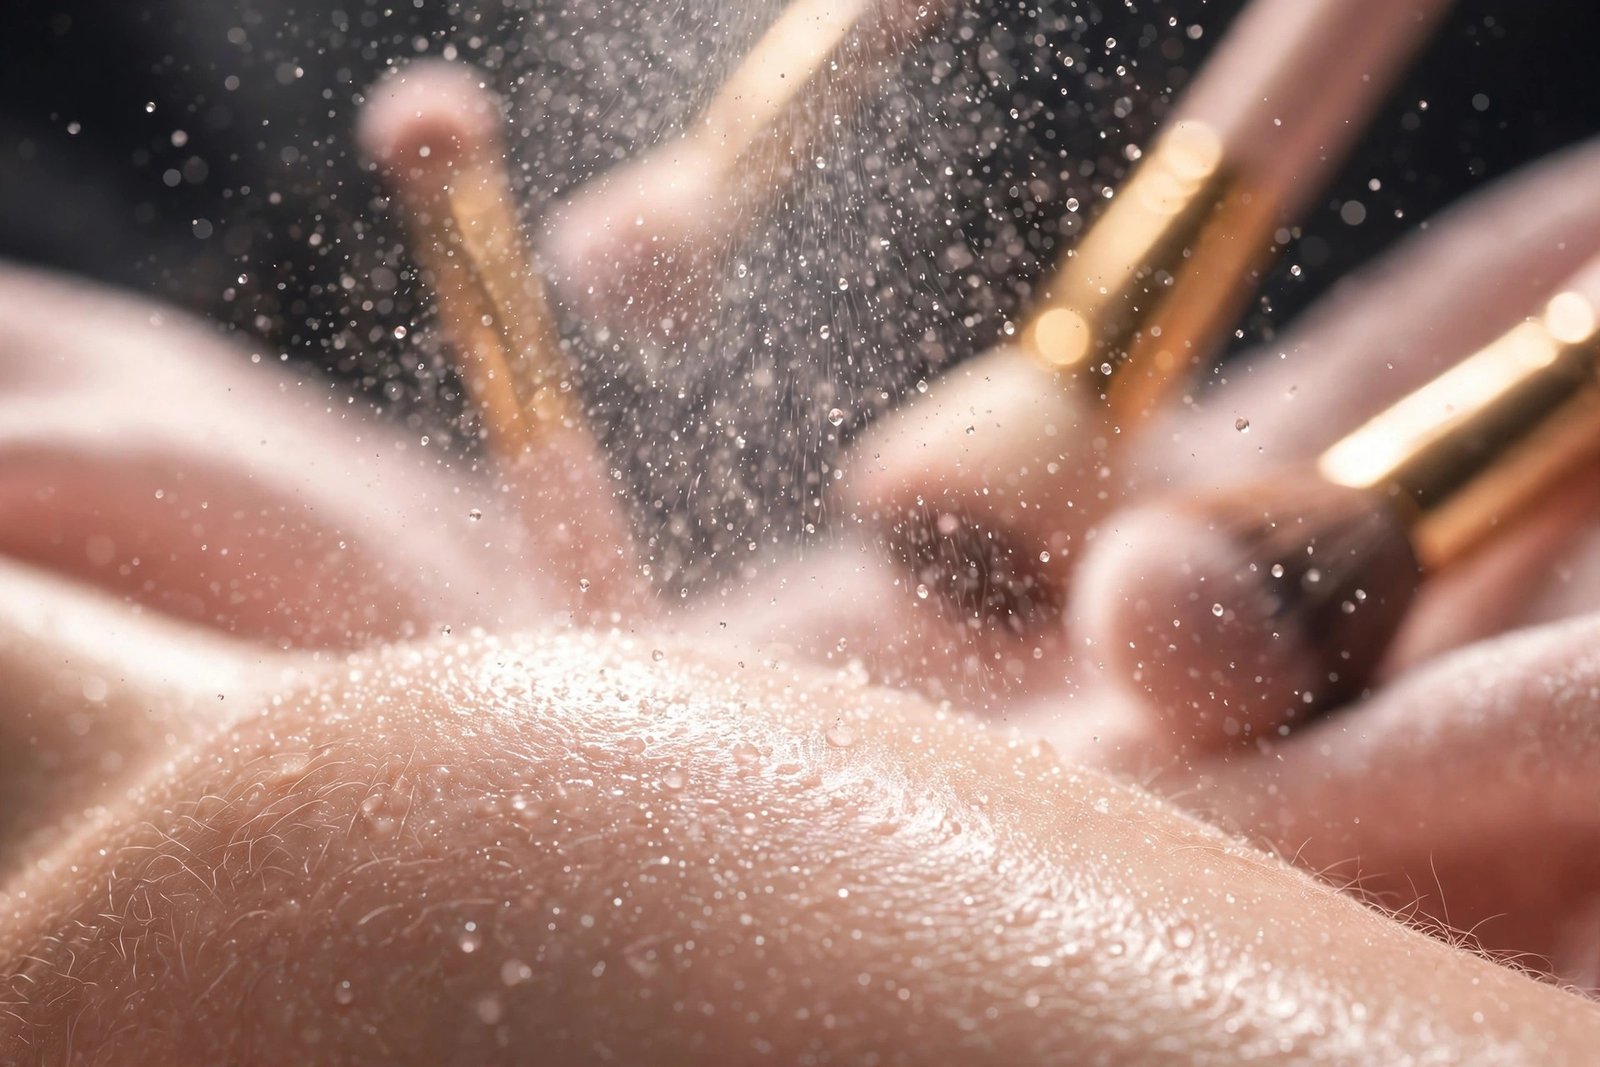
Hold the bottle 8–10 inches from your face, close your eyes, and mist in an X and T pattern. Let it dry naturally — don’t fan it aggressively. Setting spray does three things: it melts powdery residue into a skin-like finish, it creates a flexible film over your makeup, and many formulas include oil-controlling or hydrating ingredients that extend wear.
For maximum longevity, use the “sandwich” method: setting spray after primer (before foundation), then again as the final step. Makeup artists swear by this double application for wedding days and long events — the first layer gives foundation extra grip, the second seals everything.
Waterproof Where It Counts
On long days, switch your mascara and eyeliner to waterproof formulas. These are the two products most likely to smudge, run, or transfer — a humid afternoon or emotional moment can undo hours of work in minutes. Waterproof brow products are worth it too if your brows tend to fade. Keep the rest of your routine as normal; you don’t need everything waterproof, just the products around the eyes.
Keep reading: wedding guest makeup tutorial
Step 4: Event-Day Strategies for Weddings and Long Days
General longevity tips get you far, but true event days — weddings, all-day conferences, holiday parties — deserve a few extra strategies.
Do a wear test. A week before the event, do your full routine on a normal day and check it at the 4-hour, 8-hour, and 12-hour marks. Take photos in different lighting. This tells you exactly which products fade first so you can adjust — maybe your concealer needs more setting, or your lipstick needs a long-wear formula.
Choose long-wear formulas strategically. You don’t need every product to be long-wear. Prioritize: foundation, concealer, lipstick, and eye products. Blush and bronzer can be regular formulas if they’re set well, since they’re easier to touch up. Our [wedding guest makeup tutorial → wedding-guest-makeup-tutorial-long-lasting] walks through a full long-wear routine designed to survive happy tears and hours of dancing.
Mind the weather. Heat and humidity are makeup’s worst enemies. On hot days, swap dewy finishes for matte or natural-matte, carry blotting papers from the start, and consider a mattifying primer even if your skin is normal. In winter, indoor heating dehydrates skin — a hydrating primer and setting spray keep makeup from looking dry and cracked by evening.
Holiday parties have their own demands. Long evenings of photos, hugs, and champagne toasts need makeup that photographs well and survives close contact. If you’re heading to seasonal events, the long-wear principles in our [Christmas party makeup guide → christmas-party-long-wear-makeup] pair perfectly with these setting techniques.
Step 5: The Touch-Up Kit (What to Carry)
Even the best routine benefits from one midday check-in. Pack a small kit — everything fits in a clutch or jacket pocket:
- Blotting papers — press (don’t rub) on oily areas before adding any product. This is the most important item in the kit.
- Pressed powder compact — for targeted touch-ups on the T-zone after blotting. Never powder over oil without blotting first; that’s how cake-y buildup happens.
- Your lip product — lips fade fastest because you eat, drink, and talk. Reapply after meals.
- Mini setting spray — a quick mist after touch-ups re-melts everything together.
- Concealer pen or stick — for under-eyes or spots that need a refresh, dabbed on and pressed in with a fingertip.
Touch-up order matters: blot first, then concealer if needed, then powder only where shiny, then lips, then a light mist of setting spray. The whole routine takes two minutes in a restroom and buys you another four hours.
Mistakes That Kill Longevity
- Skipping primer on oily skin. Moisturizer alone isn’t enough — primer is the adhesion layer.
- Applying makeup to damp skincare. If your moisturizer or SPF hasn’t absorbed, foundation slides on the wet layer underneath. Wait the full 5–10 minutes.
- Too much powder. Powder is a setting tool, not a coverage tool. Over-powdering causes the cracked, dry look by afternoon.
- Touching your face. Every touch transfers oil and displaces product. Be conscious of it on long days.
- Mixing silicone and water bases. Check your primer and foundation formulas — mismatched bases separate within hours.
- Skipping the wear test. Don’t debut a new routine on the event day itself.
Keep reading: Christmas party long-wear makeup
Frequently Asked Questions
How can I make my makeup last 12 hours?
Combine all three pillars: thorough skin prep (cleanse, moisturize, primer with absorption time), thin layered application with setting between layers, and the two-step powder-plus-setting-spray finish. Carry blotting papers and do one touch-up around hour six. With this system, 10–12 hours of solid wear is realistic for most skin types.
Does setting spray really make a difference?
Yes — measurably. Setting spray creates a flexible polymer film over your makeup that resists oil breakdown, moisture, and transfer. Makeup artists consider it non-negotiable for event makeup. The double-application “sandwich” method (spray after primer and again at the end) extends wear further than a single final mist.
Why does my foundation separate around my nose by afternoon?
The nose area produces more oil and gets touched more often, so it’s the first place foundation breaks down. Fix it with targeted prep: mattifying primer on and around the nose, thin foundation layers there, a light press of powder, and blotting (not powdering) at the first sign of shine. Also check that your primer and foundation have compatible bases.
Keep reading: setting spray vs setting powder
Should I use powder or setting spray for oily skin?
Both, in that order. Powder first to absorb oil and lock down liquid products, then setting spray to seal everything and remove any powdery finish. For very oily skin, a mattifying primer plus powder on the T-zone plus an oil-controlling setting spray is the winning combination. Blotting papers throughout the day handle what the routine can’t.
How do I keep lipstick on all day?
Exfoliate lips gently, apply a thin layer of lip balm and let it absorb, then line lips fully with lip liner (not just the edges — fill in the whole lip as a base), apply lipstick, blot with tissue, and apply a second layer. Matte and long-wear liquid lipsticks last longest. Reapply after eating regardless of formula.
Keep reading: special occasion makeup guide for beginners
Conclusion
Making your makeup last all day isn’t about buying the most expensive long-wear products — it’s about building your routine like a makeup artist does. Prep the skin properly and give products time to absorb. Apply in thin layers and set as you go. Finish with powder and setting spray, choose waterproof formulas around the eyes, and carry a small touch-up kit for one midday refresh.
Start with the three pillars on your next long day, do a wear test before your next big event, and you’ll be amazed how different hour ten looks compared to your old routine. For the complete polished-event routine these techniques slot into, explore our [special occasion makeup guide for beginners → special-occasion-makeup-guide-for-beginners] — and enjoy makeup that actually keeps up with your day.
Love this? Pin it for later!