How Long Does Brow Lamination Last? Timeline, Fade Factors & Tips to Extend It
You have just laminated your brows — they are fluffy, full, and perfectly brushed into place. Now comes the inevitable question: how long is this going to last? Nobody wants to go through the process only to watch the results disappear in a week.
The short answer: brow lamination typically lasts 4 to 6 weeks. But that number is not fixed — your skin type, lifestyle, and aftercare habits can push it toward the longer or shorter end of that range. In this guide, we break down the week-by-week timeline of what to expect, the factors that shorten your results (oils, steam, and over-washing are the biggest culprits), and proven tips to stretch your lamination as close to that 6-week mark as possible.
New to the treatment? Start with our step-by-step brow lamination guide, then come back here to protect your results. And for the day-by-day rules that matter most, our brow lamination aftercare tips covers the critical first 48 hours.
The Short Answer: 4 to 6 Weeks
For most people, brow lamination results last between 4 and 6 weeks. This is not an arbitrary number — it closely tracks the natural growth cycle of eyebrow hairs. Lamination chemically restructures the hairs that exist at the time of treatment; as those hairs shed and new, untreated hairs grow in, the laminated effect gradually diminishes.
Salon and at-home lamination last roughly the same amount of time when done correctly — the chemicals work identically. What differs is technique: a precise, well-timed application (whether by you or a professional) lasts longer than a rushed or under-processed one. If your lamination faded in under 3 weeks, under-processing or poor aftercare is the likely cause, not the kit itself.
It is worth noting that 4 to 6 weeks is the visible lifespan. The shape typically looks its best in weeks 1 through 3, then softens gradually. There is no sudden or awkward grow-out phase — your brows simply drift back toward their natural state.
Week-by-Week Timeline: What to Expect
Week 1: Peak Results
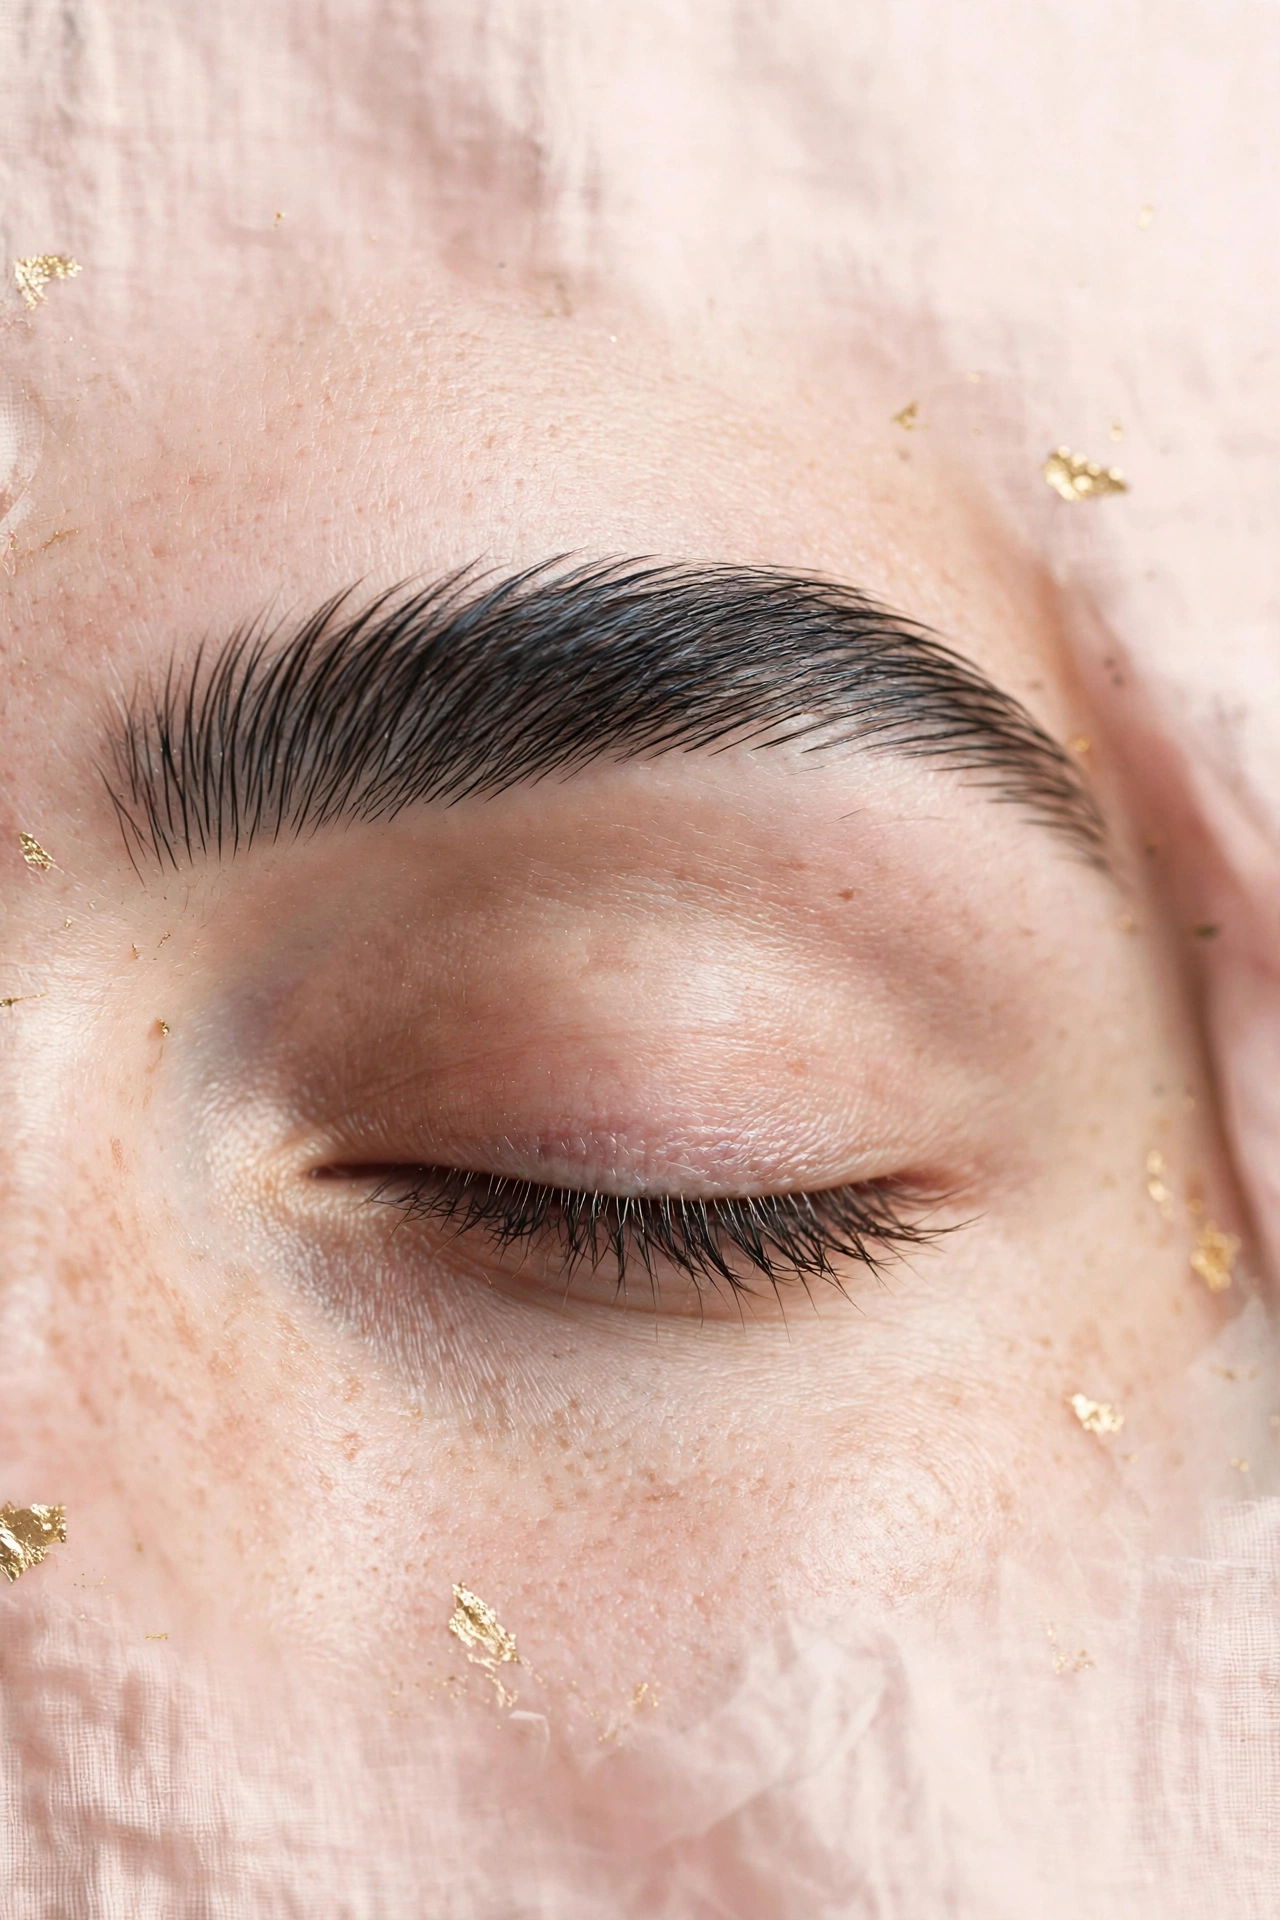
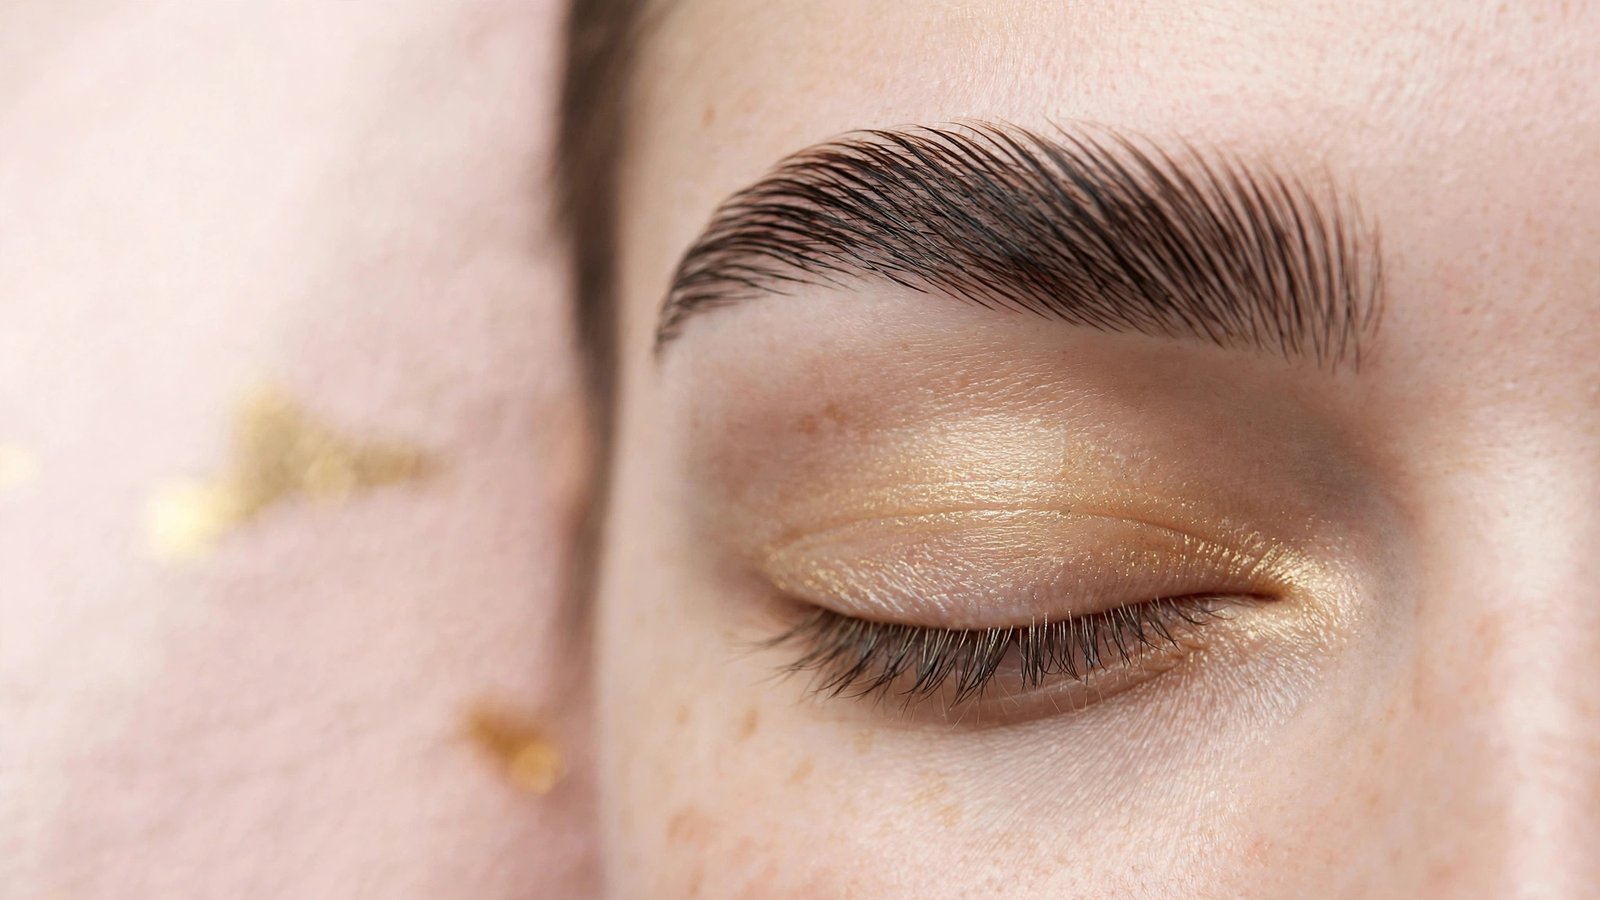
This is the golden week. Your brows are at their fluffiest, most defined, and most dramatic. The hairs hold their brushed-up direction effortlessly, and you may find you barely need brow makeup. Follow the 24–48 hour aftercare rules strictly during this week — keeping brows dry and avoiding steam, sweat, and oil-based products — because the bonds are still settling.
Weeks 2–3: Settled and Natural
The initial drama softens into a more natural look, which many people actually prefer. The brows still hold their direction well with a quick spoolie brush in the morning, and the fullness effect remains obvious. This is the sweet spot where lamination looks effortlessly groomed rather than freshly “done.”
Week 4: Gradual Relaxing
You will notice the hairs starting to relax, especially at the tails and in areas where new growth is coming in. A spoolie and a little brow gel can still coax them into place, but they no longer stay put all day on their own. The overall shape remains improved compared to your pre-lamination brows.
Weeks 5–6: Fading Out
By now, a significant portion of the treated hairs has shed and been replaced by new growth. The laminated effect is subtle — you might still see some direction in the mid-brow, but the fluffy, brushed-up look is largely gone. This is your signal that it is nearly time to laminate again — but wait until at least 6 to 8 weeks after your last session before re-treating, to avoid over-processing the hairs.
7 Factors That Shorten Brow Lamination Results
Understanding what breaks lamination down helps you avoid it. These are the biggest result-shorteners:
1. Oils and Oil-Based Products
Oil is the number one enemy of lamination longevity. Oil-based cleansers, heavy moisturizers, facial oils, and even oily sunscreens applied over the brows gradually break down the restructured bonds and relax the hairs. This is ironic, because nourishing oils are also recommended for brow health — the key is timing: avoid oils on the brows for the first 24–48 hours, then use them sparingly. Our brow lamination aftercare tips guide explains the oil timing in detail.
2. Steam, Heat, and Sweat
Steam opens the hair shaft and loosens the set — long hot showers with your face in the steam, saunas, steam rooms, and intense sweaty workouts all shorten results. Lukewarm water, keeping your face out of direct shower steam, and blotting sweat promptly (rather than letting it sit on the brows) all help.
3. Over-Washing the Brow Area
Scrubbing your brows twice a day with a foaming cleanser wears the lamination down faster. When cleansing, use gentle pressure over the brow area and avoid exfoliating scrubs or brushes directly on the brows. Clean brows are important — just be gentle about it.
4. Oily Skin Type
If your skin runs oily, your natural sebum works against the lamination around the clock. People with oily skin often land at the 3–4 week end of the range rather than 5–6. Blotting papers used gently around (not roughly across) the brow area can help manage this without disturbing the hairs.
5. Swimming: Chlorine and Salt Water
Chlorinated pools and salt water are harsh on processed hair — the same reason they fade hair color. If you swim regularly, expect shorter-lived results. Wearing swim goggles obviously does not cover the brows, so swimmers should simply plan for the shorter end of the timeline or time their lamination around swim season.
6. Under-Processing During Application
If the lifting cream was not left on long enough for your hair type, the bonds were never fully restructured — and the results fade within 1 to 2 weeks. This is the most common cause of “my lamination didn’t last.” Our brow lamination timing guide covers how to get the timing right for your hair type without over-processing.
7. Sleeping Face-Down
Pressing your brows into a pillow for 8 hours a night physically bends the hairs out of their set direction night after night. Side and back sleepers get noticeably longer-lasting results. If you are a dedicated stomach sleeper, a silk or satin pillowcase at least reduces friction.
How to Make Brow Lamination Last Longer: 10 Proven Tips
- Respect the first 24–48 hours. No water, steam, sweat, or makeup on the brows. This settling period determines everything that follows.
- Keep oil-based products off the brows for the first two days, then use nourishing oils sparingly and strategically (a light application at night is enough).
- Cleanse gently. Use a mild, non-stripping cleanser and light pressure over the brow area — no scrubbing, no exfoliating brushes on the brows.
- Shower smart. Keep your face out of direct hot water and steam; lukewarm is kinder to laminated hairs.
- Blot, do not rub. When drying your face or managing sweat, press gently with a towel or tissue instead of rubbing across the brows.
- Brush daily with a clean spoolie. A quick morning brush-through reinforces the direction and keeps the shape looking intentional for weeks.
- Use a light brow gel. A clear or tinted brow gel acts like hairspray for your lamination, holding the direction through the day as the chemical set gradually relaxes.
- Apply sunscreen carefully. UV breaks down hair bonds over time, so SPF matters — but apply it around the brows rather than globbing it directly through the hairs, and choose a non-greasy formula.
- Nourish on schedule. A light brow oil 2–3 times per week (after the first 48 hours) keeps processed hairs supple so they do not become brittle and snap — broken hairs shorten your results visibly.
- Do not re-laminate too soon. Wait a full 6–8 weeks between sessions. Laminating over still-processed hair damages it, and damaged hair holds no shape at all.
Signs Your Lamination Is Fading (and What to Do)
Fading is gradual, but these are the telltale signs:
- Hairs no longer stay brushed up on their own and fall back to their natural direction within an hour or two
- The tails lose definition first — this area has the finest hairs and fades fastest
- New growth looks visibly different from the treated hairs, creating a texture mismatch
- You are reaching for brow gel and pencil again to achieve what lamination used to do effortlessly
When you notice these signs around week 4–5, you have two options: ride it out with brow gel and a spoolie until you hit the 6–8 week mark for re-lamination, or book/plan your next session. What you should not do is re-laminate immediately — impatience here causes the over-processing damage that ruins future results. In the meantime, our how to fill in eyebrows naturally tutorial can bridge the gap.
At-Home vs Salon: Does Longevity Differ?
When done correctly, no — the chemistry is the same and the 4–6 week range applies to both. Where differences appear:
- Salon advantage: a trained artist judges processing by sight and feel, reducing the risk of under-processing (the main cause of short-lived DIY results). Professionals also typically include a tint, which makes the shape look defined for longer even as the direction softens.
- At-home advantage: you can time re-lamination perfectly and touch up exactly when needed, without booking constraints. The per-session cost is also negligible, so redoing it at the right interval is painless financially.
If your at-home results consistently fade in under 3 weeks, the issue is almost certainly timing or aftercare — revisit our step-by-step lamination guide before concluding that DIY does not work for you.
When to Re-Laminate: The Safe Interval
The golden rule: wait at least 6 weeks between laminations, with 8 weeks being ideal. This gives the brow hairs time to recover from the chemical process and ensures you are treating mostly fresh growth rather than re-processing already-treated hair.
Re-laminating too frequently is one of the most damaging mistakes in brow care. Each chemical process stresses the hair shaft; stacking sessions too close together leads to dryness, brittleness, breakage, and eventually hairs so damaged they cannot hold a shape at all — the opposite of what you want. If your results faded early, fix the cause (timing, aftercare) rather than compensating with frequency.
Between sessions, support your brows with gentle care: nightly brushing, a nourishing oil a few times a week, and patience. For improving natural fullness over time, our how to get thicker eyebrows naturally guide covers growth-friendly habits that complement lamination beautifully.
Key Takeaways
- Brow lamination typically lasts 4–6 weeks, tracking the natural eyebrow growth cycle — results peak in week 1, settle in weeks 2–3, and gradually relax through weeks 4–6.
- The biggest result-shorteners are oils and oil-based products, steam/heat/sweat, over-washing, oily skin, swimming, under-processing, and face-down sleeping.
- The first 24–48 hours of aftercare determine your results more than any other factor — keep brows dry and product-free.
- Extend your lamination with gentle cleansing, daily spoolie brushing, light brow gel, strategic (not heavy) oil use, and smart shower habits.
- Wait 6–8 weeks between sessions; re-laminating too soon damages hairs and shortens future results rather than extending them.
- Fading is gradual with no awkward grow-out — when results soften, bridge the gap with brow gel until your next session.
Frequently Asked Questions
Why did my brow lamination only last 2 weeks?
The most common causes are under-processing (lifting cream removed too soon for your hair type), getting the brows wet or steamy within the first 48 hours, or using oil-based products on the brows too early. Oily skin and frequent swimming can also shorten results. Review your timing against our brow lamination timing guide and tighten up your aftercare before your next session.
Can I make brow lamination last longer than 6 weeks?
Six weeks is about the natural ceiling, because new untreated hairs continuously grow in and replace the laminated ones. You cannot stop the growth cycle — but you can reach the full 6 weeks consistently by nailing the aftercare: no water for 48 hours, minimal oil contact, gentle cleansing, and daily brushing. Anyone promising 8+ weeks is overselling.
Does brow lamination last longer on thick or thin brows?
Thick, coarse brows often hold the shape slightly longer because the hairs are sturdier — but they also need longer processing times to set properly in the first place. Fine brows process quickly but can relax sooner. The difference is usually a matter of days, not weeks; aftercare matters more than hair thickness.
Will washing my face ruin my brow lamination?
Normal face washing will not ruin it, as long as you are gentle over the brow area and past the first 48-hour no-water window. What shortens results is aggressive scrubbing, exfoliating brushes or scrubs directly on the brows, and very hot water. Use light pressure, lukewarm water, and keep strong actives and scrubs away from the brow hairs.
Can I use brow gel on laminated brows?
Absolutely — brow gel is one of the best tools for extending the appearance of your lamination. As the chemical set gradually relaxes in weeks 3–5, a clear or tinted brow gel holds the direction through the day. Think of it as a daily top-up that bridges you to your next session.
Is it bad to laminate my brows every month?
Yes — laminating every 4 weeks is too frequent. The safe interval is 6–8 weeks minimum. Monthly lamination over-processes the hairs, leading to dryness, brittleness, and breakage that ultimately makes your brows look worse, not better. If results fade before 6 weeks, improve your technique and aftercare instead of increasing frequency.
Love this? Pin it for later!