How to Do Brow Lamination at Home: A Beginner’s Step-by-Step Guide
Brow lamination is the treatment behind those fluffy, brushed-up brows you see all over Pinterest and Instagram — full, defined, and perfectly groomed without a single stroke of pencil. Traditionally a salon service, it has become one of the most popular at-home beauty treatments because the process is straightforward and the results can last for weeks. If you have sparse patches, unruly hairs that grow in every direction, or brows that disappear without makeup, lamination might be exactly what you have been looking for.
In this guide, you will learn exactly how to do brow lamination at home: what the treatment actually does to your brow hairs, the safety steps you must take before you start (including a proper patch test), the tools and supplies you need, and the full step-by-step process — cleanse, perm, shape, neutralize, and nourish — with timing for every step. We will also cover the most common beginner mistakes so you can get salon-smooth results on your first try.
If you are still deciding whether lamination is right for you, our brow lamination vs microblading comparison breaks down how it compares to the semi-permanent tattoo option, and our guide to at-home brow lamination kits will help you choose a safe, beginner-friendly kit before you begin. And if you want to know what to expect afterward, read the brow lamination aftercare tips guide next.
What Is Brow Lamination?
Brow lamination is essentially a perm for your eyebrows. A chemical lifting cream breaks the bonds inside each brow hair, making the hairs soft and malleable. You then brush the hairs into your desired direction — usually upward and outward for that full, feathery look — and a neutralizing cream “sets” them in place so they hold the new shape for weeks.
The result is brows that look thicker, fuller, and more defined, with every hair lying neatly in the same direction. Sparse areas look filled in because hairs are redirected to cover gaps, and the overall brow takes on a groomed, lifted appearance that many people describe as an instant brow lift.
A professional salon lamination typically costs between $50 and $150 depending on your location. At home, a kit costs a fraction of that and usually contains enough product for multiple applications — which is why so many beginners are trying the DIY route. The trade-off is responsibility: you are working with real chemicals close to your eyes, so safety steps are not optional. We will cover every one of them.
Is DIY Brow Lamination Safe? Read This First
Let us be honest: brow lamination uses the same family of chemicals as a hair perm — typically a thioglycolate-based lifting cream and a neutralizing fixer. These are safe when used correctly on the brow area, but they are not gentle skincare. Used carelessly, they can cause redness, chemical burns, over-processed brittle hairs, or irritation if they get into your eyes.
Do not attempt brow lamination if any of the following apply to you:
- You have broken skin, eczema, psoriasis, sunburn, or active irritation anywhere on or around your brows
- You have recently had a chemical peel, microdermabrasion, or laser treatment on your forehead area
- You have an eye infection (styes, conjunctivitis) or your eyes are currently irritated
- You are allergic to perm chemicals or have reacted to hair dye or lash/brow tints in the past
- Your brow hairs are extremely fine, sparse, or already damaged from over-plucking or previous chemical treatments
Three non-negotiable safety rules:
- Patch test 24 to 48 hours before. Apply a tiny amount of each cream behind your ear or on your inner forearm, wait the full time, and watch for redness, itching, swelling, or burning. If any of these occur, do not proceed.
- Never over-process. More time does not mean better results — it means damaged, frizzy, or broken brow hairs. Follow the timing guide below exactly, and when in doubt, go shorter.
- Stop and rinse immediately if you feel burning, stinging, or sharp irritation. Mild tingling can be normal with some kits, but anything beyond that means the product comes off right now with lukewarm water. Do not “push through” discomfort near your eyes.
Keep the products on the brow hairs only — not on the eyelids, not on the skin below the brow bone, and never near the lash line. Work in a well-lit room with a magnifying mirror so you can see exactly where the cream is going.
What You Need for At-Home Brow Lamination
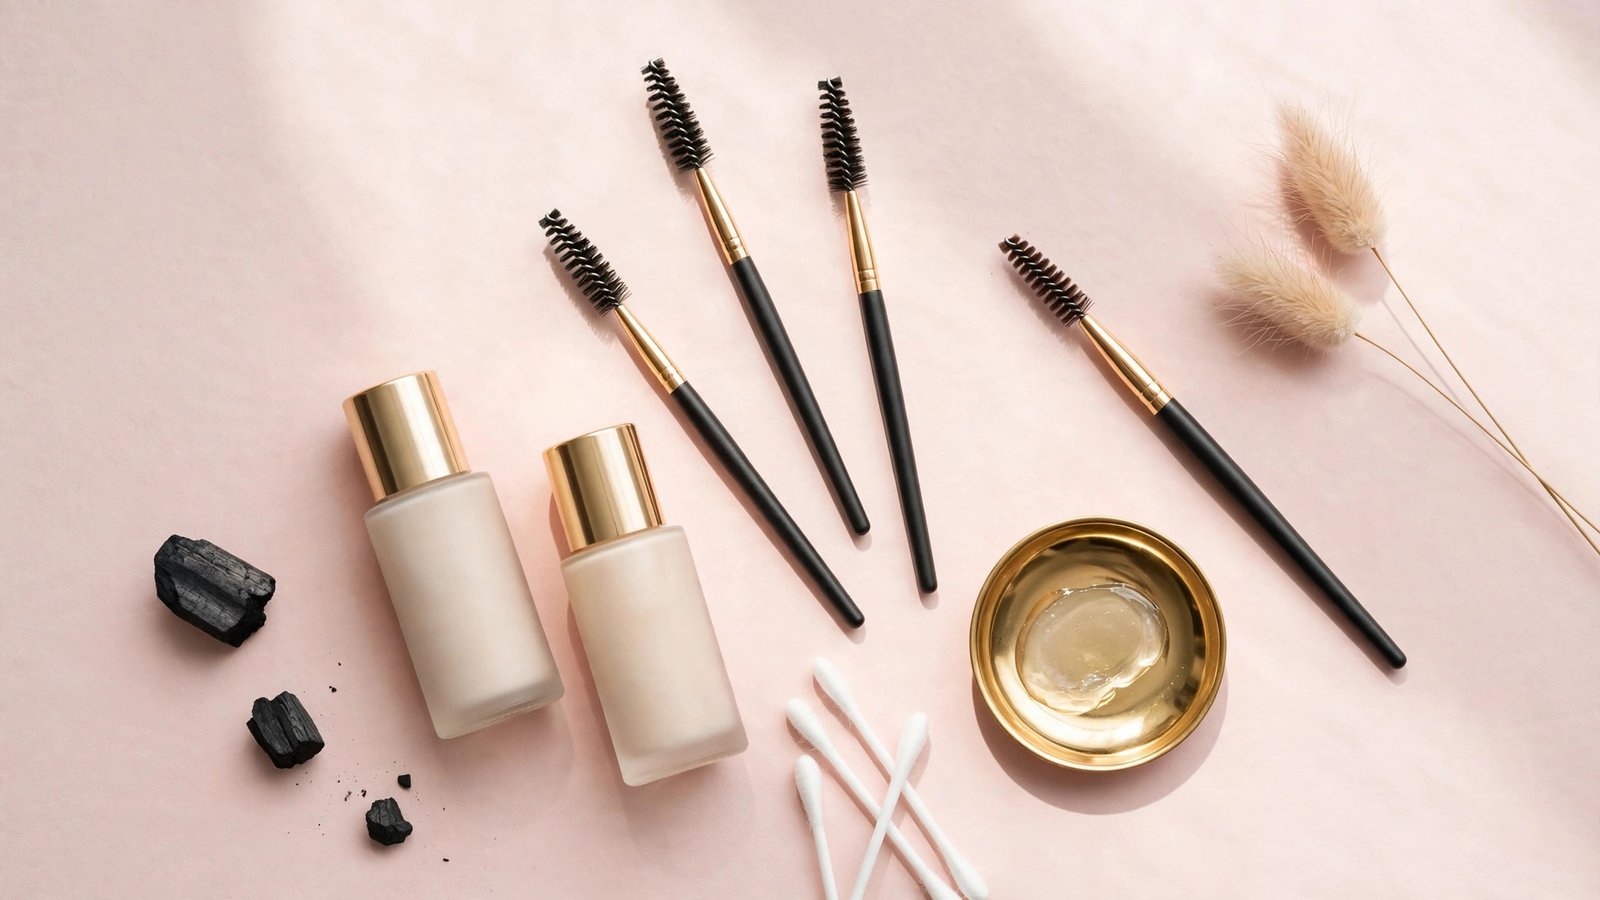
Before you start, gather everything so you are not scrambling mid-process with chemicals on your face:
- A brow lamination kit — choose one designed for home use with clearly numbered steps (our best at-home brow lamination kit guide explains what a complete kit must include)
- Oil-free cleanser or micellar water — to remove all makeup, sunscreen, and oil from the brow area
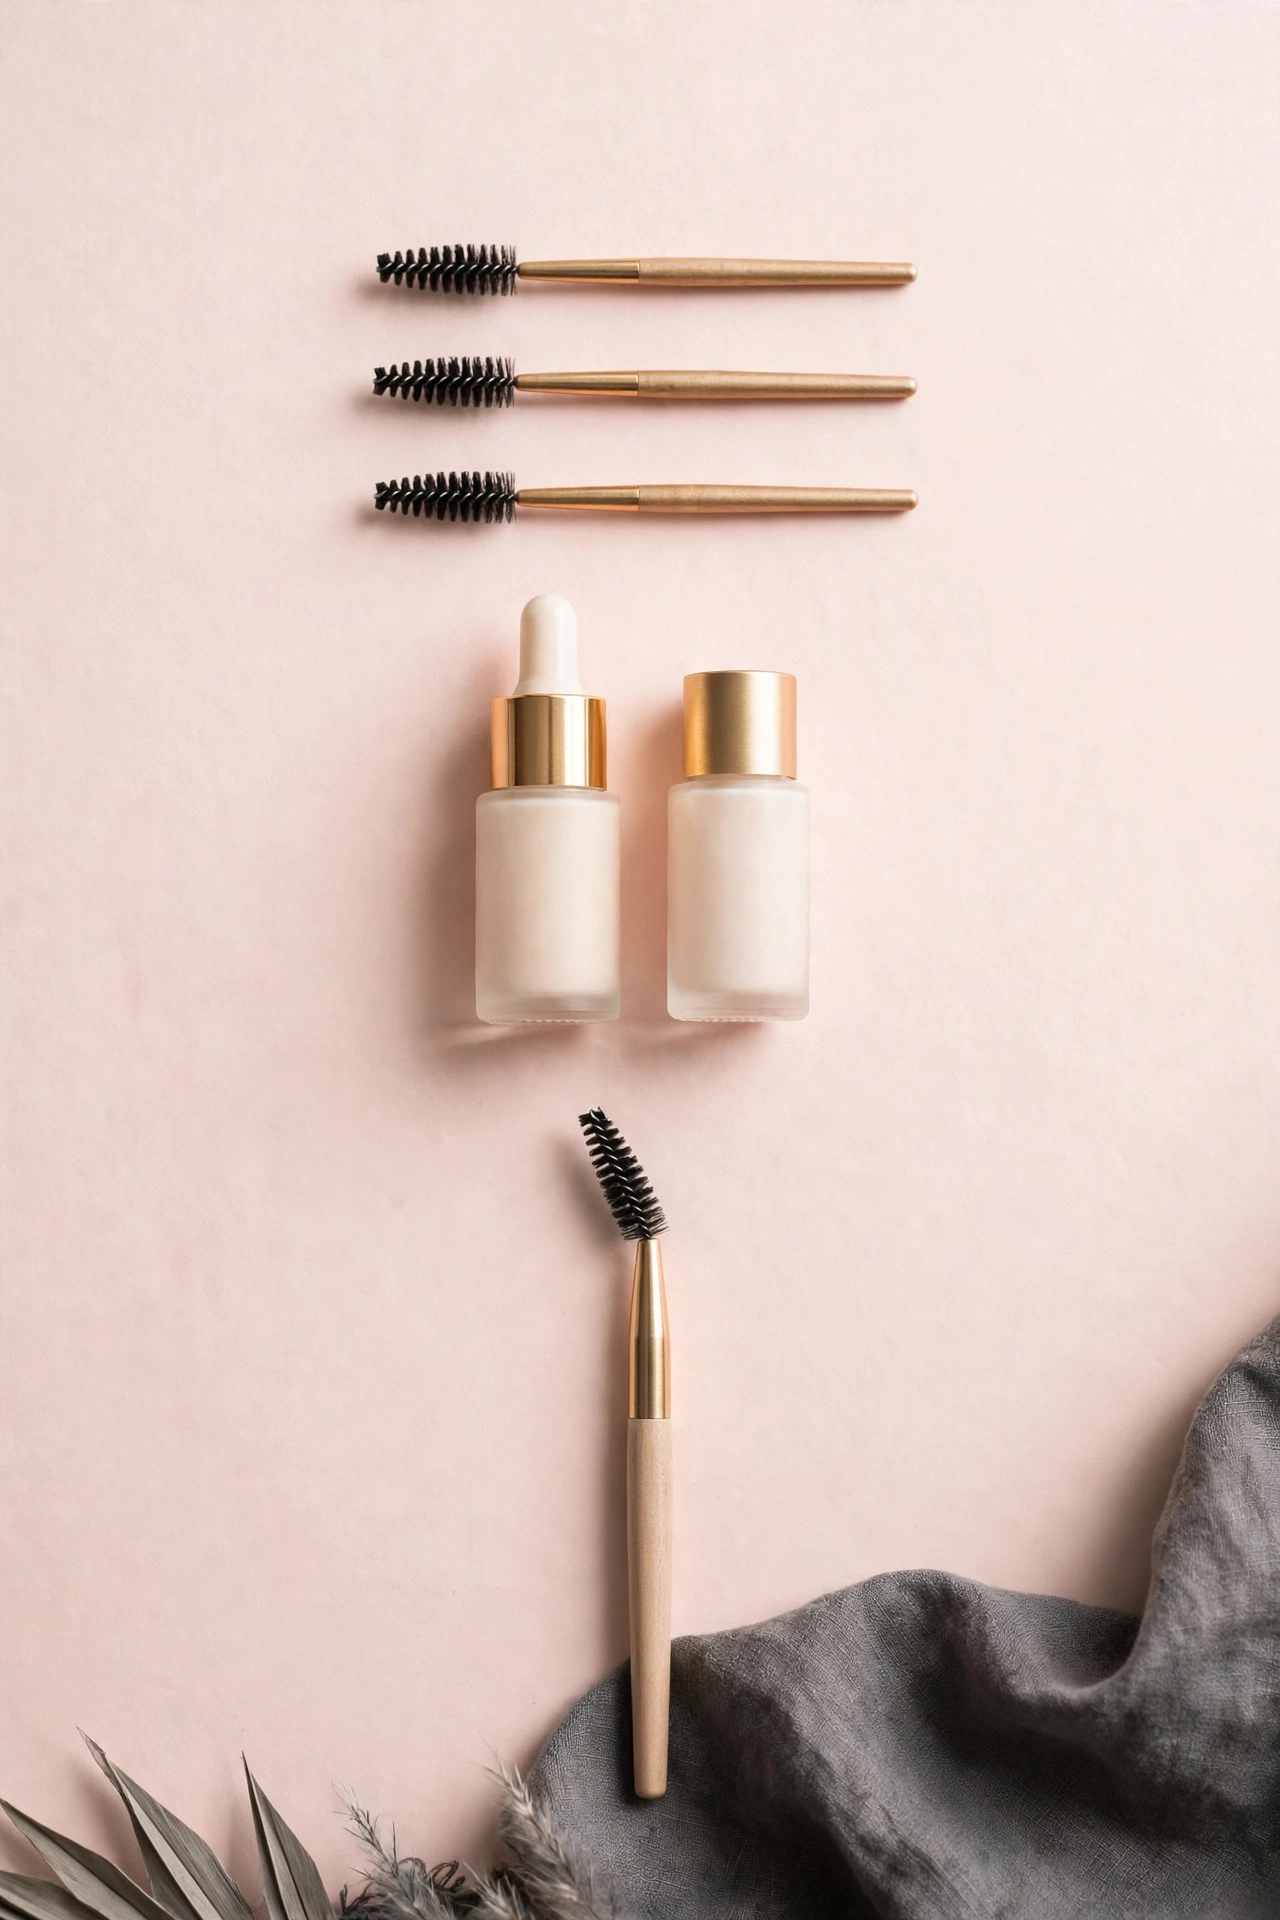
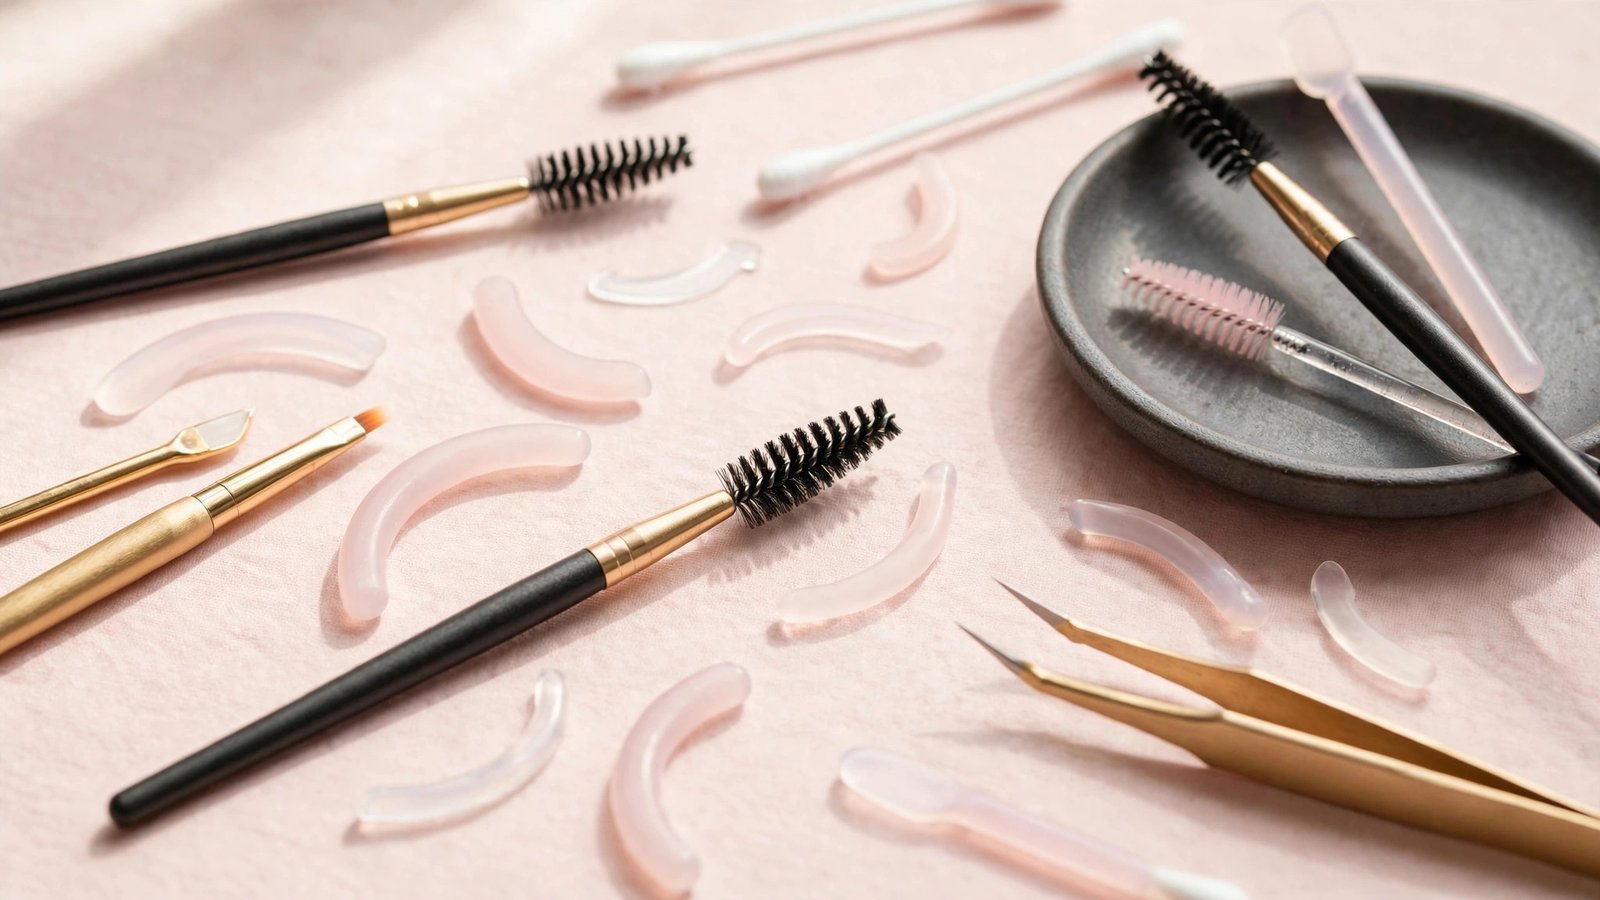
- Spoolie brushes (usually included in kits) — at least two, for lifting and shaping
- Cotton swabs and cotton pads — for precise cleanup around the edges
- Petroleum jelly or a barrier cream — to protect the skin around your brows
- Cling film or plastic wrap — many kits use this to cover brows during processing
- A timer — your phone timer is fine; do not guess the time
- Lukewarm water — for rinsing between steps
- A nourishing oil (castor oil, argan oil, or a dedicated brow oil) — for aftercare
Read your kit’s instructions fully before you begin, even if you have read this guide. Different brands have slightly different formulations and timings, and the manufacturer’s instructions for your specific kit take priority.
Step 0: The Patch Test (24–48 Hours Before)
This is the step beginners are most tempted to skip, and it is the most important one. Brow lamination chemicals can cause allergic reactions even in people who have never reacted to a beauty product before.
- Clean a small patch of skin behind your ear or on your inner forearm.
- Apply a tiny dab of the lifting cream (Step 1), wait 5 minutes, then wipe off.
- Apply a tiny dab of the neutralizer/fixer (Step 2), wait 5 minutes, then wipe off.
- Wait a full 24 to 48 hours and check the area. Look for redness, bumps, itching, swelling, or any discomfort.
If your skin stays calm, you are clear to proceed. If you notice any reaction — even a mild one — do not laminate your brows. An allergic reaction on the thin skin around your eyes is not something to gamble with. Brow artists strongly recommend the patch test for every new kit, even if you have laminated before, because formulations differ between brands.
Step-by-Step: How to Do Brow Lamination at Home
Set aside about 30 to 45 minutes in a well-lit room. Tie your hair back, wash your hands, and lay out all your supplies.
Step 1: Cleanse and Prep the Brows
Use an oil-free cleanser or micellar water to remove every trace of makeup, sunscreen, and natural oil from your brow area. Oils and residue create a barrier that prevents the lifting cream from working evenly, which leads to patchy results.
Pat the area dry. Then apply a thin layer of petroleum jelly or barrier cream on the skin surrounding your brows — above, below, and between them — keeping it off the brow hairs themselves. This protects the delicate skin from the chemicals while letting the cream work on the hairs.
Step 2: Apply the Lifting (Perm) Cream
Using a spoolie or the applicator from your kit, apply the lifting cream (usually labeled Step 1) evenly through your brow hairs, coating each hair from root to tip. Work in the direction you want the hairs to go — typically brushed upward for the front two-thirds of the brow, then angled slightly outward toward the tail.
Be precise: keep the cream on the hairs, not globbed onto the skin. Use a cotton swab to clean up any excess immediately.
Cover each brow with a small piece of cling film. This traps warmth and helps the cream process evenly. Start your timer now. Processing times vary by hair type — see the timing guide below — but for most beginners with medium brows, 5 to 6 minutes is the sweet spot.
Do not exceed the maximum time on your kit’s instructions, and never go past 10 minutes. Over-processing is the number one cause of DIY lamination disasters: hairs become frizzy, brittle, and straw-like, and in severe cases they can break off. If this is your first time, err on the shorter side. You can always laminate again in a few weeks; you cannot undo over-processed hair.
Step 3: Check and Shape
When the timer goes off, remove the cling film and gently wipe away the lifting cream with a damp cotton pad. Do not rinse fully yet — just remove the bulk of the product.
Now brush the hairs into their final position with a clean spoolie. This is your moment to perfect the shape: brush the front of the brow straight up for fullness, then angle the middle and tail diagonally outward for a natural feathered look. Take your time here — once the neutralizer sets the hairs, this shape is locked in for weeks.
Step 4: Apply the Neutralizer (Fixer)
Apply the neutralizing cream (usually labeled Step 2) the same way you applied the lifting cream — evenly through the hairs, keeping them brushed in the direction you just set. Cover with cling film again and set your timer.
Neutralizer timing is typically about half the lifting time — for most kits, 3 to 5 minutes. Check your kit’s instructions for the exact recommendation. The neutralizer rebuilds the hair’s bonds in their new position, which is what makes the results last for weeks instead of hours.
When the timer goes off, remove the cling film and rinse the brows thoroughly with lukewarm water, or wipe clean with damp cotton pads per your kit’s instructions. Make sure all product residue is gone.
Step 5: Nourish (and Tint, Optionally)
Your brow hairs have just been through a chemical process — they need moisture. Apply a nourishing oil or the conditioning serum from your kit through the brows. Many people use castor oil, argan oil, or sweet almond oil; our castor oil for lashes and brows guide covers why castor oil is a popular choice for brow care.
Optional tinting: If you want darker, more defined brows, this is the moment to apply brow tint or henna — many kits and brow artists recommend tinting right after lamination because the hairs absorb color evenly. Use a tint formulated for brows (never hair dye), follow its own timing instructions, and do a separate patch test for the tint if you have not used it before.
Brush the brows into place one final time with a clean spoolie and admire your work.
Brow Lamination Timing Guide: Do Not Over-Process
Timing is the single most important variable in at-home lamination. Under-processing gives weak, short-lived results; over-processing damages the hair. Use this as a starting guide, but always defer to your specific kit’s instructions:
| Brow Hair Type | Lifting Cream Time | Neutralizer Time |
|---|---|---|
| Fine or thin hairs | 3–4 minutes | 3 minutes |
| Medium hairs (most people) | 5–6 minutes | 4 minutes |
| Thick or coarse hairs | 7–8 minutes | 5 minutes |
| Previously laminated or fragile hairs | 3 minutes maximum | 3 minutes |
Hard rules: never exceed 10 minutes of lifting time under any circumstances. If you have laminated before and your hairs still feel healthy, wait at least 6 to 8 weeks before re-laminating. Laminating too frequently is just as damaging as over-processing in a single session.
If you are unsure about your hair type, start with the fine-hair timing. It is far better to get subtle results and try again later than to fry your brows on the first attempt.
7 Common Brow Lamination Mistakes Beginners Make
- Skipping the patch test. The most dangerous shortcut. Allergic reactions near the eyes can be serious — the 48-hour wait is always worth it.
- Leaving the lifting cream on too long. “A few extra minutes for better results” is a myth. Extra time only damages the hair shaft.
- Applying cream to the skin, not just the hairs. Product sitting on skin causes redness and irritation. Use cotton swabs for precision cleanup.
- Not cleansing properly first. Oily or makeup-coated brows process unevenly, giving patchy, inconsistent results.
- Shaping after the neutralizer. The shape must be perfected before the fixer goes on. Once neutralized, the hairs are set — there is no rearranging them.
- Laminating too often. More than once every 6 to 8 weeks weakens the hairs over time. Let them fully recover between sessions.
- Skipping aftercare. The first 24 to 48 hours determine how long your results last. Keep brows dry, skip the steam and sweat, and start nourishing oils after — our full brow lamination aftercare tips guide covers every rule.
How Long Does Brow Lamination Last?
With proper technique and aftercare, at-home brow lamination typically lasts 4 to 6 weeks. The results fade gradually as your brow hairs go through their natural growth cycle — new, unlaminated hairs grow in and the treated ones slowly relax.
Several factors affect longevity: oily skin, frequent steam or sweating, over-washing the brow area, and using oil-based products too soon can all shorten results. For the full breakdown of what helps and what hurts, read our how long does brow lamination last guide.
When to See a Professional Instead
DIY lamination is great for many people, but some situations call for a trained brow artist:
- You have had a bad reaction to brow chemicals before
- Your brows are severely over-plucked, patchy, or damaged and need expert shaping first
- You want lamination combined with waxing, threading, or precise tinting in one appointment
- You tried at home and the results were uneven — a professional can assess and correct them
- You simply feel nervous working with chemicals near your eyes — that is a perfectly valid reason
There is no shame in booking a salon appointment. A professional lamination also gives you a benchmark for what good results look like, which makes future DIY attempts easier.
Key Takeaways
- Brow lamination is a perm for your brows: a lifting cream softens the hairs, you brush them into shape, and a neutralizer locks the shape in for 4 to 6 weeks.
- Safety is non-negotiable: patch test 24–48 hours before, never over-process, keep products off the skin and away from eyes, and stop and rinse immediately if you feel burning or sharp irritation.
- Prep matters: cleanse brows thoroughly with an oil-free cleanser and protect surrounding skin with petroleum jelly before applying any chemicals.
- Follow the timing guide for your hair type (3–8 minutes of lifting time, never past 10 minutes) and always defer to your specific kit’s instructions.
- Perfect your brow shape before applying the neutralizer — once the fixer sets, the shape is locked in.
- Nourish afterward with brow oil, follow the 24–48 hour no-water rule, and wait 6–8 weeks before laminating again.
Frequently Asked Questions
How long does it take to do brow lamination at home?
The full process takes about 30 to 45 minutes, including prep and cleanup. The active chemical steps are short — roughly 5 to 8 minutes for the lifting cream and 3 to 5 minutes for the neutralizer — but you should never rush the prep, shaping, or patch test. Most of your time goes to careful application and cleanup.
Does brow lamination hurt?
For most people, no. You may feel mild tingling when the lifting cream is on, which is normal. Sharp burning, stinging, or throbbing pain is not normal — if you feel that, rinse the product off immediately with lukewarm water. Pain is your signal that something is wrong, not something to push through.
Can I do brow lamination on thin or sparse brows?
Yes — in fact, sparse brows are one of the best candidates for lamination, because redirecting the hairs upward and outward makes brows look significantly fuller and covers patchy areas. However, if your hairs are extremely fine or fragile, use the shortest processing time and consider whether your brows are healthy enough for chemicals. If you want to improve fullness over time, our how to get thicker eyebrows naturally guide covers growth-friendly habits.
Will brow lamination damage my eyebrows?
When done correctly — patch tested, timed properly, and not repeated too often — lamination is considered low-risk for healthy brow hairs. Damage happens from over-processing (leaving cream on too long), laminating too frequently, or skipping the nourishing step. Follow the timing guide, wait 6 to 8 weeks between sessions, and keep brows conditioned with oil.
Can I wear makeup after brow lamination?
You can wear makeup on the rest of your face right away, but avoid applying makeup directly on the brows for the first 24 hours. After that, brow products are fine — though many people find they barely need them. For filling in any remaining sparse spots, our how to fill in eyebrows naturally tutorial shows a soft, natural technique.
What is the difference between brow lamination and brow tinting?
Lamination changes the direction and shape of your brow hairs using perm chemicals; tinting only changes their color using brow dye. They solve different problems — lamination for unruly shape and fullness, tinting for light or faded color — and they are often done together for the most dramatic transformation. Tint after laminating, never before, because the lifting cream can strip fresh tint.
Love this? Pin it for later!