Why Your Gel Nails Keep Lifting at the Cuticle (7 Prep Mistakes to Fix)
Direct answer: Gel nails lift at the cuticle when product bonds to skin or oil instead of the nail plate — almost always a prep problem, not a polish problem. The usual culprits are skipping cuticle push-back, not dehydrating the nail plate, flooding product onto the cuticle, and under-curing. Fix your prep step by step and a DIY gel manicure can easily last two weeks or more.
There’s nothing more annoying than spending an hour on a gel manicure only to catch an edge lifting near your cuticle on day three. I did three full manicures in one month, changing one variable each time, and every single early lift traced back to something I did before the polish ever touched my nail.
This is the hub guide for our nails troubleshooting series — the foundation everything else builds on. If your gel won’t stay put, start here.
For more nail fixes, browse our Nails guides.
What “lifting at the cuticle” actually means
Lifting is when the gel separates from the nail plate, starting as a tiny pocket near the cuticle that you can catch with a fingernail. Once air and water get under that pocket, it spreads — and the whole nail eventually pops off. The frustrating part: the rest of the manicure can look perfect while one nail quietly fails at the base.
The key insight from my testing: gel adheres beautifully to a clean, dry, slightly roughened nail plate, and terribly to skin, oil, and dead cuticle tissue. Every mistake below is some version of “product ended up where it shouldn’t be.”
Mistake 1: Not pushing back (and gently removing) cuticle tissue
What I observed: On my first test manicure, I skipped cuticle work entirely because my cuticles “looked fine.” By day four, three nails were lifting — and every lift started exactly where invisible cuticle tissue was still stuck to the nail plate.
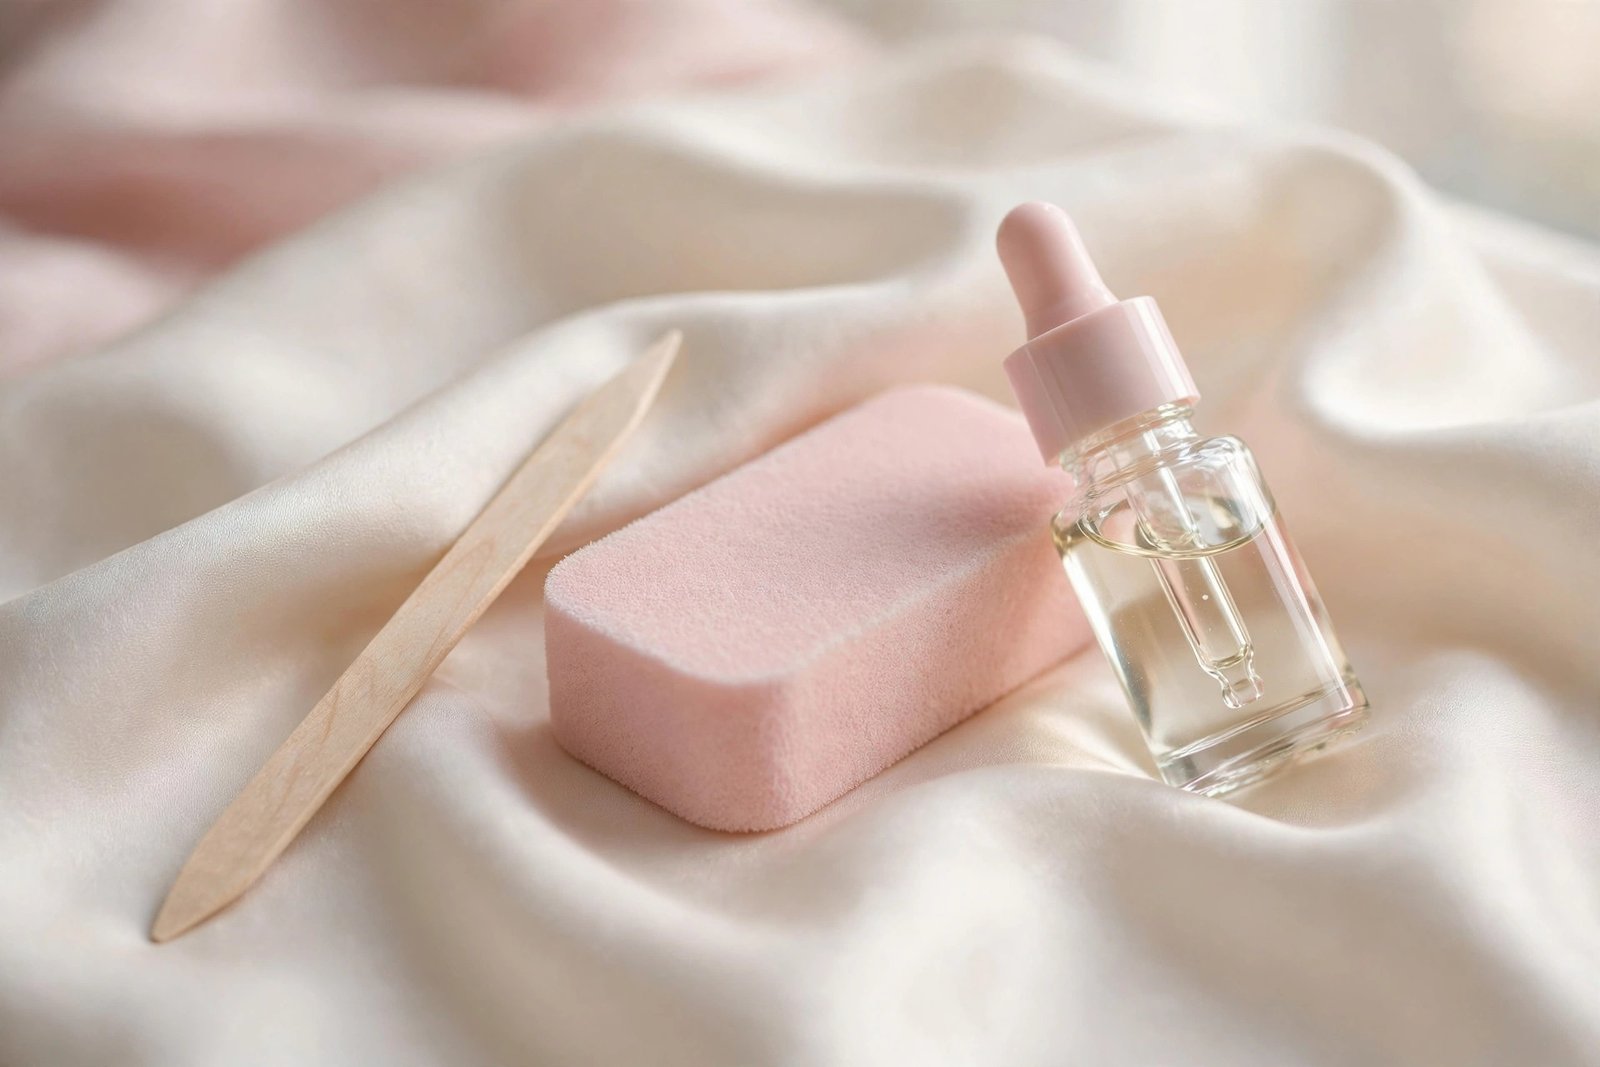
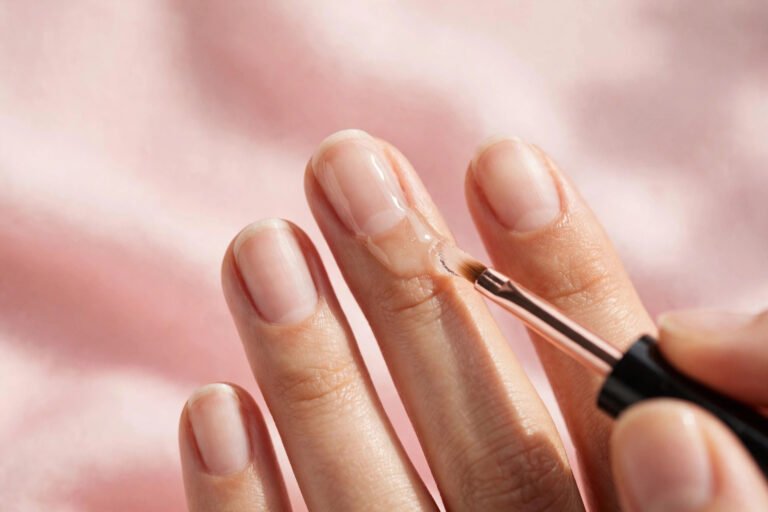
The fix: After soaking or showering, gently push cuticles back with a wooden stick or metal pusher. Then lightly buff away the thin, filmy dead tissue on the nail plate near the cuticle with a soft buffer — it looks like nothing, but it’s the #1 bond-killer. Never cut living cuticle; just clear the dead tissue off the plate.
Mistake 2: Skipping nail dehydration
What I observed: Manicure two: I did the cuticle work but went straight to base coat. My nails looked clean — but natural oils and hand cream residue were still on the plate. Lifting started on day five, right at the cuticle line where oil collects most.
The fix: Wipe each nail with a nail dehydrator or 91%+ isopropyl alcohol on a lint-free wipe right before base coat. Do all ten nails, then don’t touch the plate with your fingers again — fingertip oils transfer instantly. If your hands run oily, dehydrate twice.
Mistake 3: Flooding product onto the cuticle
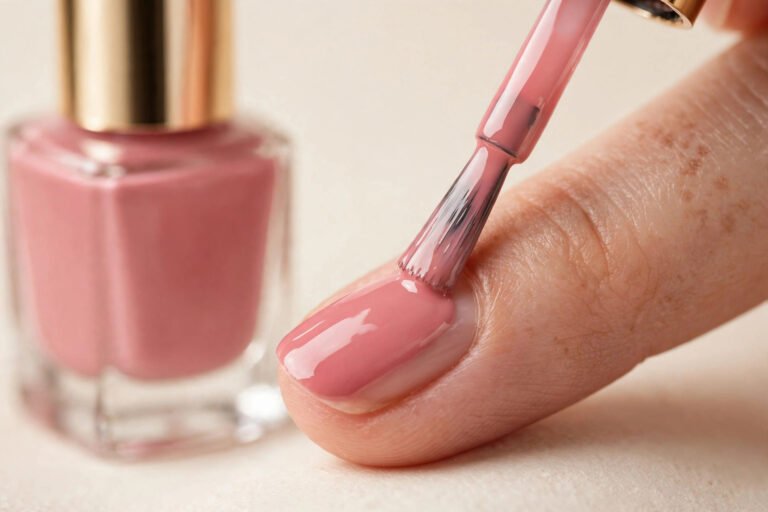
What I observed: This was my biggest “aha.” I was painting base and color all the way up to — and onto — the cuticle, thinking full coverage looked better. Gel that cures on skin never bonds; it creates a flexible edge that lifts as your skin moves. Every flooded nail lifted. Every nail with a hairline gap did not.
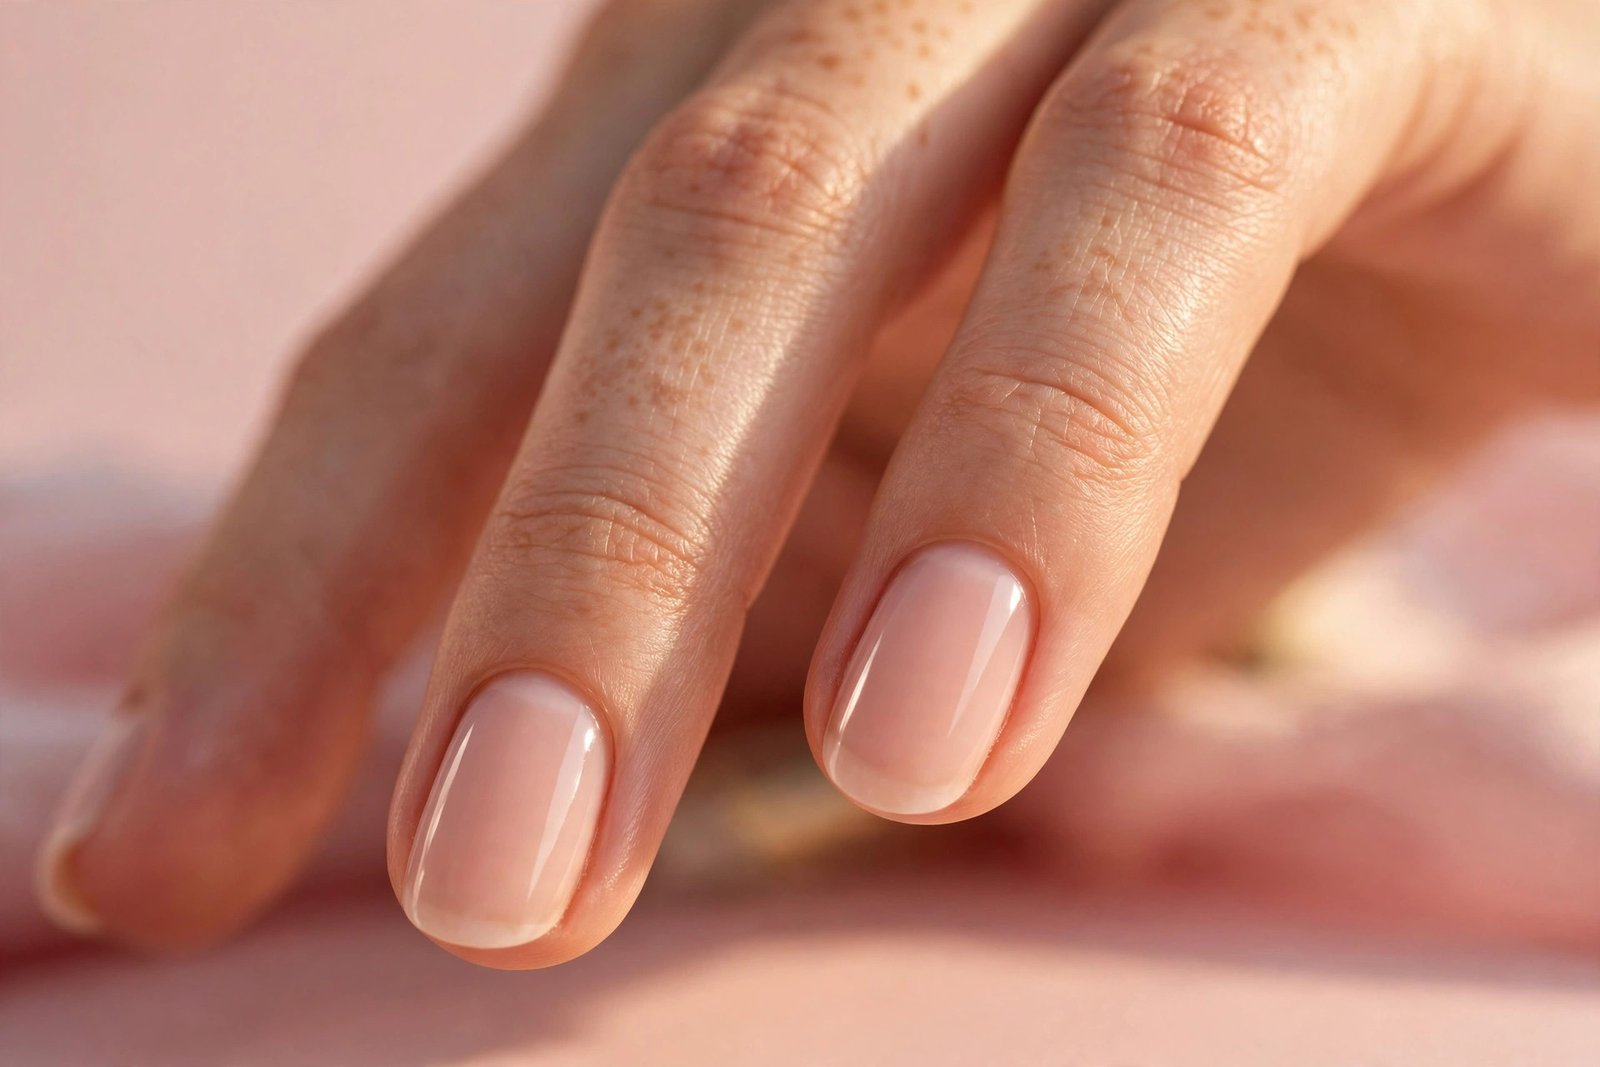
The fix: Leave a tiny gap — about the width of a hair — between product and cuticle. Use the side of the brush, not the tip, and pull product toward the cuticle without touching it. If you flood, wipe it off with a clean-up brush dipped in alcohol before curing. After curing, it’s too late.
Mistake 4: Applying coats too thick
What I observed: Thick color coats looked great wet but cured with a soft, slightly tacky underside near the cuticle — the lamp light couldn’t fully penetrate. Those nails lifted first, always.
The fix: Two thin coats beat one thick coat every time. Each coat should look slightly sheer when wet; opacity builds with the second pass. Thin coats cure fully, bond harder, and flex less at the edges.
Mistake 5: Under-curing (or the wrong lamp)
What I observed: On manicure three I rushed the cure times “just to see.” Don’t be me. Soft-cured gel near the cuticle lifts within days, and it also never fully hardens, so it dents and peels.
The fix: Cure for the full time your lamp and polish specify — typically 60 seconds LED or 120 seconds UV per coat, and cure every coat including base. Keep your hand flat and still in the lamp; curled fingers shadow the cuticle area. If your lamp is old, test it: fully cured gel should be hard and cool to the touch, never tacky-warm.
Mistake 6: Skipping the free-edge seal
What I observed: Nails where I “capped” the free edge (ran polish along the tip) outlasted uncapped nails by nearly a week in my test. An uncapped edge is an open door for water.
The fix: With each coat — base, color, top — run the brush lightly along the very tip of the nail to seal the edge. It takes five extra seconds per nail and it’s the cheapest longevity upgrade there is.
Mistake 7: Picking at a tiny lift (making it worse)
What I observed: The one time I caught a small lift and peeled it “just to see,” I took half the manicure — and a layer of my nail — with it. A tiny lift you leave alone can survive days; a picked one is gone in hours.
The fix: If you spot early lifting, dab a tiny amount of nail glue under the lifted edge, press for 30 seconds, and avoid water for an hour. It won’t last forever, but it buys you days. Never peel — you’ll damage the nail plate and the next manicure will adhere even worse.
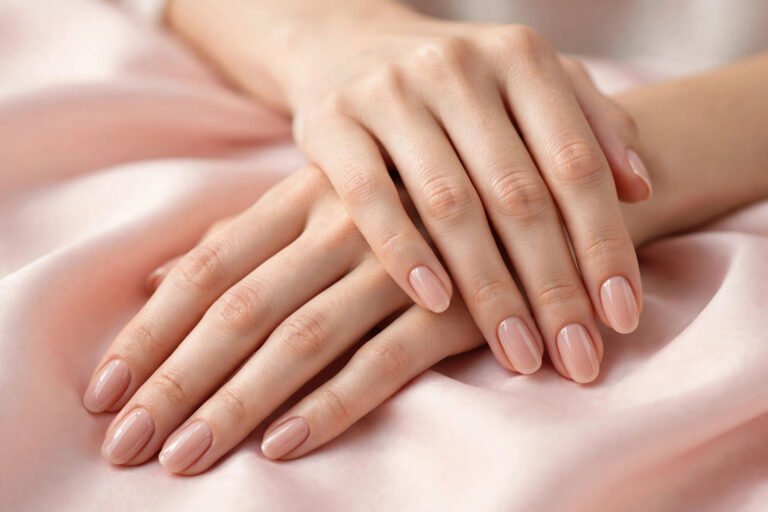
My full prep routine (the one that finally lasted 16 days)
Here’s the exact order that gave me a 16-day manicure with zero lifting:
- Push back cuticles; gently buff dead tissue off the nail plate.
- Shape nails, then lightly buff the whole plate to remove shine.
- Dehydrate every nail with alcohol on a lint-free wipe — twice if oily.
- Thin base coat with a hairline gap at the cuticle; cap the free edge; full cure.
- Two thin color coats, same gap, same cap, full cure each.
- Top coat, cap the edge, full cure. Wipe tacky layer if your system needs it.
- Cuticle oil around (not on) the fresh manicure, once everything is cured.
Related fix: if your nails are peeling underneath your gel, read related guide — a damaged plate won’t hold product no matter how good your prep is.
Once your prep is keeping every set stuck for two weeks, the fun part starts: picking a nail shape that flatters short fingers, stopping polish from bubbling, and rescuing bumpy dip-powder nails at home.
Frequently asked questions
Why do my gel nails lift after just 2 days?
Almost always prep: cuticle tissue left on the plate, skipped dehydration, or product flooded onto skin. Walk through mistakes 1–3 above first — they account for the vast majority of 2-day failures.
Does cuticle oil cause gel lifting?
Only if it gets on the nail plate before application. Oil after curing (on the skin around the nail) is fine and actually prevents dryness-related lifting. Keep oils away from the plate during prep.
Can I fix lifting without redoing the whole nail?
For a small edge lift, yes — nail glue under the edge buys you several days. For lifting across more than a third of the nail, remove and redo; patching large lifts just traps moisture.
Is it normal for one nail to always lift first?
Yes — it’s usually your dominant-hand index or middle finger, which gets the most water exposure and mechanical stress. Give that nail extra-thin coats and a careful cap.
Do I need an expensive lamp for gel to last?
You need a working lamp matched to your polish type (LED vs UV) with full cure times. An old weak lamp causes more lifting than a mid-range new one — when in doubt, replace the bulbs or the lamp before blaming your technique.
Love this? Pin it for later!