How to Trim Your Beard at Home (Beginner’s Step-by-Step)
The first home trim is where most beginners either level up their beard — or accidentally set it back a month. The fear is understandable: one wrong move with the clippers and weeks of growth disappear. But trimming at home is a skill, not a gamble, and it’s far simpler than it looks once you understand guard lengths, cutting direction, and the golden rule of beard trimming: you can always take more off, but you can’t put it back on.
This guide walks you through the entire process: the tools you need, how to prep your beard, a step-by-step trimming sequence that works for any length, how to shape the neckline and cheek lines, and the mistakes that cause 90% of trimming disasters. By the end, you’ll be able to maintain your beard between barber visits — or skip the barber entirely.
Key Takeaways
- Always start with a LONGER guard than you think you need — you can go shorter, but you can’t regrow hair instantly.
- Trim on a clean, dry beard. Wet hair hangs longer and looks deceptively long, causing beginners to cut too much.
- Trim against the direction of hair growth for an even, consistent cut.
- The neckline sits about two finger-widths above the Adam’s apple — trimming it too high is the most common shaping mistake.
- Invest in a decent adjustable trimmer; cheap tools with uneven blades cause most “patchy trim” complaints.
- Tidy up weekly, do a full shape-up every 2–4 weeks, and see a barber occasionally while you’re still learning.
The Tools You Need
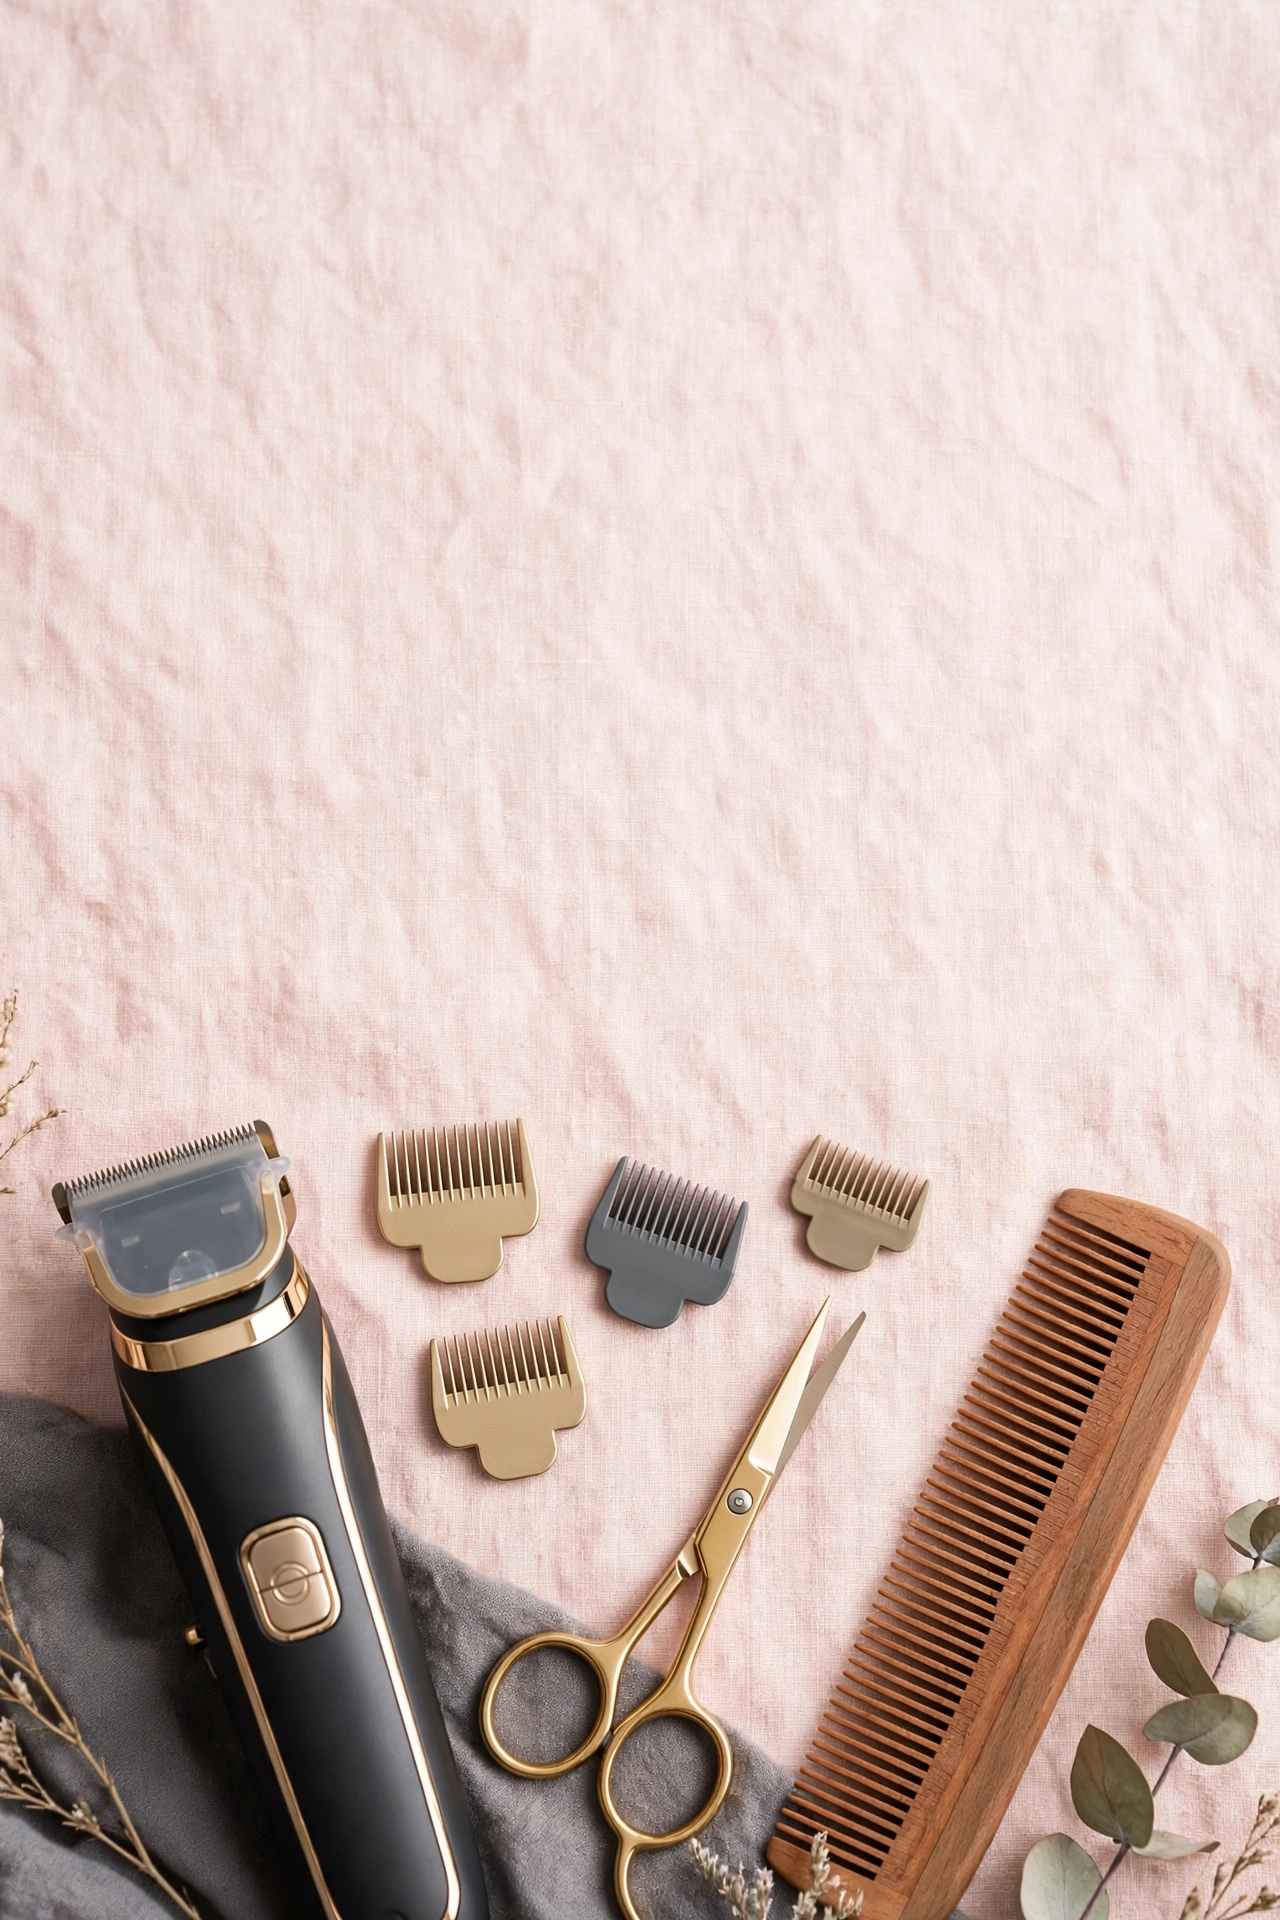
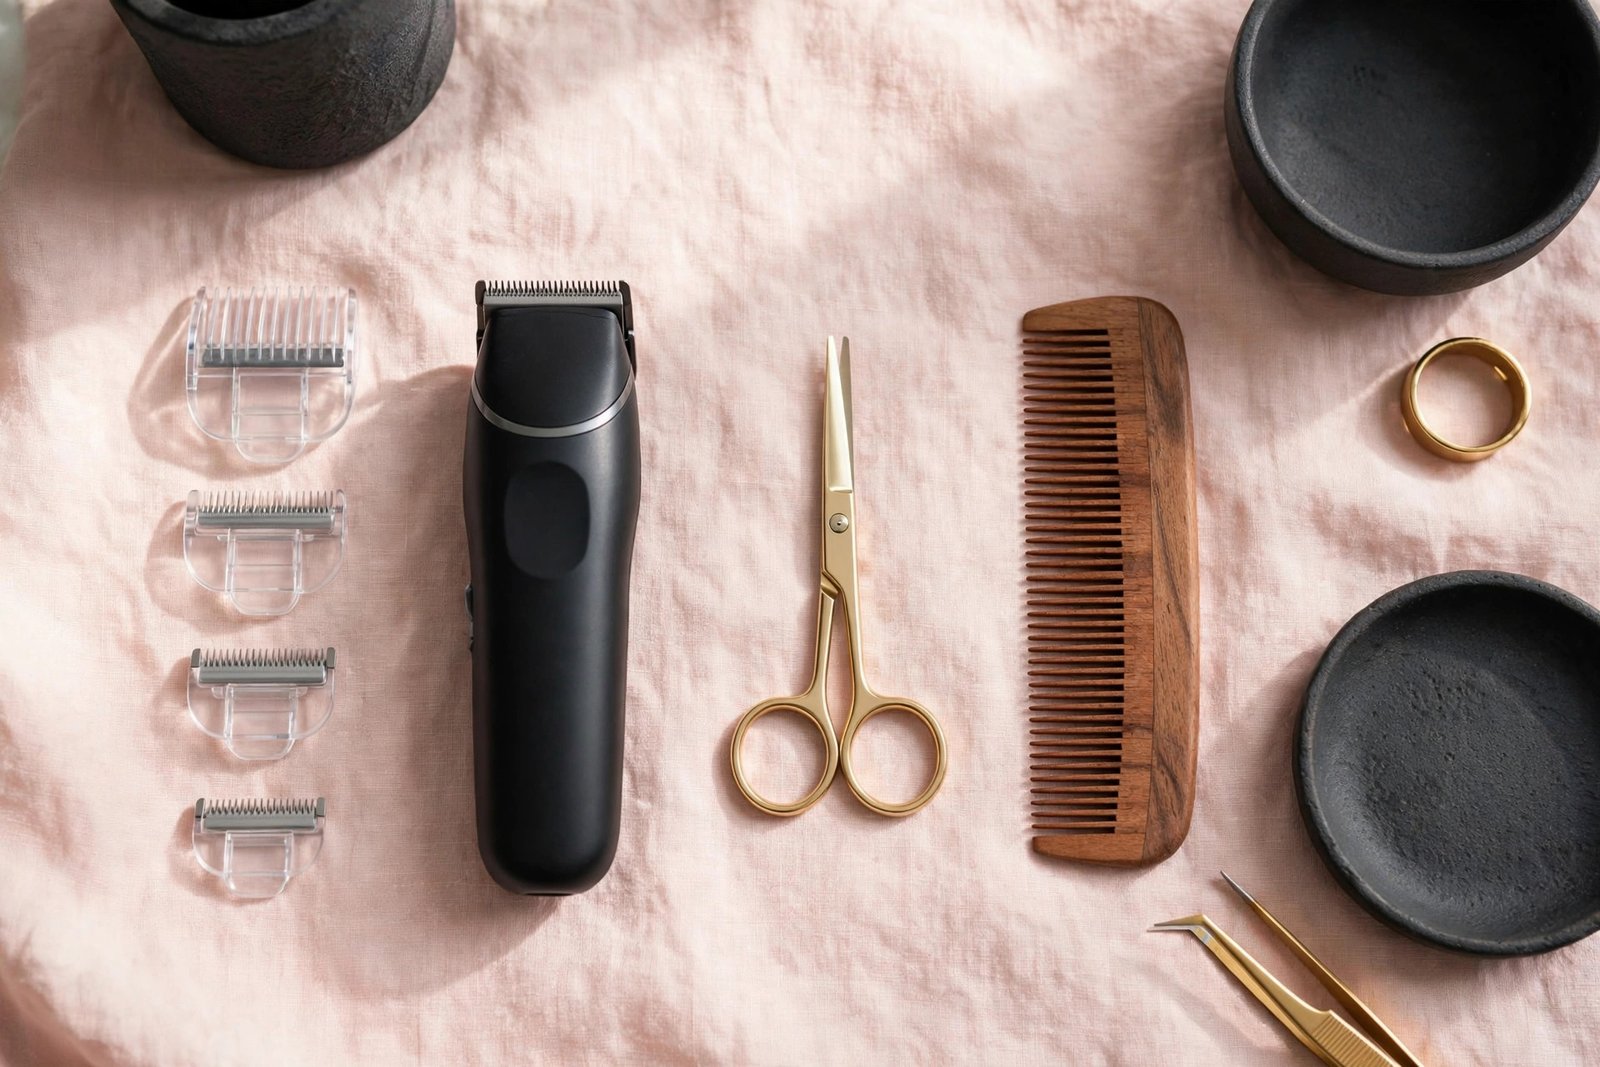
You don’t need a barber’s full kit. Three tools cover everything a beginner needs.
A Quality Beard Trimmer With Adjustable Guards
This is the one tool worth spending on. Look for a trimmer with guards ranging from about 1mm to 20mm (or numbered guards #1 through #8). Adjustable single guards are convenient; a set of clip-on guards works just as well. Cordless trimmers give you more freedom of movement around the mirror.
What matters most: sharp, even blades and guards that click on securely. A cheap trimmer with a wobbly guard cuts unevenly no matter how careful you are — most “the trimmer chewed up my beard” stories trace back to the tool, not the technique.
Beard Comb
A comb lifts the hair away from the face so the trimmer cuts evenly, and it helps you spot longer hairs that need attention. Run the comb through the beard before trimming and use it to fluff the hair up before each pass.
Small Grooming Scissors
For detail work: snipping individual stray hairs, trimming the mustache, and cleaning up edges the trimmer can’t reach precisely. A small pair with rounded or straight tips works fine — they don’t need to be expensive.
Optional but Useful
- A handheld mirror for checking the back and sides
- A beard bib or an old towel draped over the sink (trimming is messy)
- Beard oil for after the trim
Before You Trim: Prep Steps
Prep takes five minutes and prevents most beginner errors.
1. Wash and Fully Dry the Beard
Always trim on a clean, dry beard. Washing removes product buildup and dead skin that can clog the trimmer, and drying is critical: wet beard hair clings to the skin and hangs noticeably longer than it will once dry. Beginners who trim wet hair almost always cut too much, then watch the beard “shrink” into patchiness as it dries. (Use a proper face wash for men — a beginner’s guide, not bar soap, which dries out beard hair.)
2. Brush or Comb It Out
Brush the beard downward in the direction of growth, then comb it out fully. This reveals the beard’s true length and shape, detangles knots that would catch in the trimmer, and shows you exactly which areas are uneven.
3. Decide on Your Target Length
Pick your guard based on the SHORTEST area you want, not the longest. If your beard is currently uneven and you want it even, you must cut everything down to the length of the shortest section. Know this before you start so you’re not making the decision mid-trim with the clippers in your hand.
Guard length cheat sheet (approximate):
– 1–3mm: heavy stubble
– 4–6mm: short boxed beard
– 9–12mm: medium short beard
– 13–18mm: medium beard
– 20mm+: long beard territory (often better maintained with scissors)
When in doubt, start one guard longer than your target. Do a pass, check the result, then go shorter if needed.
The Step-by-Step Trimming Process
Work in this order: bulk length first, then shaping, then detail. Don’t jump between steps.
Step 1: Trim the Bulk to Even Length
Attach your chosen guard. Starting at one sideburn, move the trimmer downward along the cheek in smooth, even strokes, working against the direction of hair growth — this lifts the hair into the blades and cuts evenly. Work your way across the cheeks, chin, and jawline in sections, overlapping each pass slightly.
Go slowly. Multiple light passes beat one aggressive pass. After covering the whole beard, comb it out again and look for uneven spots — missed patches are normal on the first pass. Touch them up with the same guard.
Step 2: Blend the Sides Into the Top (Fade the Transition)
If your beard is longer on the chin and shorter on the sides (a common flattering shape), blend the transition so there’s no visible line where lengths change. Use a guard one or two steps shorter than your main length on the sides, and use an upward flicking motion at the transition zone rather than pressing flat — this feathers the lengths together instead of creating a hard step.
Step 3: Shape the Neckline
The neckline is where beginners make or break the trim. Here’s the reliable method:
- Tilt your head back and find your Adam’s apple.
- Place two fingers horizontally above it — this is your neckline boundary.
- Remove the guard (or switch to the shortest setting) and trim everything below that line, following a gentle U-shaped curve from ear to ear.
- Clean up the remaining stubble below the line with a razor or the bare trimmer for a crisp finish.
The most common mistake is setting the neckline too high — right up at the jawline. This thins the beard’s appearance and makes the face look heavier. When in doubt, keep it lower; you can always raise it next time.
Step 4: Clean Up the Cheek Lines
Decide whether you want a natural or defined cheek line. For a defined line: identify where stray hairs grow above your natural line on the cheeks, and trim them back to a line that slopes gently from the sideburn toward the corner of the mouth. Use the bare trimmer or a razor for precision.
Don’t carve the cheek line too low or too straight — an unnaturally sculpted cheek line looks obvious and grows out in an awkward pattern. Follow the beard’s natural growth boundary and just tidy it.
Step 5: Trim the Mustache
Comb the mustache straight down over the lip. Using scissors, trim along the lip line, cutting only the hairs that hang over the lip. Work in small snips — mustache hair is unforgiving because it’s front and center. If the mustache is long enough to style, trim the bulk with the trimmer first, then detail with scissors.
A useful trick: smile slightly while trimming the mustache. This stretches the skin and reveals the true lip line, so you don’t cut hairs that would have sat above it.
Step 6: Detail and Final Check
Comb the beard out one final time and inspect from multiple angles — straight on, both profiles, and chin-up. Snip any obvious stray hairs with scissors. Check symmetry by comparing left and right sides; beards are rarely perfectly symmetrical, but glaring differences should be evened out.
Finish with a few drops of beard oil or balm — which one your beard needs to soothe the skin and settle the hair. A fresh trim can leave the skin slightly irritated, and oil calms it down.
Guard Lengths Explained: Picking the Right One
Guard numbers confuse every beginner exactly once. Here’s the translation: trimmer guards are measured in millimeters (or eighths of an inch). A #1 guard leaves about 3mm of hair; each number up adds roughly 3mm. So #2 ≈ 6mm, #3 ≈ 9mm, #4 ≈ 12mm, and so on.
For maintenance trims (keeping your current length), use the guard that matches your beard’s current shortest section. For reducing length, step down one guard at a time and check between steps. Never jump from a #6 to a #2 in one move — the intermediate check is what prevents regret.
One more tip: guard measurements assume you’re cutting against the grain with the guard flat against the skin. Angling the trimmer or going with the grain leaves hair longer than the guard number suggests — useful for blending, dangerous for bulk cutting.
How Often Should You Trim?
It depends on your goal:
- Growing it out: Tidy the neckline and cheek lines weekly, but don’t touch the bulk length for the first 4–6 weeks. After that, light maintenance trims every 2–3 weeks.
- Maintaining a set length: Full trim every 1–2 weeks, neckline cleanup weekly.
- Short boxed beards: Weekly trims keep the edges crisp; short styles show growth fastest.
Fast growers may need to shift everything up a gear; slow growers can stretch the intervals. Your beard will tell you — when the edges look fuzzy and the shape is disappearing, it’s time.
7 Trimming Mistakes Beginners Must Avoid
1. Trimming Wet Hair
Wet hair looks longer than it is. Trim dry, always. This single rule prevents more disasters than any other.
2. Starting With Too Short a Guard
The classic regret. Start long, check, then go shorter. The extra two minutes of caution saves weeks of regrowth.
3. Setting the Neckline Too High
Trimming the neckline up to the jawline hollows out the beard and adds visual weight to the face. Two fingers above the Adam’s apple. Every time.
4. Over-Sculpting the Cheek Lines
Carving dramatic cheek lines looks sharp for exactly one day, then grows out in a weird pattern that’s hard to fix. Keep cheek lines natural and just tidy the strays.
5. Trimming Against a Deadline
Never do your first serious trim an hour before an event. Give yourself time, good lighting, and no pressure. Mistakes happen when you’re rushing.
6. Chasing Perfect Symmetry
Faces aren’t symmetrical, and beards won’t be either. Evening out every tiny difference usually means cutting both sides shorter and shorter. Fix the obvious, accept the minor.
7. Skipping the Barber Entirely (at First)
A professional shape-up every couple of months while you’re learning is money well spent. A barber can set the lines and proportions correctly; you maintain them at home between visits. Once you can replicate the shape yourself, you can stretch or skip the visits.
Trimming Different Beard Lengths
Short beards (stubble to 10mm): The most forgiving to trim — guards do all the work. Focus on clean edges: neckline, cheek lines, and around the lips. Weekly maintenance keeps short beards looking sharp.
Medium beards (10–30mm): Blend the sides into the chin area for shape, and watch for uneven growth — medium length shows patchiness more than short or long. Scissors become useful for evening out the bulk.
Long beards (30mm+): Trim primarily with scissors, working in small sections. Comb each section out, trim the ends, and check constantly. Long beards also benefit from layering — slightly shorter on the sides, longer on the chin — which most beginners should have a barber establish the first time.
After the Trim: Post-Trim Care
Rinse the beard to remove cut hairs (they’re itchy if left in), then apply beard oil to moisturize the freshly exposed skin. Brush the beard into shape. If you nicked yourself with the bare trimmer or razor on the neckline, a dab of moisturizer or aftershave balm handles it.
Take a photo of the finished result in good light. Seriously — having a reference photo of your beard at its best makes every future trim easier, because you can compare and match rather than guessing from memory.
Frequently Asked Questions
Should I trim my beard wet or dry?
Dry, always. Wet beard hair hangs longer and clings to the skin, so it looks significantly longer than its true length. Trimming wet is the fastest way to accidentally cut off too much.
How do I trim my beard for the first time without messing it up?
Start with a guard longer than your target length, trim the bulk evenly, and only clean up the neckline and cheek lines. Don’t attempt dramatic reshaping on your first trim. And give yourself plenty of time in good lighting — rushing causes most first-trim mistakes.
Which direction should I move the trimmer?
Against the direction of hair growth for the bulk cut — this lifts hairs into the blades for an even result. For blending and fading transitions, use an upward flicking motion. For precision edging (neckline, cheek lines), short careful strokes with the bare trimmer work best.
How do I fix a trimming mistake?
It depends on the mistake. A neckline set too high can’t be fixed except by letting it grow back — in the meantime, keep the rest of the beard neat so the high line looks intentional. An uneven bulk cut can usually be fixed by evening everything down to the shortest section. A chunk taken out of one side means blending the surrounding area down gradually. When in doubt, see a barber — fixing mistakes is literally their job.
Can I trim my beard with hair clippers instead of a beard trimmer?
You can, but beard trimmers are better suited: they’re smaller, more maneuverable around the curves of the face, and designed for coarser facial hair. Full-size hair clippers work in a pinch for bulk length reduction on longer beards, but they’re clumsy for neckline and cheek-line detail.
How often should a beginner see a barber?
Every 6–8 weeks while you’re learning is a good rhythm. The barber sets the shape; you maintain it at home between visits. Once you’re comfortable replicating the shape yourself, you can extend the interval or stop going.
Why does my beard look patchy after trimming?
Usually one of three causes: trimming wet hair (it shrinks unevenly as it dries), a dull or low-quality trimmer cutting inconsistently, or cutting against the grain too aggressively on the first pass. Comb the beard out, let it settle for a day, and reassess — many “patchy trims” look much better after 24 hours.
Conclusion
Trimming your beard at home comes down to a few principles: prep on dry hair, start with a longer guard than you think, work against the grain in even passes, keep the neckline low and the cheek lines natural, and never rush. Follow the sequence — bulk, blend, neckline, cheek lines, mustache, detail check — and you’ll get a clean, even result every time.
Remember the golden rule: you can always take more off, but you can’t put it back on. Trim conservatively, check your work, and let the beard settle before judging the result. Pair your trimming routine with the daily basics from our complete beginner’s beard grooming guide, and if you’re dealing with irritation from shaving the neckline, our guide on getting rid of razor bumps on the neck has you covered. Happy trimming.
Love this? Pin it for later!