Green Concealer for Redness: How to Use It Right
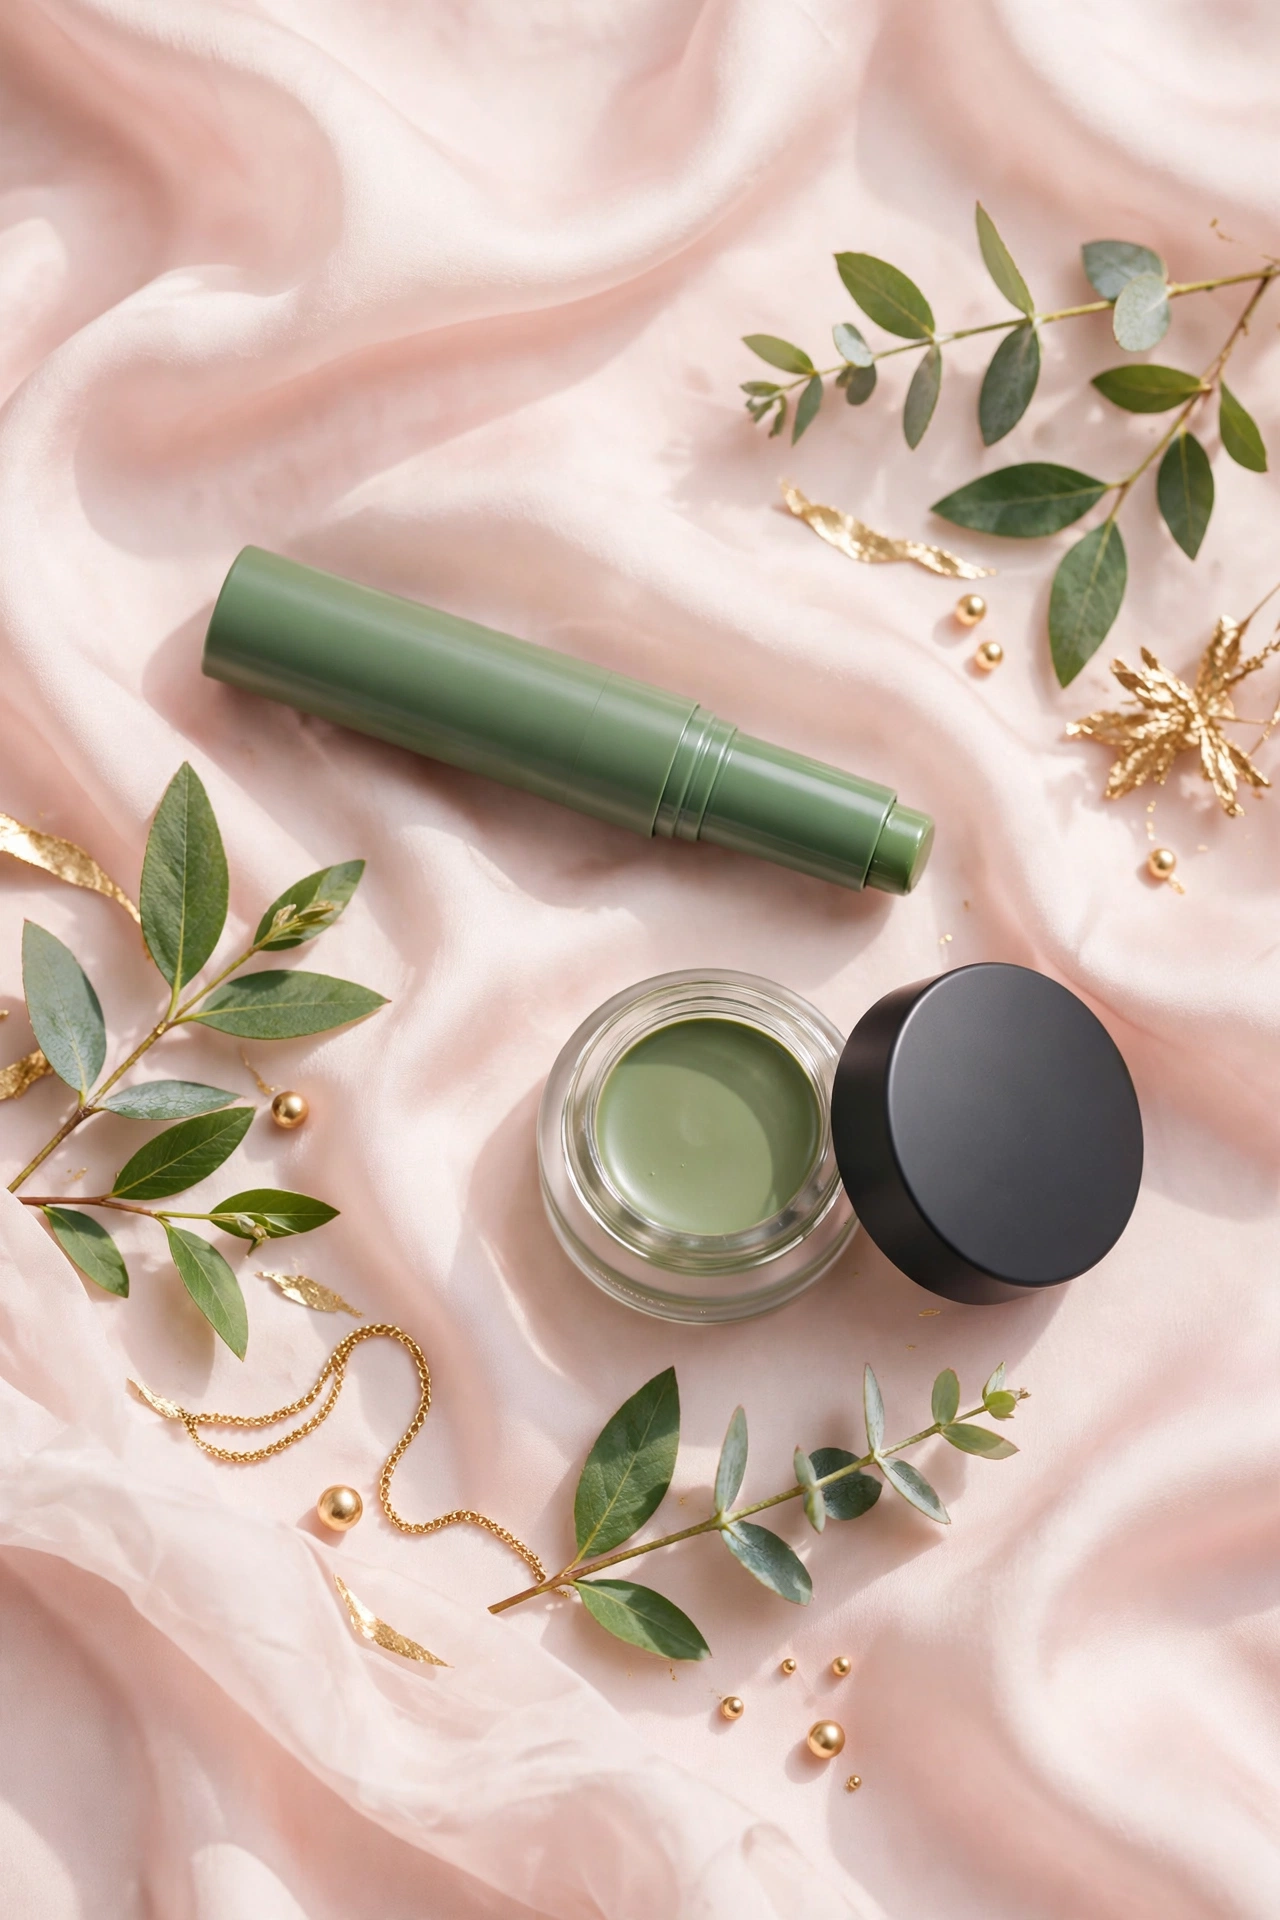
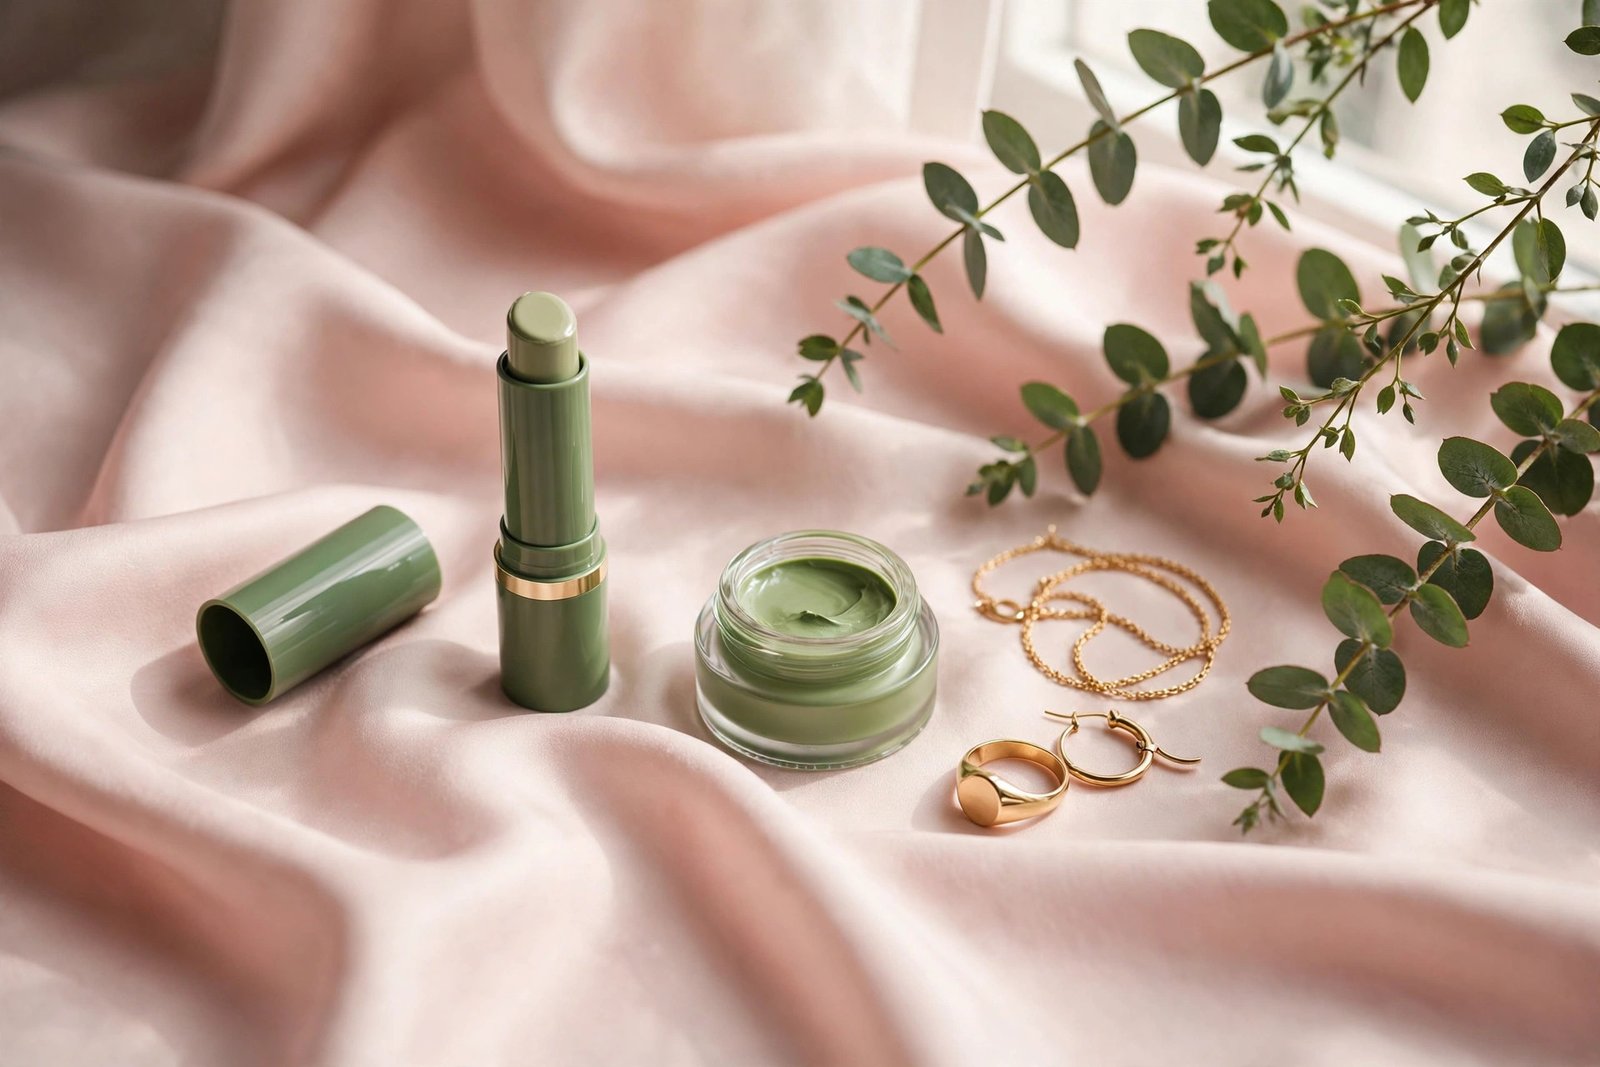
Green concealer is the single most useful color corrector for most beginners, and also the most misused. Used correctly, it erases redness from blemishes, rosacea, and irritation so completely that your foundation barely has to work. Used incorrectly, it leaves a minty cast across your cheeks that no amount of foundation fully hides.
The good news: the difference between those two outcomes comes down to three things — placement, amount, and order. Get those right and green concealer becomes invisible, taking the redness down with it. This guide covers exactly how, including which redness responds to green and which doesn’t, so you never waste product on the wrong problem.
Key Takeaways
- Green cancels red on the color wheel — it neutralizes redness but adds no coverage of its own.
- Apply green only to red areas, in a very thin layer, before foundation and concealer.
- It works on blemishes, rosacea, broken capillaries, and irritation redness — not on dark circles or brown marks.
- A rice-grain amount per area is plenty; visible green through your base means you used too much.
- Always layer a skin-tone foundation or concealer on top — green alone is never the finished look.
Why Green Works on Redness
The principle is straight from the color wheel: green and red are opposites, so when a sheer green tint sits over red skin, the two visually cancel toward neutral. Your foundation then only has to match your normal skin tone instead of fighting the redness underneath.
This is why green outperforms piling on extra concealer for red blemishes. Skin-tone concealer covers by opacity — it hides the red by burying it under beige pigment, which takes multiple layers and often looks cakey or mask-like. Green neutralizes the red first, so one thin layer of concealer on top finishes the job. The result looks like skin, not makeup.
For the full color-theory background and how the other shades work, the beginner’s color correcting guide covers every shade and its pairing.
What Green Concealer Fixes (and What It Doesn’t)
Green is a specialist. It excels at:
- Active blemishes and acne. The redness around a breakout neutralizes beautifully under green.
- Rosacea and general facial redness. Diffuse redness across the cheeks or nose responds well to a sheered-out green.
- Broken capillaries. The fine red veins around the nose and on cheeks get toned down.
- Irritation redness. Post-exfoliation pinkness, windburn, or the redness after a treatment calms visually under green.
- Sunburn. Mild sunburn redness can be neutralized (though skincare recovery matters more than makeup here).
Green does not fix:
- Dark circles. Circles are blue or purple — green’s opposite is red, so green does nothing useful there and can look muddy. Peach or orange is the right shade.
- Brown or dark spots. Hyperpigmentation and acne marks that have healed to brown need peach or orange, not green.
- Yellow or sallow skin. That’s purple’s job.
- Texture. Green changes color, not surface. Raised blemishes will still catch light and shadow.
A common beginner error is reaching for green on any imperfection. Check the color first: if it’s red, green helps. If it’s brown, blue, or purple, you need a different shade.
How to Use Green Concealer: Step-by-Step
Step 1: Start with prepped skin. Moisturize and let it absorb. Corrector applied over dry, flaky skin grabs unevenly and looks patchy — especially over blemishes where skin is already textured.
Step 2: Place a tiny amount directly on the redness. For a blemish, a rice-grain-sized dot is enough. For diffuse redness across the cheeks, use a thin layer sheered out with a fingertip or damp sponge. Keep the green strictly on red areas — extending it onto normal skin creates a green cast you’ll have to cover.
Step 3: Press, don’t rub. Use a fingertip or damp sponge to press and stipple the product into place, diffusing the edges into surrounding skin. Rubbing drags the pigment off the spot you’re trying to neutralize and streaks it across healthy skin.
Step 4: Wait about 30 seconds. Let the corrector set so your next layer doesn’t drag it around.
Step 5: Layer foundation, then concealer, on top. Apply your normal foundation over the corrected areas with a light hand — press or stipple rather than buffing aggressively. If any redness still peeks through, add a small dab of skin-tone concealer just on that spot. The green should be completely invisible at this point.
Step 6: Set lightly. A small amount of translucent powder over the corrected spots keeps everything in place through the day.
How Much Green Is Enough?
Almost certainly less than you think. Green corrector is concentrated pigment, and the most common beginner mistake is applying a visible layer of mint that then requires heavy foundation to hide — defeating the entire purpose.
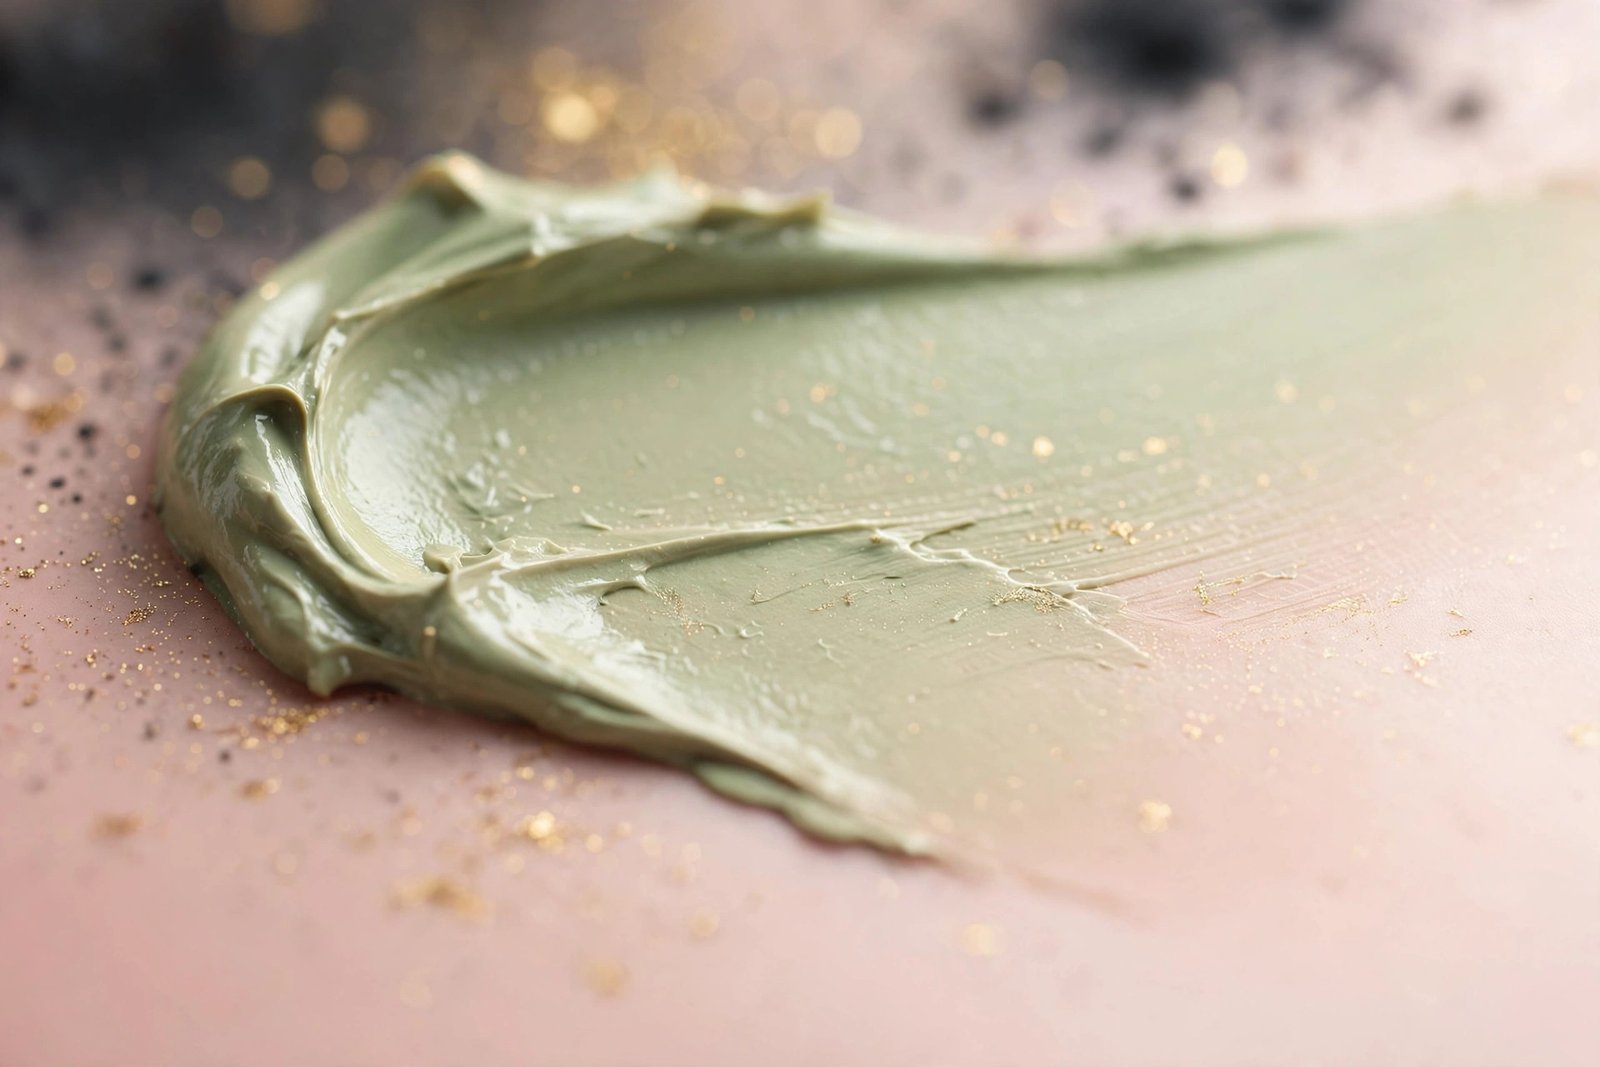
A useful test: after applying your foundation and concealer, look closely. If you can see any green tint, you used too much corrector, not too little base. Sheer the corrector out next time rather than adding more foundation. The ideal application is so thin that the green is barely visible before your base goes on — a whisper of tint, not a coat of paint.
For stick correctors, which deposit more product, warm the tip on the back of your hand first and pick up the melted product with a fingertip. This gives you far more control than drawing directly on the face.
Green Corrector vs Green-Tinted Primer
You’ll see both on shelves, and they serve different needs:
- Green corrector (cream, liquid, or stick) is concentrated and targeted. Use it when you have specific red areas — blemishes, rosacea patches, redness around the nose.
- Green-tinted primer is sheer and all-over. Use it when your whole face runs pink or flushed and you want to take the edge off before foundation.
Many people with rosacea actually prefer the primer format for daily wear and keep a corrector for bad days or specific spots. If you’re choosing between the two products and aren’t sure which your routine needs, the breakdown of color corrector vs concealer differences clarifies how each product type fits into a routine.
Mistakes That Make Green Concealer Obvious
Applying it after foundation. Corrector must touch the discoloration directly. Over foundation, it just sits as a green film that your concealer then has to hide — backwards and ineffective.
Using it on non-red discoloration. Green on brown acne marks or dark circles creates a dull, muddy tone. Match the shade to the color you’re canceling.
Skipping the skin-tone layer on top. Green alone, no matter how well blended, reads as a greenish tint. It only disappears under foundation or concealer.
Over-applying on textured blemishes. Thick product over a raised blemish emphasizes the bump. Keep it thin; color correction can’t fix texture, and heavy layers make texture more obvious.
Setting with too much powder. A heavy powder layer over corrector plus concealer plus foundation cakes up fast, especially around blemishes. One light dusting is enough.
Frequently Asked Questions
Will green concealer work on rosacea?
Yes — rosacea redness is exactly what green neutralizes. For diffuse rosacea across the cheeks, a green-tinted primer or a sheered-out layer of green corrector works better than spot application. On flare-up days, layer a targeted green corrector on the worst areas, then foundation over the top. Keep formulas fragrance-free and non-comedogenic if your skin is reactive.
Can I use green concealer every day?
You can, as long as the formula suits your skin and you’re removing it thoroughly at night. There’s nothing inherently damaging about daily corrector use. That said, if you find yourself needing heavy green coverage every single day, it’s worth addressing the underlying redness with skincare (gentle barrier-supporting products, and a dermatologist for persistent rosacea) rather than only covering it.
Does green concealer expire or go bad on blemishes?
Like all cream and liquid makeup, green corrector can harbor bacteria once opened — generally replace it every 6–12 months. Applying any makeup over active blemishes with dirty fingers or an unwashed sponge can introduce bacteria, so use clean hands or a clean tool, and don’t share the product. A non-comedogenic formula is the safer choice for acne-prone skin.
What goes on top of green concealer — foundation, concealer, or both?
Both, in that order: foundation evens everything out, then concealer adds targeted coverage only where redness still shows. Most of the time, after proper green application, you’ll need surprisingly little of either. If you’re going for a minimal look, you can skip foundation and just tap concealer over the corrected spots.
My green concealer shows through my foundation. What am I doing wrong?
You’re using too much green, or your foundation layer is too sheer in that spot. First try using less corrector — sheer it out until it’s barely visible before base. If the redness is severe enough that a thin layer doesn’t neutralize it, build the corrector in two sheer layers (letting the first set) rather than one thick one.
Conclusion
Green concealer is simple once you respect its three rules: only on red areas, the thinnest layer possible, and always under your foundation and concealer — never over. Master that and redness from blemishes, rosacea, and irritation disappears under a base that looks like skin instead of spackle.
If redness is your main concern, one green product is genuinely all you need from the color-correcting world. And if you’re dealing with other discoloration too — dark circles, dullness, dark spots — the full beginner’s guide to every corrector shade will help you build out the rest of your shade wardrobe. For the complete layering order from primer to powder, the detailed corrector vs concealer comparison walks through every step. Just remember: match the shade to the color, keep it thin, and let your base do the finishing.
Love this? Pin it for later!