Blow Dryer Brush Guide: Salon Blowouts for Beginners
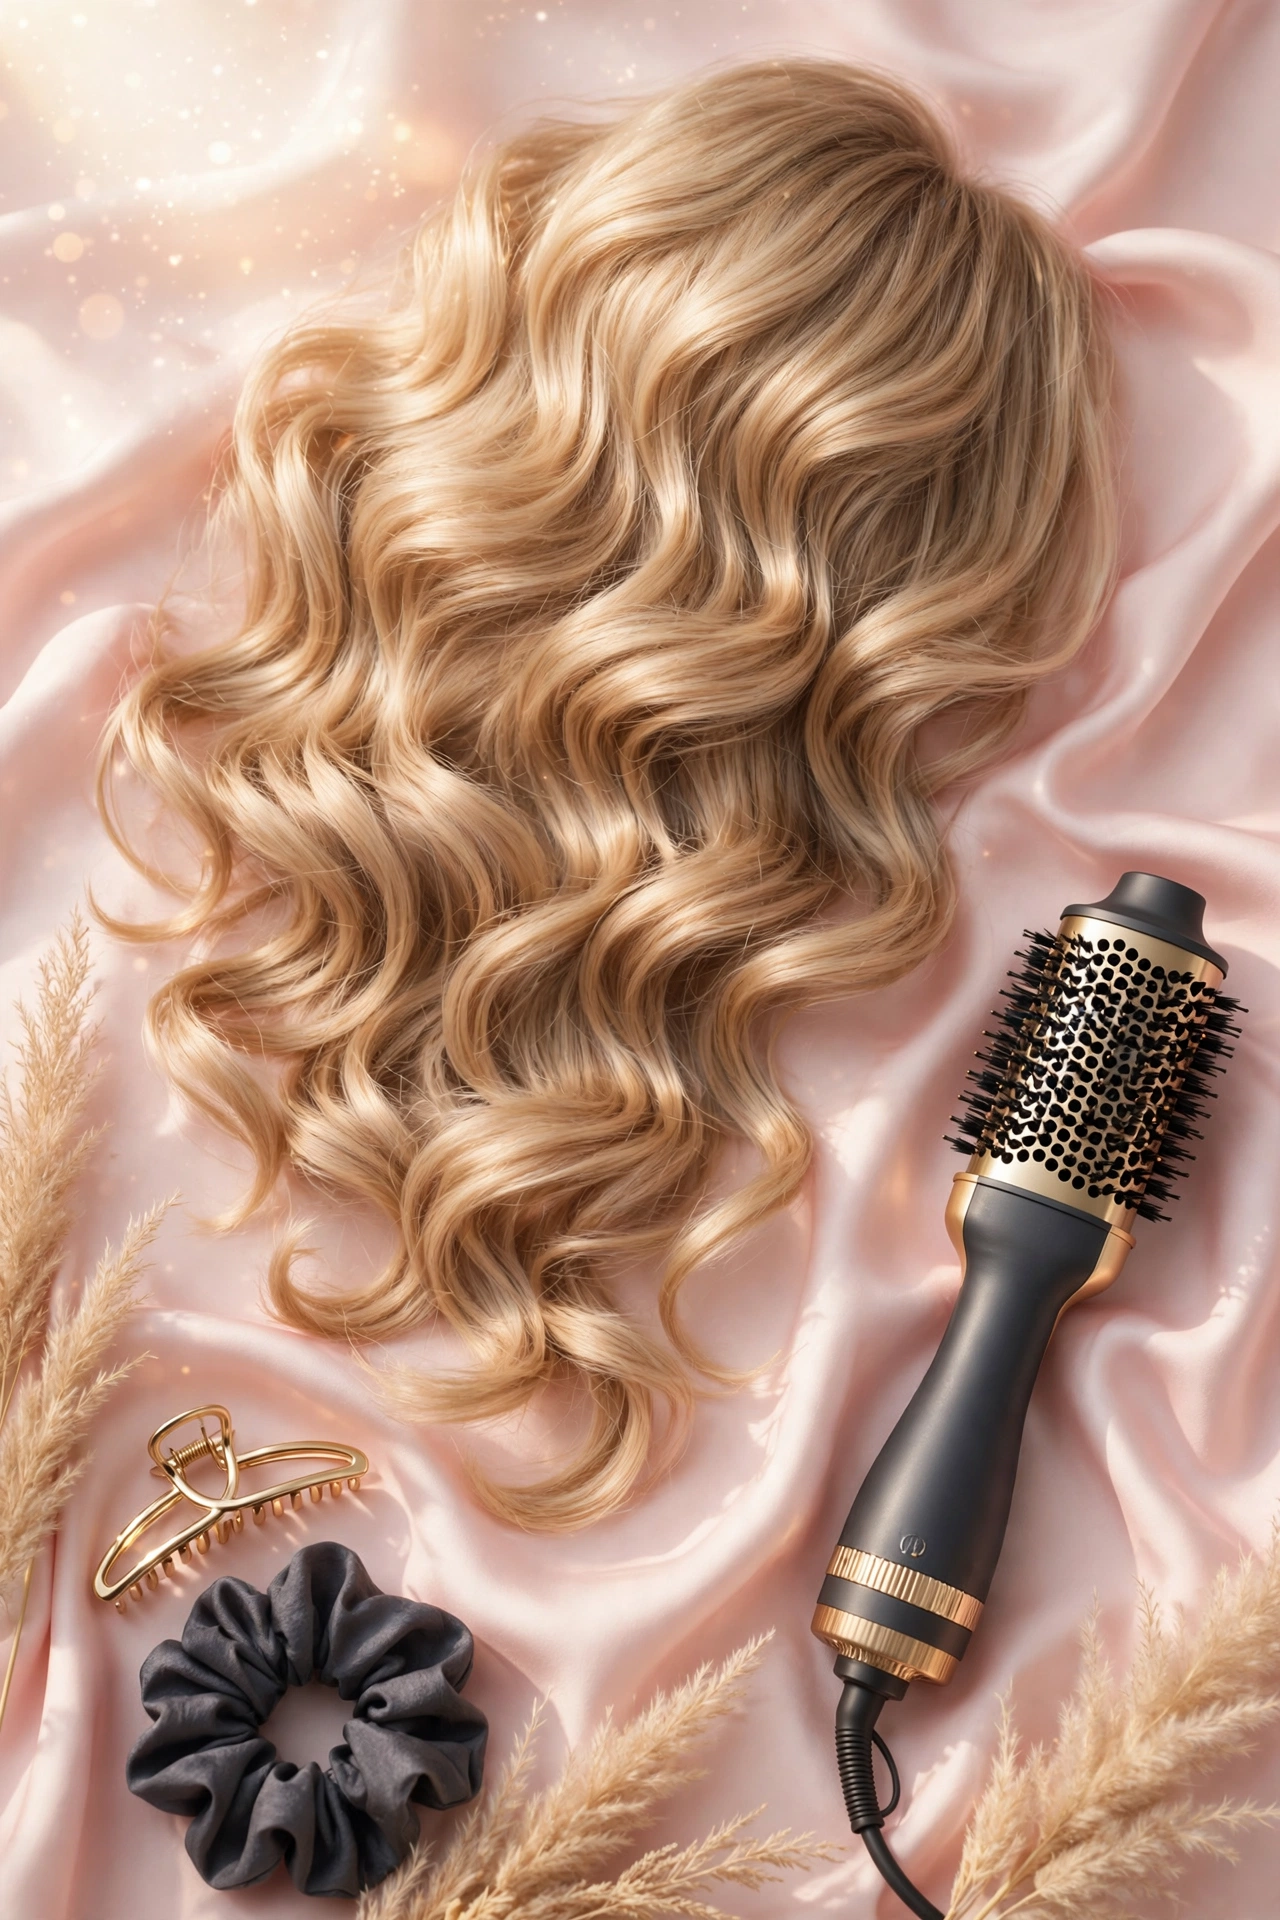
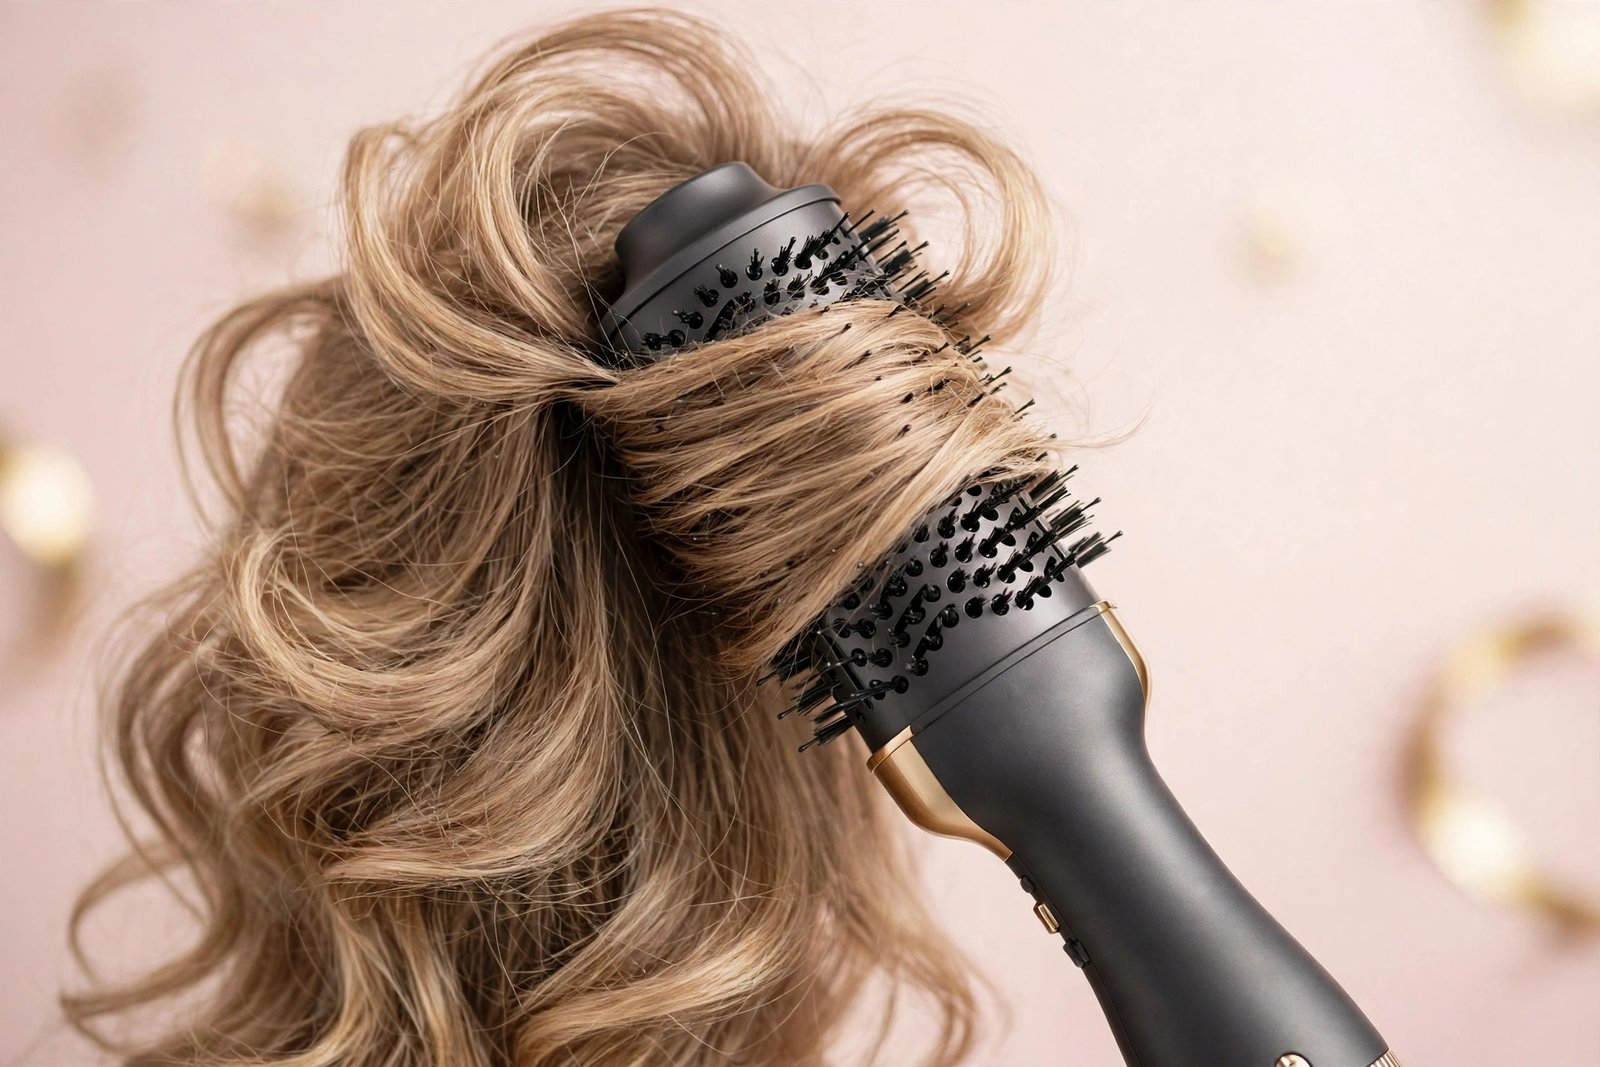
If you have ever walked out of a salon amazed at how bouncy, smooth, and shiny your hair looked — only to never quite recreate it at home — a blow dryer brush might be the tool that changes that. It combines a round brush and a blow dryer into one device: hot air flows through the bristles while you brush, drying and styling your hair at the same time. The result is a salon-style blowout without juggling a brush in one hand and a dryer in the other.
This beginner guide covers how to choose the right tool, the step-by-step technique, heat settings by hair type, and the common mistakes that flatten your volume before you even leave the bathroom.
Key Takeaways
- Start with hair that is roughly 70–80% dry (towel-dried and detangled) — never use a blow dryer brush on soaking wet hair.
- Always use heat protectant before any hot tool, including dryer brushes.
- Work in small sections, rolling the brush from roots to ends for volume and smoothness.
- Use lower heat settings for fine hair and higher for thick hair; most beginners should start on medium.
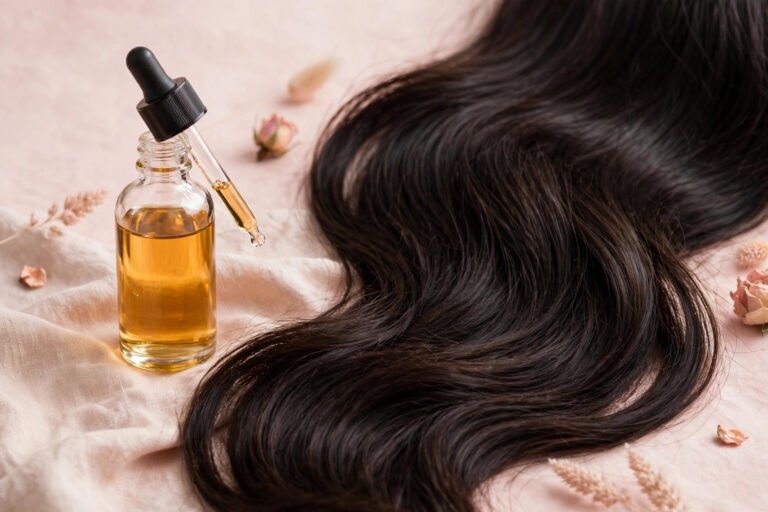
- Finish with a cool shot and a light serum for shine that lasts all day.
What Is a Blow Dryer Brush and Who Is It For?
A blow dryer brush (sometimes called a hot air brush) is a heated styling tool shaped like a round brush with airflow vents. As you brush through sections of hair, hot air dries and shapes the hair at the same time — smoothing the cuticle, adding volume at the roots, and creating soft bends or curls at the ends.
It is best suited for:
- Medium to long hair — most barrel sizes work best on hair past chin length.
- Hair that is naturally wavy or frizzy — the brush smooths texture while drying.
- Anyone who struggles with a brush + dryer combo — one hand is free, which makes the whole process far easier for beginners.
- Volume seekers — root lift is the signature result of this tool.
It is less ideal for very short hair (there is not enough length to wrap around the barrel) and for people who want pin-straight hair — a flat iron straightening guide is better for that finish.
If you are still deciding which heated tool deserves a spot in your routine, this beginner overview of hot hair tools compares dryer brushes with flat irons, curling irons, and classic dryers so you can pick the right one first.
Choosing the Right Blow Dryer Brush
Not all dryer brushes are the same. A few features matter more than others:
Barrel Size
- Small barrel (1–1.5 inches): best for short to medium hair, adding curl and definition at the ends.
- Medium barrel (2 inches): the all-rounder — works on medium to long hair for smooth blowouts with body.
- Large barrel (2.5–3 inches): best for long hair and for the smoothest, straightest blowout finish.
For most beginners with medium-length hair, a 2-inch barrel is the sweet spot.
Heat Settings
Look for a tool with at least two heat settings plus a cool option. Multiple settings let you match heat to your hair type — fine hair should use low to medium heat, while thick hair may need high. If the tool only has one very hot setting, fine or damaged hair will be overexposed on every pass.
Bristles
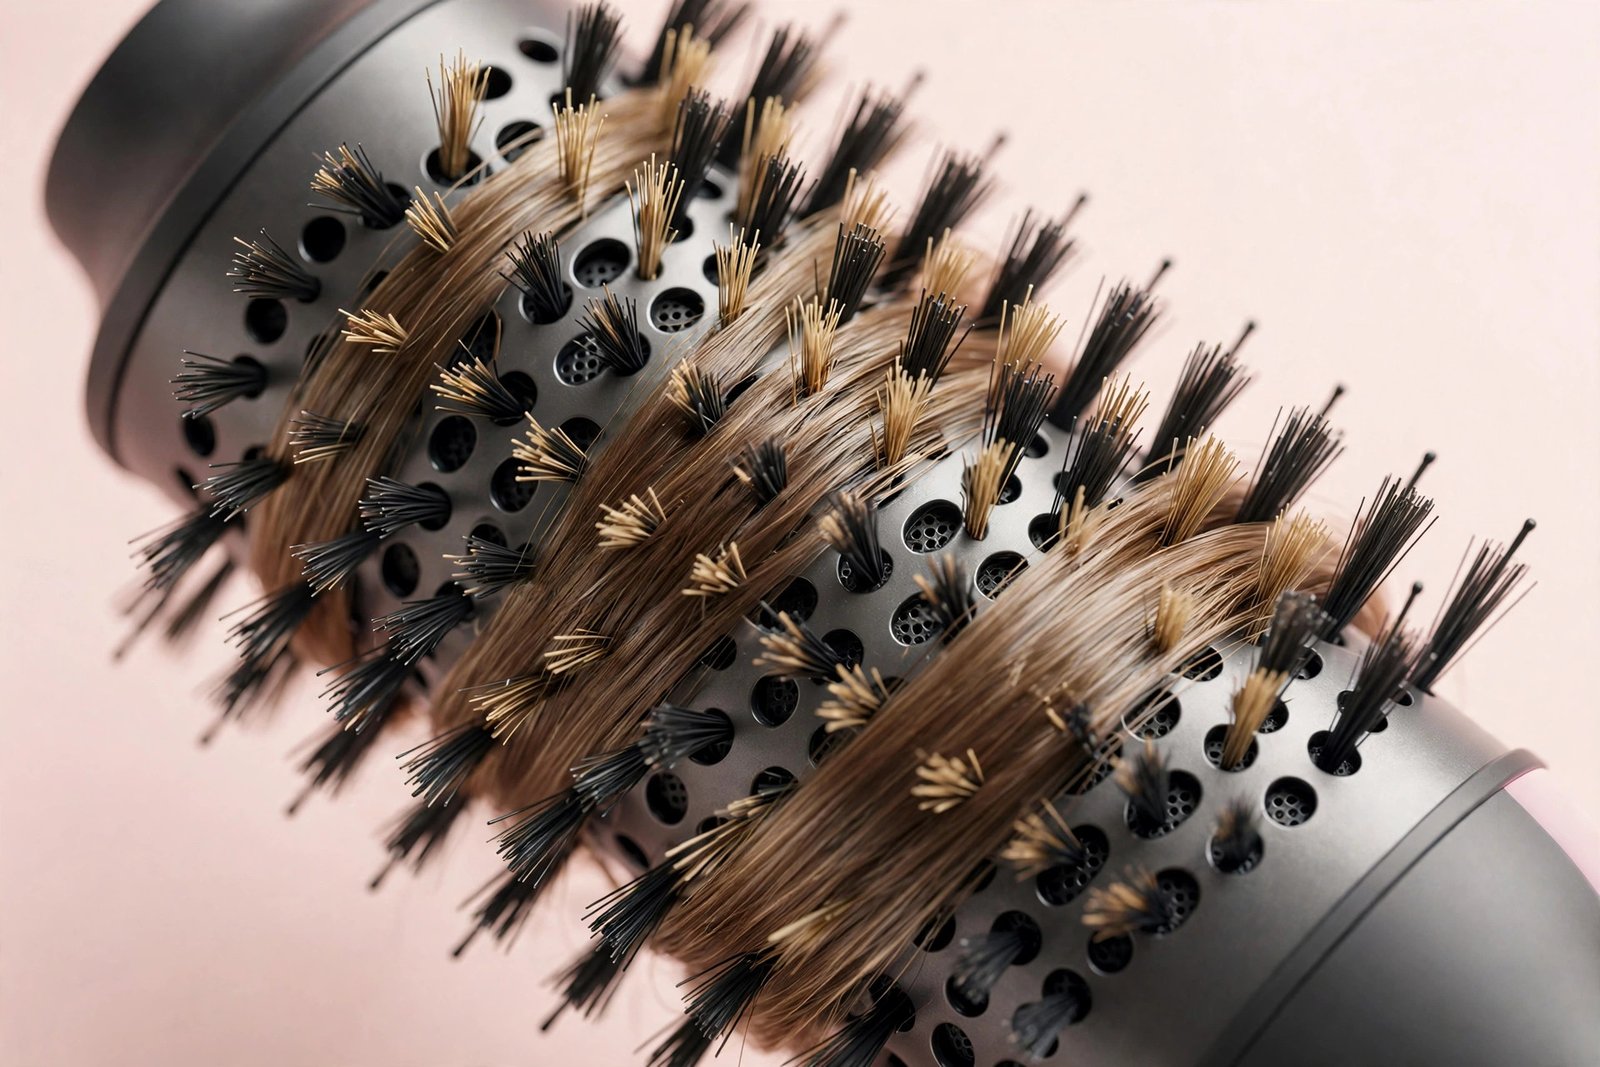
Mixed bristles (nylon pin bristles for detangling plus boar-style tufted bristles for smoothing and tension) give the best grip and shine. Oval barrels are more forgiving for beginners than round ones because they smooth larger sections at once.
Heat Safety: Read This Before You Start
A blow dryer brush is still a hot tool, and the same heat safety rules apply as with any heated styler:
- Apply heat protectant first. Dryer brushes expose hair to sustained heat, and protectant reduces the damage every single pass. For more on why this step is non-negotiable, see this guide on heat protectant.
- Never start on soaking wet hair. Rough-dry (or let air-dry) until hair is about 70–80% dry first. Styling dripping-wet hair with a heated brush forces you to make many slow passes, which means far more total heat exposure.
- Match heat to hair type. Fine or damaged hair: low to medium heat. Medium hair: medium. Thick or coarse hair: medium to high. There is no reason to use the highest setting unless your hair genuinely needs it.
- Keep it moving. Don’t park the brush in one spot — constant motion prevents hot spots.
- Limit frequency. Two to three blowouts per week is plenty for most hair types. Daily high-heat styling accumulates damage even when the technique is good.
The Step-by-Step Blowout Technique
Step 1: Prep Your Hair
Start with freshly washed, conditioned hair. Apply a leave-in conditioner or detangling spray plus heat protectant from mid-lengths to ends. Gently squeeze out excess water with a microfiber towel (regular towels create friction and frizz), then rough-dry with a regular dryer or air-dry until hair is about 70–80% dry. Comb through to remove all tangles.
Step 2: Section Your Hair
Divide hair into 4–6 sections with clips — bottom layer first, working up. This is the step beginners skip and professionals never do. Small sections mean each pass gets full tension and airflow, which means fewer passes and less heat exposure overall.
Step 3: Start at the Nape
Release the bottom section. Place the brush at the roots underneath the section, and roll it through to the ends while the hot air flows. For maximum volume, lift the section up and away from the scalp as you roll — directing roots upward is what creates that bouncy lift.
Step 4: Roll From Roots to Ends
Work the brush through each subsection in one smooth motion: place near the roots, roll down to the ends, and slightly turn the brush at the very ends to create that soft inward curve. Keep tension on the hair — tension is what smooths the cuticle and creates shine. If a section needs a second pass, let it cool briefly first.
Step 5: Work Upward Through All Sections
Release the next section and repeat, moving from the nape toward the crown. For the crown and front sections, over-direct the hair — pull sections forward and up while drying — for extra lift at the top of the head.
Step 6: The Cool Shot Finish
Once everything is dry and styled, switch to the cool setting and run the brush through your hair once more, or just blast the cool air. Cool air helps set the style and adds shine by closing the cuticle. This is the salon secret most people skip at home.
How to Get Volume That Lasts All Day
Volume that falls flat by noon is the number one complaint from beginners. These fixes address the most common causes:
Dry the Roots First and Lift Upward
Roots hold the weight of the style. If roots dry flat against the scalp, no amount of end-curling will save the volume. Always lift sections upward at the roots and direct the airflow there first.
Don’t Overload on Product
Heavy styling creams, oils applied before drying, and too much leave-in weigh hair down. Keep pre-styling products light — a volumizing mousse at the roots before drying is the classic blowout secret, and it genuinely works for most hair types.
Let Hair Cool in Position
After styling each section, don’t immediately toss your head or brush through it. Let sections cool for a minute — hair sets its shape as it cools. Some people loosely pin the crown sections up while they cool for extra lift.
Refresh, Don’t Redo
If volume drops later in the day, flip your head upside down and massage the roots with your fingertips, or use a small amount of dry shampoo at the roots. Re-heating styled hair with the brush adds cumulative damage for diminishing returns.
Common Beginner Mistakes (and How to Fix Them)
- Using it on soaking wet hair: takes forever, fries the ends, and gives a limp result. Get to 70–80% dry first.
- Skipping sections: leads to missed spots, uneven texture, and going over the same areas repeatedly.
- Too much heat on fine hair: if your hair feels crunchy or looks dull after styling, drop the heat setting.
- No heat protectant: the fastest way to accumulate damage with this tool.
- Rushing the ends: the ends need the brush to roll through smoothly — dragging or yanking causes split ends over time.
- Styling dirty hair: product buildup and oil weigh hair down and the brush can’t grip properly. Start clean.
Caring for Your Tool
Clean the bristles regularly — hair and product buildup reduce airflow and make the tool work harder (and hotter) to get the same result. Most dryer brushes have a removable filter or lint trap; clear it after every few uses. Let the tool cool completely before storing, and never wrap the cord tightly around the barrel.
Frequently Asked Questions
Can a blow dryer brush replace my regular blow dryer?
For styling purposes, often yes — especially if your main goal is smooth, voluminous hair. But a regular dryer is still faster for simply rough-drying hair before styling, and many people use both: dryer to get to 80%, dryer brush to finish and style.
Is a blow dryer brush damaging to hair?
Any hot tool can cause damage with poor technique, but a dryer brush used correctly — heat protectant, right temperature, mostly-dry starting point — is generally gentler than flat ironing because the heat is distributed through airflow rather than direct plate contact. That said, daily use at high heat will still cause cumulative damage.
How long should a blowout take with a dryer brush?
For medium-length hair, expect 15–25 minutes once you have the technique down. Beginners often take 30–40 minutes the first few times. The biggest time-saver is starting with hair that is already 70–80% dry.
Can I use a blow dryer brush on curly hair?
Yes — it is one of the best tools for stretching and smoothing curly or coily hair before further styling. Use a detangling pass first, work in small sections, and consider a smoothing serum. For defined curls instead, a curling iron beginner tutorial gives more control over curl shape.
Why is my hair frizzy after using a blow dryer brush?
The usual culprits: hair was too wet when you started, the heat was too high for your hair type, you skipped heat protectant, or you didn’t finish with cool air. Also check that you are keeping tension on the hair — loose, slack passes don’t smooth the cuticle.
Conclusion
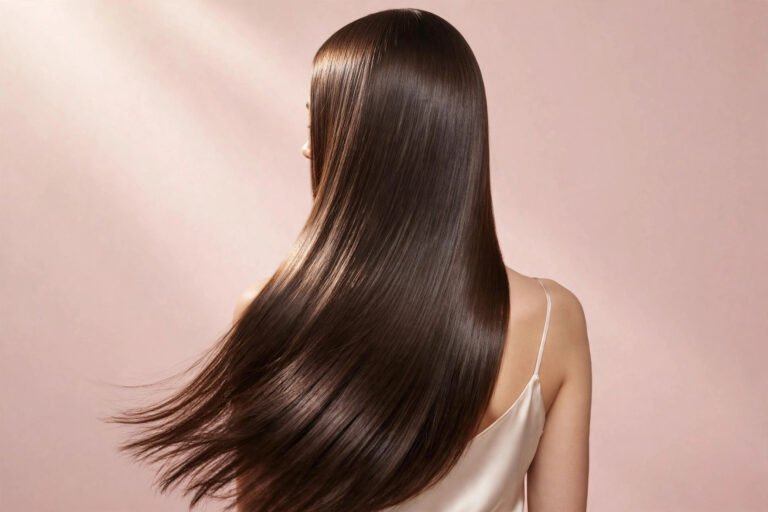
A blow dryer brush earns its place in a beginner’s kit because it makes the salon blowout genuinely achievable at home: one tool, one hand free, and a technique that is mostly about sectioning and patience. Start with mostly-dry hair, protect it with heat protectant, match the heat to your hair type, and always finish with cool air.
Give yourself a few practice sessions — the first blowout is rarely perfect, but by the third or fourth you will have the rhythm down. And once the blowout is mastered, you can explore the rest of the hot tool world with confidence through this beginner’s guide to hot hair tools.
Love this? Pin it for later!