How to Blend Gray Hair with Highlights
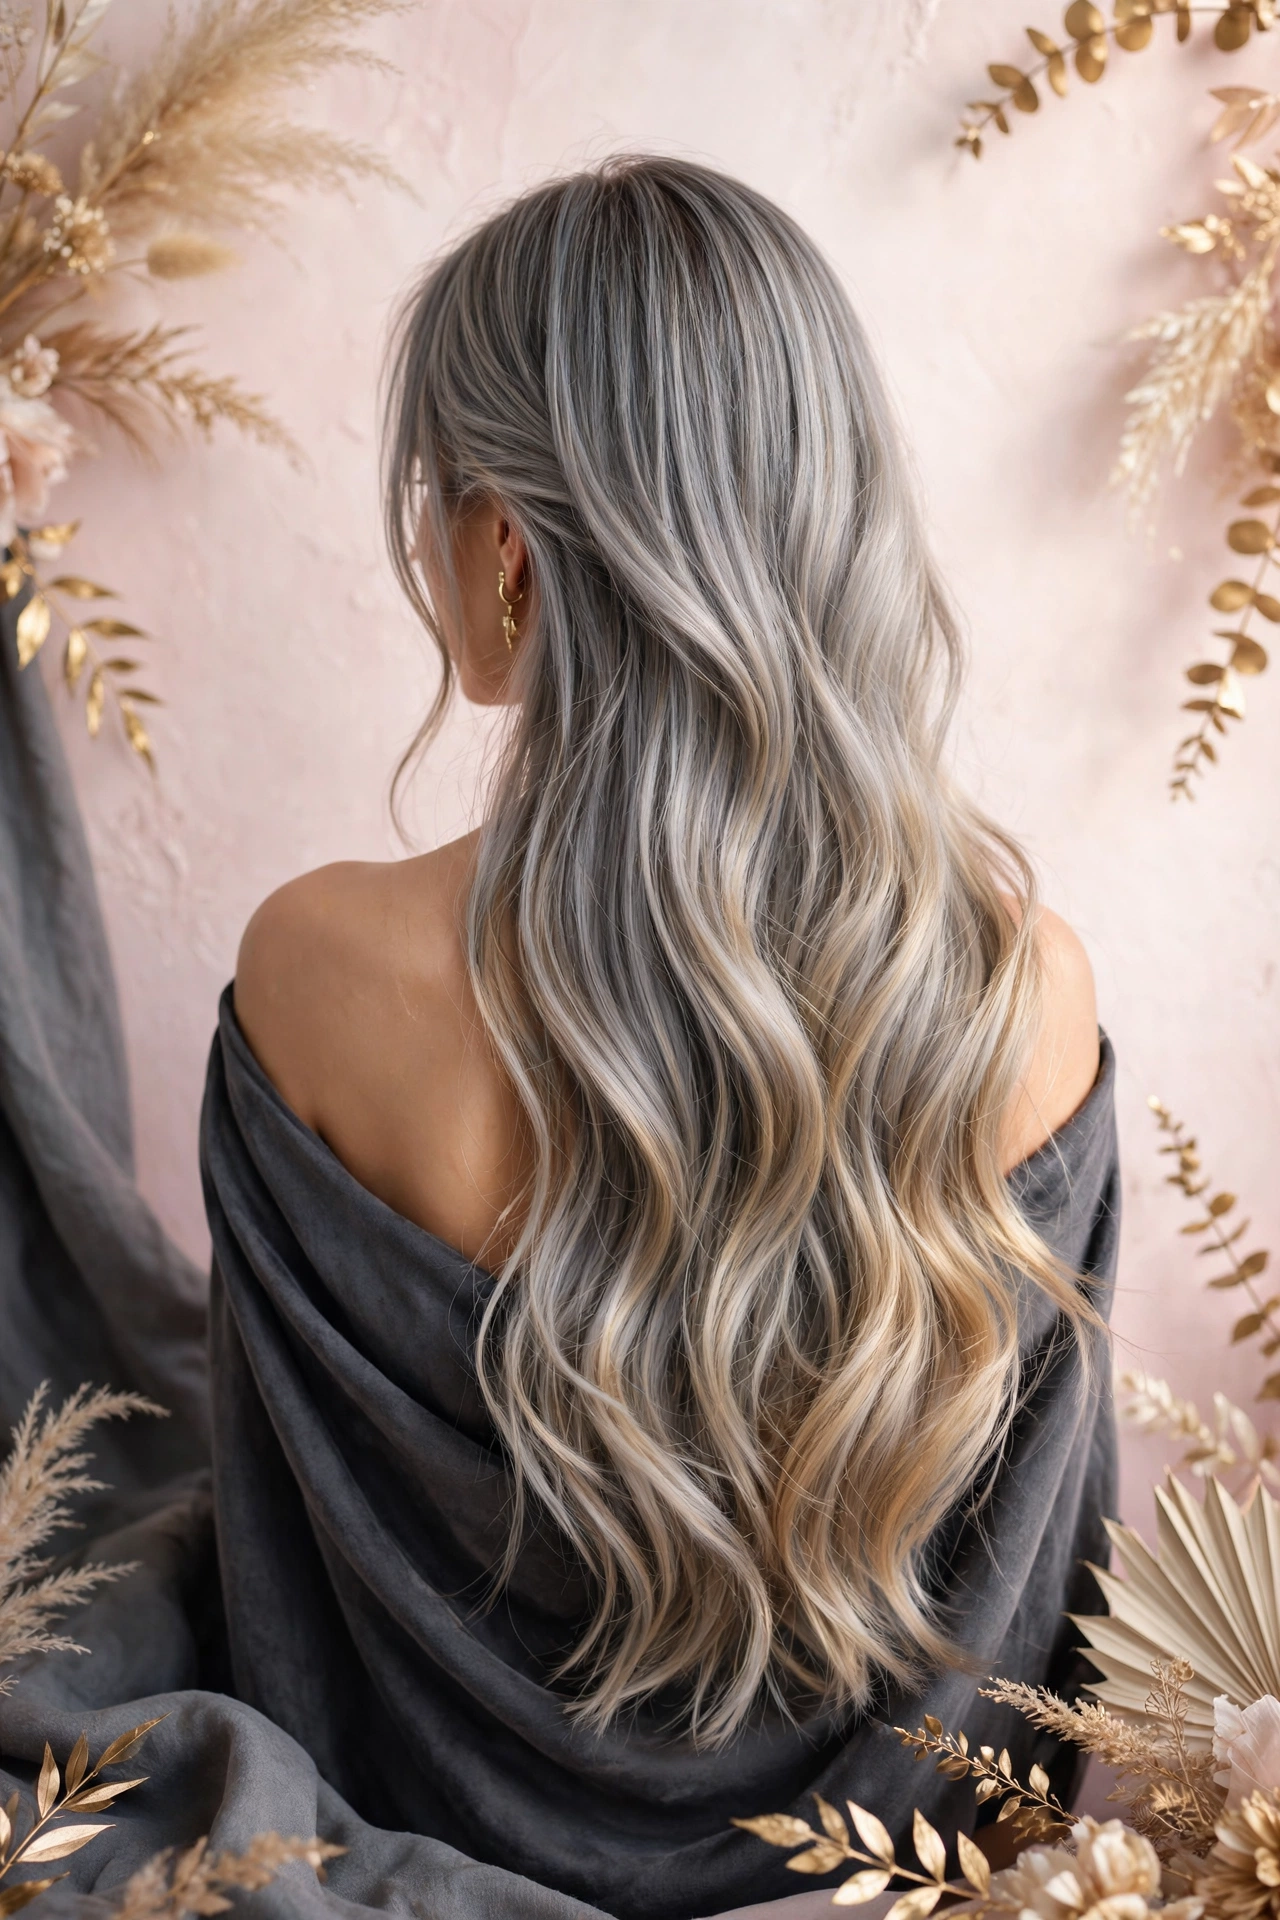
There’s a middle path between dyeing every three weeks and going fully gray — and it’s one of the most requested techniques in salons today. Blending gray hair with highlights uses strategically placed lighter pieces to weave your natural silver into your overall color, so regrowth stops looking like a harsh line and starts looking like dimension. The result: softer grow-out, longer stretches between appointments, and hair that looks intentional rather than neglected. It isn’t the same as full coverage, and it isn’t a one-size-fits-all solution — but for the right hair, it’s the smartest way to manage gray. To understand the full landscape of options first, start with covering gray at home pillar.
Key Takeaways
- Gray blending uses highlights (and sometimes lowlights) to weave natural silver into your color so regrowth looks soft, not stark.
- It works best for 20–60% gray on light to medium hair; very dark or nearly-all-gray hair is harder to blend convincingly.
- Blending doesn’t eliminate gray — it disguises it by making the silver look like intentional dimension.
- Expect maintenance every 8–12 weeks rather than every 3–4, but it costs more per salon visit than a root touch-up.
- The technique pairs beautifully with a gray transition plan or as a long-term low-maintenance color strategy.
- At-home upkeep (purple shampoo, glosses, root powders) keeps the blend looking fresh between appointments.
What Does “Blending Gray” Actually Mean?
Traditional gray coverage aims to make gray disappear: every strand gets coated with opaque color, and the result is uniform from root to tip. Gray blending takes the opposite approach. Instead of hiding the silver, the colorist adds highlights in tones close to your natural gray — silvers, ash blondes, light neutrals — so your real regrowth melts into the pattern instead of standing out against it.
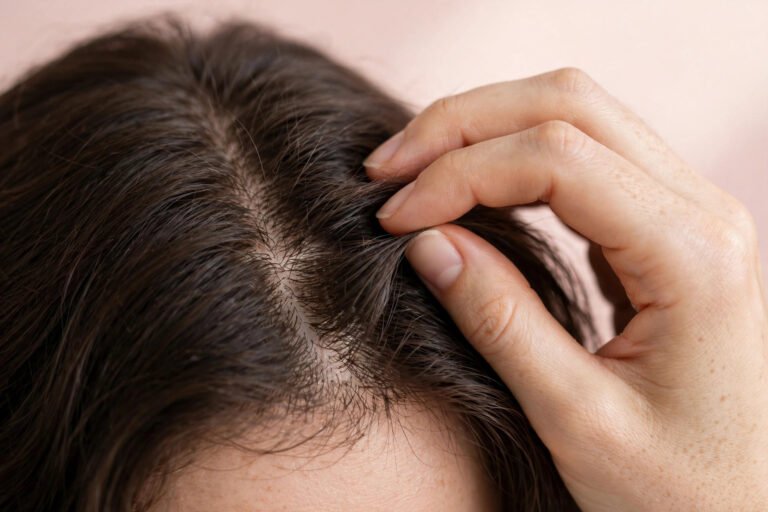
Think of it this way: if your hair is 40% gray and the other 60% is colored dark brown, every week of regrowth creates a visible silver band. But if those lengths are woven with silver-blonde highlights, new gray roots just look like more of the same pattern. The demarcation line — that harsh stripe where dye meets regrowth — essentially disappears.
Colorists sometimes call this “gray camouflage” or “gray blending,” and it’s technically a form of dimensional color. It can be done with foils, balayage, babylights, or a combination, depending on your hair and goals.
Who Is This Technique Best For?
Gray blending isn’t universal. It shines brightest in specific situations:
The sweet spot: 20–60% gray
If roughly a fifth to three-fifths of your hair is gray, there’s enough silver to work with but enough pigmented hair left to build contrast around. Below 20%, you may not need blending at all — a few face-framing highlights or root touch-ups usually suffice. Above 60–70%, there isn’t much natural pigment left to create dimension with, and the conversation shifts toward either embracing the silver or committing to full coverage.
Light to medium natural colors
Blending works most convincingly on hair that’s naturally light brown, dark blonde, or medium brown. The highlights added are typically only a few levels lighter than the base, so the lift required is modest and the damage is minimal. On naturally very dark (near-black) hair, creating silver-toned highlights requires significant lightening, which means more damage, more maintenance, and a result that can look artificial rather than seamless.
People who want lower maintenance, not no maintenance
This is the key mindset shift. Blending stretches salon visits from every 3–4 weeks to every 8–12 weeks — a genuine lifestyle upgrade. But it’s not a one-and-done service. The highlights need refreshing as they grow out and tone fades, and the overall color needs periodic toning to stay harmonious. If you’re hoping to never see a colorist again, the honest path is the one covered in the gray transition guide.
The grow-out bridge
Blending is also the most elegant way to transition from full dye to natural gray. Rather than enduring a harsh grow-out line for months, highlights progressively lighten the dyed lengths to meet your incoming silver. Many colorists build a deliberate “blend-down” plan across 2–3 appointments for clients going gray.
Highlights vs. Full Coverage: An Honest Comparison
Before booking, it helps to see the trade-offs clearly:
| Factor | Gray Blending (Highlights) | Full Gray Coverage |
|---|---|---|
| Regrowth appearance | Soft, diffused — looks like dimension | Harsh line — obvious when it grows |
| Salon frequency | Every 8–12 weeks | Every 3–4 weeks |
| Cost per visit | Higher (partial or full highlight service) | Lower (single-process root touch-up) |
| Annual cost | Often similar or lower (fewer visits) | Adds up with monthly visits |
| Damage level | Moderate (lightener on sections) | Low-moderate (deposit-only color on roots) |
| Gray visibility | Softened but still present | Fully hidden until regrowth |
| Grow-out flexibility | Excellent — easy to transition to gray | Difficult — harsh line to grow out |
Neither is objectively better; they serve different goals. Full coverage is right if you want zero visible gray and don’t mind frequent appointments. Blending is right if you prefer a softer, more forgiving grow-out and fewer salon days.
The Main Highlight Techniques for Gray Blending
Not all highlights blend gray equally. Here’s what colorists actually use and when:
Foil highlights: the classic workhorse
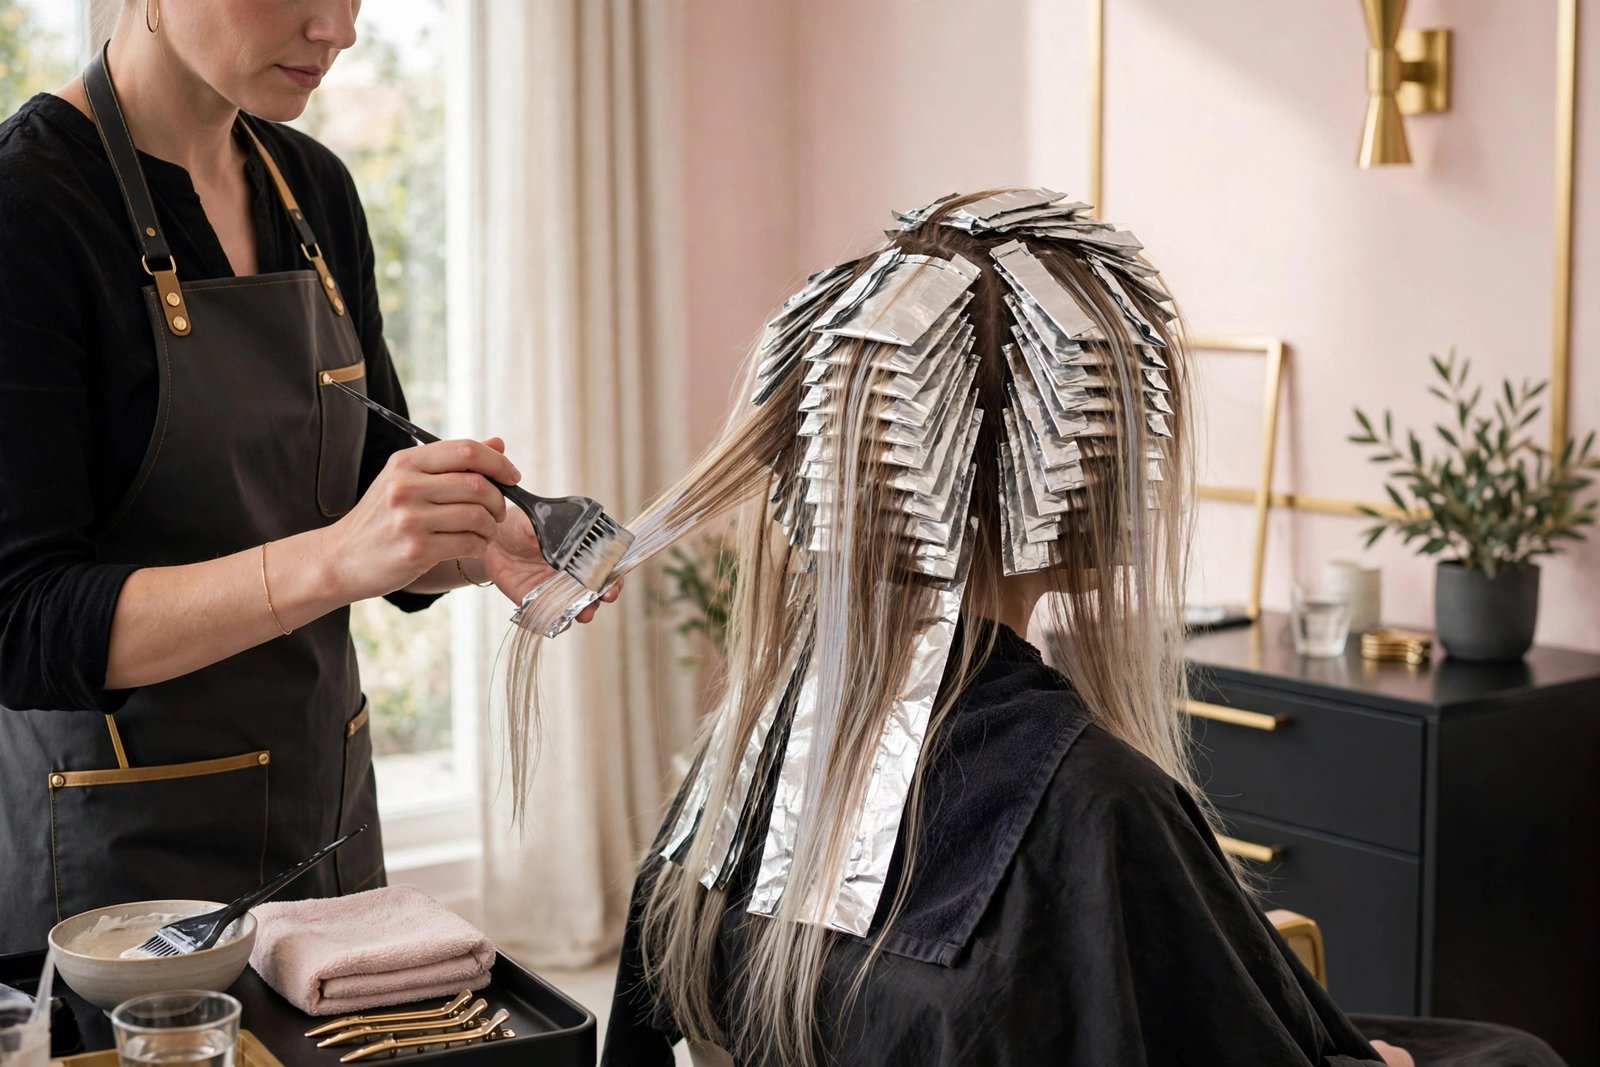
Traditional foil highlights — thin, woven sections lightened from root to tip — give the most precise, even blending. They’re the go-to when gray is concentrated in specific areas (like the temples or part line), because the colorist can place highlights exactly where the silver is heaviest. Foils also lift the most evenly, which matters for creating clean silver and ash tones.
Best for: Even, all-over gray distribution and clients who want the most seamless result.
Balayage: the soft, lived-in option
Balayage’s hand-painted, graduated application creates a softer, more diffused blend with no harsh lines at the root. Because the color starts slightly away from the scalp, grow-out is exceptionally forgiving. The trade-off: balayage doesn’t lift as light at the root as foils do, so it’s less effective for dense gray right at the scalp.
Best for: Clients who prioritize low maintenance and a natural, sun-kissed blend over maximum gray camouflage.
Babylights: fine detail work
Babylights are ultra-fine, delicate highlights that mimic the subtle lightness of a child’s hair. Around the face and part line — where gray shows most — babylights weave silver tones so finely that individual gray hairs become indistinguishable from the pattern. Colorists often combine babylights at the front with broader techniques through the back.
Best for: Face-framing gray, fine hair, and anyone who wants the most natural-looking result.
Lowlights: the secret weapon
Here’s what surprises most people: blending gray isn’t only about adding lightness. When hair is heavily highlighted or naturally going light, colorists add lowlights — strands darkened to match your remaining pigmented hair — to recreate the depth that makes gray look like dimension instead of washed-out paleness. Lowlights are often what separates an okay blend from a stunning one, because contrast is what reads as “expensive hair.”
Gray-specific toners and glosses
After lightening, the highlights are toned — usually to ash, silver, or cool neutral shades that harmonize with natural gray. A clear or silver gloss adds shine (gray hair is often duller) and helps the blend look cohesive. Toners fade over 4–6 weeks, which is why at-home toning maintenance matters.
What to Ask Your Colorist
Gray blending is a skill-dependent service — the result depends heavily on the colorist’s experience with this specific technique. These questions help you find the right person and set the right plan:
- “How much of my gray can you realistically blend?” A good colorist will assess your gray percentage and be honest about what blending can and can’t do for your hair.
- “Can you show me photos of gray-blending work you’ve done?” Look for results on hair similar to yours in color, texture, and gray level — not just generic blonde balayage photos.
- “What’s the grow-out plan?” The best colorists think in phases: what appointment one looks like, what appointment two adjusts, and how the blend evolves over 6–12 months.
- “How will you handle my specific gray pattern?” Gray concentrates differently — some people gray at the temples first, others along the part. Placement should follow your pattern.
- “What will maintenance cost and how often?” Get the full picture: highlight refreshes, toner appointments, and at-home products.
Red flag: a colorist who promises your gray will be “completely gone” with blending. Blending softens and disguises — anyone promising invisibility is overselling.
Maintenance and Upkeep: The Real Schedule
Here’s what life with blended gray actually looks like:
- Highlight refresh: Every 8–12 weeks, depending on how fast your hair grows and how contrast-heavy your blend is. Softer balayage blends can stretch to 12–16 weeks.
- Toner refresh: Every 4–6 weeks, either as a quick standalone salon gloss or with an at-home toning product. Toner fade is the main reason blends start looking brassy or dull between highlight appointments.
- Trims: Every 8–10 weeks as usual — blended ends show damage more visibly than solid color, so keeping ends healthy matters.
- Annual cost reality: Fewer visits, but each visit costs more than a root touch-up. Most people find the annual spend roughly comparable to monthly single-process color, sometimes slightly less — with dramatically fewer hours in the salon chair.
At-Home Maintenance Between Visits
What you do at home determines how good the blend looks two months in versus right after your appointment:
- Purple or silver shampoo once or twice a week neutralizes the yellow and brassy tones that develop in both natural gray and lightened highlights. Don’t overuse it — too much can dull the hair or leave a lavender cast.
- A clear or silver gloss treatment every 3–4 weeks (at-home gloss products exist) refreshes shine and tone between salon visits.
- Root touch-up powder in a matching ash or silver tone can soften the very front hairline and part between appointments. A powder compact is often all you need — see the roundup of the best root touch-up products.
- Deep conditioning weekly. Lightened hair plus naturally drier gray texture means moisture is non-negotiable. A weekly mask keeps the blend looking smooth rather than straw-like.
- Heat protectant, always. Lightened hair is more vulnerable to heat damage, and damaged highlights turn brassy faster.
If you’re still coloring at home between salon visits, make sure you understand the basics of dyeing hair at home so you don’t accidentally create bands of overlapping color that complicate your next blend appointment.
Common Mistakes That Ruin a Blend
- Going too blonde, too fast. Over-lightening in one session to “match the gray” creates damage and a harsh, wig-like result. Good blending is gradual — sometimes across two appointments.
- Skipping the toner. Raw lifted highlights are warm and brassy; without proper toning, they’ll clash with cool silver regrowth instead of blending with it.
- Ignoring your natural pattern. A generic full head of highlights doesn’t address concentrated gray at the temples or part. Placement must follow where your gray actually is.
- Using the wrong at-home shampoo. Sulfate-heavy or clarifying shampoos strip toner fast. A color-safe, sulfate-free formula protects your investment.
- Expecting zero maintenance. Blending is low-maintenance, not no-maintenance. The people happiest with it are the ones who budget for toner refreshes and at-home care.
Frequently Asked Questions
Can I blend gray hair with highlights at home?
It’s strongly discouraged. Gray blending requires precise placement, controlled lightening, and professional toning — getting any of these wrong at home leads to banding, breakage, or brassy orange patches that cost more to fix than the salon visit would have. At-home color is better suited to all-over single-process dye; leave blending to a colorist experienced with gray.
How long does gray blending last?
The highlight pattern itself lasts until it grows out — typically looking good for 8–12 weeks before a refresh. The toner that makes it look seamless fades faster, in 4–6 weeks, which is why glosses and purple shampoo are part of the routine.
Does blending gray hair damage it more than regular dye?
Lightener is more aggressive than deposit-only dye, so yes, there’s more chemical stress per visit — but you’re doing it far less often. Most colorists consider the overall annual damage comparable to or less than monthly permanent color, especially since blending typically avoids overlapping lightener on previously lightened hair.
What if my hair is very dark?
Dark hair can be blended, but be realistic: reaching silver-blonde tones from near-black requires significant lifting, often across multiple sessions, with real damage risk. Many colorists recommend a gradual approach — starting with caramel and ash-brown dimension rather than jumping straight to silver — or suggest that dark-haired clients consider whether full coverage or a different strategy suits them better.
Will blending work if I’m already mostly gray?
Above roughly 70% gray, there isn’t enough pigmented hair left to build meaningful contrast, and blending starts to look like you’re dyeing gray hair lighter for no reason. At that point, most colorists recommend either embracing the silver fully — the gray transition guide FAQ covers that path — or switching to a silver-enhancing gloss routine instead of highlights.
Conclusion
Blending gray hair with highlights is the art of making your silver look deliberate. Done well, it erases the harsh regrowth line, stretches salon visits to every couple of months, and gives you dimension that looks expensive rather than neglected. The keys are honest expectations (it softens gray, it doesn’t erase it), the right colorist (ask for gray-blending experience specifically), and consistent at-home maintenance (toning products and moisture). Whether you use blending as a long-term low-maintenance color strategy or as a graceful bridge toward going fully natural, it’s one of the smartest moves in modern gray-hair care. And if you’re weighing it against simply avoiding dye altogether, compare it with covering gray without dye to find the approach that fits your lifestyle best.
Love this? Pin it for later!