Best At Home Brow Lamination Kit: Top Picks for Beginners (2026)
Doing brow lamination at home can save you $50 to $150 per salon visit — but only if you start with the right kit. The market is full of options, from ultra-cheap sachets with no instructions to professional-grade sets designed for trained artists. For a beginner working with chemicals near your eyes for the first time, choosing a kit with clear steps, gentle-enough formulations, and proper safety guidance matters far more than saving a few dollars.
In this guide, you will learn exactly what a complete at-home brow lamination kit must include, the features that separate beginner-friendly kits from risky ones, our top picks for first-timers, and the safety notes on kit chemicals that every buyer should read before clicking “add to cart.”
If you have already chosen your kit, our step-by-step guide to brow lamination at home walks you through the full process safely. And once your brows are laminated, the brow lamination aftercare tips guide will help you protect your results.
What a Complete Brow Lamination Kit Must Include
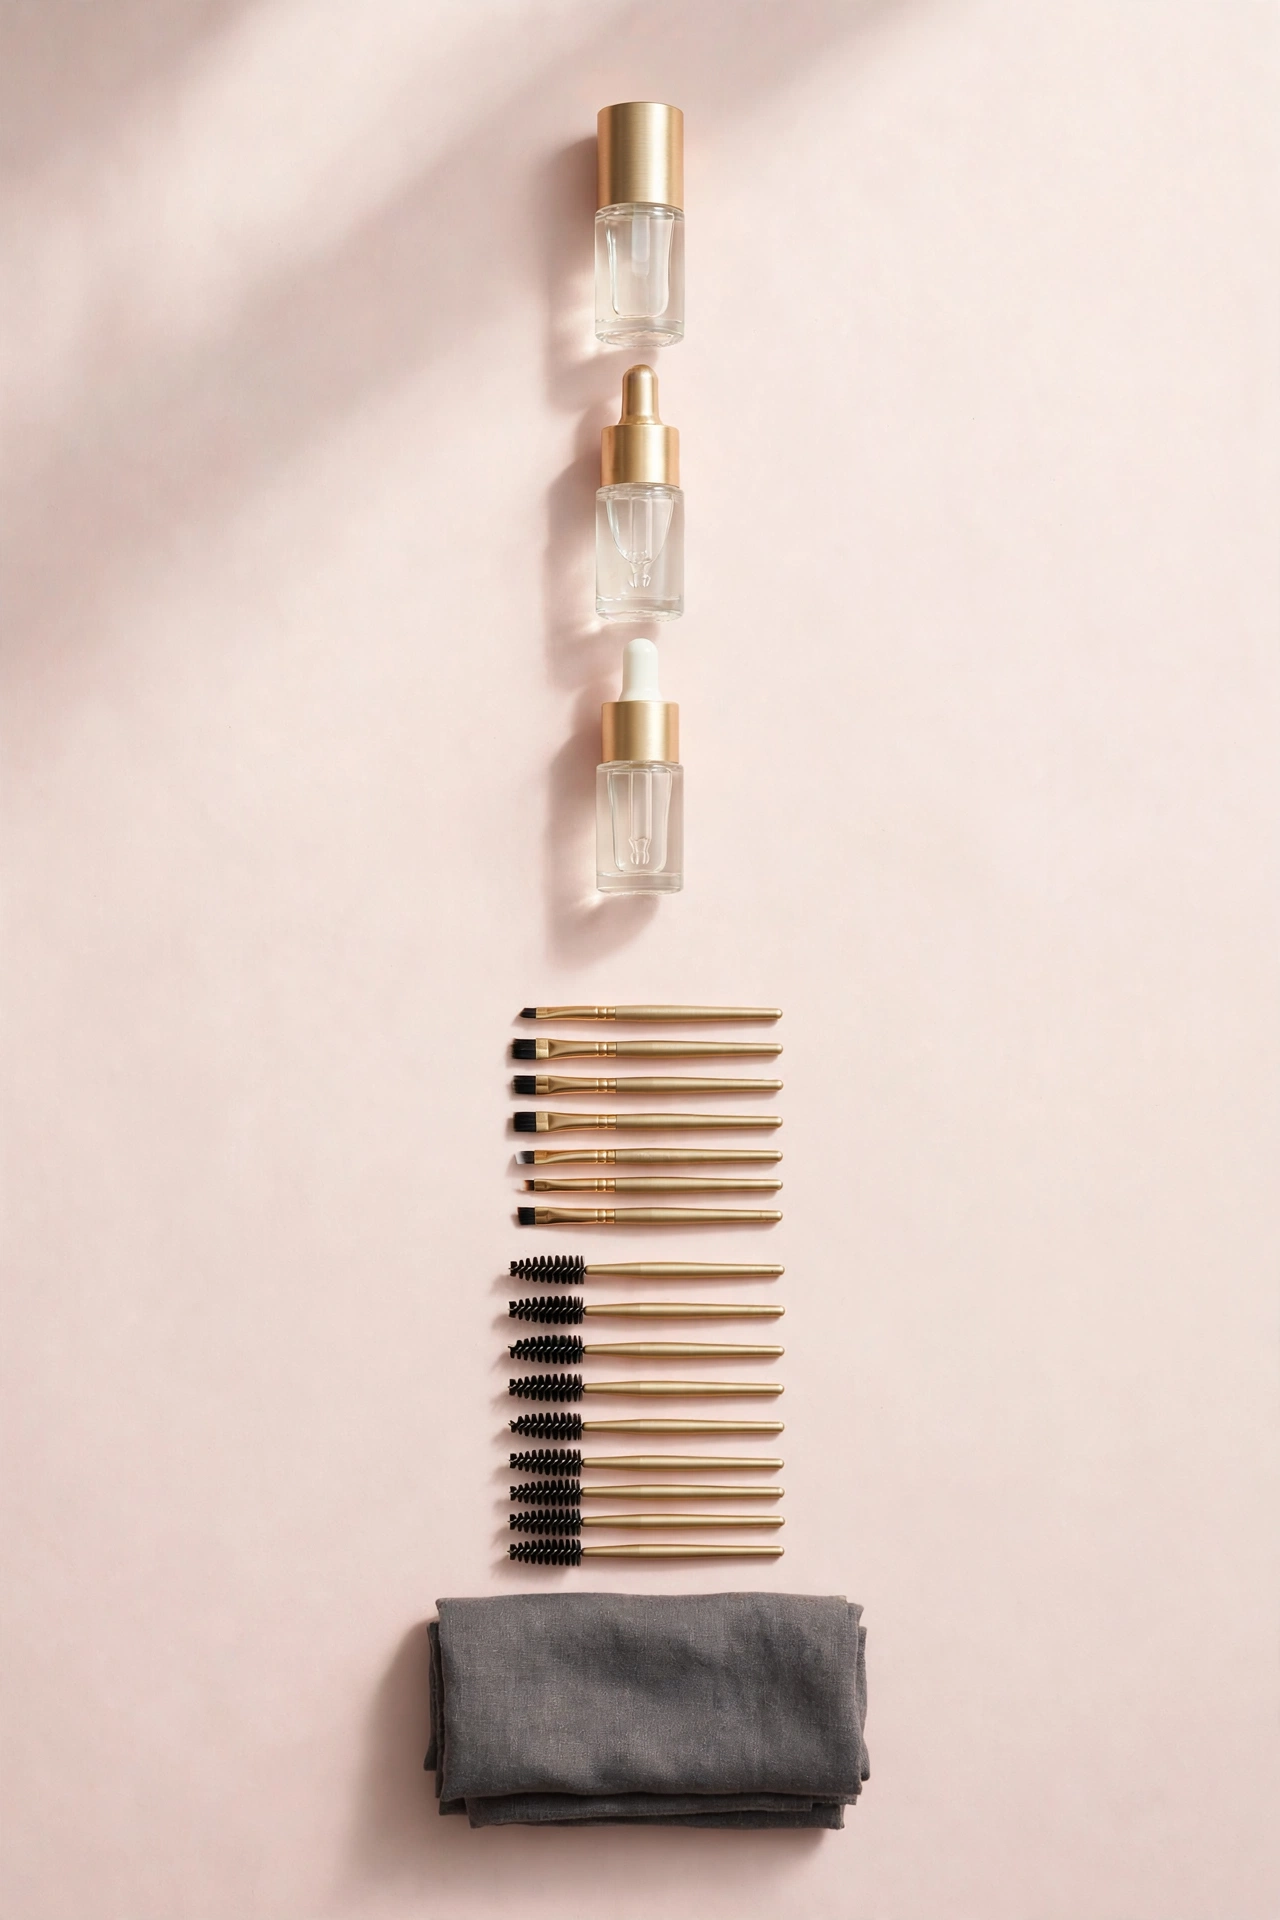
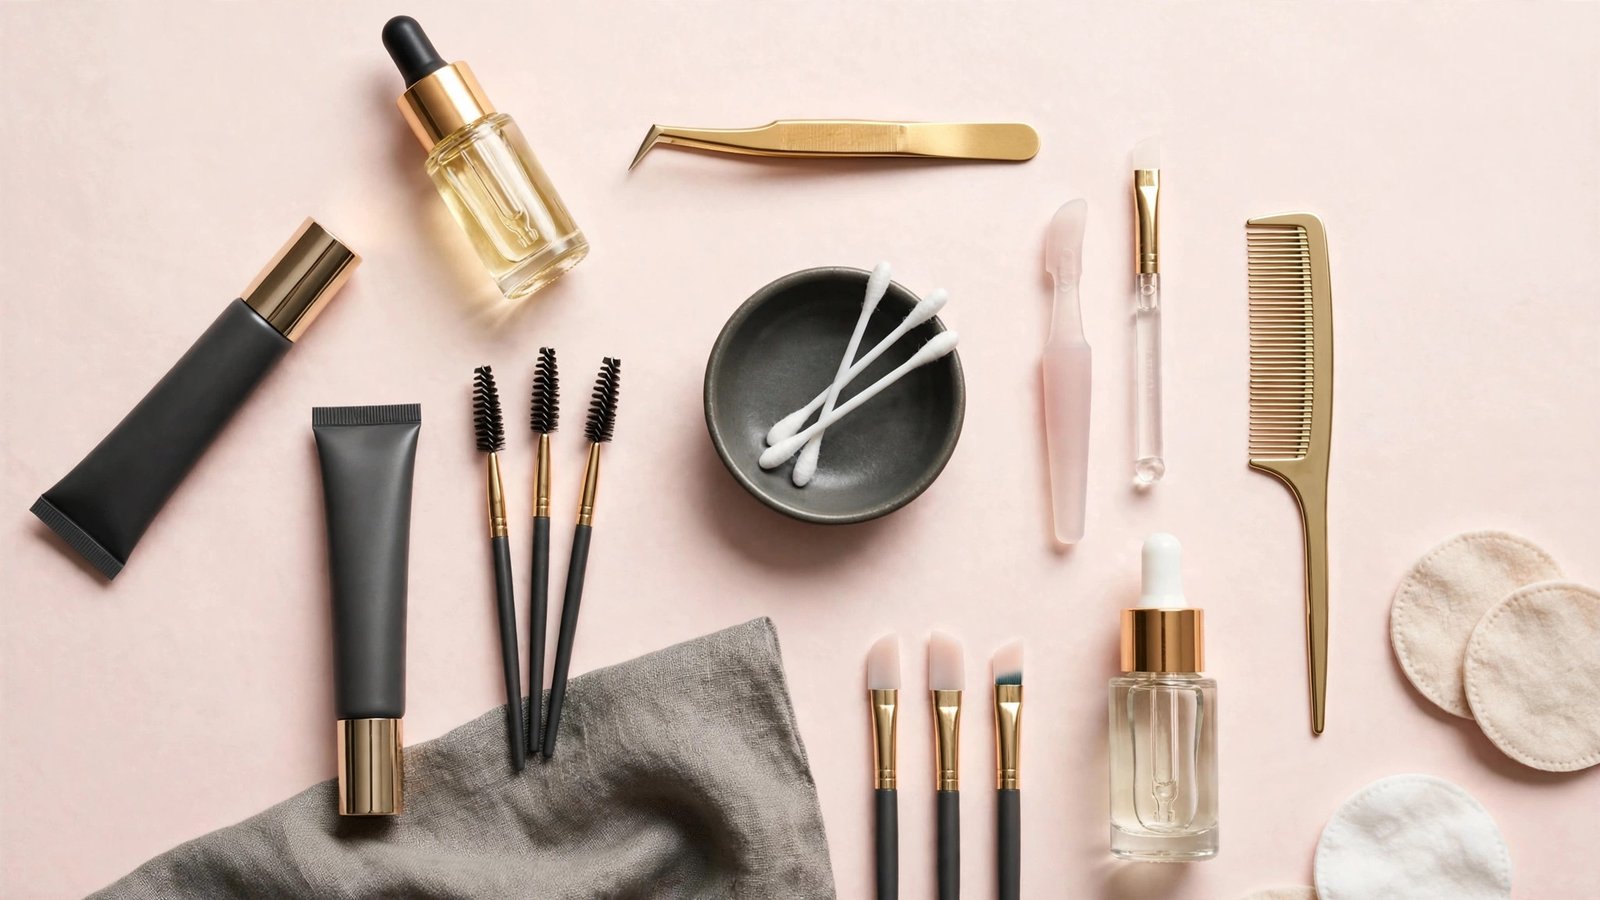
A proper brow lamination kit is a system, not a single product. At minimum, every kit you consider should contain:
- Step 1 — Lifting/perm cream: the chemical cream that softens the brow hairs so they can be reshaped. Usually based on thioglycolate, the same active used in hair perms.
- Step 2 — Neutralizer/fixer: the cream that rebuilds the hair bonds and locks the new shape in place. Without this step, results would wash out within days.
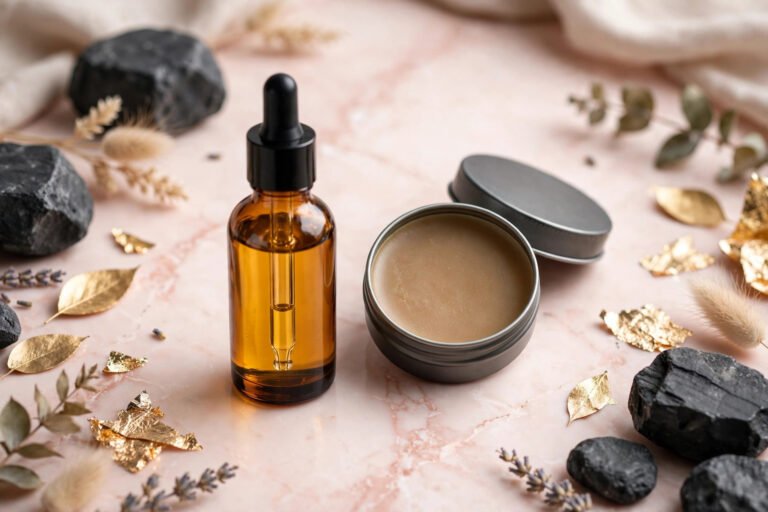
- Step 3 — Nourishing oil or conditioner: a moisturizing treatment applied after the chemicals to restore softness to the processed hairs.
- Application tools: spoolie brushes, and ideally small applicator sticks or brushes for precise placement.
- Numbered, beginner-readable instructions: clear step-by-step directions with timing guidance. This is non-negotiable for a first-timer.
Nice to have but not essential: cling film squares, under-eye-style barrier pads, a plastic brow comb, or a tint included in the box. Many kits also include a cleanser or prep solution, though an oil-free cleanser you already own works just as well.
Red flags — do not buy a kit that:
- Has no ingredient list or hides what the “Step 1” cream actually contains
- Comes with no instructions, or instructions only in a language you cannot read
- Is marketed for professional use only with no at-home guidance
- Contains only the lifting cream with no neutralizer — this is incomplete and unsafe
- Has overwhelmingly negative reviews mentioning burns, missing steps, or dried-out sachets
What Makes a Kit Beginner-Friendly?
Beyond the basics, a few features make a real difference when you are laminating for the first time:
Clearly numbered steps. The best beginner kits label everything Step 1, Step 2, Step 3 with matching instructions. When you have chemicals on your face, you should never have to guess which sachet comes next.
Single-use sachets vs. tubes. Sachets are more hygienic and pre-portioned, which removes the guesswork of how much product to use. Tubes are more economical if you plan to laminate regularly, but once opened, the creams can lose potency — and expired or oxidized perm cream processes unpredictably. If you choose tubes, mark the opening date and replace them per the manufacturer’s guidance.
Gentler formulations. Some kits are formulated specifically for home use with slightly milder lifting agents and shorter recommended processing times. These are more forgiving of beginner timing mistakes than professional-strength formulas.
Good timing guidance. Look for kits that give timing ranges by hair type (fine, medium, coarse) rather than a single one-size-fits-all number. Our brow lamination timing guide explains why timing is the most critical variable.
Responsive seller and real reviews. Buy from sellers with a track record — hundreds of genuine reviews mentioning successful at-home results. Be wary of listings with only a handful of five-star reviews or reviews that mention reactions and poor instructions.
Our Top Beginner-Friendly Picks
Product lines change frequently, so treat these as well-reviewed kit styles to look for rather than a guarantee of current availability. Always check recent reviews before buying.
Best Overall for Beginners: Sassy Saints Brow Lamination Kit
The Sassy Saints kit is one of the most widely used at-home lamination kits, and its popularity with first-timers is well earned. It comes with clearly numbered steps, single-use sachets that take the guesswork out of portioning, and instructions written for non-professionals. Many beginners report that the timing guidance is conservative enough to be forgiving. It is a solid default choice if you want the most-reviewed, most beginner-tested option on the market.
Best Value Multi-Use Kit: MIYA LASH Brow Lamination Kit
MIYA LASH offers a kit style that includes enough product for multiple applications at a budget-friendly price point, making it popular with people who plan to laminate regularly. It includes the standard three steps plus application tools. Because it is a higher-volume kit, pay attention to product freshness — reseal carefully and do not use sachets or tubes past their prime.
Best for Sensitive Beginners: Milder Home-Formulated Kits
Several brands now market kits specifically formulated for at-home use with gentler lifting agents and shorter processing times. When shopping, look for language like “home use formula,” “gentle,” or “for beginners” on the packaging, plus timing instructions broken down by hair type. These kits trade a small amount of processing power for a wider margin of error — a worthwhile trade for your first attempt.
What About Professional Kits?
You will see salon-grade kits from professional brow brands sold online. Unless you have training, skip them for now. Professional formulas assume the user can judge processing by sight and feel, and their instructions are often minimal. A beginner-friendly home kit with explicit timing is the safer starting point. You can always “graduate” later once you know how your brows respond.
Safety Notes on Kit Chemicals: Read Before You Buy
Every brow lamination kit — beginner or professional — contains real perm chemistry. Understanding what is inside helps you use it safely.
The lifting cream typically contains a thioglycolate salt (such as ammonium thioglycolate), the same active ingredient used in hair perms and some hair removers. It works by breaking disulfide bonds in the hair shaft. It has a characteristic chemical smell, which is normal. It should never be used on broken skin, and it must be kept away from the eyes — if product gets into your eyes, rinse immediately with plenty of lukewarm water and seek medical advice if irritation persists.
The neutralizer is usually based on hydrogen peroxide or sodium bromate, which rebuilds the bonds in their new position. It is milder than the lifting cream but is still a chemical treatment, not a conditioner.
Three safety rules that apply to every kit:
- Patch test every new kit, every time. Even if you have laminated before, a different brand means a different formulation. Test behind the ear or on the inner forearm 24–48 hours before use.
- Check expiry dates. Expired perm cream can process unevenly or unpredictably. Do not use sachets that are dried out, discolored, or past their date.
- Stop and rinse if irritation occurs. Mild tingling can be normal; burning, sharp stinging, or swelling is not. Rinse immediately with lukewarm water if anything feels wrong.
For the complete safety walkthrough, our how to do brow lamination at home safely pillar guide covers patch testing, timing, and when to see a professional instead.
How Much Should You Spend?
At-home brow lamination kits typically range from about $10 to $40. In this category, the cheapest options are often the riskiest — missing instructions, no ingredient transparency, or dried-out sachets. The sweet spot for a reliable beginner kit is roughly $15 to $30, which gets you numbered steps, fresh sachets, and real instructions.
Remember the math: even a $25 kit that gives you 5 to 8 applications costs a few dollars per session, compared to $50 to $150 per salon visit. You do not need the most expensive kit — you need a complete, fresh, well-instructed one.
What Else to Buy Alongside Your Kit
Your kit covers the chemicals, but a few extras make the process smoother and safer:
- Petroleum jelly — as a barrier cream to protect the skin around your brows (most kits do not include this)
- A nourishing brow oil — castor oil or argan oil for aftercare; our castor oil for brows and lashes guide explains the options
- An eyebrow pencil — for filling any sparse spots between laminations; see our best eyebrow pencil for beginners for gentle, beginner-friendly picks
- Oil-free makeup remover — for proper pre-lamination cleansing
Key Takeaways
- A complete kit must include three steps (lifting cream, neutralizer, nourishing treatment), application tools, and clear numbered instructions — never buy a kit missing any of these.
- Beginner-friendly kits have numbered sachets, timing guidance by hair type, and formulations designed for home use with a forgiving margin of error.
- Well-reviewed beginner options include the Sassy Saints kit (best overall for first-timers), MIYA LASH-style multi-use kits (best value), and milder home-formulated kits for sensitive beginners.
- Skip professional-grade kits until you have experience — they assume trained judgment you do not have yet.
- Every kit contains real perm chemicals: patch test 24–48 hours before use, check expiry dates, and stop and rinse immediately if you feel burning or sharp irritation.
- Expect to spend $15–$30 for a reliable beginner kit — even then, each session costs a fraction of a salon visit.
Frequently Asked Questions
How many times can I use one brow lamination kit?
It depends on the format. Single-use sachet kits typically provide 5 to 8 full applications. Tube-based kits can last longer but lose potency once opened — always check the manufacturer’s guidance on shelf life after opening, and never use product that looks dried out or discolored.
Are at-home brow lamination kits safe?
They can be safe when used correctly: patch test first, follow the timing exactly, keep product on the hairs and off the skin, and stop and rinse if irritation occurs. The risk comes from skipping safety steps or over-processing, not from the kits themselves. If you have very sensitive skin, eczema around the brows, or a history of reactions to perm chemicals, consult a professional first.
Can I use a lash lift kit on my brows?
No — do not substitute products. Lash lift kits are formulated for eyelashes and often come with shields, rods, and timing designed for lash hair, which differs from brow hair. They also carry a higher risk if used near the brow bone without proper instruction. Use a kit made specifically for brow lamination.
Do I need to buy a tint separately?
Not necessarily. Tinting after lamination is optional — many people love the shape change alone. If you do want tint, some kits include it, but most do not. Buy a brow-specific tint (never hair dye) and patch test it separately. Tinted brows plus laminated shape is the combination that gives the most dramatic “done” look.
What is the difference between cheap and expensive lamination kits?
The main differences are instruction quality, portioning, freshness, and formulation transparency — not necessarily the chemicals themselves, which are similar across brands. Cheap kits often cut corners on instructions and packaging, which is exactly where beginners need the most support. Mid-range kits from established sellers are the sweet spot.
How do I store my kit between uses?
Store sachets and tubes in a cool, dry place away from direct sunlight, and reseal anything opened as tightly as possible. Heat and air degrade perm chemicals, making them process unpredictably. If a sachet is puffy, leaking, dried out, or past its expiry date, throw it away — do not try to make it work.
Love this? Pin it for later!