Lash Lift at Home: Step-by-Step Tutorial for Beginners
If your lashes grow straight down no matter how much you curl them, a lash lift might be the low-maintenance upgrade you have been looking for. A lash lift is a semi-permanent treatment that curls your natural lashes upward from the root, making them look longer, darker, and more lifted — like you are wearing a great eyelash curler that never quits. Salons charge a premium for this service, but at-home kits have made it possible to get similar results yourself for a fraction of the cost.
Doing a lash lift at home is absolutely doable for beginners, but it is not a casual five-minute beauty task. You will be working with real chemical solutions very close to your eyes, so safety has to come first. Rushing, skipping the patch test, or guessing at timing are the three things that cause nearly every at-home lash lift problem.
This guide walks you through everything: what a lash lift actually is, the safety rules you must follow, how to patch test, how to choose the right shield size, and the full step-by-step process with timing for each stage. Before you start, you will want to read our guide to choosing an at-home lash lift kit so you have the right supplies on hand, and keep our lash lift aftercare guide bookmarked for the 48 hours after your lift.
What Is a Lash Lift (and What It Isn’t)?
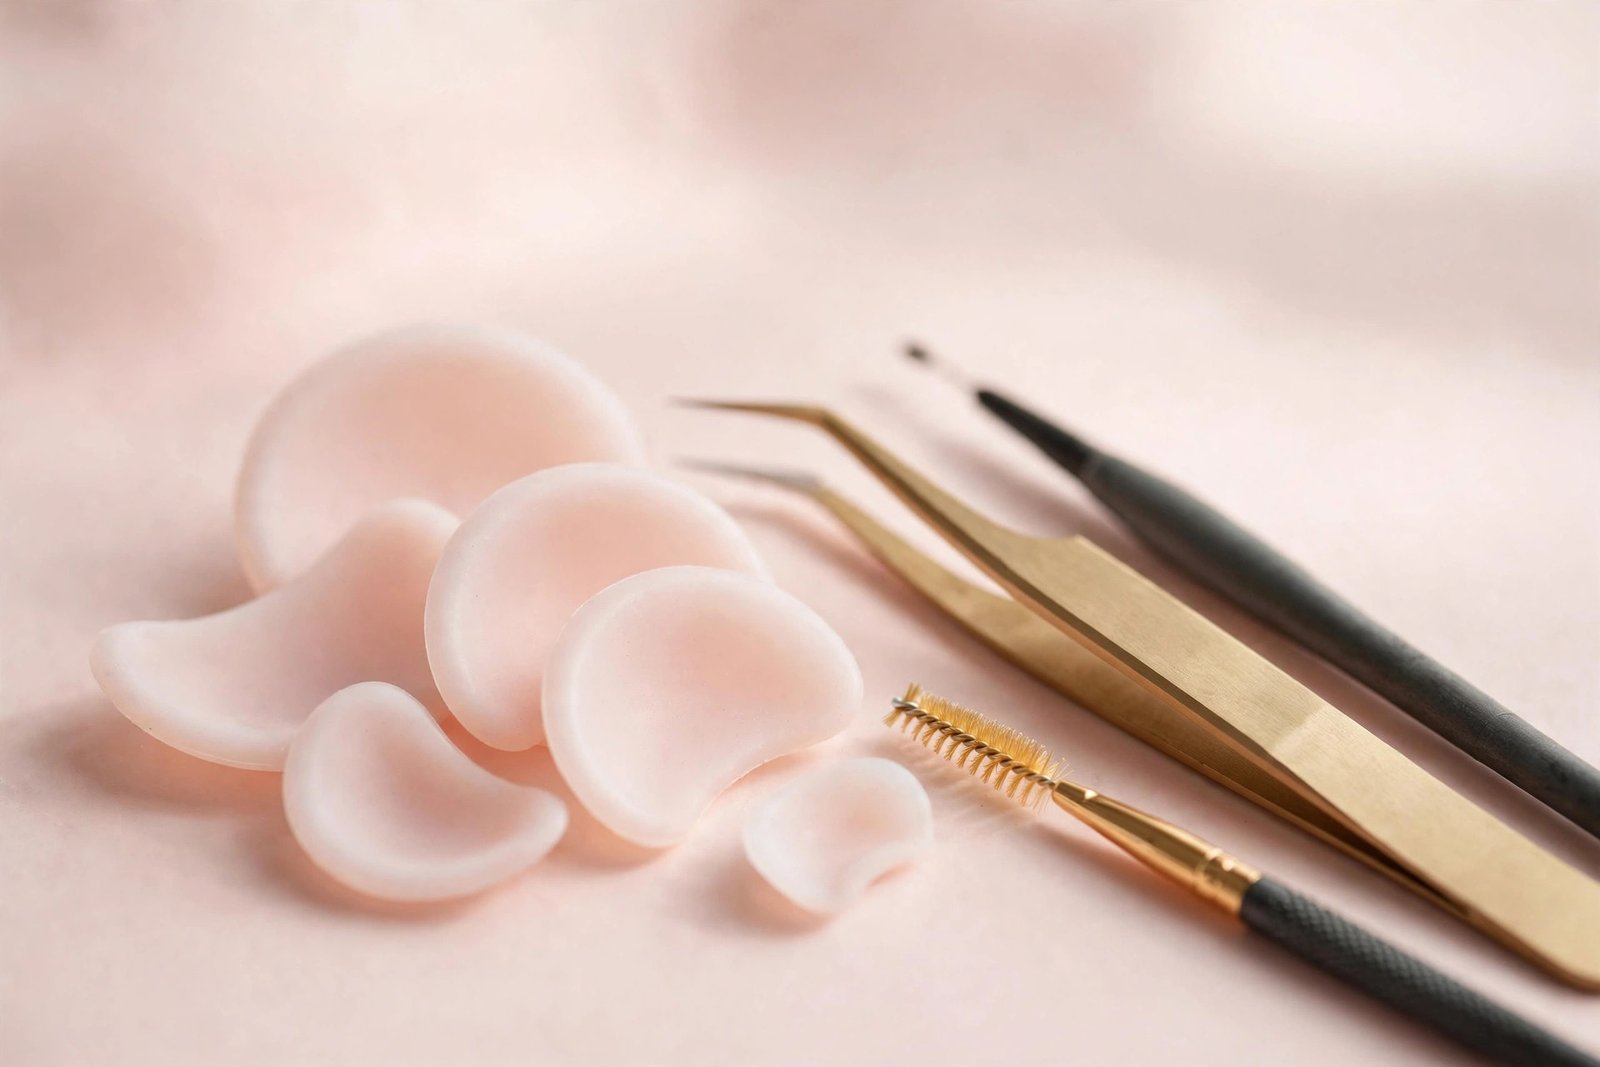
A lash lift is often described as a “perm for your eyelashes,” and that is essentially what it is. The process uses two key chemical solutions — a lifting lotion (the perming solution) and a setting lotion (the neutralizer) — to reshape the bonds in your natural lash hairs so they hold a curl. Small silicone shields or rods are placed on your eyelids, your lashes are glued up onto them, and the solutions do the reshaping work.
A lash lift is not an extension. Nothing is glued onto your lashes, and no artificial fibers are added. The results come entirely from your own lashes, which is why it looks so natural. A lift is also not a lash tint, although many people do a tint immediately after a lift (or choose a kit that includes tint) to make lashes look darker and more defined.
Results typically last 6 to 8 weeks, fading gradually as your natural lash growth cycle replaces the lifted hairs. If you want the full picture of what affects that timeline, our guide to how long a lash lift lasts breaks it down in detail. And if you are torn between a lift and extensions, the lash lift vs lash extensions comparison article compares cost, damage risk, and maintenance side by side.
Who should not do a lash lift at home: If you have very sensitive eyes, chronic dry eye, blepharitis, styes, any active eye infection, recent eye surgery, or you are highly allergic to adhesives or fragrances, skip the DIY route and see a professional — or skip lash lifts entirely. If you wear contact lenses, remove them before you begin and keep them out until all products are rinsed off.
Safety First: Read This Before You Start
Because lash lift solutions are applied millimeters from your eyes, this section is not optional. Lash artists follow strict safety protocols, and you should too.
Always patch test first. At least 24 to 48 hours before your lash lift, apply a small amount of each solution (lifting lotion, setting lotion, and glue) to the inside of your elbow or behind your ear. If you develop redness, itching, swelling, or irritation, do not proceed. A reaction on your arm is an inconvenience; a reaction on your eyelid is an emergency.
Keep product off the waterline and out of your eyes. The solutions go on the lashes only — never on the skin of the lid near the lash line, and never inside the eye. If any product gets into your eye, stop immediately, flush with plenty of lukewarm water, and seek medical advice if irritation persists.
Work in a ventilated room. The lifting solution can have a noticeable chemical smell. Open a window or work in a well-ventilated space, and take breaks if you feel lightheaded.
Respect the timing — this is the number one rule. Leaving the lifting lotion on longer than recommended does not give you a “better” lift; it over-processes the lashes and can make them dry, frizzy, or brittle. Over-processed lashes are the most common at-home disaster, and they are entirely avoidable by following the clock.
Know when to stop. If at any point your eyes sting, water excessively, or the skin around them burns, remove everything and rinse your eye area gently with lukewarm water. Do not push through discomfort — a lift is never worth an eye injury. When in doubt, see a professional or a doctor.
Keep your kit clean and fresh. Only use a kit that is sealed and within its expiry date. Opened sachets oxidize quickly — many lash artists recommend using single-use sachets rather than multi-use tubes, and never using a sachet that has been open for more than a few days.
What You’ll Need
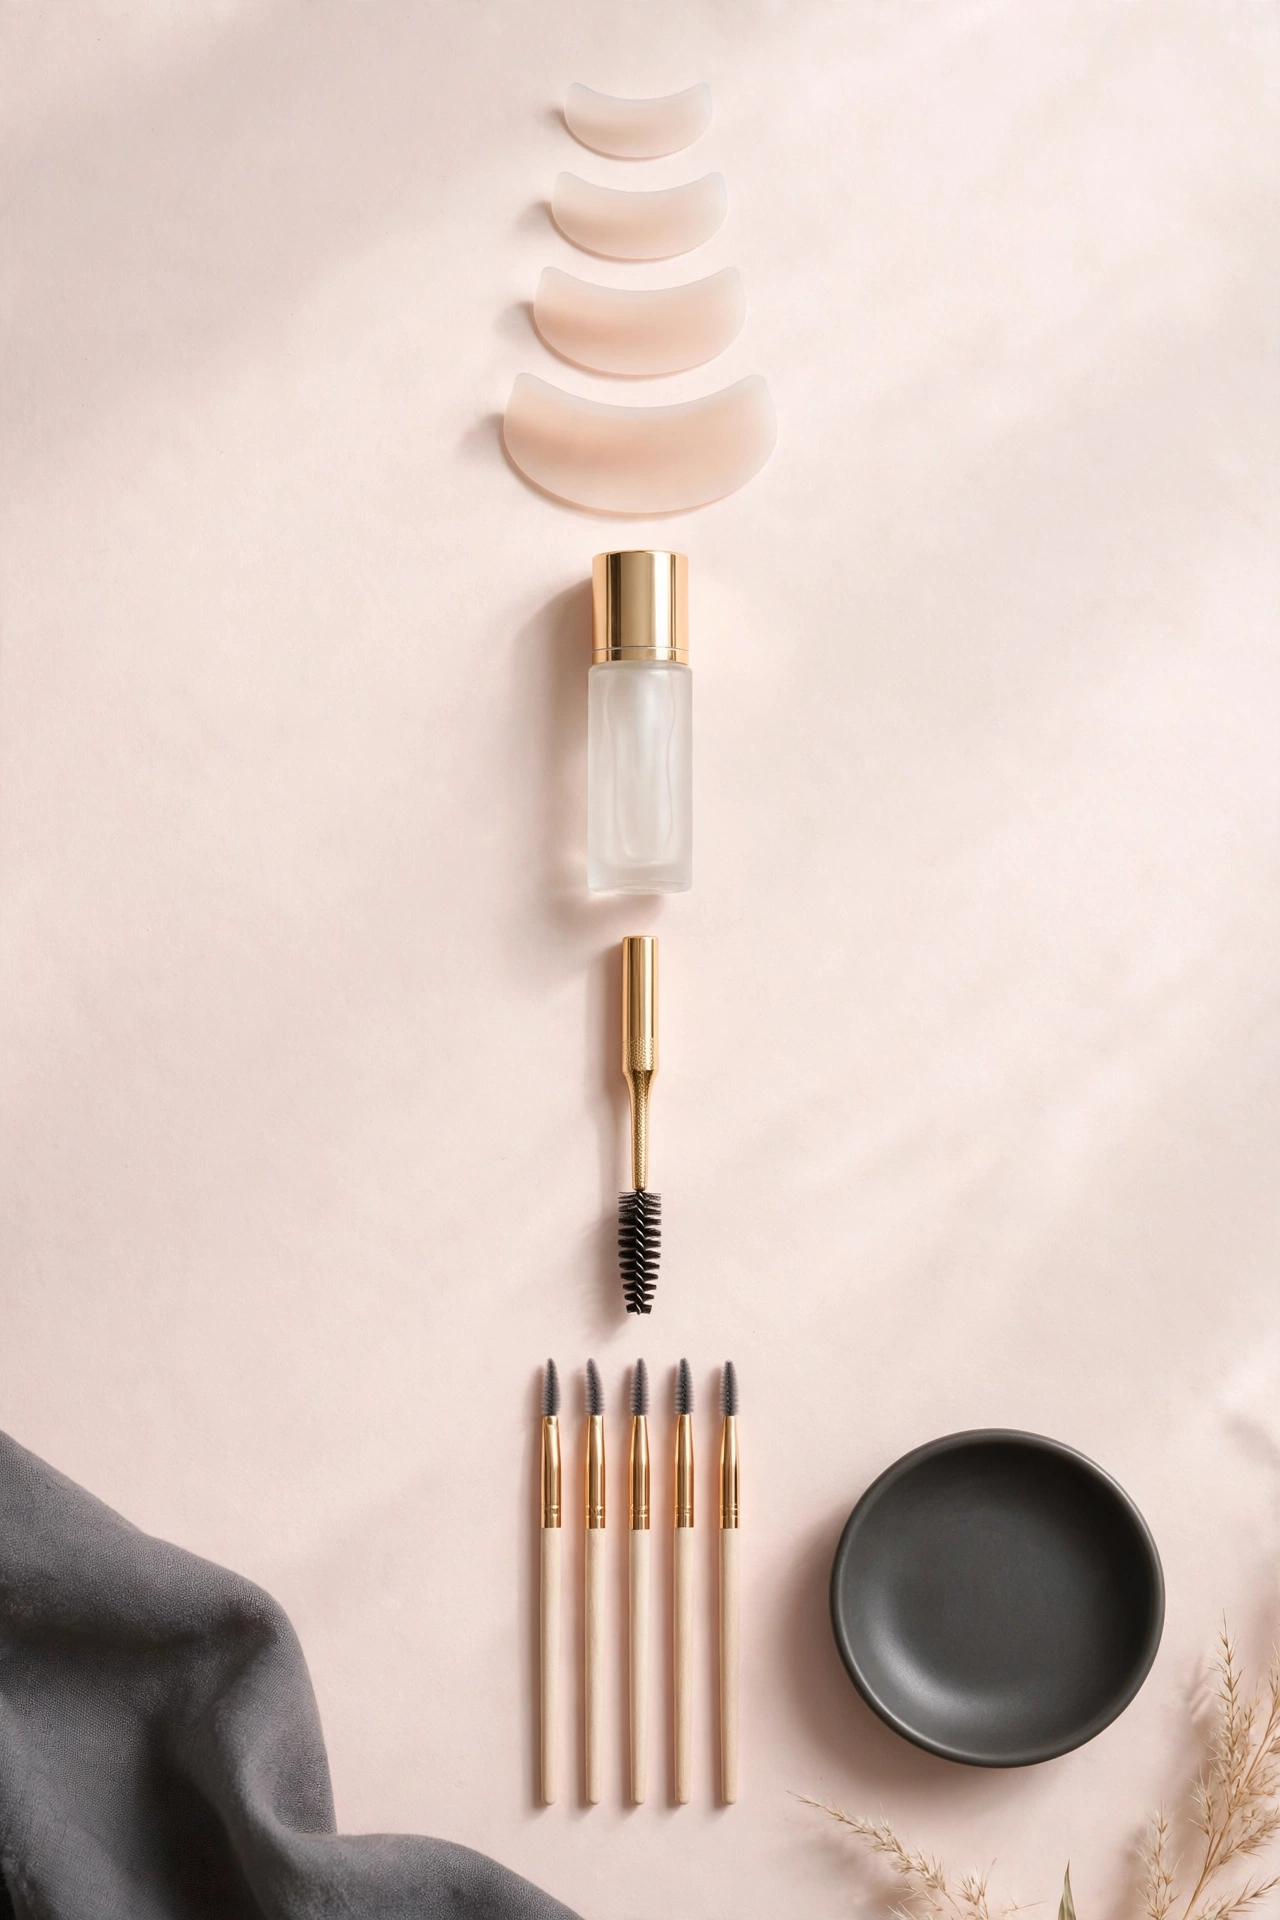
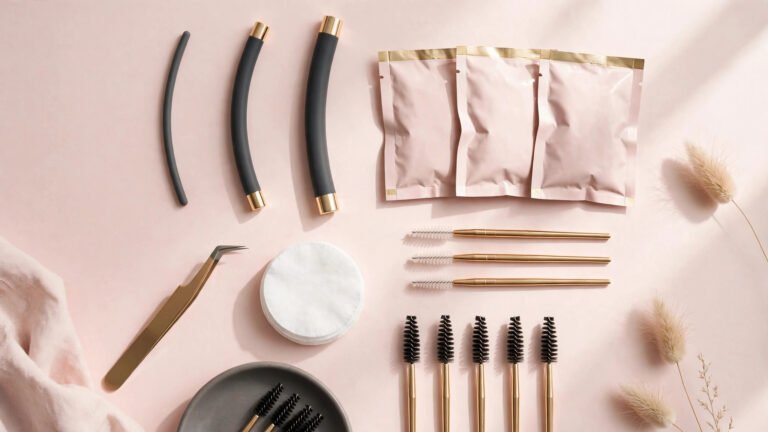
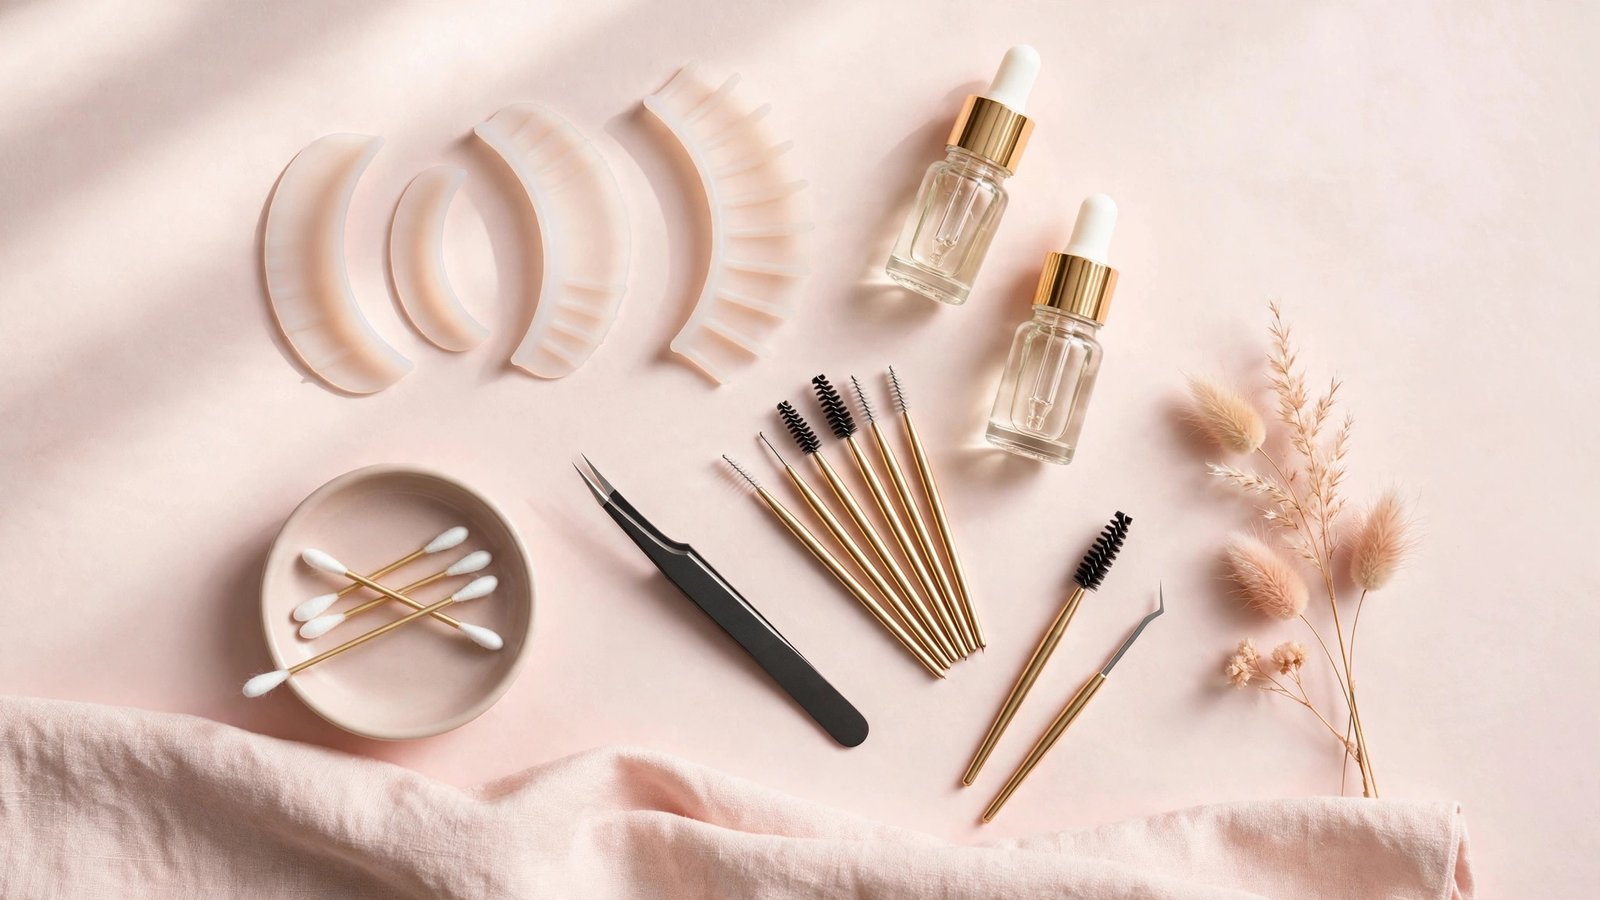
A complete kit should include most of the following. If you are buying items separately, use this as your checklist:
- Lifting lotion (perm solution) — usually in single-use sachets
- Setting/neutralizing lotion — also usually sachets
- Nourishing oil or keratin serum — applied at the end
- Silicone shields or rods in multiple sizes (S, M, L)
- Lash glue (water-soluble adhesive for sticking lashes to the shields)
- Y-comb or lash lift applicator tool for separating lashes
- Under-eye pads or micropore tape to protect lower lashes
- Cotton swabs, lint-free applicators, and a damp cloth or cotton pads
- A timer (your phone works fine)
- Oil-free makeup remover and a gentle cleanser
Optional but helpful: a lash tint kit if you want darker lashes, and a small mirror with good magnification. Our at-home lash lift kit roundup reviews beginner-friendly kits that include everything above.
How to Choose Your Shield Size
The shield size determines how dramatic your curl will be — and this is where beginners most often go wrong. Bigger is not better here.
- Small (S): Creates a tight, dramatic curl. Best for short lashes or anyone wanting a very curled, doll-like look. On long lashes, S shields can over-curl and make lashes look stubby.
- Medium (M): The safest starting point for most people. Creates a natural, lifted curl that suits average-length lashes.
- Large (L): Creates a gentle, natural lift. Best for long lashes where you want length emphasis rather than curl.
The beginner rule: when in doubt, choose M. An over-curled lift from a too-small shield is much harder to fix than an underwhelming one from a too-large shield. Hold each shield against your closed eyelid before you start — the shield should sit comfortably along your lash line without poking into the inner or outer corner. If a shield is too big for your eye shape, trim it carefully with clean scissors.
Step-by-Step: Lash Lift at Home
Do this 24 to 48 hours after a successful patch test. Set aside 45 to 60 minutes, work in good lighting, and do one eye at a time so you can focus.
Step 1: Clean Your Lashes Thoroughly
Remove all makeup, sunscreen, and oil from your eye area with an oil-free cleanser. Any residue — especially oil — will prevent the glue and solutions from working properly. Lashes must be completely clean and dry. This step takes two minutes and prevents half of all lifting failures, so do not rush it.
Step 2: Protect Your Lower Lashes
Place an under-eye pad or a strip of micropore tape over your lower lashes, pressing them gently downward. This keeps them out of the way so they do not stick to the shield or pick up any solution. Make sure the pad is not touching your eyeball — it should rest on the skin just below the lower lash line.
Step 3: Place the Shield
Apply a thin line of lash glue along the back (curved edge) of the silicone shield, wait a few seconds until it turns tacky, and press the shield onto your upper eyelid as close to the lash line as possible without touching it. Hold for 10 to 15 seconds until it adheres. The shield should feel secure but comfortable — if it is pinching or sliding, reposition it now, because everything else depends on this placement.
Step 4: Glue Your Lashes Onto the Shield
Apply a thin layer of lash glue to a small section of the shield’s front surface. Using your Y-comb or applicator tool, gently lift lashes up and press them onto the shield so they fan out straight, parallel to each other, with no crossing or clumping. Work in small sections from the inner corner outward. Take your time — crossed or clumped lashes will set that way permanently, and this is the step that determines how neat your final result looks.
Safety check: keep the glue on the lashes and shield only. If glue gets into your eye, rinse immediately with lukewarm water.
Step 5: Apply the Lifting Lotion
Using a lint-free applicator, apply the lifting lotion to the middle of the lashes only — from about halfway up the lash shaft to just below the tips. Do not apply it to the roots or the tips. Product on the roots can irritate the lash line; product on the tips over-processes the most fragile part of the lash.
Timing (this is critical):
| Lash type | Lifting lotion time |
|---|---|
| Fine or thin lashes | 6–8 minutes |
| Medium lashes | 8–10 minutes |
| Thick or coarse lashes | 10–12 minutes |
Start your timer the moment you finish applying. Cover the eye with a small piece of cling film if your kit instructions recommend it — this helps the solution work evenly. Never exceed 12 minutes on your first attempt, even if your lashes are thick. You can always do another lift in 6 to 8 weeks; you cannot undo over-processing.
Step 6: Remove the Lifting Lotion
When the timer goes off, gently wipe away the lifting lotion with a dry cotton swab or lint-free pad. Remove it completely — any residue left behind will continue processing the lashes while the setting lotion works, which can cause uneven results.
Step 7: Apply the Setting Lotion
Apply the setting (neutralizing) lotion to the same mid-lash area, using the same technique. This solution locks the new curl shape in place. Time it for the same duration as the lifting lotion. The setting step is just as important — skipping it or cutting it short means the curl will drop within days.
Step 8: Remove the Setting Lotion and Nourish
Wipe away the setting lotion completely. Then apply the nourishing oil or keratin serum from your kit along the lashes. This conditioning step helps restore moisture after the chemical processing and makes it easy to gently release the lashes from the shield — the oil loosens the glue. Slowly peel the shield away from the lid, then use a damp cotton pad to wipe away any remaining glue and residue.
Step 9: The Big Reveal
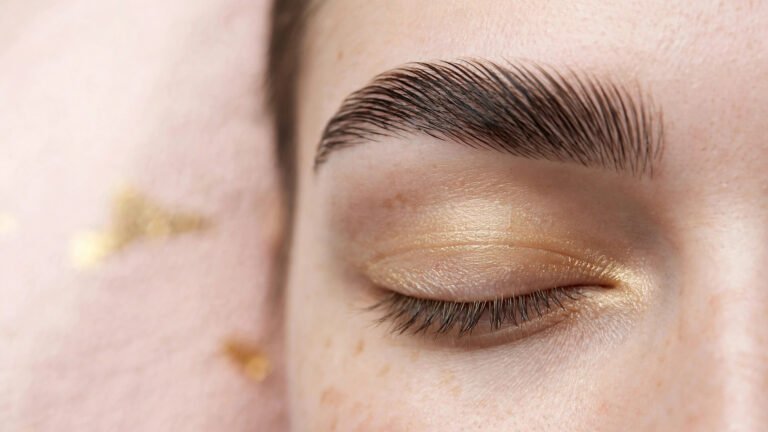
Open your eye slowly and check your work. Your lashes should look visibly lifted and curled from the root. Do not get them wet for the next 24 to 48 hours — this is non-negotiable for the curl to set fully. See our complete lash lift aftercare guide for everything you need to know about the first two days.
Timing Guide: Why the Clock Matters
If there is one thing to take away from this tutorial, it is that timing is everything. Under-processing gives you a lift that falls flat within a week. Over-processing gives you dry, frizzy, or kinked lashes that take a full growth cycle to recover. Neither is dangerous if you rinse promptly, but both are disappointing.
A few timing principles lash artists swear by:
- Always time the setting lotion to match the lifting lotion. The neutralizer needs equal time to fully lock the shape.
- When in doubt, go shorter. You can repeat a lift after 6 to 8 weeks. You cannot un-fry a lash.
- Do not stack extra minutes “just in case.” The solutions keep working until they are removed — there is no plateau where extra time is harmless.
- Process both eyes identically. If you did 8 minutes on the left eye, do 8 minutes on the right. Uneven timing is the main cause of lopsided results.
Common Mistakes Beginners Make
- Skipping the patch test. The most dangerous shortcut. Allergic reactions around the eyes can be serious — the 48-hour wait is worth it.
- Choosing the wrong shield size. Too small and lashes over-curl or kink; too large and the lift looks like nothing happened. Start with M.
- Applying solution to the roots or tips. Mid-lash only. Roots plus chemicals near the lash line equals irritation; tips plus chemicals equals fried ends.
- Letting lashes cross on the shield. Take the extra two minutes to separate every lash with your Y-comb. Crossed lashes set permanently crossed.
- Guessing at timing. Set a timer. “About ten minutes” is not a timing strategy when chemicals are involved.
- Getting lashes wet too soon. Water within the first 24 to 48 hours can relax the curl before it fully sets. That includes steam, sweat, and crying at emotional movies — plan accordingly.
- Doing both eyes at once on the first try. One eye at a time lets you focus and keeps timing precise. Speed comes with practice.
How to Fix a Lash Lift Gone Wrong
Over-curled lashes: Unfortunately, you cannot reverse an over-curl at home safely. Do not try to “re-lift” them — more chemicals on over-processed lashes will only make things worse. Wait for the natural growth cycle to replace them (6 to 8 weeks), keep lashes conditioned with a nourishing oil, and avoid waterproof mascara in the meantime.
Underwhelming lift: If the curl is barely visible, the most likely causes are under-processing, a too-large shield, or oily residue left on the lashes. You can redo the lift after waiting at least 2 to 3 weeks, correcting whichever factor you suspect.
Irritation or redness after the procedure: Rinse gently with lukewarm water and avoid rubbing. Mild redness that fades within a few hours is common. If you develop swelling, persistent burning, blurred vision, or a rash, see a doctor promptly — do not wait it out.
Lashes stuck together or clumpy: A lash comb and a tiny amount of nourishing oil can separate minor clumping. If lashes are glued into a solid mass, soak a cotton pad in warm water, hold it gently against the lashes for a minute, and comb through carefully.
Key Takeaways
- A lash lift perms your natural lashes upward from the root for a low-maintenance curled look that lasts 6 to 8 weeks — no extensions or falsies involved.
- Safety is non-negotiable: patch test 24 to 48 hours ahead, keep all products off the waterline and out of your eyes, work in a ventilated room, and stop and rinse immediately if anything stings or burns.
- Choose shield size carefully — M is the safest starting point for most beginners; too-small shields over-curl and too-large shields under-deliver.
- Apply lifting and setting lotions to the mid-lash only, time both steps precisely (6 to 12 minutes depending on lash thickness), and never exceed the recommended time.
- Keep lashes completely dry for 24 to 48 hours after the lift so the curl sets fully.
- When in doubt, go shorter on timing and gentler on shield size — you can always redo a lift in a few weeks, but you cannot undo over-processing.
Frequently Asked Questions
Is it safe to do a lash lift at home?
It can be safe if you follow the precautions carefully: patch test 24 to 48 hours beforehand, use a fresh sealed kit, keep all products on the lashes only (never in the eyes), respect the timing exactly, and work in a ventilated space. It is not safe for everyone — skip DIY if you have eye infections, chronic dry eye, blepharitis, recent eye surgery, or known adhesive allergies. Stop and rinse immediately if you feel stinging or burning.
How long does an at-home lash lift take?
Plan for 45 to 60 minutes total for both eyes as a beginner, including prep and cleanup. The chemical processing itself is only 12 to 24 minutes per eye (lifting lotion plus setting lotion), but shield placement and lash separation take patience. Do one eye at a time until you are comfortable with the process.
Can I do a lash lift if I have short lashes?
Yes, but manage your expectations. A lift curls what you have — it does not add length. Short lashes benefit most from a smaller shield to maximize the curl effect. Some people pair a lift with a lash tint so short lashes look darker and more visible. If your lashes are very sparse, you may get a more dramatic result from other options — see our lash lift vs lash extensions comparison for alternatives.
How often can I redo a lash lift?
Wait at least 6 to 8 weeks between lifts — roughly one full lash growth cycle. Re-lifting too soon over-processes lashes that are still recovering from the previous treatment, leading to dryness and breakage. If your first attempt was underwhelming, wait a minimum of 2 to 3 weeks before trying again.
Why did my at-home lash lift not work?
The usual culprits are oily residue left on the lashes before starting, choosing too large a shield, under-processing (timing too short), skipping or shortening the setting lotion step, or getting lashes wet within the first 24 to 48 hours. Walk through each step on your next attempt and correct whichever one you suspect.
Can I wear mascara after a lash lift?
Yes, but wait at least 24 to 48 hours after the lift before applying any mascara. When you do, choose a water-based, non-waterproof formula — waterproof mascaras require harsh removers that weaken the lift and dry out processed lashes. Our lash lift aftercare guide covers the full list of product rules for the first two days and beyond.
Love this? Pin it for later!