How to Apply False Lashes for Beginners: The Complete Step-by-Step Guide
False lashes have a reputation for being difficult — fiddly, sticky, and one wrong move away from a crooked, half-hanging disaster. That reputation is mostly undeserved. The truth is that applying false lashes is a mechanical skill, like tying shoelaces or painting your non-dominant hand’s nails: awkward the first two or three times, then surprisingly automatic. Most beginners who follow a proper method get a wearable result on their first attempt and a genuinely good one by the third.
This guide walks you through the entire process from a bare eye to a finished, blended lash look. You’ll learn how to choose your first pair, which tools actually matter, how to measure and trim the band so it fits your eye shape, the glue technique that prevents 90% of beginner problems, the mirror-angle trick that makes placement dramatically easier, and how to blend everything so the falsies disappear into your natural lashes. Along the way, you’ll also learn how to fix the mistakes everyone makes — lifting corners, visible bands, glue on the lid — and how to remove your lashes safely at the end of the night.
If you’re deciding between lash types first, our magnetic lashes vs glue lashes comparison breaks down which system suits beginners best. And if you’d rather grow your natural lashes instead of wearing falsies, see our honest look at castor oil for lash growth.
The 4 Types of False Lashes (and Which to Start With)
Before you touch glue, it helps to know what’s on the market — because the wrong type for your skill level is the real reason most first attempts fail.
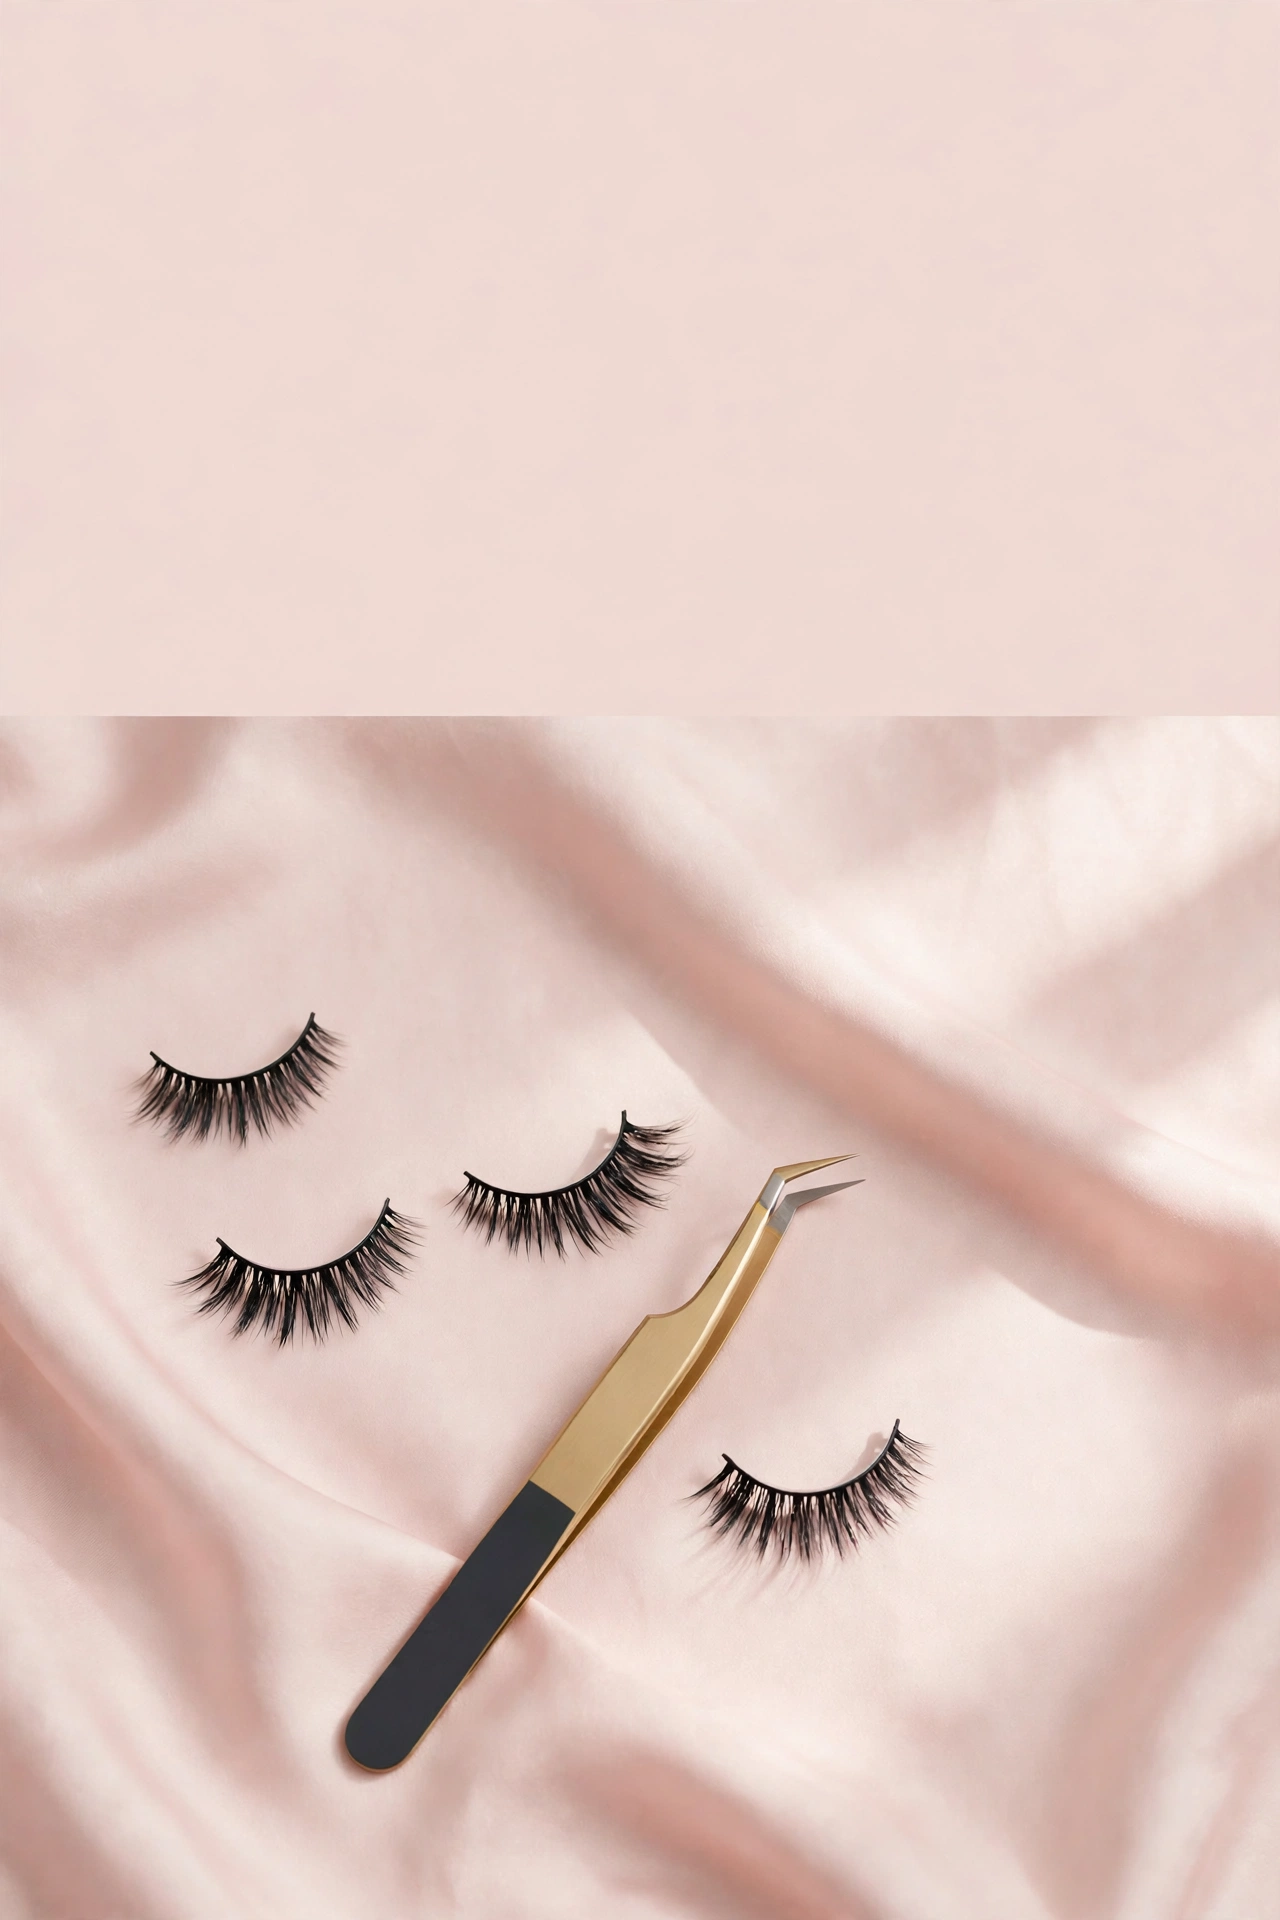
Strip lashes are the classic: a full band of lashes on a flexible strip that spans your entire lash line. They’re the most forgiving option for beginners because you place one piece instead of many, and they’re the most widely available and affordable. When people say “false lashes,” they usually mean strip lashes. Start here.
Individual or flare lashes are small clusters of 3–5 lashes applied one at a time along the lash line. They give the most natural, customizable result — you can fill sparse areas or add fullness just at the outer corners — but they demand patience and precision. Each cluster needs its own dot of glue and careful placement. Better as a second skill to learn, not your first.
Cluster or “segment” lashes sit between strips and individuals: pre-cut segments you apply in 3–4 pieces. They’re popular for DIY lash-extension looks, but aligning multiple segments evenly is genuinely tricky for beginners. Skip these until strip lashes feel easy.
Magnetic lashes skip glue entirely, attaching via tiny magnets — either sandwiching your natural lashes between two magnetic strips or adhering to a magnetic eyeliner you’ve drawn on. They solve the messiest part of the process (glue), but they have their own learning curve and a heavier feel on the lid. Our full magnetic vs glue lash breakdown compares both systems in detail.
For lash materials, you’ll see mink (real fur — soft but ethically fraught and usually overkill for beginners), faux mink (synthetic, the best beginner choice: soft, lightweight, affordable), silk (slightly glossier), and human hair (very natural but pricier). Faux mink strip lashes with a thin, flexible clear band are the ideal first pair.
Your Beginner Lash Kit: Everything You Need
You don’t need a professional kit. Five items cover the entire process:
1. A beginner-friendly pair of strip lashes. Look for: a wispy or “natural” style (not dramatic volume), a thin flexible band (clear/invisible bands are easier to hide than thick black ones), and a graduated length (shorter at the inner corner, longer toward the outer). Avoid ultra-long, ultra-dense styles for your first attempts — they show mistakes more and feel heavier. Drugstore faux-mink strips in the $5–$12 range are perfect; there’s no reason to buy luxury lashes while you’re learning.
2. Lash glue. Latex-free formulas are the safer default (latex allergies are common and unpleasant around the eyes). Choose a glue with a thin applicator nozzle or a brush-on format — brush-on glues give you far more control than squeeze tubes. Clear-drying glue is more forgiving than black for beginners, since mistakes are invisible once dry. Duo and similar brush-on formulas are widely recommended beginner options.
3. Tweezers or a lash applicator. A dedicated lash applicator (the curved, clamp-like tool) gives you a stable grip on the band and keeps your fingers out of your line of sight. Slanted tweezers work too. Either beats your fingers, which block your view of the lash line at the critical moment.
4. Small scissors. For trimming the band to fit your eye. Small, sharp scissors (cuticle or brow scissors) give clean cuts; dull scissors fray the band.
5. A hand mirror. This is the secret weapon most tutorials skip. Placing a mirror on the table and looking down into it — rather than straight into a wall mirror — lets you see your full lash line without your hand blocking the view. It makes placement dramatically easier.
Optional but helpful: an eyelash curler (to curl natural lashes so they blend with the falsies), mascara (applied before the falsies to your natural lashes only — never pump mascara directly onto strip lashes if you want to reuse them), and micellar water or oil-free remover for cleanup. If your lashes refuse to hold a curl, our guide to the best mascaras for straight lashes covers formulas that actually keep lift.
Prep: Getting Your Natural Lashes Ready
Ten minutes of prep prevents most application problems. Do this before you open the glue.
Start with clean, dry lids. Any oily residue — moisturizer, sunscreen, eye cream that migrated — will stop glue from gripping. If you’ve done skincare, wait until it’s fully absorbed, then gently press a cotton pad dampened with micellar water along the lash line and let it dry completely. Makeup-wise, apply eyeshadow and eyeliner before the lashes; the lash band sits on top of your eye makeup, not under it. A thin line of eyeliner along the upper lash line (tightlining) is especially useful — it fills the gap between your natural lashes and the band, hiding the strip. Our beginner eyeliner guide covers tightlining technique if you’re new to it.
Curl your natural lashes. A quick curl lifts your real lashes up toward the falsies so the two layers merge instead of sitting as visibly separate rows. Curl before mascara, never after — curling mascara-coated lashes can snap them.
Apply one light coat of mascara to your natural lashes only. This darkens your real lashes so they don’t show as pale stubs beneath the falsies, and gives the false lash something to grip. Keep it light: heavy mascara creates clumps that poke through the falsies. Do not apply mascara to the false lashes themselves yet — coating strip lashes in mascara shortens their life dramatically and makes them nearly impossible to clean for reuse.
Bend the lash band. Fresh strip lashes come on a curved tray that leaves the band stiff and straight-ish. Wrap the strip gently around your finger or the handle of a makeup brush for 30 seconds to soften it into a curve that matches your eye. A supple band hugs the lash line; a stiff band springs away from it, especially at the corners. This single step eliminates a huge share of lifting-corner complaints.
Step 1: Measure the Lash Against Your Eye
Hold the strip up to your eye without glue and align the inner end with your inner corner. Look at where the outer end falls. For almost everyone, the strip will be too long — lashes are manufactured in a standard length that exceeds most eyes.
The strip should span from just outside your inner corner to your outer corner, ending where your natural lashes end. Mark the excess mentally: you’re going to trim the outer end, never the inner end. The inner portion of a lash strip has the shortest, most natural-looking fibers; cutting from the inner side removes that delicate taper and leaves a blunt, obvious edge near the most visible part of your eye. Always trim from the outer corner, where longer fibers hide the cut.
Step 2: Trim From the Outer Corner
Using your small scissors, snip off the excess from the outer end of the band. Trim conservatively — you can always cut more, but you can’t add length back. A good rule: cut one small section (2–3 lash clusters’ worth), re-measure, and repeat if needed. Most beginners remove about a quarter-inch, but eye shapes vary widely.
After trimming, hold the lash up again and confirm the fit. The band should sit comfortably along your lash line with a tiny margin at each end — it should not poke into your inner corner (which causes watering and that stabbing feeling) or extend past your outer corner (which causes the outer end to lift and look obviously false). If the lash feels long even after trimming, consider a “demi” or “accent” style next time — these are shorter strips designed for the outer two-thirds of the eye and are genuinely easier for small or hooded eyes.
Step 3: Apply the Glue — and Wait for It to Get Tacky
This is the step that makes or breaks the application, and impatience is the #1 beginner error.
Apply a thin, even line of glue along the entire band. With a brush-on glue, paint it directly onto the band like nail polish. With a squeeze tube, run a thin bead along the band — then use the tip of the tube or a toothpick to spread it evenly. Thin and even beats thick and blobby: excess glue squeezes out onto your lid, takes forever to dry, and creates visible residue.
Add a tiny extra dot at each end. The inner and outer corners are where lashes lift first, so a barely-there extra dab of glue at both ends of the band pays off. Don’t overdo it — a pinhead-sized dot is enough.
Now wait 30–45 seconds. This is the tacky rule, and it’s non-negotiable. Wet glue is slippery: the lash slides around on your lid, won’t grip, and you’ll chase it while it dries in the wrong position. Tacky glue — glue that’s gone from white/shiny to slightly translucent and sticky to a light touch — grabs immediately on contact and stays where you put it. Set the lash down, count to 40, and test tackiness by lightly touching the band with a clean fingertip. If it feels sticky rather than wet, you’re ready.
Step 4: Place the Lash (the Mirror-Angle Trick)
Here’s the technique that changes everything for beginners: put your mirror flat on the table and look down into it. Tilt your chin down slightly so you’re gazing downward into the mirror. In this position, your entire lash line is visible as a clear shelf, your hand approaches from below without blocking your view, and you can see exactly where the band lands. Trying to place lashes while staring straight into a wall mirror means your hand and the tweezers block the very spot you’re aiming for.
Grip the lash in the center with your applicator or tweezers — not at either end. A center grip keeps the band balanced and lets both ends fall naturally into place.
Aim for the center of your lash line first, placing the middle of the band directly onto (or a hair above) your natural lash line, as close to the roots of your real lashes as possible. Don’t aim for the skin of the lid above the lashes — the band should sit on the lash line, nestled against your natural lashes.
Then secure the inner and outer corners. Once the center is down, gently press the inner corner into place, then the outer corner. Work quickly but without panic — tacky glue gives you a few seconds of repositioning room before it sets firmly.
Get it as close to the lash line as possible. The most common “these look fake” giveaway is a visible gap of skin between your natural lash line and the band. The closer the band sits to your real lash roots, the more the two blend into one lash line. If you wear eyeliner, the band should sit right on top of your liner.
Step 5: Secure, Press, and Blend
Press the band along the full lash line. Using the back end of your tweezers, the applicator, or a clean fingertip, gently press the band down along its entire length, working from the center outward to each corner. This ensures full contact — any section of band floating above the skin will lift later. Pay special attention to the corners, pressing each for a few seconds.
Pinch your natural lashes and the falsies together. Once the glue has set (give it a full minute), use your fingers or the applicator to gently pinch/squeeze your real lashes and the false lashes together along the lash line. This merges the two layers so they read as one set of lashes rather than a falsie sitting on top of your real ones.
Blend with eyeliner if needed. If any part of the band is visible, a thin stroke of liquid or gel eyeliner right over the band camouflages it completely. This is also the moment to fill any small gaps between the band and your lash line.
Optional: one light coat of mascara through both layers. If your natural lashes are much lighter than the falsies, or you want maximum blending, apply a single light coat of mascara stroking upward through both your real lashes and the falsies together. Use a clean, non-clumping mascara and a light hand — this step is optional, and skipping it keeps your falsies reusable for far longer. If you do use mascara on the strips, expect fewer reuses.
Let everything set for 2–3 minutes before you blink hard, rub your eyes, or apply anything else near the area. Then do a final check: look straight ahead in the mirror, blink normally, and confirm both eyes look symmetrical and the corners are secure.
Troubleshooting: 8 Beginner Problems, Fixed
1. The outer corner keeps lifting. The usual cause is a band that’s too long or too stiff, or glue applied while still wet. Fix: re-trim from the outer end, bend the band more aggressively before gluing, and add that extra pinhead dot of glue at the outer corner. Press and hold the corner for 10 full seconds after placement.
2. The inner corner pokes and makes your eye water. The band is sitting too far into the inner corner. Fix: trim a tiny bit more from the outer end (which shifts the whole strip outward), and place the inner end 1–2mm outside the very corner of your eye rather than flush against it. Never trim the inner end itself.
3. The lash slides around during placement. You didn’t wait for the glue to get tacky. Fix: there’s no shortcut — remove it, let the glue dry tacky (or wipe and reapply), and place again. Wet glue never grips.
4. Visible glue on the lid. Too much glue, applied too thick. Fix: while it’s still wet, wrap a cotton swab in a tiny bit of micellar water and gently roll (don’t drag) over the excess. Once you’ve learned the right amount, switch to clear-drying glue so any small mistakes disappear.
5. You can see the band. Either the band is sitting above your lash line instead of on it, or it’s a thick black band on a no-liner eye. Fix: place closer to the lash roots next time, and camouflage now with eyeliner drawn directly over the band. For future purchases, choose clear/invisible bands.
6. One eye looks different from the other. Almost always a placement-height issue — one band sits higher than the other. Fix: the mirror-angle trick (looking down into a table mirror) prevents this because you can see both lash lines evenly. If one is already set wrong, it’s usually faster to remove and redo that eye than to try adjusting a half-set lash.
7. The lashes feel heavy or uncomfortable. The style is too dramatic for your eye, or the band is stiff. Fix: bend the band thoroughly before application, and choose lighter, wispier styles while learning. Discomfort that feels like poking usually means the inner corner needs repositioning outward.
8. Your natural lashes show beneath the falsies. You skipped the mascara/curling prep, or the falsies are much darker than your natural lashes. Fix: curl and apply mascara to natural lashes before the falsies, and pinch the two layers together after placement. If your natural lashes are very light, a coat of mascara on them beforehand is essential.
How to Remove False Lashes Safely
Never pull a lash strip off dry — you’ll take natural lashes with it. Safe removal takes one minute:
Soften the glue first. Hold a cotton pad soaked in warm water, micellar water, or oil-free eye makeup remover over your closed eye for 20–30 seconds. This loosens the adhesive’s grip along the band.
Peel gently from the outer corner inward. Using your fingers (not tweezers — they grip too hard and can snap the band), lift the outer corner of the band and peel slowly toward the inner corner, keeping the strip close to the lash line as you go. If you feel resistance, stop and apply more remover — never tug through resistance.
Clean off residual glue from your lash line with a cotton swab and remover, then wash your face normally. Follow with your usual eye-area skincare.
Don’t sleep in false lashes. Sleeping in strip lashes bends them out of shape, grinds glue and bacteria into the lash line, and risks eye irritation or infection. Removal takes a minute; the damage from skipping it isn’t worth it.
Making Your Lashes Last: Cleaning and Reuse
A good pair of strip lashes isn’t single-use. With proper care, quality faux-mink strips last 5–8 wears, and some wearers stretch them to 10+. The key is cleaning off glue and makeup residue after every wear and storing them in their original tray, which preserves the band’s curve. Our step-by-step how to clean false lashes for reuse walks through the full routine: glue removal, gentle washing, proper drying, and storage — plus how to tell when a pair is done.
If you’d rather skip falsies some days and work on your natural lashes instead, two related guides are worth reading: our honest, evidence-based look at castor oil for eyelash growth (what the research actually says), and our roundup of the best eyelash growth serums for beginners (popular options with realistic expectations).
Keep Reading: Your False Lash Library
This guide covers application — but false lashes are a whole skill set. Continue with whichever topic you need next:
- Magnetic Lashes vs Glue Lashes: Which Is Better? — the full comparison of both lash systems: cost, wear time, ease of use, and which suits beginners.
- How to Clean False Lashes to Reuse Them — the care routine that stretches one pair across many wears.
- Does Castor Oil Grow Eyelashes? — an honest review of the evidence behind the popular natural lash-growth remedy.
- Best Eyelash Growth Serum for Beginners — popular lash serums compared, with realistic timelines and safety notes.
Key Takeaways
- Start with faux-mink strip lashes in a natural, wispy style with a thin flexible band — they’re the most forgiving option for beginners.
- You need five things: lashes, latex-free brush-on glue, an applicator or tweezers, small scissors, and a hand mirror placed on the table.
- Always measure against your eye and trim from the outer corner only; the inner taper should never be cut.
- Apply a thin, even line of glue and wait 30–45 seconds until tacky — placing on wet glue causes most beginner failures.
- Place the lash while looking down into a table mirror, landing the center of the band on your lash line first, then securing both corners.
- Press the full band down, pinch natural and false lashes together, and camouflage the band with eyeliner if needed.
- Remove by softening glue with remover and peeling gently from the outer corner — never pull a dry lash strip off.
- Quality strip lashes last 5–8+ wears with proper cleaning; see our lash cleaning guide.
Frequently Asked Questions
How long does it take to apply false lashes as a beginner?
Expect 15–25 minutes for your first attempt — most of that is measuring, trimming, and waiting for glue to get tacky. By your fifth application, most people are down to 5–10 minutes. Speed comes naturally with repetition; don’t rush the early attempts, since hurrying the glue wait-time is what causes most failures.
Should I apply mascara before or after false lashes?
Apply one light coat to your natural lashes before placing the falsies — this darkens your real lashes so they blend. Applying mascara over the false lashes themselves is optional and shortens their reusable life, since mascara is difficult to clean off the strip. If you want maximum blending, a single light upward stroke through both layers after placement is enough.
Why do my false lashes look fake?
The four usual culprits: a visible gap between the band and your lash line (place closer to the roots), a visible band (camouflage with eyeliner or choose clear bands), a style too dramatic for the occasion (start with wispy/natural), and unblended layers (pinch natural and false lashes together). Fixing even two of these usually transforms the result.
Can I wear false lashes with glasses?
Yes, but choose shorter, more natural styles. Long dramatic lashes will brush against your lenses with every blink, which is irritating and can dislodge the outer corners. Wispy styles with moderate length work well with glasses — the definition shows without the lens contact.
Are false lashes bad for your natural lashes?
Occasional wear with proper application and gentle removal causes minimal harm. Damage comes from the bad habits: pulling strips off dry, sleeping in lashes, wearing them daily for weeks without breaks, or using harsh glue removers. Give your natural lashes rest days between wears, always soften glue before removal, and they’ll stay healthy. If you notice increased shedding, take a break and consider a conditioning-focused routine — our eyelash growth serum guide covers options.
Love this? Pin it for later!