How to Shape Eyebrows at Home: A Simple DIY Routine
Salon brow appointments are lovely, but they’re not always practical — the cost adds up, scheduling takes effort, and sometimes you just need a tidy-up on a Sunday evening. The good news: shaping your eyebrows at home is completely doable, even if you’ve never done it before. With the right technique and a conservative approach, DIY brows can look just as clean as a salon job.
This guide gives you a complete at-home routine: setting up your space, mapping your shape, tweezing safely, trimming, and finishing with makeup. It also covers the mistakes that cause most DIY brow disasters — so you can avoid them entirely.
For the full beginner’s foundation (tools, brow shapes, and the theory behind good shaping), start with our eyebrow shaping guide for beginners.
Setting Up: What You Need and Where to Do It
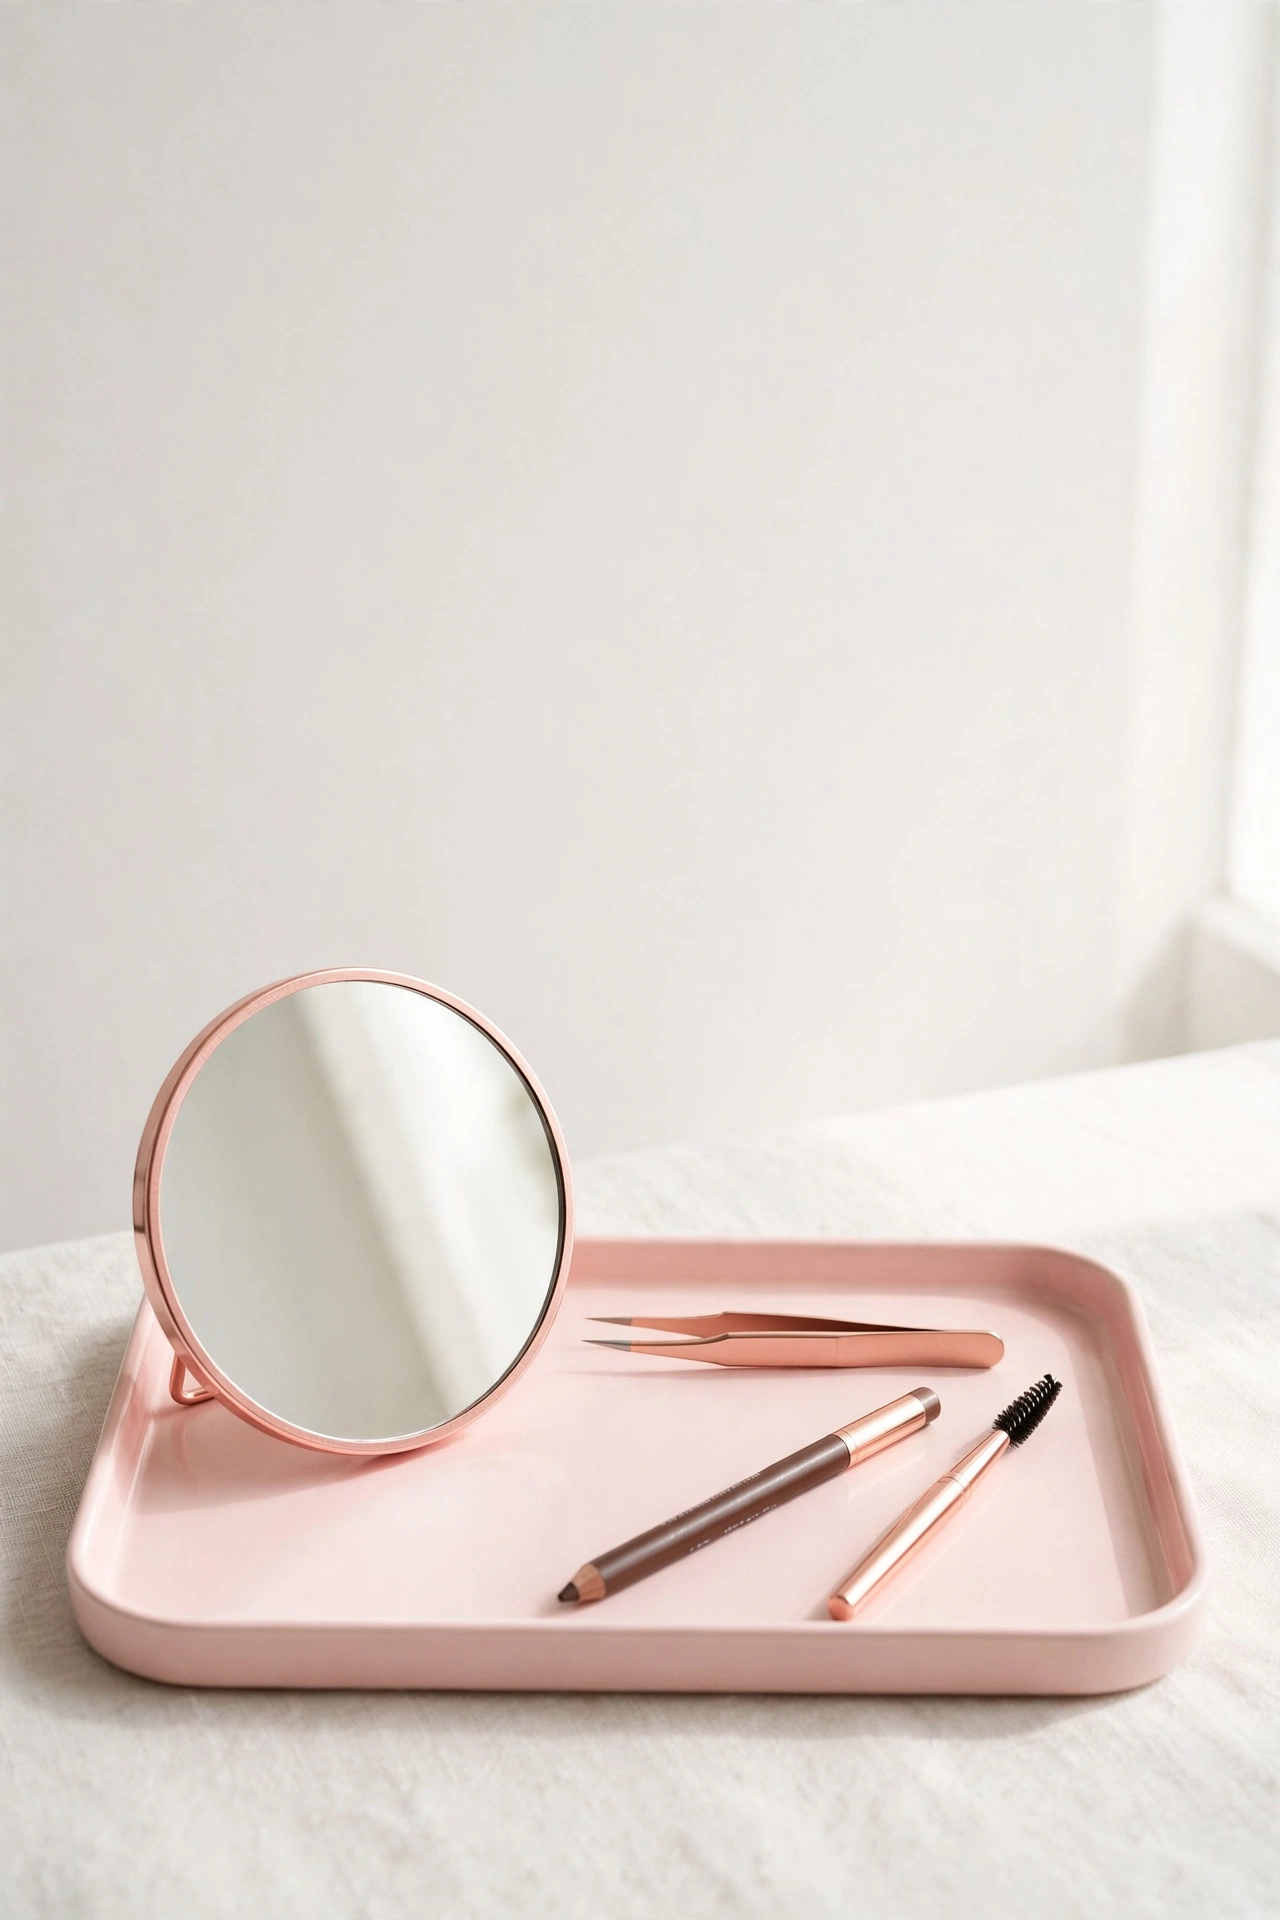
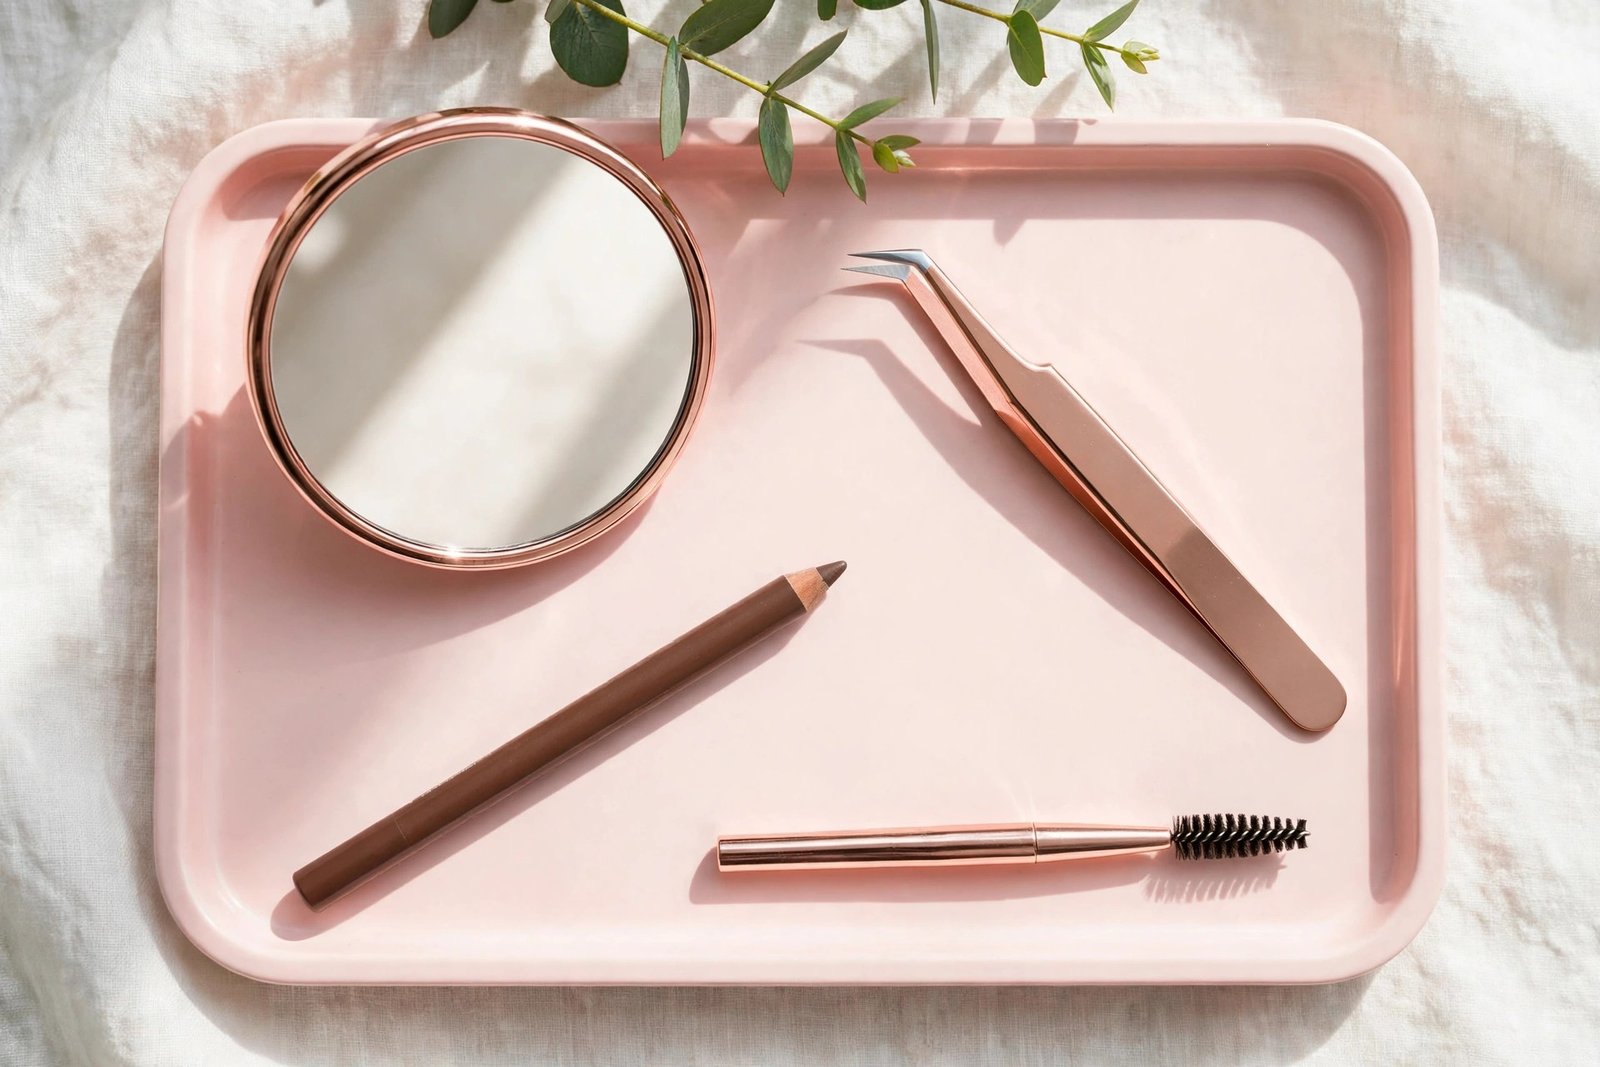
Your toolkit (all inexpensive and reusable for years):
– Slant-tip tweezers with precisely aligned tips
– A spoolie brush
– Small brow scissors
– A brow pencil or white pencil for marking
– A regular mirror (handheld or wall-mounted) plus good lighting
Your location matters more than you think. Set up near a window with bright, indirect natural daylight — it’s the most honest light for seeing what your brows actually look like. If daylight isn’t available, use a bright white-light lamp positioned in front of your face, not overhead (overhead light casts shadows that hide hairs). Avoid warm yellow bathroom lighting, which makes everything look softer and more forgiving than it is.
Timing: Do your brows in the evening or when you have no plans for an hour or two afterward. Skin can stay pink for a bit after tweezing, and rushing leads to mistakes. Never shape your brows right before an event, a photoshoot, or an important morning.
The DIY Routine, Step by Step
Step 1: Clean and Brush (2 minutes)
Wash your face or at least cleanse the brow area — tweezing on dirty or oily skin increases the chance of irritation and ingrown hairs. Pat dry completely.
Brush each brow upward and outward with the spoolie, then let the hairs fall naturally. Do this a couple of times. You’re getting a clear view of the natural shape and identifying which hairs sit outside it.
Step 2: Map Your Shape (3 minutes)
Mapping is what separates a good DIY job from a guessing game. You only need to do the full mapping the first time; afterward, you’ll know your shape.
- Hold a brow pencil vertically against the outer edge of your nostril, running up past the inner corner of your eye. Mark where it crosses your brow — that’s your start point.
- Angle the pencil from the nostril edge through the outer edge of your iris (looking straight ahead). Mark where it crosses — that’s your arch peak.
- Angle from the nostril edge past the outer corner of your eye. Mark where it crosses — that’s your tail end.
- Lightly connect the dots along the bottom edge of your brow with the pencil. This line is your boundary: hairs clearly below it can go; hairs above it stay.
If mapping feels fiddly, you can also just carefully observe: brush hairs up, and the clean bottom edge of your natural brow is usually visible. The pencil line just makes it foolproof.
Step 3: Tweeze the Obvious Strays First (5 minutes)
Start with the easy wins — the hairs that are unambiguously outside your shape:
- Between the brows: any hair growing between your two start-point marks. This instantly makes brows look cleaner and more defined.
- Far below the brow line: strays on the lid or upper cheek area that are clearly not part of the brow.
- Lone strays above: the occasional single hair sitting well above the brow line. Leave anything close to the top edge alone.
Technique refresher: hold the skin taut with your free hand, grip each hair as close to the root as possible, and pull quickly in the direction of hair growth. One hair at a time — never grab a cluster.
Step 4: Refine the Bottom Edge (5 minutes)
Now work along the bottom edge of each brow, removing hairs that fall below your mapped line. This is where the shape gets defined, so slow down here.
The alternating method: remove 2–3 hairs from the left brow, then 2–3 from the right, then step back and compare in your regular mirror. This keeps both sides even and prevents the classic mistake of perfecting one brow and then over-plucking the other trying to match.
Stay conservative on the arch. The underside of the arch is where beginners most often remove too much, creating an unnaturally high or surprised look. If you’re unsure whether a hair under the arch should go, leave it — you can reassess tomorrow.
Don’t touch the top edge. Repeat it like a mantra: the hairs above your brow give it fullness and a natural upper line. Removing them is the fastest route to thin, uneven brows.
Step 5: Trim for Neatness (3 minutes)
Trimming makes a dramatic difference with zero risk to your shape:
- Brush all brow hairs straight up with the spoolie.
- Identify hairs extending noticeably above the top line of the brow.
- With small brow scissors, snip just the tips of the longest hairs — a tiny amount at a time. Snip individual hairs, never cut straight across.
- Brush hairs back down into place and check.
- Brush hairs downward and trim any that extend well below the bottom edge.
Less is more. Over-trimmed brows look blunt and patchy. If a hair is only slightly long, leave it.
Step 6: Finish and Soothe (2 minutes)
Brush both brows into their final shape with the spoolie. Compare them in your regular mirror at arm’s length — not the magnifying mirror. They should look like sisters: similar shape and fullness, not identical.
If the skin is pink, press a cold damp cloth against the area for a minute or apply a dab of aloe vera gel. Redness typically fades within 30–60 minutes.
If you spot sparse areas now that the shape is clean, that’s what brow makeup is for — not more plucking. Our guide on how to fill in eyebrows naturally shows you how to fill gaps so they disappear.
The 7 Most Common At-Home Mistakes (and How to Avoid Them)
1. Over-plucking in a magnifying mirror. Magnification makes every tiny hair look enormous and every small asymmetry look catastrophic. Rule: do the detailed work in magnification if you must, but make all “should this hair go?” decisions in a regular mirror at arm’s length.
2. Plucking from the top of the brow. The top edge defines your brow’s fullness. Hairs removed from above rarely grow back in a helpful pattern, and the result is a thinner, flatter brow. Work below the brow only.
3. Creating the arch too far inward. A common DIY error is plucking under the inner half of the brow to “create” an arch, which produces a surprised, perpetually startled expression. Your arch peak belongs around the outer edge of the iris — trust the mapping.
4. Shortening the tail too aggressively. The tail anchors the brow and frames the eye. A stubby tail makes brows look unfinished and can make eyes appear smaller. When in doubt, leave tail hairs alone — sparse tails are better filled with pencil than plucked shorter.
5. Tweezing daily. Checking your brows every day and plucking each new hair as it appears leads to gradual over-thinning — each day you find “just one more.” Limit shaping sessions to every 1–2 weeks.
6. Shaping when emotional or rushed. Brows shaped in a hurry, in bad light, or during an impatient moment are brows you’ll regret. If you’re not calm and unhurried, put the tweezers down.
7. Copying someone else’s brow shape. Your friend’s perfect arch won’t necessarily suit your bone structure, eye spacing, or natural growth pattern. Work with what you have — it’s the only shape guaranteed to suit your face.
DIY vs Salon: When to Do It Yourself and When to Book
DIY is ideal for: regular maintenance once your shape is established, cleaning up obvious strays between appointments, trimming long hairs, and anyone on a budget. Most people can handle 80% of their brow upkeep at home.
Book a professional for: a major reshaping (going from overgrown to defined, or changing your shape significantly), the first shaping after growing brows out, or if you’ve over-plucked and need expert guidance on the recovery shape. A professional threading or waxing session every few months, with DIY tweezing in between, is a practical hybrid approach. For help choosing between salon methods, see our threading vs waxing comparison.
A note on at-home waxing kits: they exist, but brow waxing at home is genuinely risky for beginners — the skin around the eyes is thin, the wax is hot, and one wrong strip placement removes far more than intended. Tweezing gives you hair-by-hair control that wax can’t match at home. Leave waxing to the professionals.
Maintaining Your Shape Between Sessions
Once you’ve done the initial shaping, maintenance is easy:
- Every 1–2 weeks: a 5-minute tidy-up. Remove only the obvious new strays — the ones between the brows and clearly below the line. Resist re-sculpting.
- Every few weeks: check if trimming is needed. Hair grows at different rates, so some hairs will get long before others.
- Daily: brush through with a spoolie in the morning. It takes five seconds and keeps brows looking groomed even with zero product.
If you find yourself wanting to pluck more than a few hairs at each maintenance session, your shape may need a professional reset — that’s normal every few months, not a failure.
Pair your maintained shape with the rest of a simple routine: our makeup for beginners step-by-step guide shows where brows fit into a full face.
Key Takeaways
- Set up in bright, natural daylight (or white light from the front) and give yourself unhurried time — never shape brows rushed or right before an event.
- Map your three points (start, arch, tail) before removing anything; the pencil line is your safe boundary.
- Tweeze one hair at a time below the brow line, alternating sides every few hairs and checking in a regular mirror constantly.
- Trim long hairs conservatively by brushing up and snipping just the tips — never cut straight across.
- The most common DIY disasters (thin brows, misplaced arches, stubby tails) all come from removing too much; when in doubt, stop.
- Maintain with a 5-minute tidy-up every 1–2 weeks; book a professional for major reshaping.
Frequently Asked Questions
How long does it take to shape eyebrows at home?
The first full session takes about 20 minutes including mapping. Once your shape is established, maintenance tidy-ups take about 5 minutes every 1–2 weeks. Don’t rush the first session — most mistakes happen when beginners hurry.
What should I do if I over-pluck my eyebrows at home?
Stop immediately and put the tweezers away for at least 2–3 weeks. Fill the sparse areas with brow pencil using light, hair-like strokes (see our natural fill-in guide). Avoid the temptation to “even out” the other brow by plucking it to match — that doubles the problem. Full regrowth typically takes 6–8 weeks.
Can I shape my eyebrows at home without tweezers?
Trimming with brow scissors alone can neaten brows significantly without removing any hair from the root — it’s the lowest-risk DIY option. Beyond that, tweezers are really the appropriate at-home tool. Threading requires technique you can’t perform on yourself, and at-home waxing near the eyes is risky for beginners.
Should I numb the area before tweezing?
Most people don’t need to. Tweezing after a warm shower (when follicles are softened), pulling quickly, holding skin taut, and pressing the spot afterward keeps discomfort minimal. If you’re very sensitive, a wrapped ice cube pressed on the area for 30 seconds before you start can dull the sensation.
How do I shape my eyebrows at home if they’re uneven?
First, accept that some asymmetry is normal — even professionally shaped brows aren’t identical. Work on the fuller brow minimally and focus on lightly cleaning the sparser one, bringing them closer without over-plucking the fuller side to match. Fill any remaining difference with brow pencil rather than removing more hair. If the asymmetry is significant, a one-time professional shaping gives you an even baseline to maintain at home.
Conclusion
Shaping your eyebrows at home is one of those skills that feels daunting until you’ve done it once — then it becomes a quick, satisfying part of your routine. Map first, work below the brow only, remove less than you think, trim conservatively, and check your work at arm’s length. That’s genuinely the whole secret.
Start conservative, maintain lightly, and let a professional handle the big reshaping jobs. Your brows — and your wallet — will thank you.
Love this? Pin it for later!