How to Apply Self Tanner Without Streaks
Streaks are the number one fear of everyone who self tans — those telltale lines and patches that announce “this tan came from a bottle.” But here’s the reassuring truth: streaks are almost never about the product. They’re about technique. Two people can use the exact same mousse and get completely different results, because streak-free tanning is a method, not a miracle formula.
This guide breaks down the complete streak-free method: the mitt technique that professionals use, how to handle the trouble spots that cause 90% of streaking (knees, elbows, ankles, wrists, hands, feet), the prep and timing details that matter, and what to do if streaks happen anyway. If you’re brand new to self tanning, start with the complete beginner’s guide to self tanner for the full prep routine, then come back here to perfect your application.
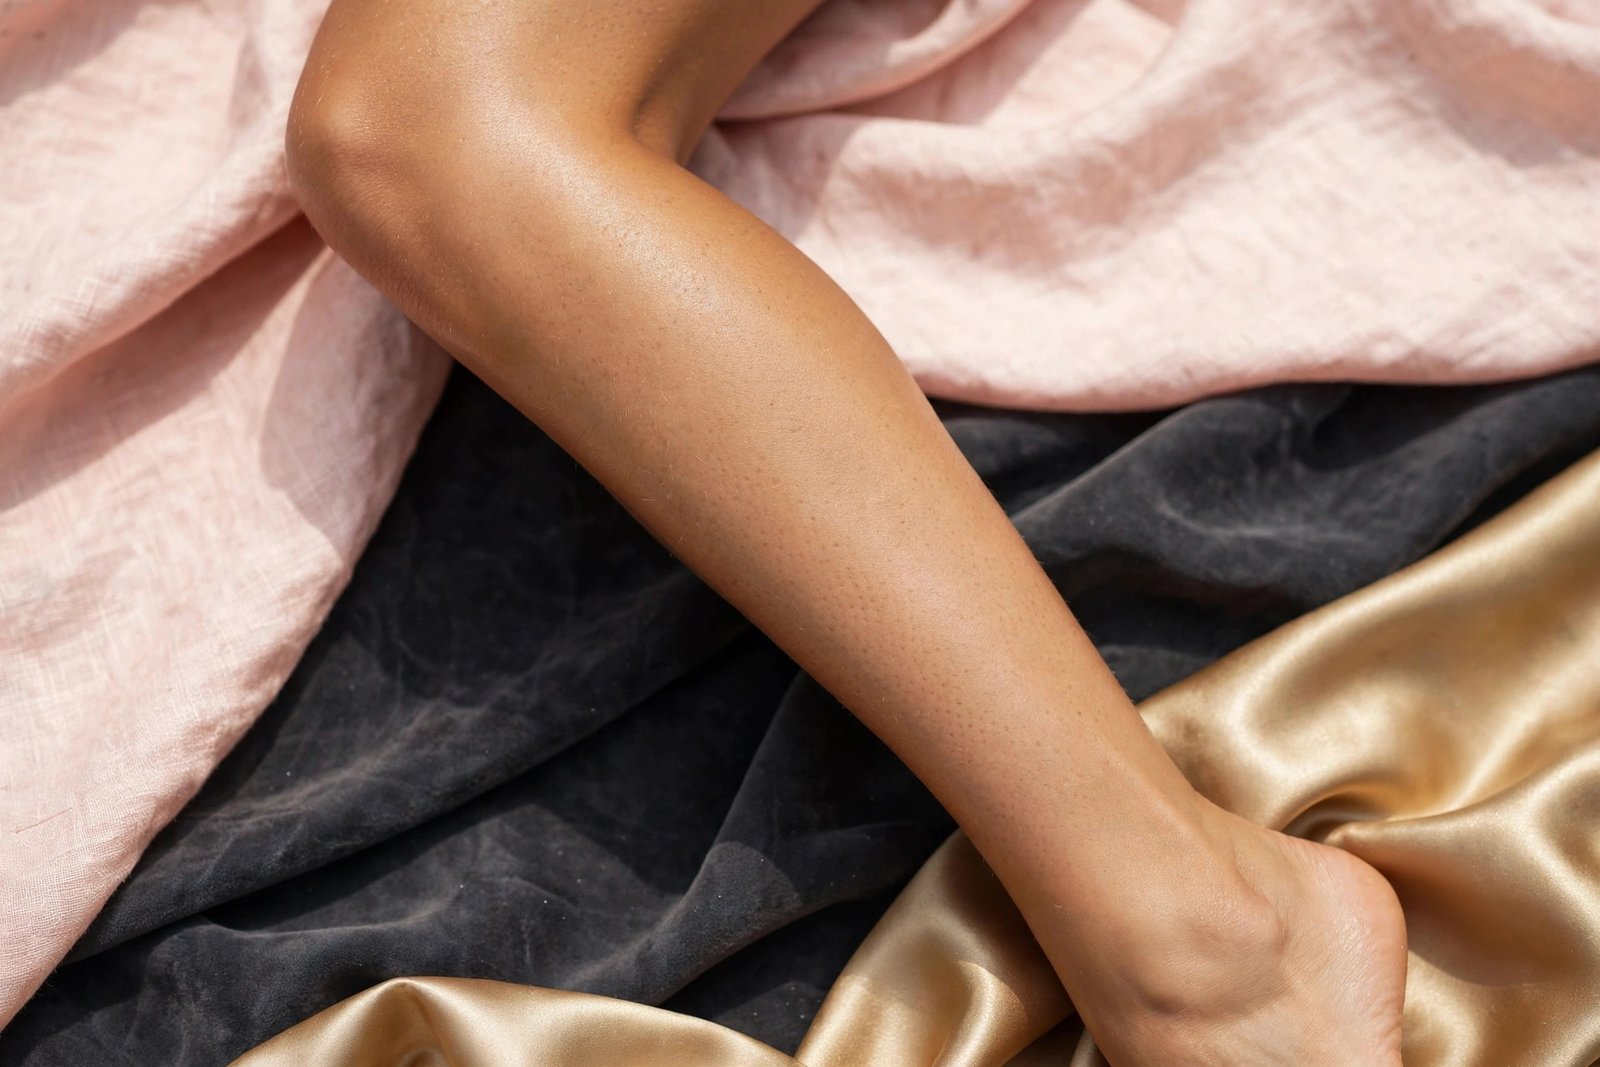
Why Streaks Happen in the First Place
Before fixing technique, it helps to understand what a streak actually is. A streak is simply an area where more (or less) DHA absorbed than the surrounding skin. That uneven absorption has a handful of causes:
- Dry, rough patches absorb more product than smooth skin. Knees, elbows, ankles, and heels are classic offenders.
- Overlapping strokes deposit double product where passes meet, creating visible lines.
- Too much product in one spot — a big pump on a small area — develops darker than the thin layer around it.
- Product settling into creases — bent elbows, wrist folds, behind the knees — pools DHA into lines.
- Touching or re-blending after product starts drying disturbs the partially set layer and creates drag marks.
- Moisture barriers — sweat, leftover lotion, deodorant — block absorption in patches, leaving light spots.
Every technique in this guide targets one of these causes. Get them right and streaks become rare.
The Mitt Technique, Step by Step
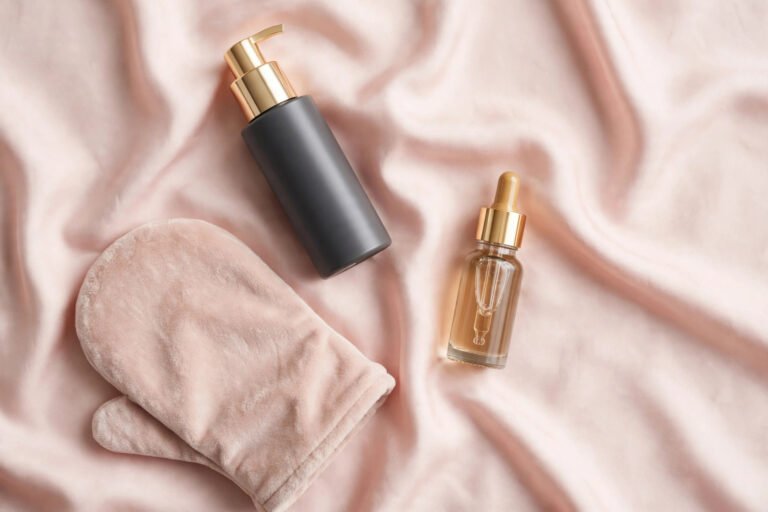
A tanning mitt — the soft, velvety applicator mitt sold alongside most mousses — is the single most important tool for streak-free application. It distributes product evenly, protects your palms from staining, and gives you the smooth glide that bare hands can’t. Here’s how to use it properly.
Choose and Prep Your Mitt
Use a proper velour tanning mitt, not a washcloth or old sock. If your mitt is brand new, it’s fine to use as-is. If reusing one, make sure it’s completely clean and dry — old product residue causes uneven application. Some people prefer a mitt with a thumb or an elastic cuff; either works as long as the surface is smooth and plush.
The Pump-and-Sweep Method
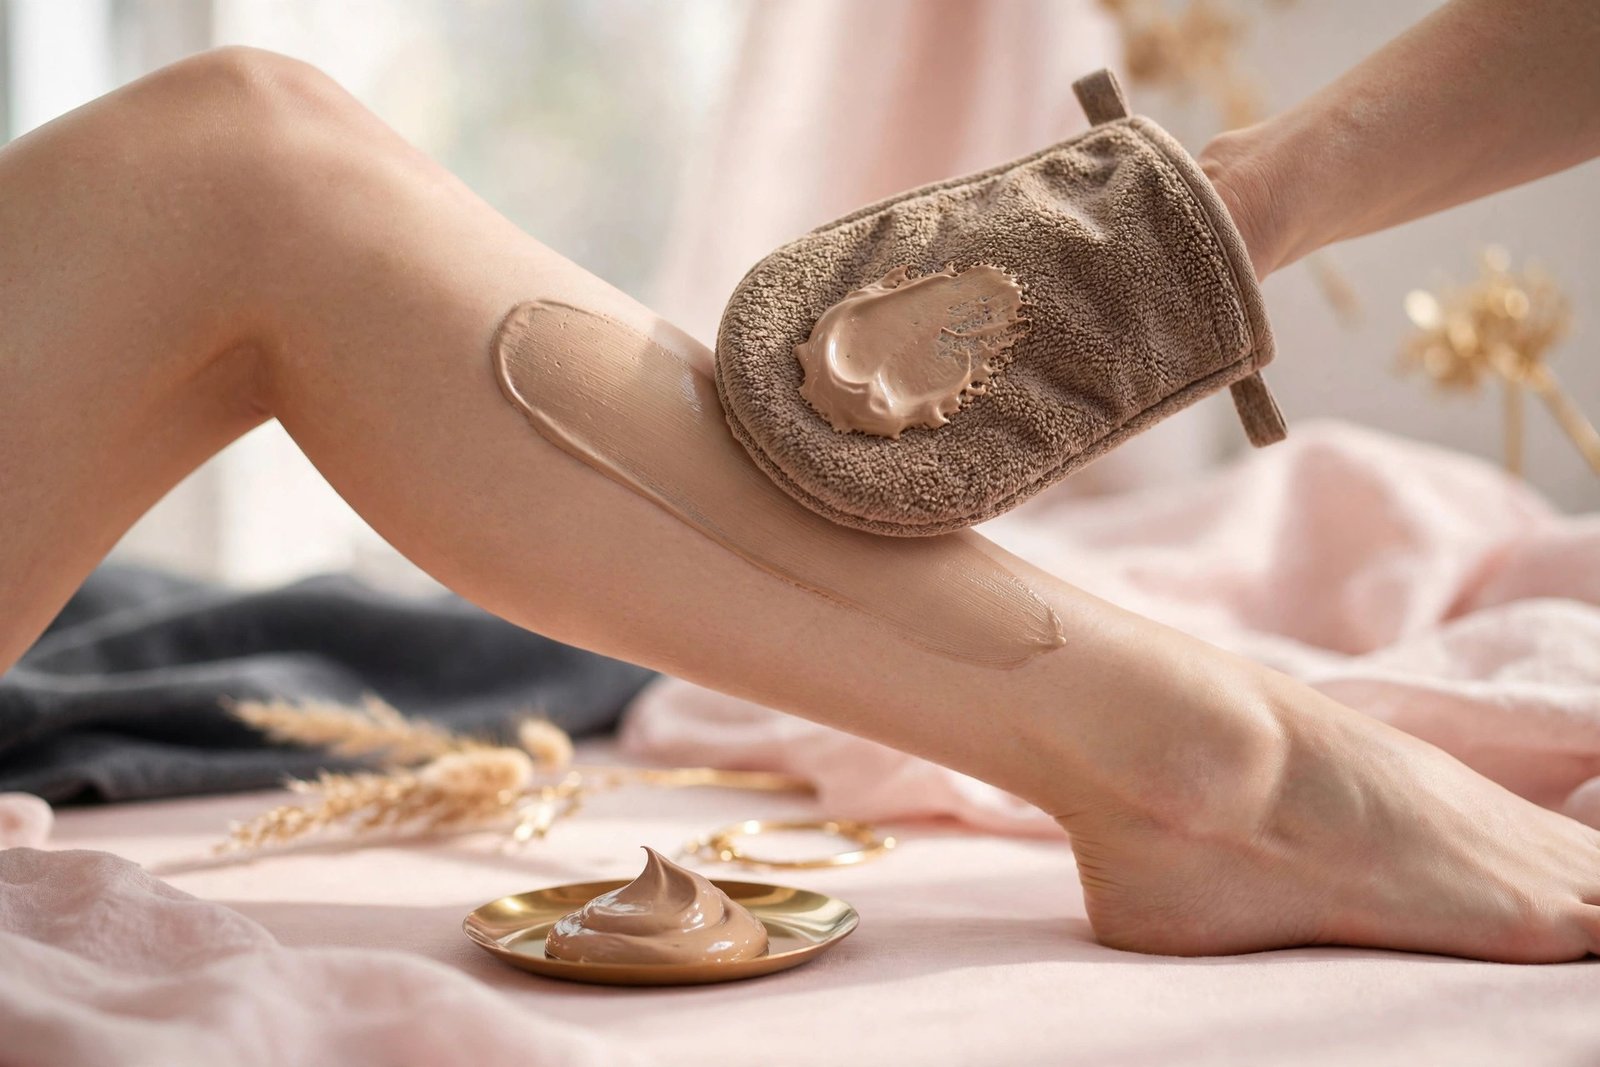
- Pump once onto the mitt — not onto your skin. One pump covers roughly one body section (a lower leg, a thigh, a forearm).
- Start with long, sweeping strokes in one direction. Work in straight passes — up the shin, across the thigh — rather than circles. Circular motions create swirl patterns that show up as streaks.
- Overlap each pass by about half, like mowing a lawn. This prevents gaps without double-dosing any area.
- Keep the mitt moving steadily. Don’t stop mid-stroke to check your phone or adjust — pausing lets product sit and absorb unevenly.
- Use the residual product for edges. As the mitt’s product runs low, use what’s left to feather into the next section rather than pumping fresh product at every boundary. This creates seamless transitions.
Pressure and Speed
Use light, even pressure — pressing hard squeezes excess product out of the mitt in blobs. Move at a moderate, consistent pace: too slow and the product starts setting before you’ve finished blending; too fast and you miss spots. Think of it like painting a wall: steady, overlapping passes with a loaded-but-not-dripping applicator.
One Section at a Time
Work the body in clear sections — foot/ankle, lower leg, knee, thigh, hip, and so on — and finish each section completely before moving on. Don’t bounce between areas. Tanning product begins developing on contact, so an area you half-finish and return to five minutes later will take color differently than the fresh section.
Blending the Trouble Spots
These six areas cause the overwhelming majority of streaks and dark patches. Each needs a specific approach.
Knees
Knees have thicker skin and natural creases that trap product. Bend your knee slightly while applying so the skin is taut and creases are smoothed out — applying to a fully bent knee deposits product deep into the folds. Use only the residual product on the mitt (no fresh pumps) and sweep lightly over the kneecap. Feather well into the thigh above and the shin below so there’s no visible line where the knee section starts and ends.
Elbows
Same principle as knees: keep the arm slightly bent, not fully folded, and use residual product only. The inner elbow crease is the danger zone — barely touch it. Most of your arm’s color should come from the forearm and upper arm sections, with the elbow itself getting just a whisper of product.
Ankles
Ankles combine thin skin, bony protrusions, and tendons that create ridges. Sweep residual product lightly over the ankle bone, then blend downward toward the foot and upward toward the calf with the nearly-empty mitt to diffuse any line. Don’t pump fresh product for the ankle itself — ever.
Wrists
The wrist is where arm color meets hand color, and a hard line here is very visible. Apply your arm sections first, then use the leftover product to sweep across the wrist in the direction of the hand, feathering the transition. Keep the wrist straight (not bent) during application.
Hands
Hands are the highest-risk area for an obvious fake tan: the skin is thin, the knuckles are dry, and the contrast with untanned fingers is stark. Apply only with the residual product on the mitt after finishing the arms. Lightly sweep over the backs of the hands, then carefully address each finger — a nearly-dry mitt, one light pass per finger, blending between them. Bend fingers slightly to avoid product pooling in knuckle creases. Some people prefer to skip tanner on the hands entirely and let the arm color fade naturally into them; if your hands tan easily, this is a legitimate strategy.
Feet
Feet mirror hands: residual product only, light sweeps over the tops, careful blending between toes. Pay attention to the ankle-to-foot transition — this is where streaks love to form. Sit down to do your feet so you’re not balancing and rushing.
The Golden Rule for All Six
If you remember one thing: these areas get leftover product, never fresh pumps. Dry, thick, or creased skin over-absorbs DHA. Starving these zones of product is what keeps them matching the rest of your body.
Timing and Environment Details That Prevent Streaks
Skin Must Be Completely Dry
Apply tanner to fully dry skin. Even slight dampness — from a recent shower, humidity, or sweat — dilutes the DHA and creates streaky, uneven development. After showering, wait at least 10–15 minutes (longer in humid weather) and make sure you’re in a cool room. If you tend to get warm, run a fan or apply in an air-conditioned space; sweat during application is a streak guarantee.
Don’t Re-Blend Drying Product
Once a section is done, leave it alone. Going back over partially dried tanner with the mitt drags the setting product and creates visible marks. If you spot a missed patch, it’s better to note it and do a light touch-up the next day than to disturb a drying layer.
Check Your Work in Good Light
Apply in the brightest light available — natural daylight is ideal, or a well-lit bathroom. Dim, warm lighting hides missed spots and uneven blending that become obvious later. Some people do a final check with a phone flashlight held at an angle, which reveals unevenness through shadows.
Development Time: Hands Off
During the 4–8 hour development window, avoid water, sweat, and tight clothing. Don’t cross your arms for long periods, don’t tuck your hands under your body while sleeping, and don’t wear socks or tight waistbands. Any sustained pressure or moisture during development creates marks. Loose, dark clothing and loose pajamas are the uniform.
The Back and Other Hard-to-Reach Areas
Streaks on the back usually come from stretching and straining to reach, which produces jerky, uneven application. Better options:
- Use a spray formula for the back, misting in smooth vertical passes.
- Apply mousse to the mitt, then reach over each shoulder and around each side, blending toward the center where the two sides meet.
- Use a long-handled lotion applicator (sold for back sunscreen) with your tanner.
- Ask someone for help. There’s no shame in it — a partner doing your back in 30 seconds beats ten minutes of contortion.
Blend the edges where your reach ends into the surrounding skin with the residual-product technique so there are no start/stop lines.
What to Do When Streaks Happen Anyway
Even with perfect technique, occasional streaks happen — a missed patch, a crease line, a darker knee. Don’t panic; most are fixable.
- Light streaks or missed patches: Apply a small amount of gradual tanning lotion to the lighter area over the next day or two to even things out. Building up is easier than taking away.
- Dark streaks or lines: Gently exfoliate the dark area with a body scrub or exfoliating mitt to lift excess color. For stubborn spots, the methods in how to remove self tanner fast — baking soda paste, lemon juice, or a targeted exfoliating mitt session — work well.
- Orange or too-dark patches on hands/feet: These fade fastest with exfoliation since the skin there turns over quickly. A scrub in the shower usually softens them within a day.
- The nuclear option: If a section is truly unsalvageable, remove it fully with an exfoliating mitt and warm water, wait a day, and reapply that section carefully.
For a complete exfoliation refresher before any fix attempt, see how to exfoliate your body properly.
Key Takeaways
- Streaks come from uneven DHA absorption — dry patches, overlapping strokes, too much product, creases, and moisture are the causes.
- Use a velour tanning mitt with long, sweeping, overlapping strokes; never circular motions.
- Knees, elbows, ankles, wrists, hands, and feet get residual product only — never fresh pumps.
- Keep joints slightly extended (not fully bent) while applying so product doesn’t settle into creases.
- Apply to completely dry skin in a cool, brightly lit room; don’t re-blend drying product.
- During development, avoid water, sweat, tight clothing, and sustained pressure on the skin.
- Light streaks can be evened out with gradual tanner; dark streaks respond to targeted exfoliation.
FAQ
Why do I get streaks even when I exfoliate?
Exfoliation is necessary but not sufficient. The other common culprits are applying to damp skin, using circular motions, re-blending partially dried product, and over-applying to knees, elbows, and ankles. Check your technique against each of these.
Should I apply self tanner in circular or straight motions?
Straight, sweeping strokes. Circular motions create swirl marks that develop into visible streaks. Overlap straight passes by about half, like mowing a lawn.
How do I avoid the line where my tanner stops at my wrist?
Feather the transition: after finishing the arm, use the residual product on the mitt to sweep lightly across the wrist toward the hand. Keeping the wrist straight (not bent) during application also prevents product pooling in the crease.
Can I fix streaks after the tan has fully developed?
Yes. Light areas can be built up with gradual tanning lotion over a day or two; dark streaks can be softened with targeted exfoliation using a body scrub or exfoliating mitt. Full details are in the removal guide.
Is a mitt really necessary, or can I use my hands?
A mitt is strongly recommended. Bare hands absorb product unevenly, leave orange palms, and make smooth blending much harder. A velour tanning mitt is inexpensive and makes the single biggest difference to streak-free results.
Conclusion
Streak-free self tanning isn’t about expensive products or natural talent — it’s a repeatable method. Dry skin, a mitt, sweeping overlapping strokes, and a light touch on the trouble spots will get you an even, believable tan nearly every time. Practice the technique on your legs first if you’re nervous; they’re the most forgiving area and the easiest to fix. Once the method clicks, you’ll wonder why you ever found it intimidating — and you’ll have the beginner’s self tanner guide fundamentals and mistake-fixing techniques as backup whenever you need them.
Love this? Pin it for later!