Smokey Eye for Christmas Parties: Step-by-Step
The smokey eye is the undisputed queen of party makeup. It’s dramatic without being costume-y, it photographs beautifully under both candlelight and camera flash, and a classic brown or black smokey works with literally every party outfit from velvet dresses to sequin tops. It’s also the look most people are afraid to attempt — which is a shame, because the technique is simpler than it looks.
The secret of a good smokey eye isn’t talent; it’s the right brushes, the right order of operations, and blending. So much blending. This tutorial walks through a classic brown-black smokey from bare lid to finished party eye, including how to balance it with the rest of your face and how to fix the number-one smokey eye disaster: fallout.
For where this look fits into your full party plan, see the [New Year’s Eve beauty guide: the complete party prep → new-years-eve-beauty-guide].
Key Takeaways
- You need four brushes: flat shader, fluffy blender, small pencil brush, and a clean blending brush
- Always work from light to dark, and blend after every single color step
- Eye primer is non-negotiable — it prevents creasing and makes colors pop for hours
- Do eyes before foundation so fallout doesn’t ruin your base
- Balance a smokey eye with a nude lip and soft cheeks, never a bold lip
- Fix fallout with a dry cotton swab or concealer, never by rubbing with a wet wipe
Your Smokey Eye Brush Guide
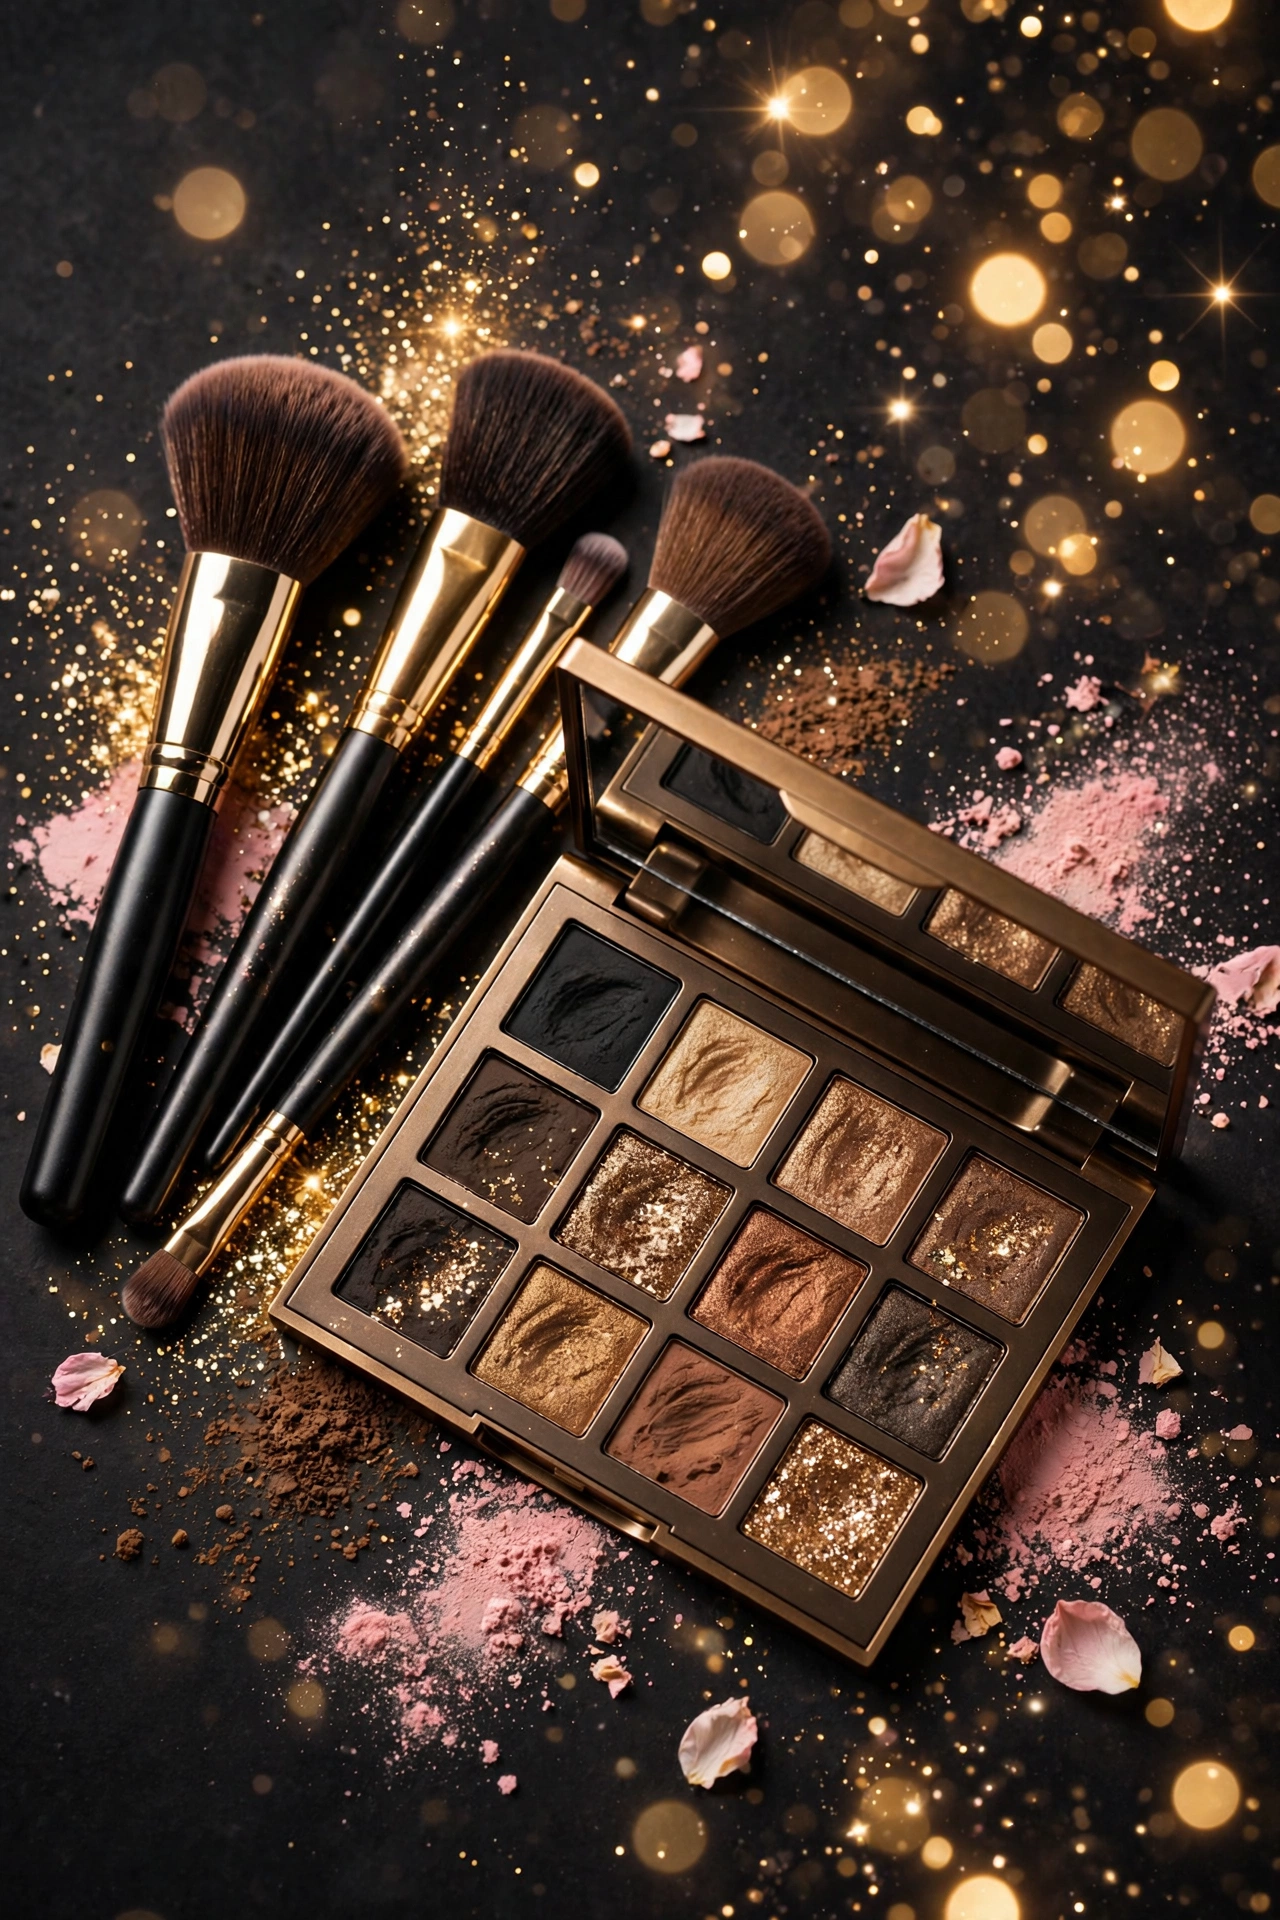
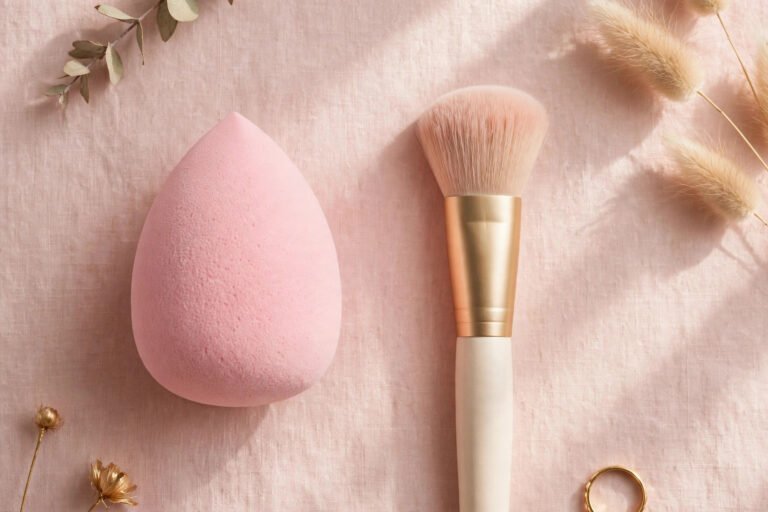
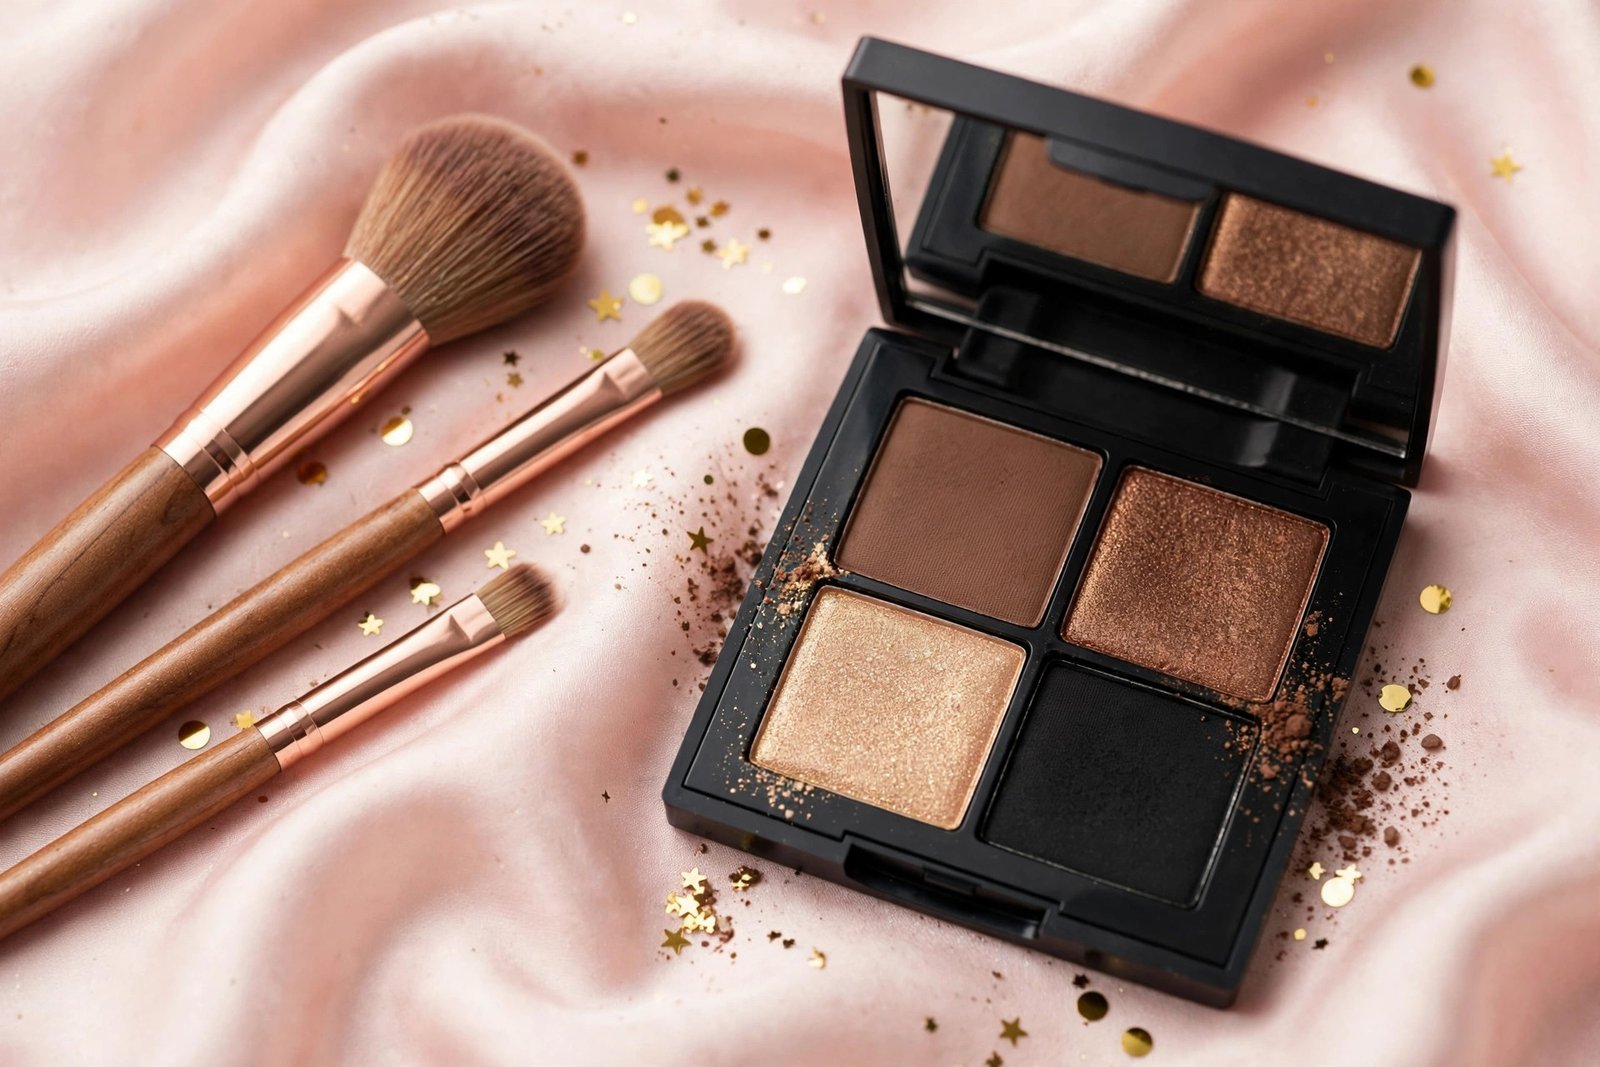
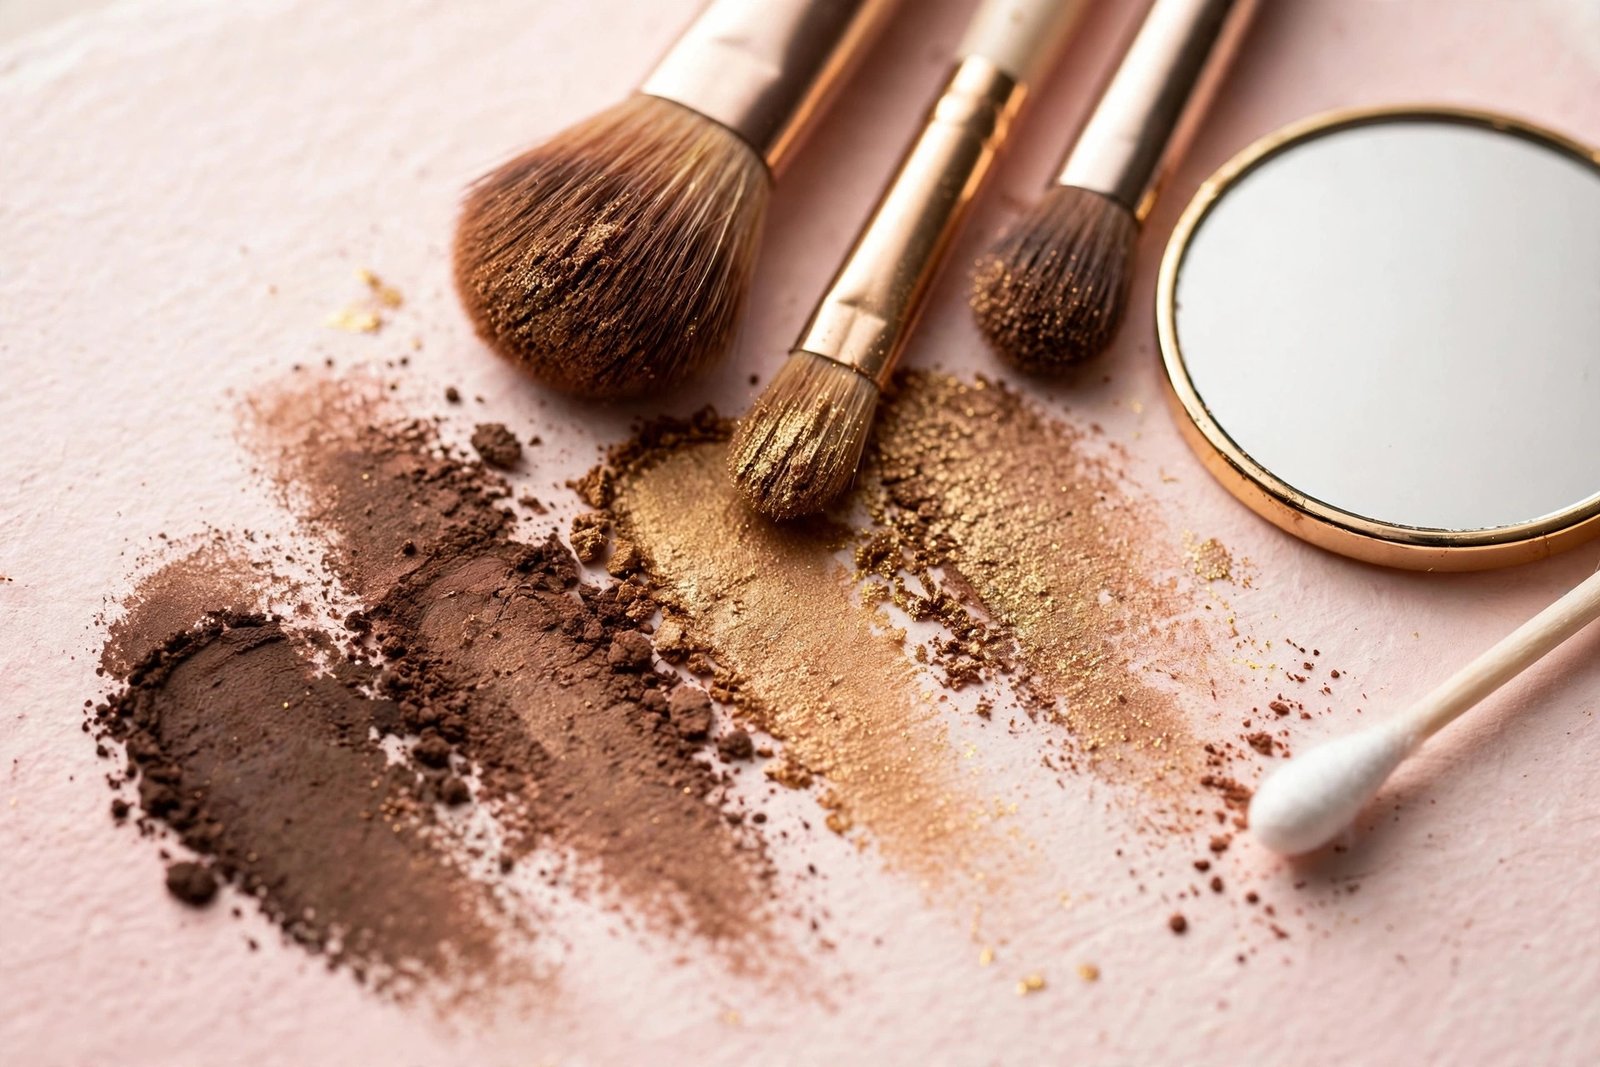
You don’t need a 20-piece brush set — four brushes handle a full smokey eye. A flat shader brush packs color onto the lid with minimal fallout; pressing and patting motions deposit pigment densely. A fluffy blending brush (medium-sized, with soft tapered bristles) is the workhorse — it diffuses edges and merges colors into that seamless gradient. A small pencil brush places dark color precisely along the lash line and in the outer corner. And a clean fluffy brush with nothing on it is your eraser and final polisher; running it over edges with no product softens everything without adding color.
If you’re building your kit from scratch, the [makeup brushes guide for beginners → makeup-brushes-guide-for-beginners] covers what each shape does. And whatever brushes you use, make sure they’re clean before a party look — dirty brushes muddy colors. The [how to clean makeup brushes → how-to-clean-makeup-brushes] guide has the quick method.
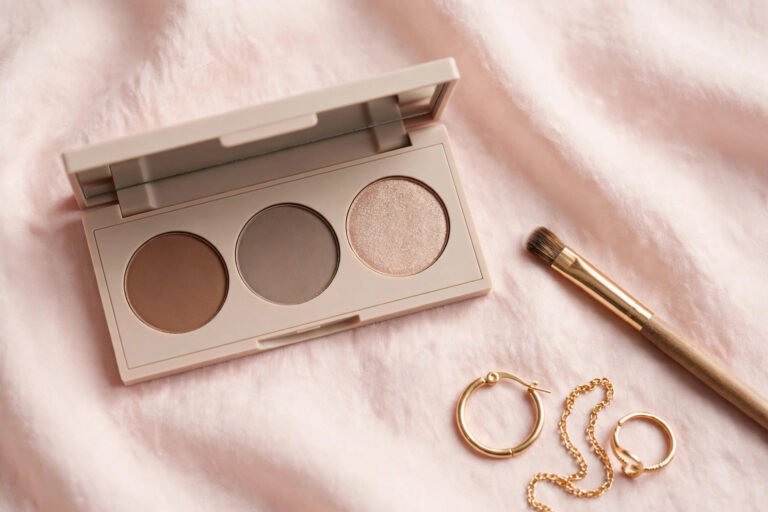
Eyeshadow choice matters too. For a classic party smokey, you need four shades in the same family: a light transition shade (warm taupe or soft brown), a medium crease shade (rich chocolate), a deep shade (dark espresso or black), and a shimmer for the lid center (champagne or gold for Christmas). Matte shades do the structural work; the shimmer is the festive accent. If you’re new to shadow generally, the [eyeshadow guide for beginners → eyeshadow-guide-for-beginners] is worth a read first.
Step-by-Step: The Classic Brown-Black Smokey
Step 1 — Prime. Apply eye primer from lash line to brow bone and let it set for 30 seconds. This grips the shadow, intensifies the pigment, and stops creasing for the whole party. On oily lids, primer is the difference between a smokey eye and a smudgy mess by 10pm — the full technique is in [how to make eyeshadow last on oily lids → how-to-make-eyeshadow-last-oily-lids].
Step 2 — Transition shade. With the fluffy blending brush, sweep the light transition shade through the crease in windshield-wiper motions, taking it slightly above the crease. This creates the gradient runway that every darker shade will melt into. Blend until there are no visible edges.
Step 3 — Deepen the crease. With the same fluffy brush (or a slightly smaller one), apply the medium chocolate shade to the crease and outer third of the lid, using small circular motions. Keep the darkest concentration on the outer corner — that’s what creates the lifted, elongated party-eye shape. Blend, blend, blend.
Step 4 — Pack the lid. With the flat shader brush, press the shimmer shade onto the center of the lid, patting rather than sweeping to minimize fallout. For Christmas parties, a gold or champagne shimmer reads festive and catches candlelight beautifully.
Step 5 — Darken the outer V. With the pencil brush, apply the deepest shade (espresso or black) to the outer corner in a sideways V shape, then use the clean blending brush to diffuse it inward. The rule: darkest on the outside, fading toward the inner corner. This is where most of your blending time goes — keep going until no harsh lines remain.
Step 6 — Lower lash line. Run the pencil brush with the medium shade along the lower lash line, connecting it to the outer corner. This balances the top and stops the eye from looking top-heavy. Smudge, don’t draw a hard line.
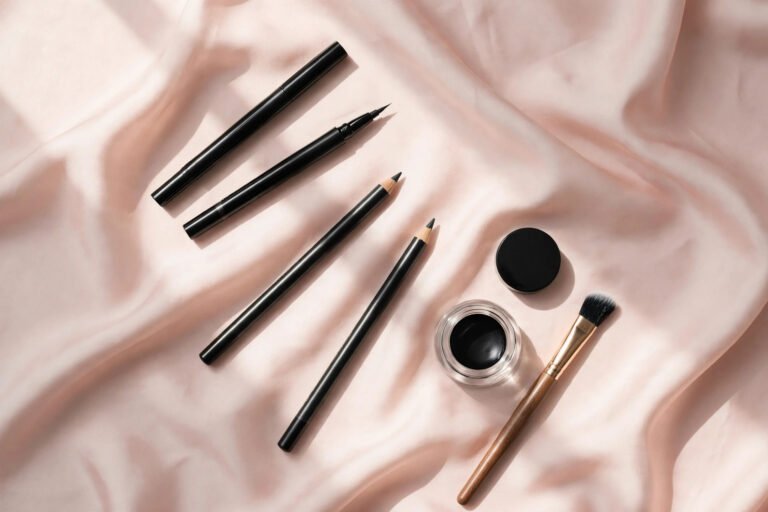
Step 7 — Line and lashes. Tightline the upper waterline with black liner (this makes lashes look instantly thicker), add a subtle wing if you like, then curl lashes and apply two coats of mascara. For extra party drama, false lashes or individual clusters on the outer corners elevate the whole look. If mascara migrates on you, the fixes in [how to stop mascara smudging under eyes → how-to-stop-mascara-smudging-under-eyes] are essential pre-party reading.
Step 8 — Clean up and highlight. Dab a touch of concealer under the outer corner on an angled brush to sharpen the wing edge, and press a light shimmer into the inner corner and brow bone. Done.
Balancing the Rest of Your Face
A smokey eye is a statement, and statements need quiet supporting players. The classic rule — bold eyes, nude lips — exists for a reason: two focal points compete, and the face ends up looking busy rather than striking. Pair your smokey eye with a nude or soft pink lip in a shade close to your natural lip color. If you want the full breakdown on nailing the red lip instead (for a different party), the [bold red lip holiday guide → bold-red-lip-holiday-guide] covers it — just don’t wear both at once.
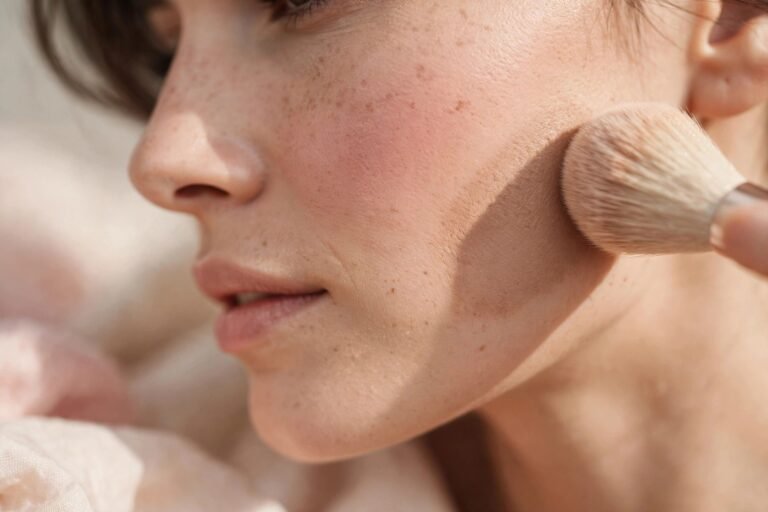
Keep cheeks soft too: a neutral blush swept lightly on the apples, nothing bright or heavily contoured. Brows should be defined but natural — fill sparse spots and set with gel, since strong eyes draw attention to the brow area. And go slightly stronger on complexion coverage than daytime, because the contrast of dark eyes against uneven skin is unforgiving in photos.
One more balance tip: if your smokey eye is very dark (true black), keep everything else extra soft. If it’s a softer brown smokey, you have slightly more room for a deeper lip. Match the intensity across the face and the whole look stays harmonious.
Fixing Fallout and Common Mistakes
Fallout — those dark specks of shadow that drift onto your cheeks during application — is the smokey eye’s signature hazard. Prevention beats cleanup: do your eyes before foundation (so fallout lands on bare skin and wipes away cleanly), tap excess product off the brush before touching your lid, and press shimmer shades on instead of sweeping them.
If fallout happens anyway, don’t panic and don’t rub. Use a large clean fluffy brush to sweep dry specks away, or roll a dry cotton swab over them — the specks cling to the cotton. For stubborn spots, dab (never wipe) a tiny amount of concealer over them with a sponge. What you must not do is attack fallout with a wet wipe or micellar water mid-application; it disturbs everything around it and leaves a clean patch that no longer matches.
Other common smokey mistakes: skipping primer (guaranteed creasing within hours), not blending enough (if you can see where one color ends and another begins, keep blending), taking dark shadow too high (keep the deepest shades at or below the crease on the outer half — going higher closes the eye down), and neglecting the lower lash line (a smokey with a bare lower lash line looks unfinished and top-heavy).
If your eyeshadow tends to fade or crease no matter what, primer might not be the whole story — [eyeshadow primer: do you need it → eyeshadow-primer-do-you-need-it] and [how to blend eyeshadow for beginners → how-to-blend-eyeshadow-for-beginners] cover the fundamentals that make every eye look better.
Frequently Asked Questions
What colors work best for a Christmas party smokey eye?
Classic brown and black with a gold or champagne shimmer center is the most versatile and flattering combination. Warm browns suit most skin tones and read festive without being harsh. For a Christmas twist, deep burgundy or forest green can replace the brown — keep the technique identical.
Should I do my eye makeup before or after foundation?
Before, always, for a smokey eye. Eyeshadow fallout is inevitable with dark shades, and it’s far easier to wipe specks off bare skin than to fix them on top of finished foundation. Do full eye makeup, clean up, then start your base.
How do I stop my smokey eye from smudging by midnight?
Eye primer, thin layered application, waterproof liner and mascara, and a final press of translucent powder-free setting (use setting spray, not powder, near eyes). Also avoid touching your eyes — every touch transfers oils that break shadow down.
Can hooded eyes wear a smokey eye?
Absolutely — the technique just shifts slightly upward. Place the transition and crease shades above your natural crease so the gradient is visible when your eyes are open, and keep the lid shimmer on the mobile lid. The [best eyeshadow for hooded eyes → best-eyeshadow-for-hooded-eyes] guide has shape-specific tips.
How do I remove a smokey eye without scrubbing?
Soak a cotton pad in an oil-based or dual-phase eye makeup remover, press it over the closed eye for 20-30 seconds to dissolve the pigment, then wipe gently downward. Repeat rather than scrubbing. Follow with your regular double cleanse — the method in [how to double cleanse → how-to-double-cleanse] gets every last trace.
A smokey eye looks intimidating only until you’ve done it once. Practice it a few days before your party, keep your brushes clean, blend more than feels necessary, and let the lips stay quiet. You’ll have the most photographed eyes in the room.
Love this? Pin it for later!