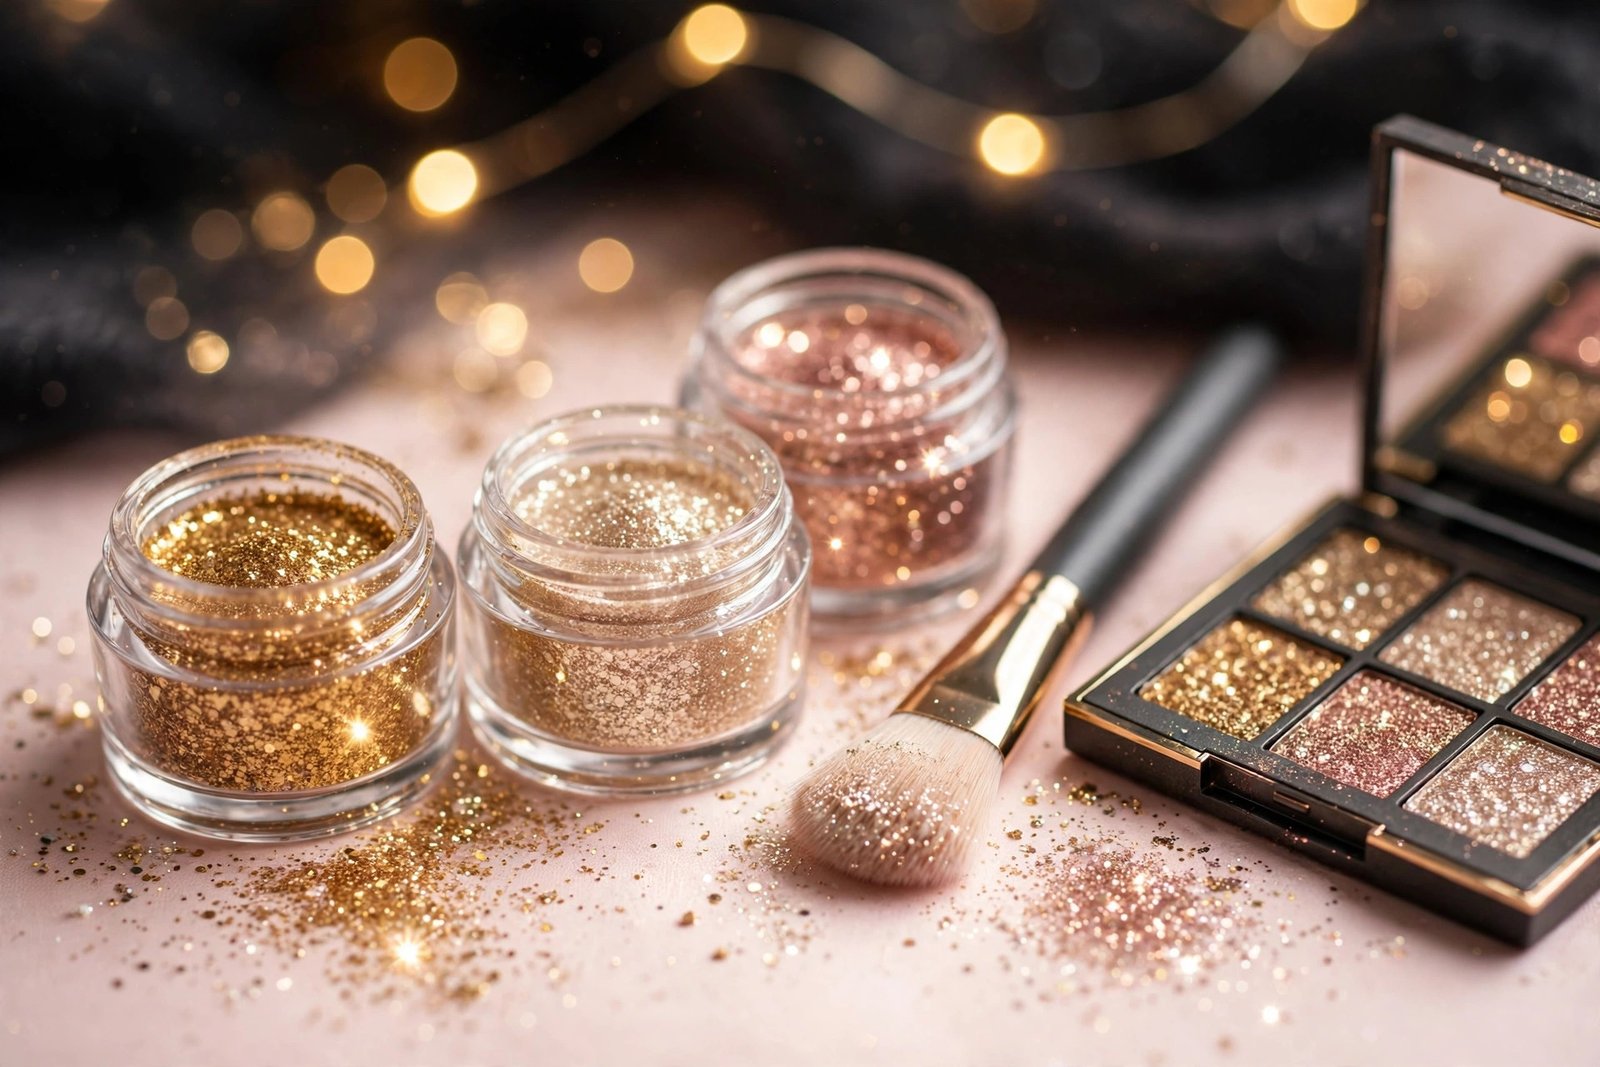
NYE Glitter Makeup Tutorial: Sparkle Without the Fallout
Glitter makeup is the whole point of New Year’s Eve — but it has a dark side. Loose glitter migrates. It lands on your cheeks, your clothes, your pillowcase, and somehow your eyebrows. It gets into eyes and causes irritation. And if you’ve ever tried to remove it, you know the horror of glitter that simply will not leave your face.
The secret professional makeup artists use: glitter itself is almost never the problem. The base is. Applied over the right sticky base with the right technique, glitter stays exactly where you put it all night — and comes off without a fight. This tutorial covers everything: choosing between pressed and loose glitter, the bases that actually grip, a step-by-step no-fallout application, and gentle removal. For the complete party-night plan, start with the [Christmas party beauty guide → christmas-party-beauty-guide].
Key Takeaways
- Glitter needs a sticky base — cosmetic glitter glue or a tacky concealer — never apply it over dry shadow alone
- Pressed glitter is easier and less messy than loose glitter, especially for beginners
- Apply glitter with a flat synthetic brush using pressing motions, never sweeping
- Do eye makeup before foundation so you can clean up fallout without ruining your base
- Remove glitter with an oil-based cleanser or micellar water on a cotton pad, pressing and lifting — never scrubbing
- Only use cosmetic-grade glitter near eyes — craft glitter can scratch the cornea
Pressed vs. Loose Glitter: Which Should You Use?
Pressed glitter comes in a pan or compact, pre-mixed with a binding base. You apply it like eyeshadow — swipe or press it on with a brush or finger. Pros: minimal fallout, easy to control, great for beginners, and easy to remove. Cons: less intense sparkle than loose glitter, and the color payoff can be sheerer.
Loose glitter is pure pigment in a jar — maximum impact, maximum mess. Pros: the most dramatic, light-catching sparkle you can get; endlessly blendable colors. Cons: fallout everywhere if your technique is off, trickier removal, and you absolutely need a glitter adhesive.
The recommendation: if this is your first glitter eye, start with pressed glitter. You get 80% of the drama with 10% of the risk. Move to loose glitter once you’re comfortable with the pressing technique — or use loose glitter only as an accent (center of the lid, inner corner) over a pressed-glitter base.
Safety note that matters: only use glitter labeled cosmetic-grade or eye-safe near your eyes. Craft glitter is cut from metal or glass with sharp edges and can scratch the cornea. Cosmetic glitter is cut with rounded edges specifically to be eye-safe. This is non-negotiable.
The Bases That Actually Grip Glitter
Glitter over dry eyeshadow is a recipe for migration. You need something tacky underneath — tacky meaning sticky-to-the-touch, not wet.
Cosmetic glitter glue. The gold standard. Apply a thin layer where you want glitter, wait 30-60 seconds until it’s tacky (not wet), then press glitter on. Brands marketed specifically as glitter primers or glitter adhesives work best because they stay tacky for hours.
Tacky concealer. In a pinch, a full-coverage concealer that’s been left to get tacky for a minute works as a base. It’s less reliable than actual glitter glue but far better than nothing. The [eyeshadow primer guide → eyeshadow-primer-do-you-need-it] explains why standard primers grip shadow but not glitter — glitter particles are heavier and need stronger adhesion.
Cream eyeshadow. A metallic cream shadow in a similar tone makes an excellent base: it adds depth under the glitter and its tackiness helps hold particles. Apply, let it get tacky, press glitter over the top.
What doesn’t work: dry powder shadow alone, setting spray as a base (it’s designed to set, not to grip), and lip gloss (too slippery, migrates into the crease).
Step-by-Step: The No-Fallout Glitter Eye
Step 1: Do eyes before foundation. This is the single biggest fallout-prevention trick. Any glitter that escapes lands on bare skin, and you can sweep it away or remove it with tape before your base goes on. Doing glitter after foundation means fallout sticks to foundation and you’re stuck with it.
Step 2: Prime the lid. Apply eyeshadow primer all over the lid and up to the brow bone, then set it lightly with a translucent powder or a matte shadow close to your skin tone. This prevents the glitter base from creasing.
Step 3: Build your shape with regular shadow first. Create the eye look underneath — transition shade in the crease, deeper shade on the outer corner — using regular powder shadows. The glitter is the star, but it needs a supporting shape underneath or it looks like a random sparkle patch.
Step 4: Apply the glitter base. Dot glitter glue or your tacky base exactly where you want the glitter — typically the mobile lid, stopping at the crease. Keep the edges clean; glitter spreads slightly beyond where the base is. Wait until tacky.
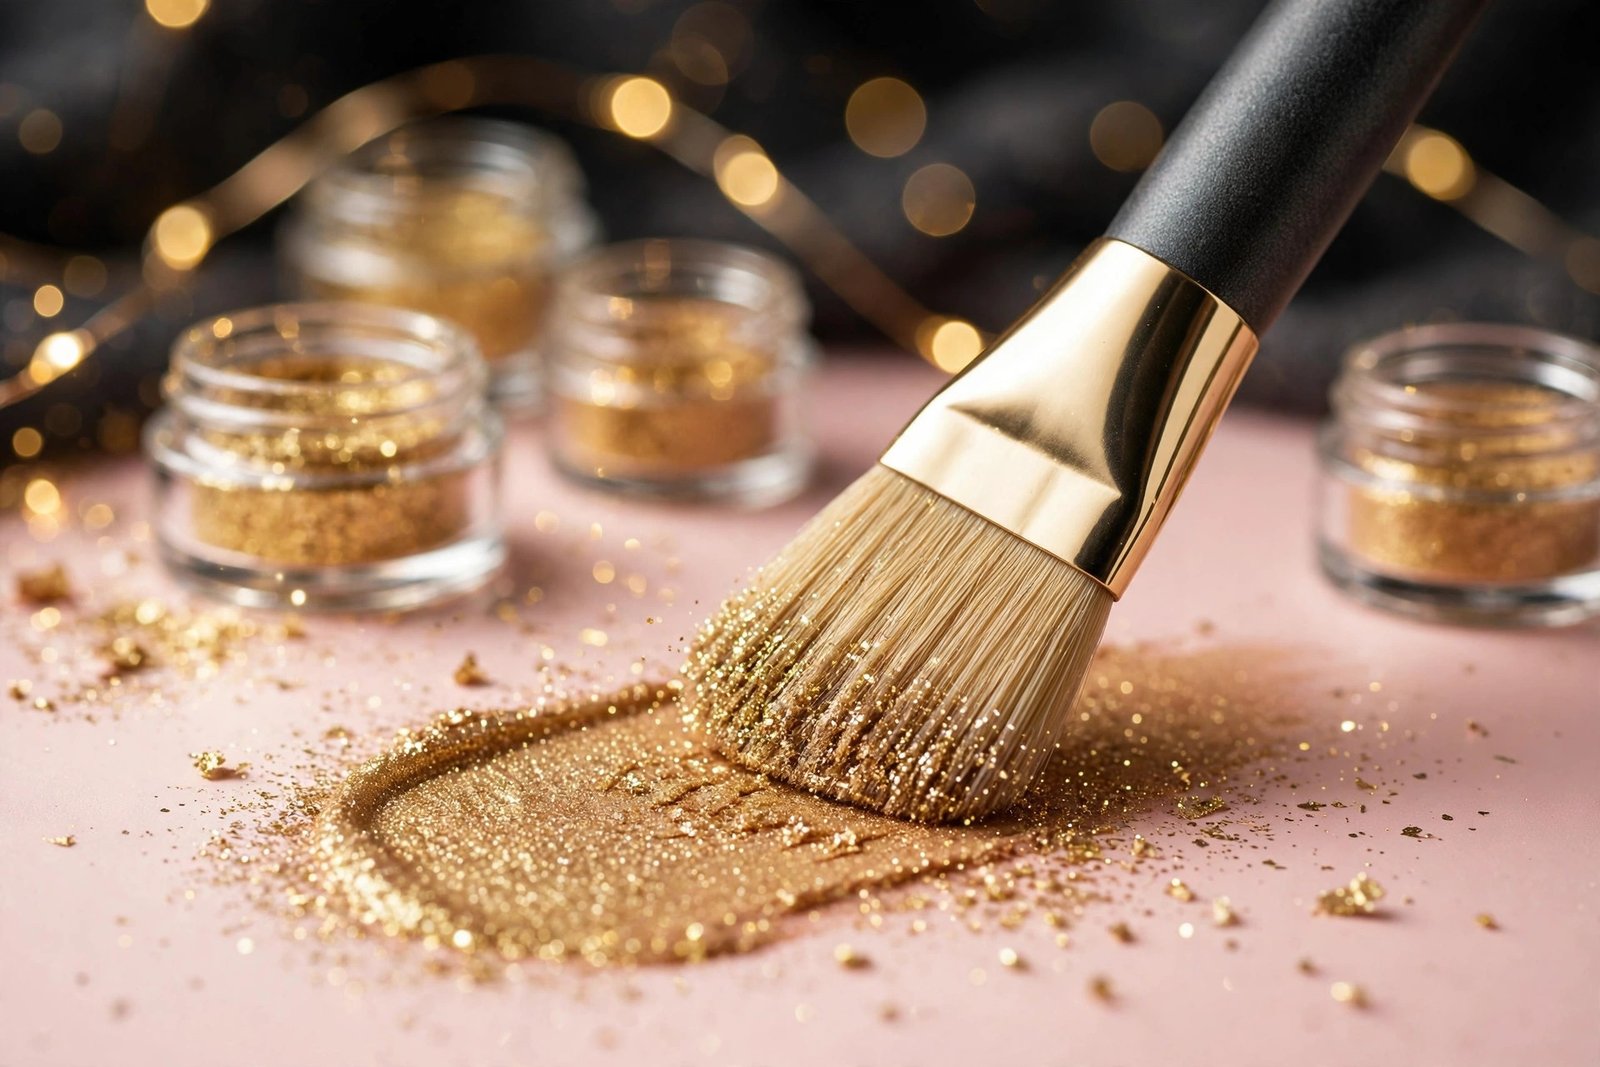
Step 5: Press, don’t sweep. Pick up glitter with a flat synthetic brush (or your fingertip — fingers actually work beautifully for pressed glitter), and press it onto the tacky base. Pressing pushes particles into the adhesive; sweeping drags them across skin and creates fallout. Build in two thin layers rather than one thick one.
Step 6: Clean up edges. Use a clean fluffy brush to sweep away any strays, or press a piece of tape gently on fallout areas to lift particles. Then proceed with foundation and the rest of your face.
Step 7: Liner and mascara last. Define the lash line with liner over the glitter edge to hide any uneven borders, then mascara. If you wear false lashes, apply them after the glitter — the lash band hides the glitter’s edge and adds drama. For oily lids, the [oily-lid eyeshadow tips → how-to-make-eyeshadow-last-oily-lids] help the whole look survive the night.
Glitter Placement Ideas by Intensity
Subtle (office party safe): a thin line of gold or champagne glitter liner along the upper lash line, or a dab of pressed glitter just on the inner corners. Festive without being loud.
Medium (dinner and drinks): pressed glitter across the whole mobile lid over a bronze or champagne base, with matte shadow in the crease. This is the sweet spot for most NYE plans.
Full drama (midnight countdown): loose glitter packed on the lid, glitter liner, and a touch of glitter on the lower lash line or inner corner. Pair with a nude lip so the eyes stay the undisputed focal point.
Keeping Glitter Out of Your Eyes
Even with perfect technique, some migration happens over a long night. Minimize irritation with these habits:
- Don’t apply loose glitter below the lower lash line unless you’re experienced — the under-eye area is where particles most easily drift into eyes.
- Avoid rubbing your eyes. If glitter gets in, don’t rub — rinse with saline or artificial tears.
- Skip glitter if you wear contacts and are sensitive. Pressed glitter on the outer lid is usually fine, but loose glitter near the waterline plus contacts is asking for trouble.
- Set the perimeter. After applying glitter, press a matching matte shadow just around the glitter’s edges to create a barrier that catches migrating particles.
Removing Glitter Without the Scrub
Scrubbing glitter off is how people end up with irritated, red eyes on January 1st. The gentle method:
- Soak a cotton pad in an oil-based cleanser, cleansing balm, or micellar water.
- Press the pad onto the glitter area and hold for 20-30 seconds. Let the oil dissolve the adhesive — this is the step people skip, and it’s the whole trick.
- Wipe gently downward and lift. Don’t scrub back and forth; press, hold, and lift the particles away.
- Repeat with a fresh pad until the glitter is gone, then cleanse the whole face normally.
- For stubborn specks, press a piece of tape gently onto the skin to lift them — far gentler than rubbing.
Follow with your normal [nighttime skincare routine → skincare-routine-for-beginners-step-by-step] — your skin will thank you after a night of heavy makeup.
Frequently Asked Questions
What’s the difference between cosmetic glitter and craft glitter?
Cosmetic glitter is cut with rounded edges and tested for skin and eye safety; craft glitter is cut from metal or glass with sharp edges that can scratch eyes and irritate skin. Only ever use cosmetic-grade, eye-safe glitter on your face.
How do I stop glitter fallout on my cheeks?
Three things: do eye makeup before foundation, use a proper glitter adhesive base (not just primer), and apply with pressing motions instead of sweeping. Tape cleanup before foundation handles whatever escapes.
Can I use Vaseline or lip gloss as a glitter base?
Not recommended. Both are too slippery — glitter slides around on them and migrates into the crease and onto the face within an hour. Use a proper glitter adhesive or a tacky cream shadow instead.
Is pressed or loose glitter better for beginners?
Pressed glitter, without question. It applies like eyeshadow, has minimal fallout, and is easy to remove. Master pressed glitter first, then try loose glitter as an accent once you’re comfortable with the technique.
How do I remove glitter from my hair?
Oil is the answer again — work a little hair oil or conditioner through the glittery sections, let it sit, then shampoo. Dry-brushing just spreads it. A fine-tooth comb helps with stubborn pieces after oiling.
Can I wear glitter eyeshadow if I have sensitive eyes?
Stick to pressed glitter on the outer lid, away from the waterline and lower lash line. Avoid loose glitter entirely, and remove it gently with the press-and-hold oil method. If your eyes water easily, a waterproof mascara and tubing formula help keep everything stable — see the [mascara smudging fixes → how-to-stop-mascara-smudging-under-eyes].
Glitter is only scary without a system. With the right base, pressing technique, eyes-before-foundation order, and gentle removal, you get all the NYE sparkle with none of the regret. Pair your glitter eye with the [12-hour base routine → christmas-party-long-wear-makeup] so everything underneath lasts as long as the sparkle does — and check the [full party guide → christmas-party-beauty-guide] for hair, nails, and the getting-ready timeline.
christmas party beauty guide
long-wear party makeup
eyeshadow primer guide
oily lids eyeshadow tips
mascara smudging fixes
Love this? Pin it for later!