Bold Red Lip Holiday Guide: Find Your Perfect Shade
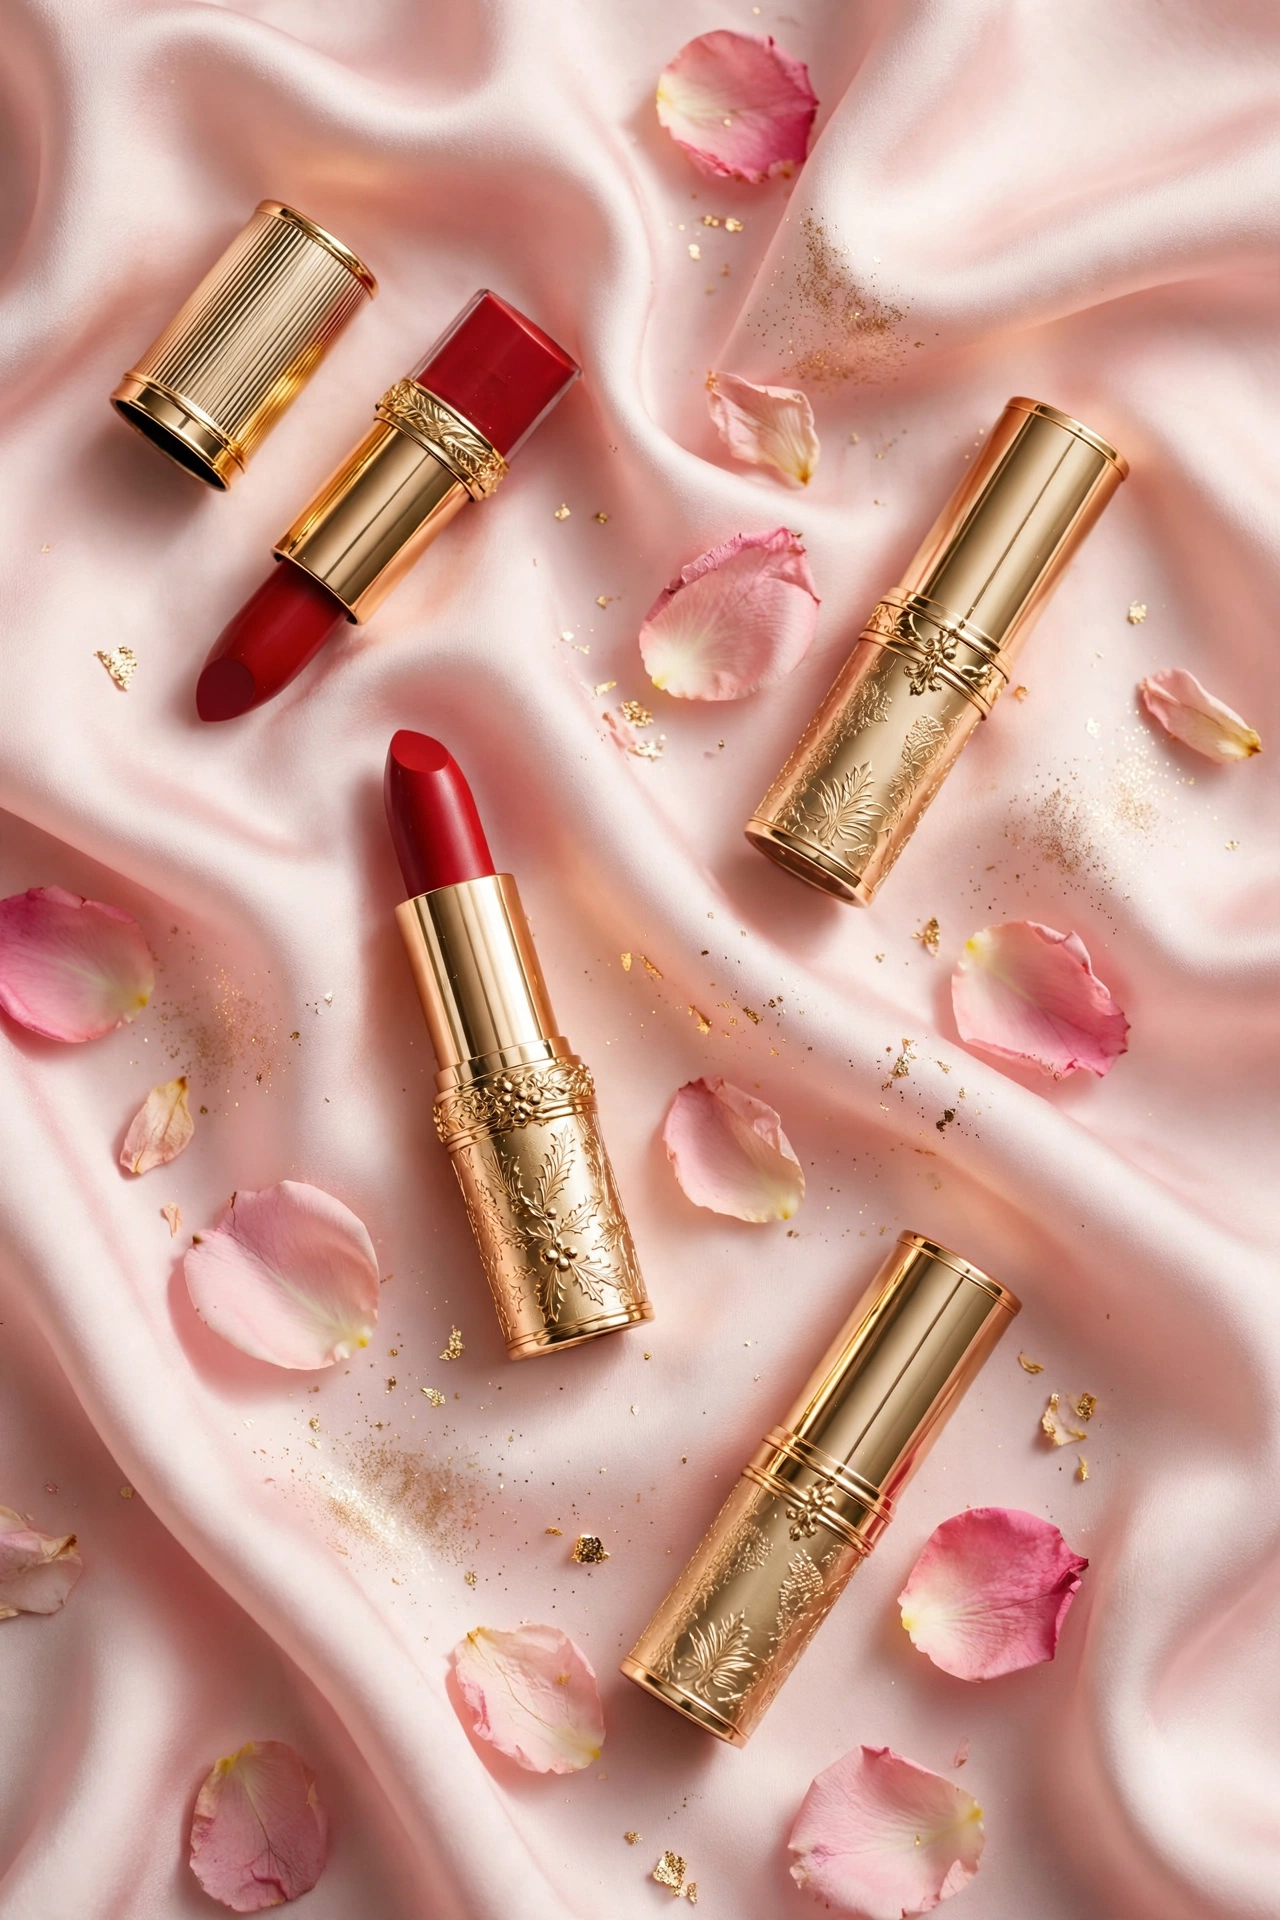
Nothing says holiday party like a bold red lip. It’s the fastest way to look dressed-up — a red lip with minimal other makeup reads instantly festive, photographs beautifully, and carries an outfit all by itself. But red lipstick is also unforgiving: the wrong undertone can make teeth look yellow or skin look sallow, and red shows every application mistake in high definition.
This guide fixes both problems. You’ll learn how to find the red that flatters your specific skin tone, how to prep lips so color goes on smoothly, the technique for razor-crisp edges, and the layering system that keeps red intact through dinner, drinks, and the midnight countdown.
For the full party-night plan this look belongs to, see the [New Year’s Eve beauty guide: the complete party prep → new-years-eve-beauty-guide].
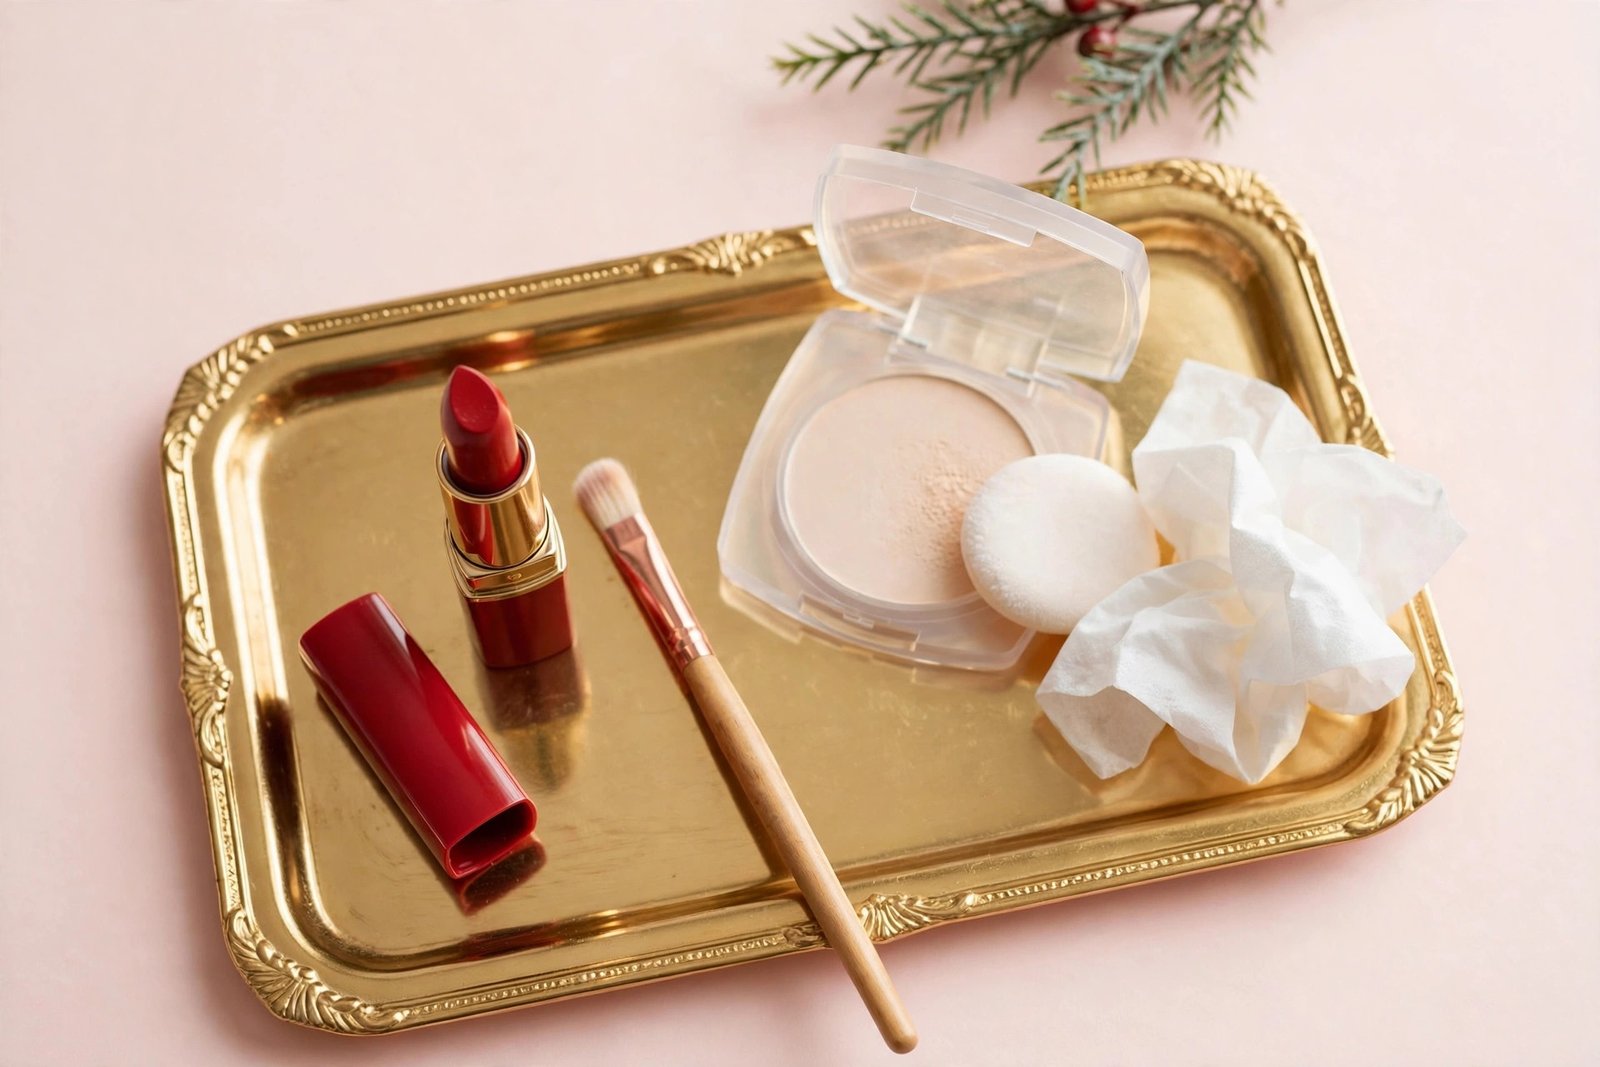
Key Takeaways
- Your skin’s undertone (cool, warm, or neutral) determines your most flattering red family
- Blue-based reds make teeth look whiter; orange-based reds suit warm skin but can emphasize yellow in teeth
- Lip prep (exfoliate, hydrate, blot) is what separates smooth red lips from patchy ones
- Lip liner over the entire lip — not just the edges — is the secret to long wear
- Crisp edges come from applying with a lip brush and cleaning up with concealer
- Two thin layers with blotting between them outlast one thick layer every time
Finding Your Perfect Red: The Undertone Method
Forget the idea that there’s one universal red. The flattering red is the one that harmonizes with your skin’s undertone. First, determine yours: look at the veins on your inner wrist in natural daylight. Blue or purple veins suggest cool undertones; green veins suggest warm undertones; a mix suggests neutral. Silver jewelry flattering you more than gold also points cool, and vice versa.
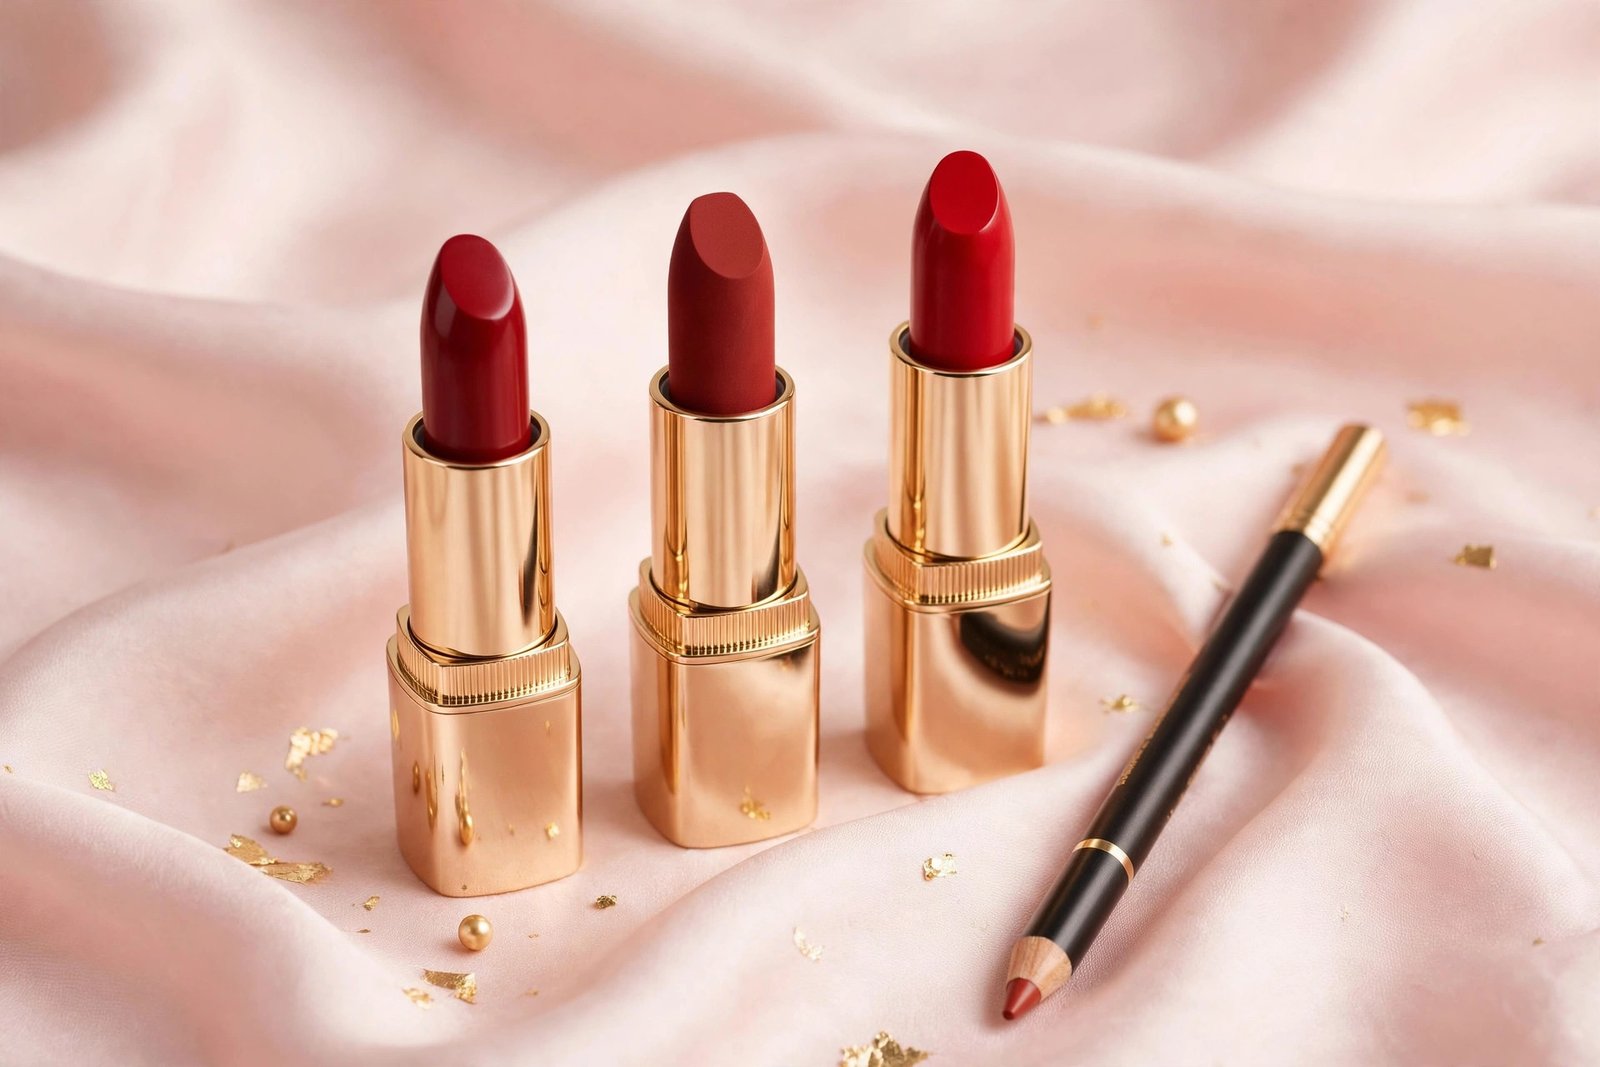
Cool undertones shine in blue-based reds — think cherry, cranberry, raspberry, and classic blue-reds. The blue base brightens the complexion and, as a bonus, makes teeth appear whiter. These are the quintessential holiday reds, and they’re the most universally photogenic.
Warm undertones glow in warm reds — brick, tomato, coral-red, and orange-leaning shades. These harmonize with golden skin instead of fighting it. One caution: orange-based reds can emphasize any yellow tones in teeth, so if that’s a concern, lean toward the more neutral brick shades in the warm family.
Neutral undertones have the most flexibility — true, balanced reds (neither strongly blue nor orange) are your sweet spot. You can borrow from both families, though most neutrals find their best red sits right in the middle: a classic “true red.”
When testing shades, swatch on your lips or inner wrist, not the back of your hand — hand skin is a different tone and texture. Check the color in natural daylight and, if possible, in a quick phone photo with flash, since that’s how your party photos will render it. If you’re choosing between finishes too, remember the wear trade-off: mattes last longest through eating and drinking, satins are more forgiving on dry lips, and glosses need the most touch-ups.
Lip Prep: The Non-Negotiable Foundation
Red lipstick magnifies everything — including dry patches, flakes, and fine lines. Ten minutes of prep is what separates a smooth, expensive-looking red lip from a patchy one. This step matters more for red than for any other lip color.
Start with exfoliation. Gently buff away dead skin with a lip scrub — the [DIY honey sugar lip scrub → diy-honey-sugar-lip-scrub] recipe is perfect for this — or a soft, damp toothbrush in small circles. Be gentle; scrubbed-raw lips swell slightly and make precise application harder. If your lips are chronically dry or peeling, the fixes in [how to fix flaky skin on face → how-to-fix-flaky-skin-on-face] include barrier-repair principles that apply to lips too.
Next, hydrate. Apply a nourishing lip balm or lip mask and let it absorb for at least 10 minutes. Then — critically — blot off the excess with a tissue. Lipstick applied over a slick balm layer slides around and bleeds; lipstick applied over hydrated-but-matte lips grips properly. If you want a dedicated treatment, the [DIY lip balm recipe with coconut oil → diy-lip-balm-recipe-coconut-oil] makes a good pre-party balm.
For extra insurance against feathering (red’s notorious habit of bleeding into fine lines around the mouth), apply a thin ring of clear lip liner or a dab of concealer just outside your natural lip line. This invisible barrier keeps pigment where it belongs through hours of talking, eating, and drinking.
Application Technique for Crisp Edges
Crisp edges are what make a red lip look intentional rather than messy, and they come from technique, not a steady hand alone. Start by lining your lips with a liner that matches your lipstick — or your natural lip color for a softer effect. Trace the natural lip line, then fill in the entire lip with the liner. This full-lip liner base acts like a stain: even as the lipstick on top wears through dinner, the liner underneath keeps color on your lips instead of leaving a bare ring.
Apply the lipstick itself with a lip brush rather than straight from the bullet. A brush gives you the control to define the cupid’s bow and corners precisely — the two spots where red goes wrong most visibly. Start at the center of the lips and work outward, using thin layers. After the first layer, blot firmly with a tissue, then apply the second thin layer. Two thin layers with blotting last dramatically longer than one thick layer.
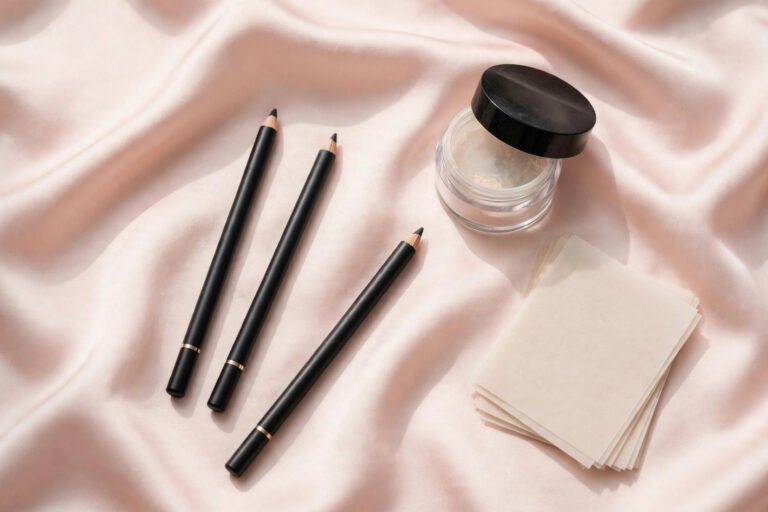
Now the cleanup pass that professionals never skip: dip a small flat brush or angled brush in concealer (one shade lighter than your skin or matching it) and trace just outside the lip line. This carves out a razor-sharp edge and corrects any wobbles. Blend the concealer’s outer edge into your foundation so there’s no visible line. Set the very edge with a whisper of translucent powder on a small brush to lock it.
For the full beginner-friendly foundation of these techniques, the [makeup for beginners step by step guide → makeup-for-beginners-step-by-step-guide] covers the basics this look builds on.
Making It Last Through Dinner and Drinks
A red lip that disappears after the first course defeats the purpose. Longevity comes from the layering system: exfoliated and blotted lips, full-lip liner base, two thin blotted layers of lipstick, and the tissue-and-powder set. After your second layer, lay a single ply of tissue over your lips and dust translucent powder through it with a fluffy brush, then apply one final thin layer of lipstick just on the centers. This sandwich technique is the closest thing to bulletproof in the lipstick world.
Formula choice matters enormously for wear. Matte liquid lipsticks last longest — many survive full meals — but they can be drying, so the prep step is even more critical with them. Classic bullet mattes offer the best balance of comfort and longevity for most people. If you love a glossy red, accept the trade-off: wear a long-wear matte as the base and press gloss only on the center of the lips, reapplying the gloss (not the whole lip) as needed.
Strategic eating and drinking help too. Drink through a straw when you can, bite food with your teeth rather than rubbing lips over it, and blot (don’t wipe) your lips with a napkin after eating — wiping drags color off, blotting just lifts oil. Carry your lipstick and liner for one touch-up: around 11pm, blot your lips, reapply a single thin layer, and you’re set through midnight. The same midnight-proofing principles apply to the whole face in the [long-wear Thanksgiving makeup → long-wear-thanksgiving-makeup] guide.
One more rule for red-lip nights: keep the rest of the face balanced. A bold red lip pairs with soft, neutral eyes — think defined lashes, a wash of champagne shadow, and groomed brows. Save the dramatic eye for another night; if you want it, the [smokey eye for Christmas parties step by step → smokey-eye-christmas-party] is there, but don’t wear both at once.
Frequently Asked Questions
What red lipstick shade suits fair skin?
Fair skin with cool undertones looks striking in cherry and blue-reds; fair skin with warm undertones suits brick and coral-reds. The key is contrast — fair skin can carry vivid reds beautifully. Avoid shades too close to your natural lip color, which can look muddy rather than bold.
How do I stop red lipstick from bleeding into fine lines?
Exfoliate and blot off excess balm first, then apply a clear lip liner or concealer barrier just outside your lip line. Fill the entire lip with liner as a base, and avoid overly creamy or glossy formulas, which migrate most. Matte and long-wear formulas feather least.
Does red lipstick really make teeth look whiter?
Blue-based reds (cherry, cranberry, raspberry) create an optical contrast that makes teeth appear whiter and brighter. Orange-based reds do the opposite — they emphasize yellow tones. If whiter-looking teeth matter to you, stay in the blue-red family.
How often will I need to touch up red lipstick at a party?
With the full layering system (liner base, two blotted layers, powder set), expect one touch-up around 11pm to carry you through midnight. Without it, plan on touching up after every meal and every few drinks. Always carry the exact lipstick and liner — reapplying a different shade over red looks off.
Can I wear red lipstick with a smokey eye?
It’s generally too much — two bold focal points compete and the look reads heavy, especially in photos. Choose one: red lips with soft eyes, or a smokey eye with nude lips. The one exception is a very sheer, blotted red stain with a soft brown smokey, which keeps both features muted.
Your perfect red is out there, and it’s determined by undertone, not trends. Find your family, prep properly, line fully, layer thinly, and that red lip will still be going strong when the ball drops.
Love this? Pin it for later!