Curly Hair Routine for Beginners: Step-by-Step Guide
If you’ve spent years fighting your curls — brushing them dry, piling on whatever shampoo was on sale, and wondering why they never look like the ones in photos — the problem probably isn’t your hair. It’s the routine. Curls have different structural needs than straight hair: the bends and twists in each strand make it harder for natural oils to travel down the hair shaft, so curly hair tends to be drier, more fragile, and more reactive to harsh products and rough handling.
The good news: a beginner-friendly curly hair routine isn’t complicated. It comes down to a handful of steps done in the right order with the right kinds of products. This guide walks you through the full wash-day routine, helps you understand your curl type, and shows you how to protect your curls between wash days — no prior curly hair knowledge required.
If you’re starting from scratch with hair care in general, this curly-specific guide builds on the fundamentals of a general hair care routine — the steps below are the curl-adapted version.
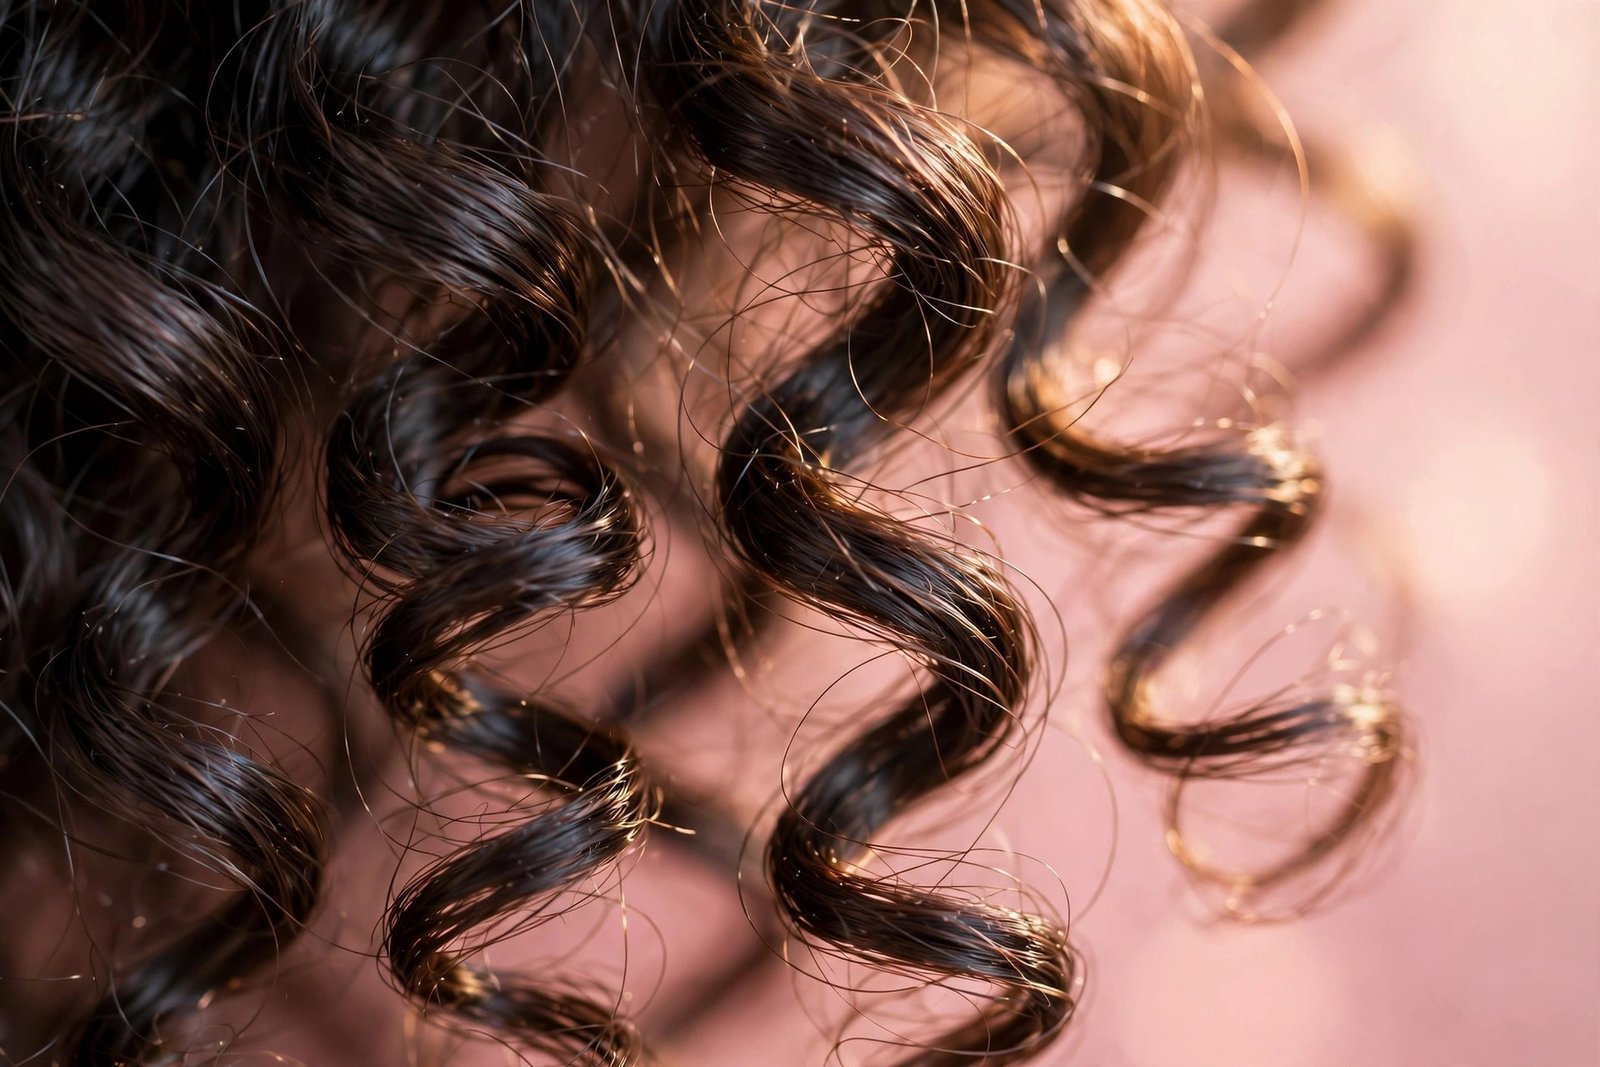
Understanding Your Curl Type (2A to 4C)
Before picking products, it helps to know what kind of curls you’re working with. The most widely used system — the Andre Walker Hair Typing System — groups curls from type 2 (wavy) to type 4 (coily), with subcategories A, B, and C describing how tight the pattern is.
Type 2: Wavy Hair
- 2A: Fine, loose waves with an S-shape that starts further down the head. Often goes flat at the roots.
- 2B: More defined S-waves that start closer to the scalp. Can get frizzy in humidity.
- 2C: Thick, coarse waves that border on curly. The most frizz-prone of the type 2s.
Type 3: Curly Hair
- 3A: Large, loose curls about the width of a piece of sidewalk chalk. Defined but can stretch out easily.
- 3B: Springy ringlets about the width of a marker. More volume and more shrinkage than 3A.
- 3C: Tight corkscrews about the width of a pencil. Lots of volume, significant shrinkage, and a tendency toward dryness.
Type 4: Coily/Kinky Hair
- 4A: Small, springy coils about the width of a crochet needle. Very defined when moisturized, prone to dryness and breakage.
- 4B: Sharp Z-shaped zigzags rather than rounded coils. Fragile, with the least defined curl pattern.
- 4C: The tightest pattern — dense, with extreme shrinkage (up to 75%) and the highest need for moisture and gentle handling.
Why this matters: Your curl type tells you how much moisture your hair likely needs, how much manipulation it can handle, and which product weights will work. Looser waves (2A–2C) often do best with lightweight formulas; tighter coils (3C–4C) generally need richer creams, butters, and more intensive conditioning. That said, curl type is only one piece of the puzzle — hair porosity (how readily your hair absorbs and holds moisture) is equally important, and a full porosity guide is coming in this series.
One more thing: Most people have more than one curl pattern on their head. The hair at your crown may be looser than the hair at the nape, and that’s completely normal. Use your dominant pattern as your starting point.
The Basic Wash-Day Routine, Step by Step
Wash day is the foundation of every curly hair routine. Done right, it sets up defined, moisturized curls that can last for days. Here’s the complete sequence, in order.
Step 1: Cleanse
Curly hair needs gentle cleansing. Harsh, sulfate-heavy shampoos strip the natural oils that curls desperately need, leaving them dry and frizzy. For beginners, the safest starting point is a sulfate-free shampoo or a co-wash (conditioner washing), depending on your curl type:
- Types 2A–3A: A sulfate-free shampoo usually works best. Lighter waves can get weighed down or oily with co-washing alone.
- Types 3B–4C: A sulfate-free shampoo alternating with occasional co-washes is a common approach. Very dry coils sometimes do better with co-washing most of the time and clarifying once a month.
How to do it:
1. Wet your hair thoroughly with lukewarm water.
2. Apply a quarter-sized amount of shampoo to your scalp (not your lengths — the runoff cleans the ends).
3. Massage your scalp with your fingertips — never your nails — for 30 to 60 seconds.
4. Rinse completely.
Wash frequency depends on your hair and scalp. As a starting point, most curl types do well washing every 3 to 7 days. Looser waves may need more frequent washing; tighter coils often thrive with less. For more detail on finding your schedule, see our guide on how often you should wash your hair.
The difference between shampoo types matters more for curls than for most hair — for a full breakdown, read our comparison of sulfate-free vs regular shampoo.
Step 2: Condition (and Detangle)
Conditioning is non-negotiable for curls. This is the step that restores moisture, smooths the cuticle, and makes detangling possible without breakage.
How to do it:
1. After rinsing out shampoo, squeeze excess water from your hair — don’t wring it.
2. Apply conditioner generously from mid-lengths to ends. Curly hair typically needs more product than you’d expect; start with a palmful for medium-length hair.
3. Detangle while the conditioner is in. Use your fingers first, then a wide-tooth comb or a detangling brush designed for curls. Always work from the ends upward toward the roots, in small sections.
4. Let the conditioner sit for 3 to 5 minutes. In the shower, this is a good time to do everything else.
5. Rinse with cool or lukewarm water. You don’t need to rinse squeaky-clean — leaving a little slip in the hair is fine and even helpful for styling.
Deep conditioning: Once every 1 to 2 weeks, swap your regular conditioner for a deep conditioner or hair mask and leave it on for 15 to 30 minutes (a shower cap helps it penetrate). This is especially valuable for dry, damaged, or high-porosity curls.
Step 3: Leave-In Conditioner
After rinsing, apply a leave-in conditioner to damp hair. This is the layer that keeps curls moisturized between wash days — think of it as primer for everything that follows.
- Gently squeeze out dripping water with a microfiber towel or an old cotton T-shirt (terry cloth towels create frizz).
- Work a small amount of leave-in conditioner through your hair, section by section, from mid-lengths to ends.
- For tighter curls (3C–4C), the LOC or LCO method is popular: Liquid (water or leave-in), Oil, Cream — layered in that order to seal in moisture. Lighter waves can usually skip straight to styling after the leave-in.
Step 4: Style
Styling products give curls their definition and hold. The classic beginner combination is a curl cream plus a gel — the cream provides moisture and softness, the gel provides hold and frizz control.
- Apply curl cream to damp hair in sections, smoothing it down each clump of curls.
- Apply gel over the cream using the “praying hands” method (smooth hands flat over each section) or scrunching (gathering curls upward toward the scalp in cupped hands).
- Don’t touch your hair after this. The number-one styling rule for beginners: once product is in, hands off until the hair is fully dry.
Alternatives to gel: Mousse works well for waves and loose curls (2A–3A) that get weighed down by heavy gels. For tighter coils, custards and curl-defining butters offer hold with more moisture.
Step 5: Dry
How you dry your curls has an enormous effect on the final result. You have two main options:
- Air drying: The gentlest option — just let your hair dry on its own. The downside is that it can take hours, and long drying times can lead to frizz and stretched-out curls for some hair types.
- Diffusing: Using a diffuser attachment on a hair dryer. A diffuser spreads airflow over a wide area so it doesn’t blast curls apart. Use low heat and low speed, and “pixie diffuse” (turn the dryer off between repositioning the diffuser cup) to minimize frizz.
For a detailed comparison of both methods — including when each one works best and heat-protectant tips — see our guide on diffusing vs air drying curly hair.
The cast and the scrunch: When gel dries, it forms a slightly crunchy “cast” around your curls. This is normal and good — it’s what locks in definition. Once your hair is 100% dry, gently scrunch each section upward to break the cast and release soft, touchable curls. Never scrunch while the hair is still damp.
Choosing Products for Curls: What to Look For (and Avoid)
You don’t need a 10-product lineup to start. But the products you do choose should be curl-appropriate. Here’s what stylists and the curly hair community generally agree on.
Ingredients to look for
- Humectants (glycerin, honey, aloe vera): draw moisture into the hair.
- Emollients (shea butter, natural oils like jojoba or argan): soften and smooth.
- Proteins (hydrolyzed wheat or silk protein, keratin): strengthen the hair shaft. Especially helpful for damaged or high-porosity curls, but balance with moisture — too much protein causes stiffness.
- Slip agents (behentrimonium chloride, cetrimonium chloride): make detangling easier.
Ingredients to be cautious about
- Sulfates (sodium lauryl sulfate, sodium laureth sulfate): strong detergents that strip curly hair’s natural oils. Most curl routines avoid them for regular use.
- Non-water-soluble silicones (dimethicone, cyclopentasiloxane): can build up on curls and require harsh sulfates to remove — a cycle worth avoiding. Water-soluble silicones (anything with PEG- or PPG- prefixes) rinse out easily and are generally fine.
- Drying alcohols (isopropyl alcohol, denatured alcohol): evaporate quickly and dry out curls. Fatty alcohols (cetyl, cetearyl, stearyl) are moisturizing and completely different — don’t avoid those.
- Mineral oil and petroleum: can seal moisture out rather than in on some curl types.
Keep it simple at first
A beginner starter lineup needs only four or five products: a sulfate-free shampoo, a conditioner, a leave-in conditioner, and one styler (gel or curl cream). Add a deep conditioner as your fifth. Resist the urge to buy everything at once — introducing products one at a time makes it possible to tell what’s actually working.
9 Common Beginner Mistakes (and How to Fix Them)
- Brushing curls dry. This is the single most common mistake. Dry brushing breaks up the curl pattern and creates a halo of frizz. Detangle only on wet, conditioned hair.
- Using a regular terry-cloth towel. The rough texture roughs up the cuticle and causes frizz. Switch to a microfiber towel or a cotton T-shirt for plopping and scrunching.
- Skipping leave-in conditioner. Shampoo and rinse-out conditioner aren’t enough on their own for most curl types. The leave-in is what keeps moisture in between wash days.
- Touching hair while it dries. Every touch while curls are drying separates clumps and creates frizz. Apply product, then hands off until 100% dry.
- Using too much heat without protection. Regular flat-ironing or high-heat diffusing without a heat protectant damages the curl pattern over time — sometimes permanently.
- Washing too often (or too rarely). Daily washing dries curls out; going too long between washes leads to scalp buildup and tangles. Most beginners land somewhere between every 3 and 7 days.
- Applying products to soaking-wet or fully dry hair. The sweet spot is damp hair — wet enough that curls are still clumped, not so wet that product slides off, and not dry enough that product sits on top without absorbing.
- Expecting overnight results. Curls that have been heat-damaged or mistreated for years need time — often several weeks to a few months — to recover their natural pattern. Consistency beats any single product.
- Copying someone else’s routine exactly. A routine that works for 2B waves will not work for 4C coils, and vice versa. Use guides like this one as a framework, then adjust products and frequency to what your hair responds to.
Nighttime Protection: Keeping Curls Intact While You Sleep
Cotton pillowcases absorb moisture and create friction — both enemies of defined curls. A few simple nighttime habits can make the difference between wash-day curls that last two days and ones that last five.
- Switch to silk or satin. A silk or satin pillowcase reduces friction and doesn’t wick moisture out of your hair the way cotton does. The benefits extend to skin too — here’s a full breakdown of silk pillowcase benefits for skin and hair.
- Pineapple your hair. Gather curls into a loose, high ponytail on top of your head (like a pineapple) with a satin scrunchie. This keeps curls from getting crushed overnight. Works best for medium to long hair.
- Wear a satin bonnet or scarf. For shorter hair or tighter coils, a satin bonnet or silk scarf keeps everything contained and frizz-free.
- Try the “medusa” or multi-pineapple method. For very long or thick hair, two or three loose pineapples distribute the hair more evenly than one.
Refresh Days: Reviving Curls Between Washes
You don’t need to rewash every time your curls lose definition. Refreshing — reactivating the products already in your hair — takes five minutes and extends your style for days.
The basic refresh method:
1. Lightly mist your hair with water (a spray bottle works best — you want damp, not soaked).
2. Smooth a pea-sized amount of leave-in conditioner or curl refresher spray over any frizzy or flattened sections.
3. Scrunch those sections gently to reactivate the curl pattern.
4. Let air dry or diffuse for a minute or two.
Some people add a tiny amount of gel to stubborn sections for extra hold. The key is using less product than on wash day — buildup is the main cause of refresh-day failure.
For a complete walkthrough with troubleshooting for common refresh problems, see our guide on how to refresh second day curls.
Building Your Starter Kit
Here’s a consolidated shopping list for a complete beginner routine. You need one product from each category:
| Step | Product type | What to look for |
|---|---|---|
| Cleanse | Sulfate-free shampoo | Gentle surfactants (coco-betaine, decyl glucoside), no sulfates |
| Condition | Rinse-out conditioner | Good slip for detangling, moisturizing ingredients |
| Treat (weekly) | Deep conditioner or mask | Richer formula; protein + moisture balance |
| Prime | Leave-in conditioner | Lightweight for waves, creamier for coils |
| Style | Gel, curl cream, or mousse | Gel for hold, cream for moisture, mousse for volume on waves |
| Dry | Diffuser attachment | Fits your dryer; wide bowl, low-speed compatible |
| Sleep | Satin bonnet or silk pillowcase | Real silk or quality satin |
Budget tip: Drugstore curly hair lines (from brands like SheaMoisture, Cantu, Aussie, and Not Your Mother’s) are genuinely effective and widely used in the curly community — you don’t need salon prices to get started. Spend first on the products that stay on your hair longest (leave-in and styler), and save on shampoo, which rinses out.
Frequently Asked Questions
How long does it take to see results from a curly hair routine?
Most beginners notice improvement in frizz and definition within 2 to 3 wash days once they switch to gentle cleansing and proper styling. However, if your curls have been heat-damaged or chemically treated for years, full pattern recovery can take several months of consistent care. The transition period is normal — stick with the routine before judging it.
Can I follow a curly hair routine if I have wavy hair, not curly?
Absolutely. The same principles apply — gentle cleansing, conditioning, leave-in moisture, and careful drying all benefit waves. The main adjustment: choose lighter-weight products (mousse instead of heavy gel, lighter leave-ins) so your waves don’t get weighed down.
Do I have to give up heat styling completely?
No, but moderation and protection matter. Occasional diffusing on low heat with a heat protectant is part of many healthy curl routines. What’s damaging is frequent high-heat styling — daily flat-ironing or high-heat blowouts without protection will loosen or destroy the curl pattern over time.
Why is my curly hair still frizzy even with the right products?
Persistent frizz usually comes down to one of four things: not enough moisture (add a leave-in or deep condition more often), touching hair while it dries, using a regular towel, or product buildup preventing moisture from getting in. If your hair feels dry and brittle no matter what you do, read our guide on why hair gets dry and brittle — porosity and protein-moisture balance are often the hidden culprits.
How do I know if my hair needs protein or moisture?
The stretch test is a quick at-home check: take a shed hair and gently stretch it. If it stretches a lot then snaps, it likely needs protein. If it snaps immediately with barely any stretch, it likely needs moisture. If it stretches slightly and returns to shape, your balance is probably fine. Alternate protein treatments and deep moisture based on what the test tells you.
Is the “curly girl method” the same as a curly hair routine?
The Curly Girl Method (popularized by Lorraine Massey’s book) is one specific philosophy within curly hair care — it avoids sulfates, silicones, and heat, and relies on co-washing. A general curly hair routine is broader: it includes sulfate-free shampoos (not just co-washing), diffusing, and water-soluble silicones. Many beginners start with Curly Girl principles and adapt from there.
Key Takeaways
- Curly hair needs more moisture and gentler handling than straight hair because its shape prevents natural oils from traveling down the strand.
- Know your curl type (2A–4C) and porosity — they determine which product weights and ingredients will work for you.
- The core wash-day routine is five steps: gentle cleanse, condition and detangle, leave-in conditioner, style (cream + gel), and dry (air dry or diffuse).
- Detangle only on wet, conditioned hair; never brush curls dry.
- Once styling product is in, don’t touch your hair until it’s completely dry — then scrunch out the gel cast.
- Protect curls at night with a satin bonnet, pineapple method, or silk pillowcase to extend your style for days.
- Refresh between washes with a light water mist and a small amount of product instead of rewashing.
- Start with just four or five products, introduce them one at a time, and give your hair several weeks to respond before changing course.
- For deeper dives: sulfate-free vs regular shampoo, how to refresh second day curls, what hair porosity is and why it matters, and diffusing vs air drying.
Love this? Pin it for later!