Makeup for Beginners: Step-by-Step Guide to a Natural Look
The short answer: A natural beginner makeup look follows a simple order — prep your skin, even out your base (primer, foundation or tinted moisturizer, concealer, powder), define brows and lashes, add a touch of blush, finish with lips, and set everything lightly. You only need about eight products to start, and the whole routine takes 10–15 minutes once you know the steps.
Walking into the makeup aisle for the first time can feel like being handed a pilot’s manual in another language. Primer, setting spray, baking, cut crease — the jargon alone is enough to make anyone back away slowly. But here’s the truth every makeup artist will tell you: a beautiful, natural everyday look is built on a handful of simple techniques, and none of them require professional skill. You just need the right order, the right tools, and a little practice.
This guide is your complete starting point. We’ll go step by step through a natural makeup look — the kind that makes you look like yourself on your best day: fresh, polished, and put-together without looking “done up.” By the end, you’ll know exactly what each product does, how to apply it, what order to use, and which beginner mistakes to skip entirely.
Essential Makeup Tools: What You Actually Need
Before touching a single product, let’s talk tools — because the right applicator makes every product easier to use, especially when you’re learning.
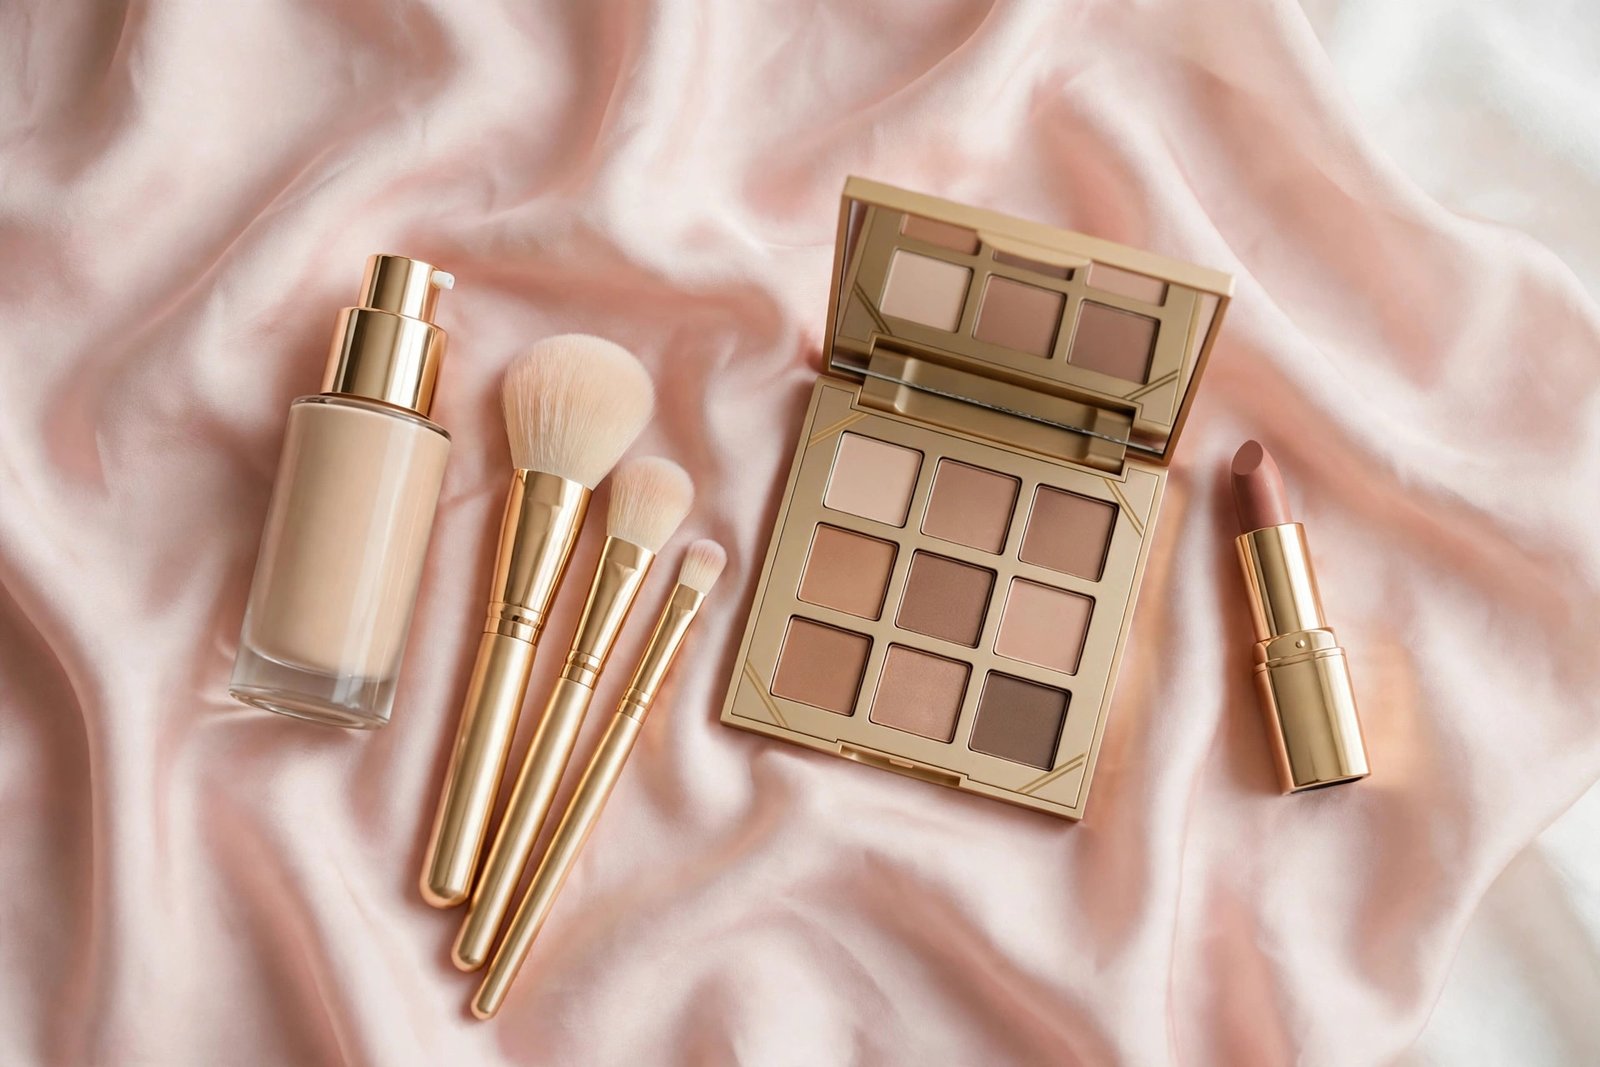
The beginner toolkit (the essentials):
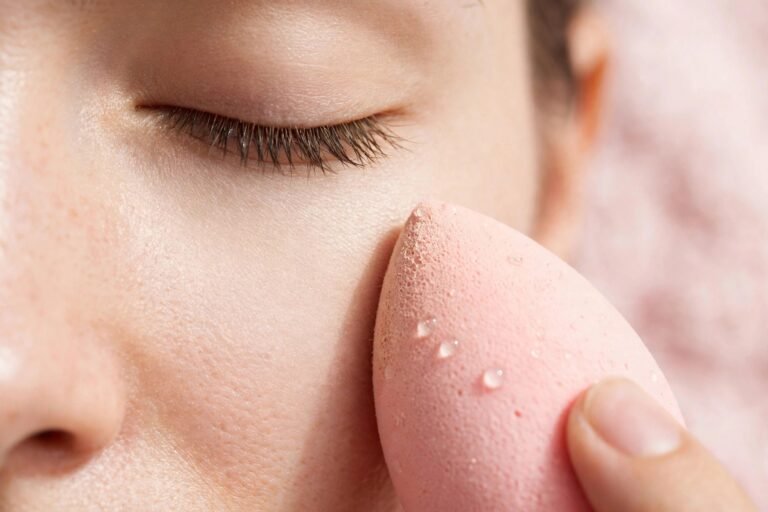
- A damp makeup sponge (like a beauty blender shape): This is the single most beginner-friendly tool you can own. It blends foundation and concealer seamlessly, and it’s almost impossible to mess up — bouncing motions do the work for you.
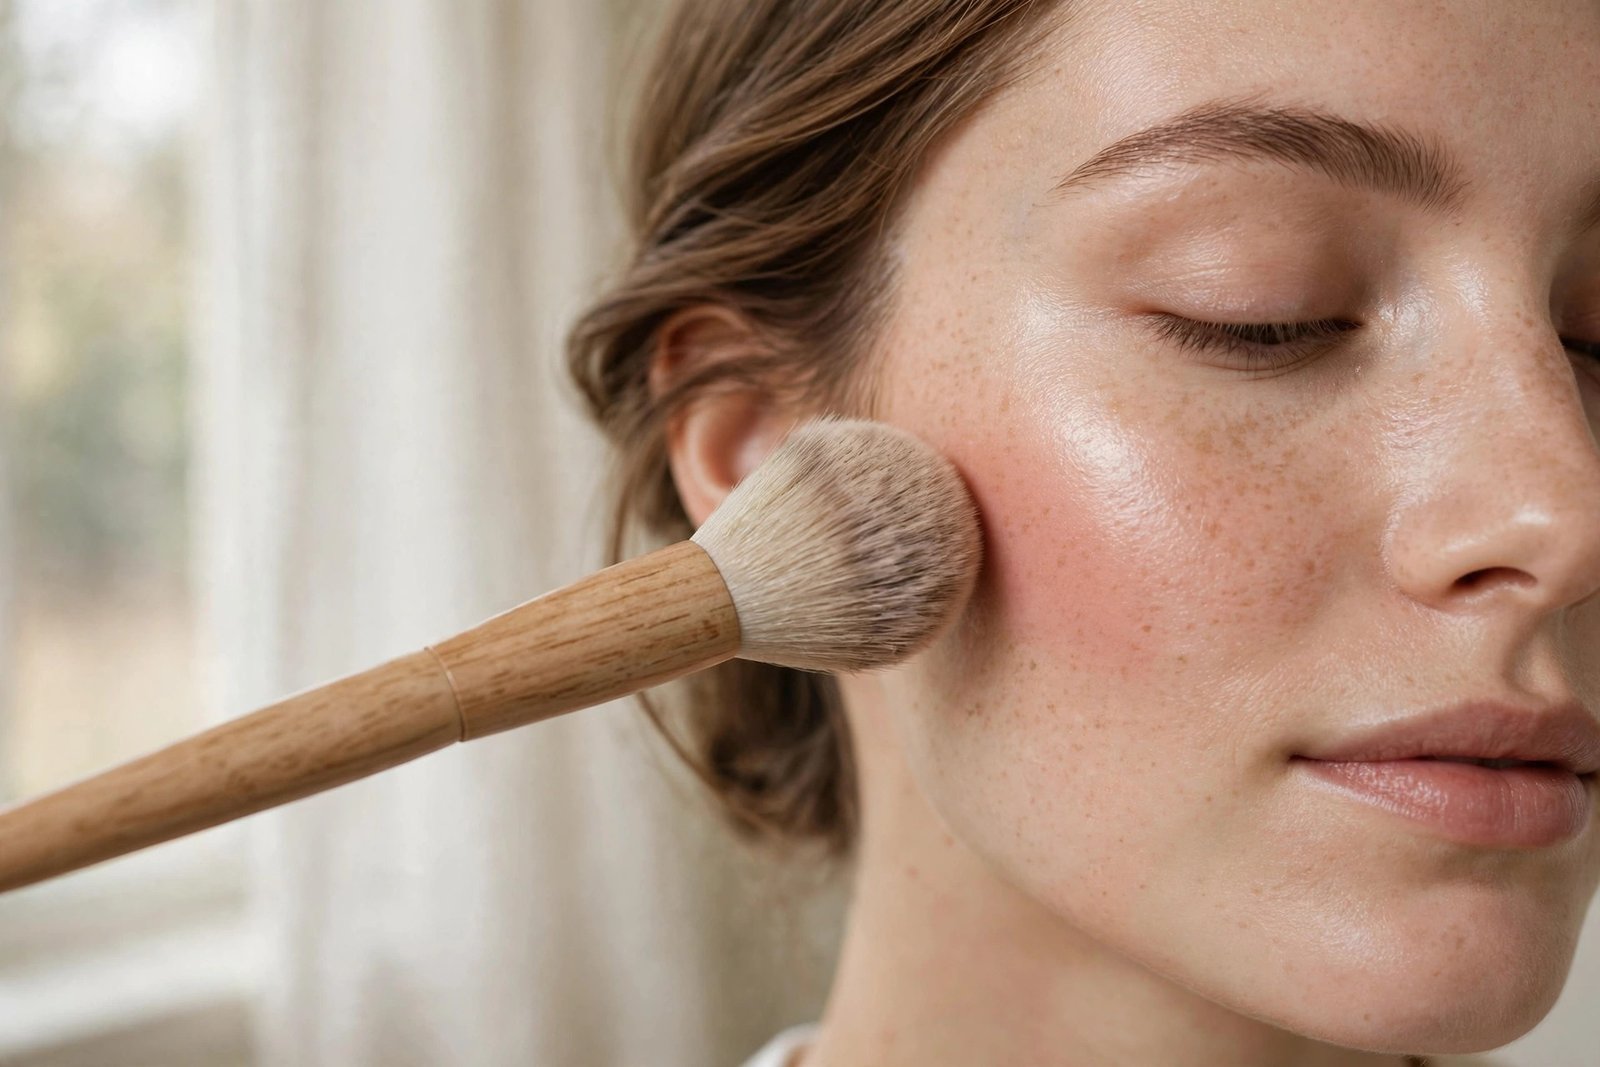
- A fluffy powder brush: Large, soft, and domed. Used for setting powder and bronzer. The fluffiness means it picks up less product, which prevents the heavy, cakey look beginners often fear.
- A blush brush: Medium-sized and slightly tapered or angled. Gives you control over blush placement without depositing too much color at once.
- An eyeshadow blending brush: Fluffy and tapered. Even if you only ever wear one eyeshadow shade, this brush blends the edges so there’s no harsh line.
- An angled brow brush or spoolie: The spoolie (the little mascara-wand-looking brush) grooms brows; the angled brush applies brow product precisely.
- Your fingers: Seriously. Clean fingertips are excellent for patting concealer, blending cream blush, and pressing eyeshadow onto the lid. Don’t underestimate them.
Nice to have later (not day one): A flat foundation brush, an eyeliner brush, a fan brush for highlighter, and a lip brush. You’ll know when you want these — don’t buy them preemptively.
Tool care matters more than tool price. Wash your brushes every 1–2 weeks with gentle soap and lukewarm water, reshape the bristles, and lay them flat to dry. Wash your sponge after every 2–3 uses. Dirty tools cause breakouts and streaky application, and no expensive product can compensate for a filthy brush.
Step 0: Skin Prep (The Step Everyone Skips)
Here’s a secret: great makeup is about 70% skincare. Makeup sits on top of your skin, so whatever’s happening underneath — dryness, oiliness, texture — shows through. Five minutes of prep makes every product after it look dramatically better.
The beginner prep routine:
- Cleanse. Start with a clean face. If it’s morning, a gentle rinse or light cleanse is enough. Makeup applied over last night’s residue will pill, separate, and slide off by noon.
- Moisturize. This is non-negotiable, even for oily skin. Dry patches grab onto foundation and turn it patchy; well-hydrated skin lets base products glide on evenly. Give your moisturizer 2–3 minutes to sink in before moving on — applying foundation over wet moisturizer is a top cause of pilling.
- Sunscreen (morning). If your moisturizer doesn’t include SPF, apply sunscreen now. Yes, even under makeup. Many beginners skip this, but it’s the single most impactful skincare habit. Let it set for a few minutes too.
- Lip balm. Apply now so your lips are soft and smooth by the time you get to lip color. Blot off the excess before applying lipstick.
A note on primer: Primer goes after skincare and before foundation (we’ll cover it in the base section). Think of skincare as nourishing your skin and primer as creating the ideal surface for makeup — they’re complementary, not interchangeable. skincare routine for beginners
Base Makeup, Step by Step
The “base” is everything that evens out your skin: primer, foundation, concealer, and powder. This is where most beginners either use too much product or apply in the wrong order. Follow this sequence and you’ll avoid both problems.
Step 1: Primer
What it does: Primer creates a smooth, even surface for foundation. It fills in pores and fine lines slightly, helps makeup grip the skin, and extends wear time. Think of it like priming a wall before painting.
Do you need it? Not strictly — but it’s the difference between makeup that lasts 4 hours and makeup that lasts 8. If your foundation tends to fade, separate, or settle into pores by afternoon, primer will help.
How to apply: A pea-sized amount is plenty for the whole face. Warm it between your fingertips, then press and smooth it over your skin, focusing on the areas where makeup fades fastest — typically the T-zone (forehead, nose, chin) and cheeks near the nose. Wait about a minute before foundation.
Choosing one: Match primer to your main concern. Smoothing/blurring primers help with pores and texture; hydrating primers help dry skin; mattifying primers help oily skin. When in doubt, a basic smoothing primer works for most skin types.
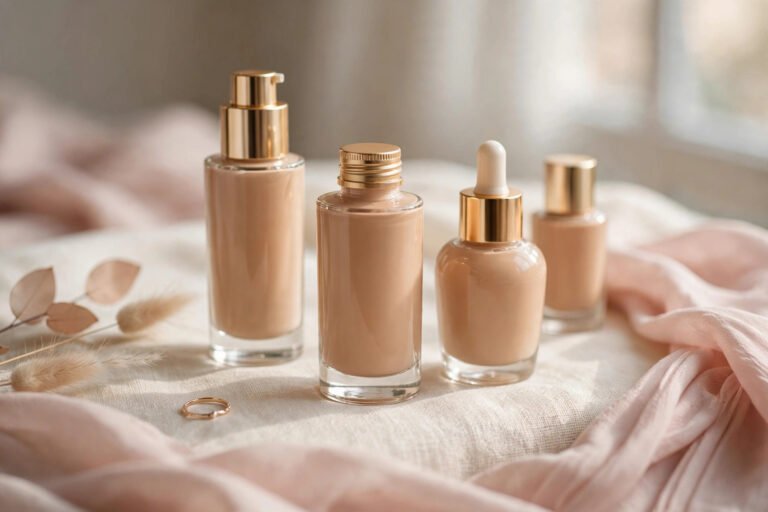
Step 2: Foundation (or Tinted Moisturizer)
What it does: Evens out your skin tone and covers redness, discoloration, and minor blemishes. For a natural look, the goal is even, not flawless — your skin should still look like skin.
Choosing your formula: For beginners, lighter coverage is more forgiving than full coverage. Consider:
– Tinted moisturizer or skin tint: The most beginner-friendly option. Sheer coverage, hydrating, blends effortlessly, and shade-matching mistakes are barely noticeable. Ideal for a natural everyday look.
– Light-to-medium liquid foundation: More coverage than a tint, still blendable. The most versatile choice.
– Avoid for now: Full-coverage matte foundations. They’re harder to blend, less forgiving of shade mismatches, and more likely to look cakey on beginners.
Finding your shade: Test on your jawline (not your hand — the skin tone differs) in natural daylight. The right shade disappears into your skin. When between two shades, most makeup artists recommend going with the slightly lighter one for a natural look, or mixing. Many drugstore brands now offer shade-matching guides online.
How to apply (the sponge method — most forgiving):
1. Dampen your sponge and squeeze out excess water (it should feel bouncy, not dripping).
2. Dot foundation on your forehead, cheeks, nose, and chin — about a dime-sized amount total to start. You can always add more.
3. Bounce (don’t drag or swipe) the sponge over your skin, starting from the center of your face and working outward. The bouncing motion presses product in rather than pushing it around.
4. Blend down slightly onto your neck so there’s no visible line at the jaw.
5. Check in natural light. If you can see where the foundation stops, blend more.
The golden rule: Start with less than you think you need. It’s easy to add coverage; it’s very hard to remove it gracefully. Most beginners use 2–3 times more foundation than necessary.
Step 3: Concealer
What it does: Concealer is more pigmented than foundation, designed for targeted coverage — under-eye darkness, blemishes, redness around the nose. Foundation evens; concealer corrects.
Choosing a shade: For under eyes, go one shade lighter than your foundation to brighten. For blemishes and redness, match your foundation shade exactly (lighter concealer on a blemish actually highlights it).
How to apply:
– Under eyes: Draw a small triangle with the point facing down toward your cheek (not just a crescent directly under the eye — the triangle shape brightens more naturally). Pat gently with your ring finger or a damp sponge. Your ring finger applies the least pressure, which is ideal for the delicate under-eye area. Don’t rub — patting preserves coverage.
– Blemishes: Dot directly on the spot, wait 30 seconds for it to set slightly, then pat the edges to blend. The center stays covered while the edges melt into your skin.
– Around the nose/mouth: A tiny amount patted into redness-prone areas.
Beginner tip: Apply concealer after foundation, not before. Foundation already covers a lot, so you’ll need far less concealer than you expect — often just under the eyes and on one or two spots.
Step 4: Setting Powder
What it does: Locks your base in place, reduces shine, and prevents concealer from creasing. Think of it as the sealant over your paint job.
How to apply: This is where beginners most often go wrong by using too much. Take your big fluffy brush, tap off the excess (this step is crucial — tap the brush handle against your wrist), then press and roll lightly over the areas that get shiny or creasy: under the eyes, the T-zone, and around the nose. Use a light hand everywhere else.
Choosing a formula: Translucent powder works for all skin tones and won’t change your foundation shade. If you have dry skin, use powder sparingly — only where you truly need it — since powder can emphasize dryness. Oily skin types can be slightly more generous in the T-zone.
What about “baking”? You’ve probably heard this term. Baking means packing on thick powder, letting it sit for several minutes, then dusting off the excess. It creates a very matte, filtered look — but it’s heavy for everyday wear and a common cause of the cakey appearance beginners want to avoid. Skip it for your natural look; a light dusting is all you need. why foundation looks cakey
Eyes: Brows, Shadow, Liner, Mascara
Eye makeup intimidates beginners more than any other category, but a natural eye look is genuinely simple. The philosophy: define, don’t decorate. You’re enhancing what you have, not painting something new.
Brows: Frame Your Face
Brows frame your entire face, and even a little definition here makes a surprising difference — many makeup artists call brows the highest-impact step for the least effort.
The beginner approach:
1. Brush your brows upward and outward with a spoolie to see their natural shape.
2. Fill in sparse areas with small, hair-like strokes using a brow pencil or powder that’s one shade lighter than your brow hair (going too dark is the most common brow mistake).
3. Focus on the arch and tail — most people need the least product at the front of the brow. A heavy front looks harsh; keep it light there.
4. Brush through again with the spoolie to soften and blend.
What not to do yet: Dramatic reshaping, heavy pomades, or shaving/plucking into a new shape. Work with the brows you have. You can always refine later.
Eyeshadow: One Shade Is Enough
Forget the 35-pan palettes for now. A natural eye look needs exactly one matte eyeshadow in a shade slightly deeper than your skin tone — think soft taupe, warm brown, or muted mauve depending on your coloring.
How to apply:
1. With your fluffy blending brush, sweep the shadow through your crease (the fold where your eyelid meets the brow bone) using windshield-wiper motions.
2. Blend until there are no harsh edges — the color should fade gradually, like a watercolor wash.
3. That’s it. One shade, blended well, adds subtle depth and makes eyes look more defined without looking “made up.”
Why blending matters more than color: Harsh, unblended edges are what make eyeshadow look amateur. A perfectly blended single shade always looks better than three poorly blended colors. When in doubt, blend more.
Optional upgrade: Once you’re comfortable, pat a slightly shimmery shade on the center of the lid with your fingertip for a bit of dimension. Keep it subtle for daytime.
Eyeliner: Optional (Really)
Here’s permission you might need: you don’t have to wear eyeliner. Many beautiful natural looks skip it entirely. Mascara plus defined brows is plenty for everyday.
If you want to try it, tightlining is the most beginner-friendly technique: using a dark pencil, dot the color into the base of your upper lashes (the waterline area between the lashes, not above them). This makes lashes look fuller and darker without a visible line — all the definition, none of the precision required. It’s nearly impossible to mess up, and it doesn’t require a steady hand the way winged liner does.
Save liquid liner and wings for later. They’re a skill that takes practice, and there’s no reason to frustrate yourself on day one.
Mascara: The Finishing Touch
Mascara opens up the eyes more than almost any other single product. It’s also very forgiving.
How to apply:
1. Look down into a mirror (this prevents smudging onto your lids).
2. Place the wand at the base of your upper lashes and wiggle slightly, then pull through to the tips. The wiggle deposits product at the roots (where it matters most for fullness); the pull-through separates.
3. One to two coats is plenty. Let the first coat dry for about 30 seconds before the second — layering wet-on-wet causes clumps.
4. For lower lashes, use whatever’s left on the wand with a very light hand, or skip them. Heavy lower-lash mascara can look harsh in a natural look and is a common smudging culprit. how to stop mascara smudging
If you get mascara on your skin: Don’t panic and don’t wipe it immediately (that smears it). Let it dry completely, then flick it off gently with a clean spoolie or cotton swab. It comes right off.
Cheeks: Blush and Bronzer
Cheek color is what makes a natural look come alive — it’s the difference between “even skin” and “healthy, radiant skin.” But it’s also where beginners most often overdo it.
Blush: The Healthy Flush
Placement matters more than shade. Smile naturally and find the apples of your cheeks (the round part that pops up). Apply blush there, then blend slightly upward toward your temples. This placement lifts the face; blush placed too low drags it down.
How to apply:
1. Swirl your blush brush in the product, then tap off the excess. This is the step that prevents clown cheeks.
2. Smile, apply to the apples in light circular motions.
3. Blend the edges so there’s no harsh line.
4. Build gradually — it’s easy to add more, impossible to remove gracefully.
Choosing a shade: For fair skin, soft pinks and peaches. Medium skin tones: warm roses, corals, and mauves. Deep skin tones: rich berries, warm terracottas, and vibrant corals. When in doubt, a neutral rose works across most skin tones. Cream blushes (applied with fingers) tend to look more natural than powders and are very beginner-friendly.
Bronzer: Warmth, Not Contour
Bronzer adds warmth and a sun-kissed glow. For a natural look, think “I just came back from a walk outside,” not sculpted cheekbones.
How to apply: Using your fluffy brush with a light hand, sweep bronzer where the sun naturally hits: forehead near the hairline, tops of cheekbones, bridge of the nose, and a touch on the chin. The classic guide is a loose “3” shape on each side of your face.
Common mistake: Using bronzer that’s too dark or too orange. Choose a shade only 1–2 shades deeper than your skin tone, with a neutral undertone. And remember — bronzer is not contour. Contouring (sculpting with cool-toned shades) is an advanced technique; bronzer just adds warmth.
Lips: Keep It Simple
Lips are the most forgiving part of the routine — and the easiest place to add personality.
For a natural look, you have three excellent options:
1. Tinted lip balm: Color + moisture, zero precision needed. The ultimate beginner lip product.
2. Lip gloss or lip oil: Adds shine and a hint of color. Apply straight from the tube.
3. A “my lips but better” lipstick: A shade close to your natural lip color, just slightly enhanced. Creamy or satin finishes look most natural; mattes are less forgiving on dry lips.
Application tips:
– Exfoliate gently if lips are flaky (a damp washcloth works), and apply the balm you put on during skin prep — blot the excess first.
– For lipstick, start in the center and blend outward. You can use your fingertip to press and diffuse the edges for a soft, modern look that doesn’t require perfect lip lines.
– Skip lip liner for now. It’s useful for bold colors and precise shapes, but unnecessary for a natural look.
Setting Everything: Lock It In
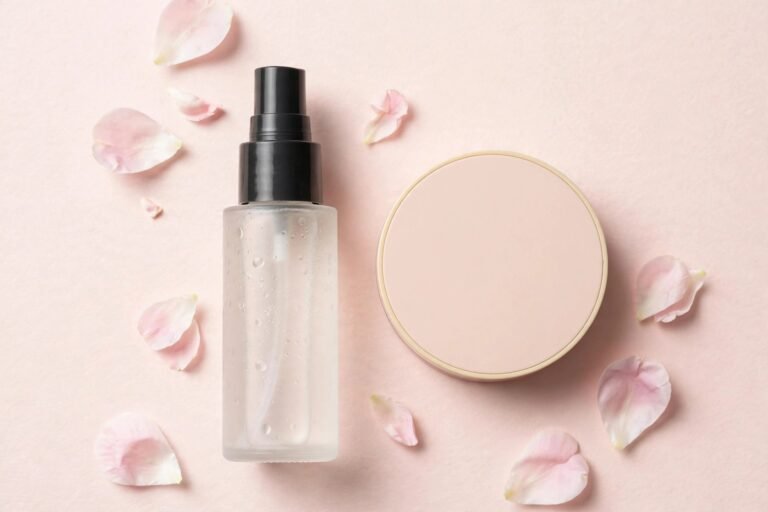
Setting spray is the final step — a light mist over your finished face that melts the products together (removing any powdery look) and extends wear.
How to use it: Hold the bottle 8–10 inches from your face, close your eyes, and mist in an X or T motion. Two to three sprays is enough. Let it air-dry for about 30 seconds — don’t touch your face while it’s damp.
Do you need it? For a natural everyday look, it’s optional but nice. It makes everything look more skin-like and helps makeup survive a long day. If your makeup tends to fade by afternoon, setting spray is worth adding to your routine.
Common Beginner Mistakes (and How to Avoid Them)
Every beginner makes these — they’re rites of passage, not failures. But knowing them in advance saves you the trouble:
1. Using too much product. The #1 beginner mistake across every category. Start with half of what you think you need. You can always add; removing is messy.
2. Wrong foundation shade. Tested on the hand, bought in fluorescent store lighting, worn in daylight — disaster. Always check shades on your jawline in natural light.
3. Skipping skin prep. Makeup over unmoisturized skin looks patchy by noon. The 5-minute prep routine is the highest-ROI step in this entire guide.
4. Harsh, unblended edges. Whether it’s eyeshadow, blush, or bronzer — if you can see where the product stops, blend more. Blending is the skill that separates “done” from “done well.”
5. Over-powdering. A heavy hand with powder is the fastest route to cakey, aged-looking makeup. Tap off the excess, use a light touch, and skip powder on dry areas.
6. Ignoring the neck. Foundation that stops at the jawline creates a visible mask line. Always blend down onto the neck.
7. Pump-faking the mascara wand. Pumping the wand in and out of the tube pushes air in and dries out your mascara faster. Instead, swirl the wand inside the tube to pick up product.
8. Sleeping in makeup. Even once in a while can clog pores and cause breakouts. Keep micellar water or makeup wipes by your bed for lazy nights — it’s not ideal, but it’s infinitely better than nothing.
9. Buying everything at once. You don’t need a 20-product routine on day one. Start with the basics in this guide, get comfortable, then add products one at a time as you identify what you want.
10. Comparing your day one to someone’s year ten. The flawless routines you see online come from years of practice (and good lighting, and filters). Your natural look will improve every week. Be patient with the learning curve.
Building Your Makeup Bag on a Budget
You don’t need luxury products to get a beautiful natural look. The drugstore has genuinely excellent options in every category — many makeup artists use them in their professional kits.
Your starter shopping list (8 essentials):
| Product | What to look for | Budget tip |
|---|---|---|
| Tinted moisturizer or light foundation | Sheer-to-medium coverage, matches your undertone | Drugstore skin tints rival high-end formulas |
| Concealer | One shade lighter than foundation for under-eyes | A single multi-use concealer covers eyes and spots |
| Translucent powder | Finely milled, no flashback | One compact lasts months |
| Blush | Neutral rose or peach; cream or powder | Cream blush doubles as lip tint in a pinch |
| Brow pencil or powder | One shade lighter than brow hair | A spoolie alone is enough if your brows are full |
| Neutral eyeshadow (single or small palette) | One matte shade slightly deeper than skin | You don’t need a big palette to start |
| Mascara | Your choice of lengthening or volumizing | Replace every 3 months (old mascara flakes) |
| Tinted lip balm or MLBB lipstick | “My lips but better” shade | Doubles as cream blush in a pinch |
Plus tools: A damp sponge, a fluffy powder brush, a blush brush, and a blending brush. A basic 4–5 piece brush set from the drugstore is perfectly fine to start.
Total realistic budget: You can assemble this entire kit for $50–80 USD at the drugstore. Buy one category at a time if that’s easier — start with base (tinted moisturizer, concealer, powder), then add color (blush, mascara, lips), then eyes and brows.
When to splurge vs. save: Save on powder, blush, and brow products (drugstore versions are excellent). Consider investing a bit more in foundation/skin tint and concealer, since shade range and formula quality vary more in complexion products. But honestly? The technique matters more than the price tag. A $8 foundation applied well beats a $50 foundation applied poorly, every time.
Frequently Asked Questions
How long does a natural makeup look take?
When you’re learning, budget 20–25 minutes. Once the steps become muscle memory, most people do a natural everyday look in 10–15 minutes. Speed comes with practice — don’t rush the learning phase.
What order do I apply makeup in?
Skincare → primer → foundation → concealer → powder → brows → eyeshadow → eyeliner (optional) → mascara → blush → bronzer → lips → setting spray. The general principle: creams and liquids before powders, base before color, eyes before cheeks (so fallout can be cleaned up).
Do I really need primer?
Not strictly, but it helps makeup last longer and look smoother. If your makeup fades by midday or settles into pores, primer is worth trying. If your base already lasts well, you can skip it.
How do I know my foundation undertone?
Check the veins on your wrist in natural light: blue/purple veins suggest cool undertones, green veins suggest warm undertones, and a mix suggests neutral. Cool undertones suit pink-based foundations; warm undertones suit yellow/golden-based ones; neutral can wear either. Most brands label shades with C/W/N or similar indicators.
Can I wear makeup if I have acne or sensitive skin?
Yes — with the right approach. Look for non-comedogenic formulas (less likely to clog pores), fragrance-free options if you’re sensitive, and always remove makeup thoroughly at night. Mineral-based products tend to be gentler. And remember: makeup doesn’t cause acne by itself — sleeping in it, using dirty tools, or using expired products are the usual culprits. skincare for acne-prone skin
How often should I replace makeup products?
Mascara and liquid eyeliner: every 3 months (they harbor bacteria). Liquid foundation and concealer: 6–12 months. Powders (blush, bronzer, eyeshadow): 1–2 years. Lipstick: 1–2 years. If anything smells off, changes texture, or irritates your skin — toss it regardless of age.
Is expensive makeup actually better?
Sometimes, but not reliably. Price correlates most with packaging, marketing, and shade range — not necessarily with performance. Many drugstore products outperform luxury ones in blind tests. The biggest difference your money buys is usually in complexion products (broader shade ranges, more refined formulas). For most color products, drugstore is excellent.
How do I remove all of this at night?
Double cleansing is the gold standard: first an oil-based cleanser or micellar water to dissolve makeup, then your regular gentle cleanser to clean the skin. Don’t scrub — let the products do the work. Follow with moisturizer. Your skin will thank you.
Key Takeaways
- Order matters: Skincare → primer → foundation → concealer → powder → brows → eyes → cheeks → lips → setting spray. Creams before powders, base before color.
- Less is more: Start with half the product you think you need. The most common beginner mistake is simply using too much.
- Blend everything: If you can see where a product stops, keep blending. This single skill elevates every step of your routine.
- You need 8 products, not 28: Tinted moisturizer, concealer, powder, blush, brow product, one eyeshadow, mascara, and a lip product — plus four basic tools — is a complete beginner kit.
- Skin prep is the secret: Five minutes of cleanse-moisturize-SPF makes every product after it look better and last longer.
- Skip what intimidates you: Eyeliner, contouring, and baking are all optional. A natural look doesn’t require them.
- Budget is no barrier: A full beginner kit costs $50–80 at the drugstore, and technique matters far more than price tags.
- Practice beats perfection: Your first attempts won’t be flawless, and that’s normal. Every routine gets easier, faster, and better-looking with repetition.
Makeup is supposed to be fun — it’s color, creativity, and self-expression, not a test you’re being graded on. Start simple, be patient with yourself, and enjoy the process of learning what works for your face. You’ve got this.
Love this? Pin it for later!