How to Clean Beauty Sponges Properly (Step-by-Step)
If you’ve ever noticed your foundation looking streaky or your skin breaking out along your jawline, the culprit may not be your products — it may be your sponge. Beauty sponges are porous by design, which makes them perfect for blending makeup and equally perfect for trapping foundation, oils, dead skin, and bacteria. A quick rinse under the tap isn’t enough. Here’s the full, proper way to clean beauty sponges so they stay hygienic, blend beautifully, and don’t become a breakout machine.
Key Takeaways
- Clean your beauty sponge after every use if you can; at minimum, wash it 2–3 times per week if you wear makeup daily.
- Warm water, a gentle cleanser (solid sponge soap, baby shampoo, or fragrance-free dish soap), and a massage-and-squeeze technique beat any soak-only method.
- Always rinse until the water runs completely clear — leftover soap breaks down the sponge faster.
- Air-dry sponges fully before storing them; never seal a damp sponge in a bag or drawer.
- Replace sponges every 1–3 months, or sooner if they tear, smell, or stay stained after washing.
Why a Dirty Sponge Is Such a Problem
Beauty sponges live a double life. On the surface they apply your foundation; inside, their foam structure absorbs everything that touches your face. Dermatologists and makeup hygiene experts consistently flag dirty sponges as one of the most common — and most overlooked — causes of breakouts, especially along the cheeks and jawline where people press foundation in most heavily.
A sponge that hasn’t been washed for a week becomes a warm, damp habitat for bacteria like Staphylococcus and mold species. Every time you press that sponge into your skin, you transfer that buildup back onto your face. The result: clogged pores, surprise pimples in your T-zone, and makeup that sits unevenly because dried product inside the sponge changes its texture.
There’s also a performance cost. A clean sponge is bouncy and springy; a product-logged one feels dense and doesn’t bounce the same way. Foundation applies streaky or patchy no matter how much blending you do. Many people assume their foundation formula has “gone off” when the real issue is the tool. the right time to toss old makeup
How Often Should You Clean a Beauty Sponge?
The honest answer: after every single use is the gold standard. Sponges are one of the few makeup tools where daily washing is genuinely realistic — they’re small, they wash in under two minutes, and they dry overnight on a counter.
Real life isn’t always ideal, so here’s a practical scale:
- Daily makeup wearers: wash after every use. If that’s too much, wash at minimum every 2–3 days.
- Occasional wearers (1–2 times per week): wash after every use, no exceptions — the sponge sits around collecting dust between wears.
- Sensitive or acne-prone skin: wash after every use. This is non-negotiable. Reintroducing bacteria to reactive skin daily is one of the fastest ways to trigger flare-ups.
Conservative hygiene experts treat beauty sponges like loofahs: assume they’re contaminated quickly and clean accordingly. Skipping washes to “save time” costs more time later in concealer, spot treatments, and frustration.
What You’ll Need
You don’t need expensive specialty products. The core requirements:
- Warm (not hot) water — hot water breaks down foam faster; warm water cleans just as well.
- A gentle cleanser: a solid sponge-cleansing bar is ideal, but mild baby shampoo, fragrance-free liquid soap, or even olive-oil-based dish soap works. Avoid harsh detergents or bleach.
- A silicone scrub pad (optional but great): the textured surface helps work product out of the foam.
- A clean towel for pressing out excess water.
One caution: avoid anything with strong fragrance or alcohol on sponges, since residue can irritate skin. This overlaps with general safe ways to disinfect the rest of your kit — the same gentle-is-better principle applies.
How to Clean a Beauty Sponge: The Step-by-Step Method
Step 1: Wet the Sponge Thoroughly
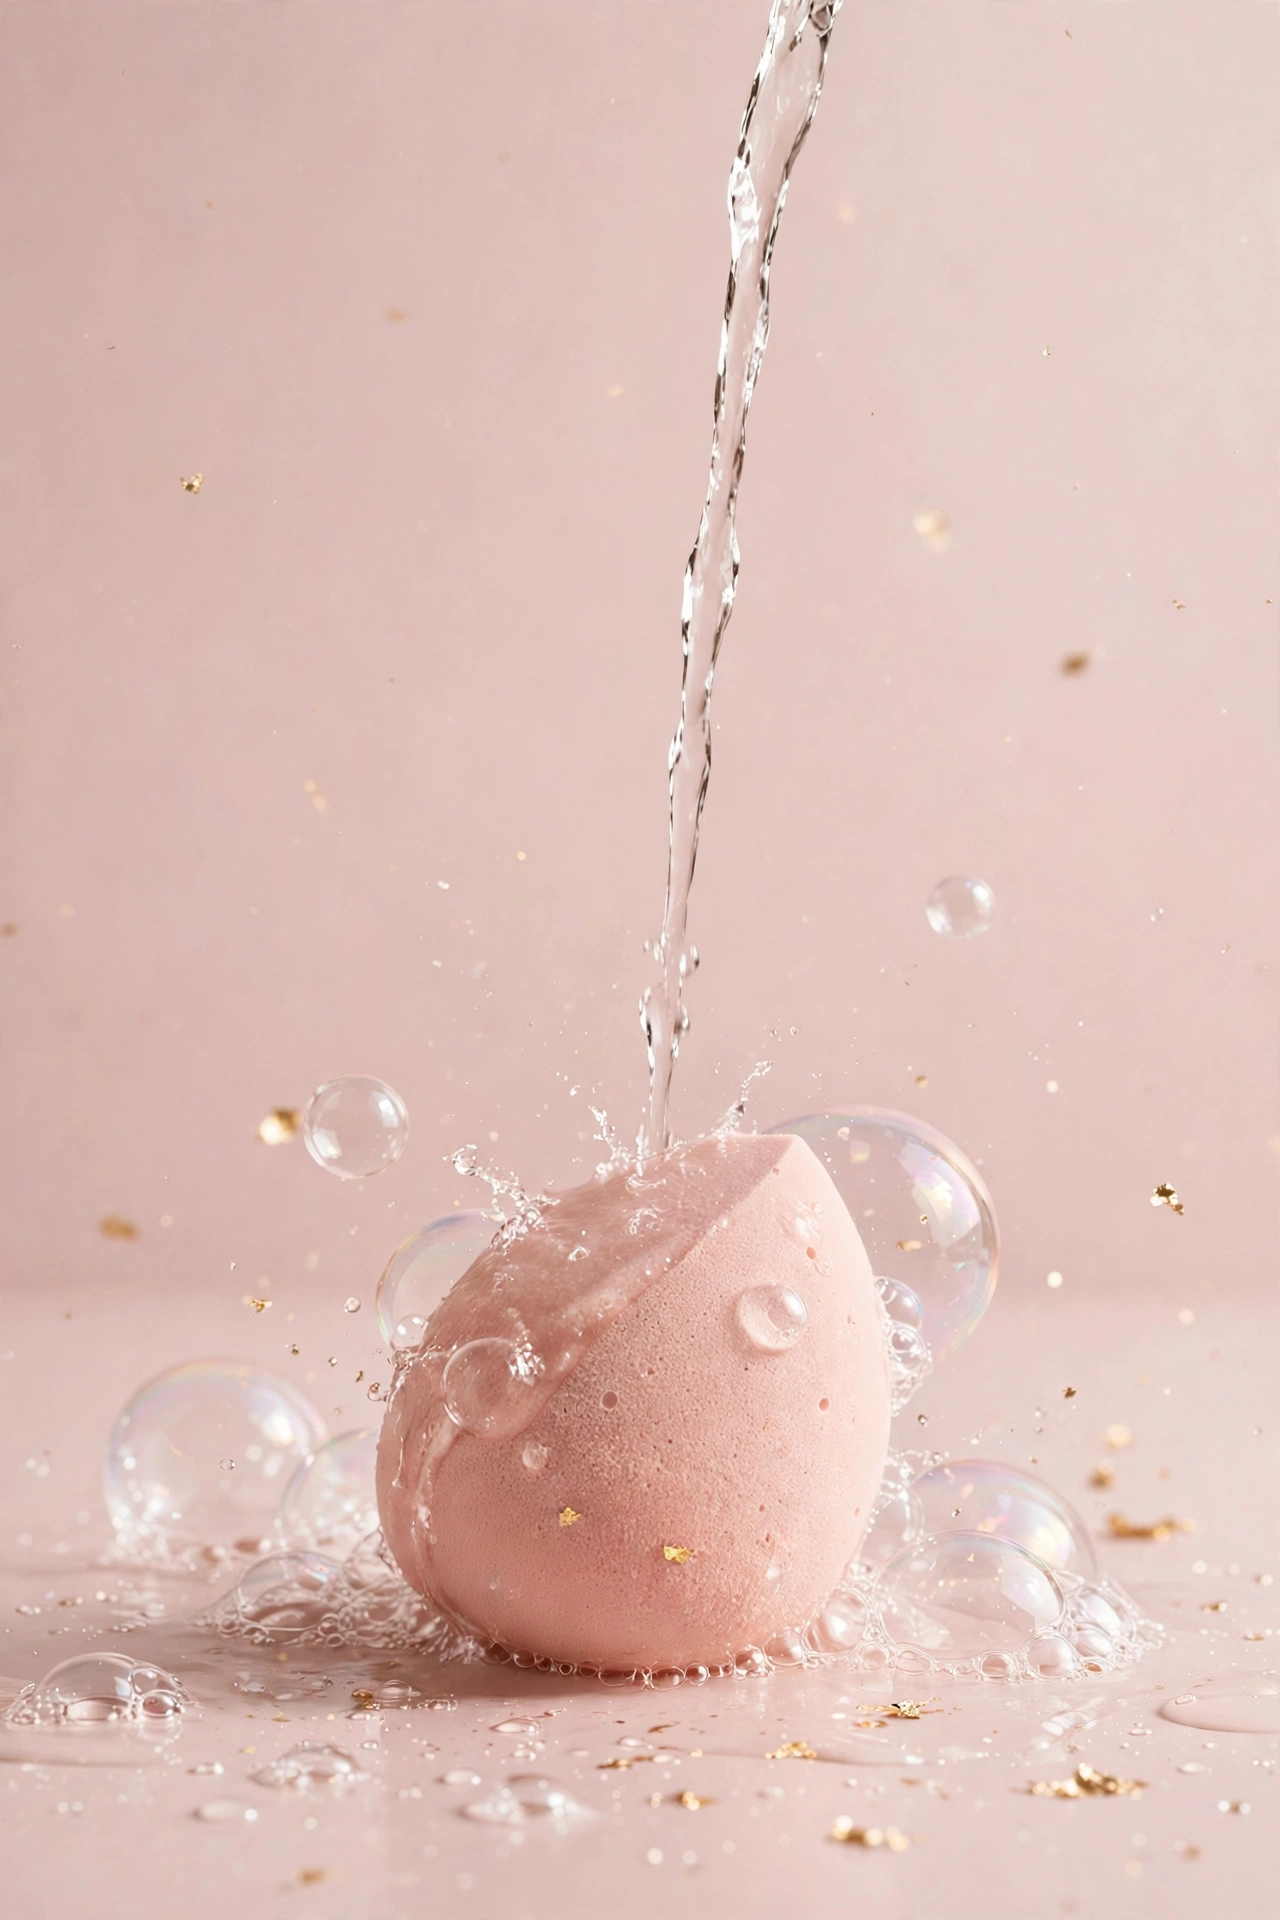
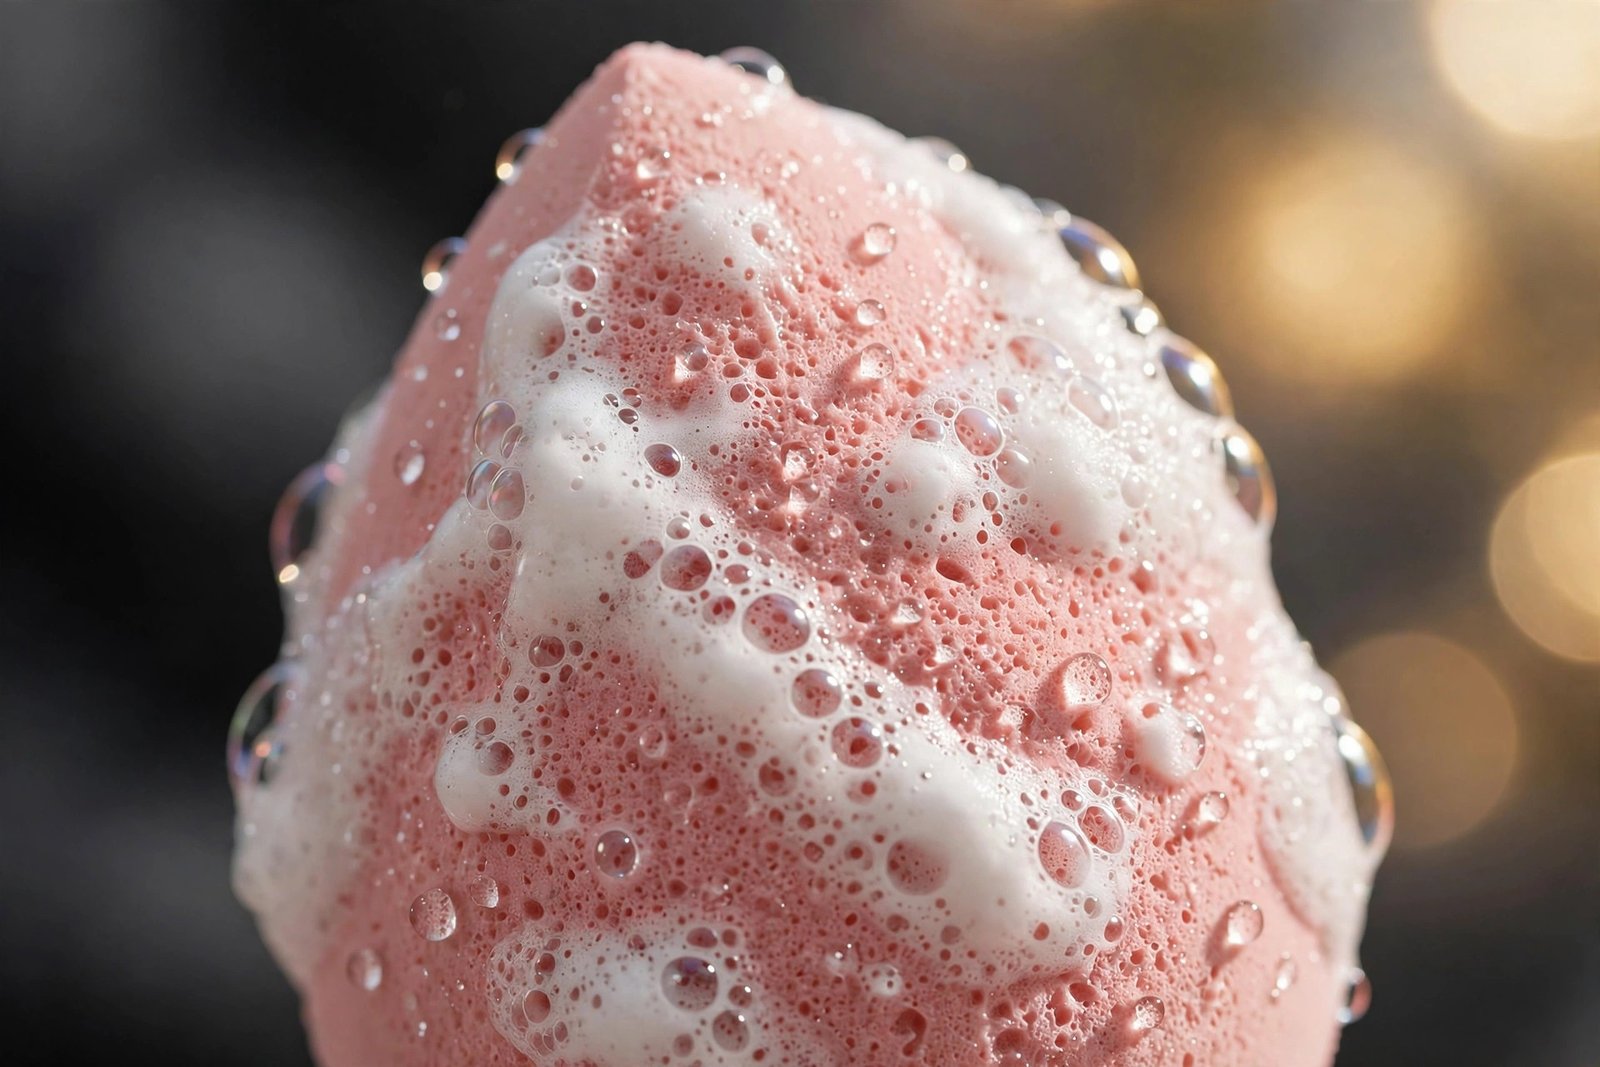
Run warm water over the sponge and squeeze it repeatedly until it’s fully saturated and expands to its full size. Squeezing under the stream loosens dried foundation near the surface and primes the foam to absorb cleanser. Don’t rush this — a half-wet sponge won’t clean properly.
Step 2: Apply Your Cleanser
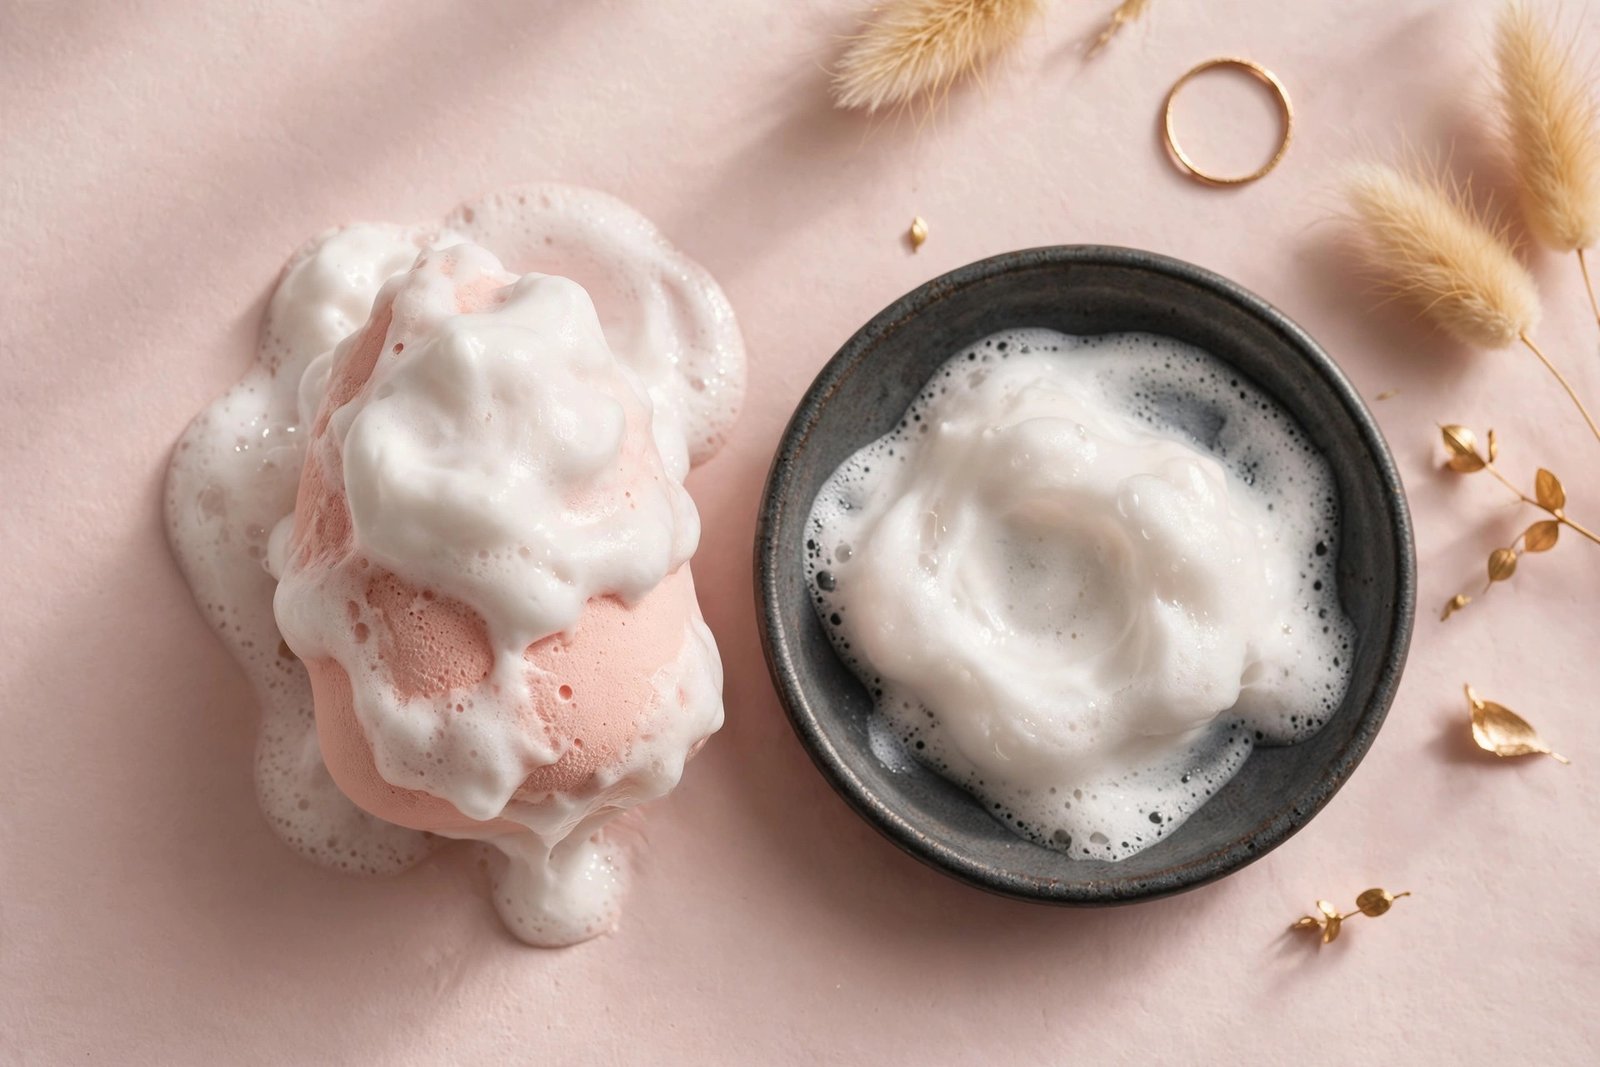
Rub the damp sponge directly against a solid cleansing bar, or squeeze a pea-sized amount of liquid cleanser onto it. Work the soap into the center of the sponge rather than just the surface. Foundation hides deep inside the foam, so the cleanser needs to get there too.
Step 3: Massage and Squeeze — Repeat
Here’s the technique that actually works: cup the sponge in your palm and squeeze it rhythmically — compress, release, compress, release — while massaging it in circles. You’ll see dirty foam and foundation-colored water squeeze out. Keep going for a full 30–60 seconds. For stubborn stains, press the sponge against a silicone scrub pad and massage in small circles; the texture dislodges product the fingers miss.
Avoid twisting or wringing the sponge like a washcloth. Foam tears under torque, and a torn sponge is done — it won’t blend evenly again.
Step 4: Rinse Until the Water Runs Completely Clear
Rinse under warm running water while squeezing repeatedly. This step takes longer than people expect — often a full minute. Stop only when the squeezed-out water is totally clear and no soap bubbles remain. Leftover cleanser is a double problem: it degrades the foam over time and can irritate your skin at your next application.
Step 5: Repeat If It’s Still Dirty
If foundation-colored water is still coming out after the first round, lather up and do it again. Most heavily used sponges need two rounds; that’s normal. A sponge that won’t come clean after three thorough washes is telling you something — check the replacement signs below.
Alternative Cleaning Methods That Work
Solid Sponge Cleansers
Dedicated solid cleansers (the round bars sold by sponge brands) are formulated to break down long-wear foundation and concealer. They’re convenient — just rub and rinse — and most last months since you use a tiny amount per wash. They’re the closest thing to a purpose-built solution.
Baby Shampoo or Gentle Liquid Soap
Baby shampoo is the classic budget pick for a reason: it’s designed to clean without harsh stripping, and it cuts through cream products surprisingly well. Fragrance-free liquid dish soap works too — the same surfactants that cut grease on pans cut foundation out of foam. Use a tiny drop; dish soap is concentrated.
The Double-Cleanse Trick
For sponges stained with long-wear or waterproof products, try an oil-based first pass: massage a few drops of olive oil or a cleansing oil into the dry sponge, squeeze out the dissolved makeup, then follow with soap and water. Oil dissolves oil-based pigment far better than soap alone. This is the same principle dermatologists recommend for removing long-wear makeup from skin.
How to Dry a Beauty Sponge the Right Way
Drying is where most people undo their good washing work. A sponge left damp in a closed drawer or a sealed bag will grow mildew within a day or two — and mildew means the sponge goes straight in the trash.
- Squeeze out as much water as possible by pressing (not wringing) the sponge in a clean towel.
- Stand it in open air on a ventilated sponge holder, a small dish, or even an egg cup — anything that lets air circulate around all sides.
- Never use heat: no hair dryer, no radiator, no microwave. Heat damages foam structure.
- Let it dry fully before putting it away — usually 6–8 hours, so washing in the evening works well.
- Never store a damp sponge in a sealed plastic bag or a closed makeup bag.
Where (and Where Not) to Store Sponges
Clean, dry sponges still pick up dust and bacteria from their surroundings. Store them in a ventilated holder or a clean, open container on your vanity — not loose in the bottom of a makeup bag with everything else. Travel tip: carry the sponge in a breathable mesh pouch or a hard vented case, never zipped into a plastic bag where trapped humidity breeds mold. keep your whole routine hygienic
Signs It’s Time to Replace Your Sponge
Washing extends a sponge’s life, but it doesn’t make it immortal. Be conservative here — a sponge is cheap; an eye infection or a month of breakouts is not. Replace your beauty sponge if you notice any of the following:
- It tears, cracks, or crumbles. Even small tears create uneven blending and trap more bacteria.
- It stays stained after thorough washing. Permanent discoloration means pigment and oils are embedded deep in the foam.
- It smells off — sour, musty, or “funky” even when clean and dry. That odor is bacterial or mildew growth. Throw it out immediately.
- It doesn’t bounce back. A sponge that stays compressed, feels dense, or has lost its springiness can’t blend properly anymore.
- It’s been 1–3 months of regular use. This is the conservative range most hygiene experts recommend. Daily users should lean toward monthly replacement; occasional users can stretch toward the 3-month end — but never past it if the sponge shows any of the signs above.
This replacement cadence is deliberately strict. Sponges are one of the fastest products to harbor bacteria, and unlike a powder compact, you can’t sanitize the inside of foam. When in doubt, toss it. product-by-product shelf life reference
Common Mistakes That Ruin Sponges (and Skin)
- Microwaving the sponge — viral “hack” that damages foam and doesn’t reliably sanitize.
- Soaking in bleach or rubbing alcohol — degrades the foam and leaves irritating residue.
- Using bar soap with heavy fragrance — transfers to skin and can trigger sensitivity.
- Sharing sponges — even with family. Bacteria and skin conditions transfer easily through damp foam.
- Applying makeup with a visibly dirty sponge “just this once” — one use is enough to transfer bacteria to broken-out skin.
Frequently Asked Questions
Can I clean a beauty sponge in the washing machine?
It’s not recommended. The agitation and heat of a washing machine break down foam quickly, and detergent residue is hard to rinse out of porous foam. Hand-washing takes two minutes and keeps the sponge intact much longer.
Is it safe to use olive oil to clean my sponge?
Yes, as a first step for dissolving heavy or waterproof makeup — it’s the “double cleanse” trick. Just make sure you follow with soap and a thorough rinse so no oil residue stays in the sponge, which could clog pores at your next application.
How do I get foundation stains out of a white sponge?
Soak the sponge in warm water with a drop of dish soap for 10 minutes before washing — this loosens set-in pigment. For stubborn stains, the oil-first method works best. But accept that some staining is permanent; a sponge that’s deeply discolored after months of use is usually due for replacement anyway.
Can a dirty sponge really cause breakouts?
Yes. Dermatologists consistently list dirty makeup tools among common breakout triggers. Sponges in particular trap oil, dead skin, and bacteria in their foam, then press all of it back onto your face. If you’re breaking out where you apply foundation, the sponge is one of the first things to check — and clean.
Should I clean a brand-new sponge before first use?
It’s a good habit. New sponges can carry dust and manufacturing residue. A quick wash and full dry before first use takes two minutes and guarantees a clean start.
The Bottom Line
Cleaning your beauty sponge properly isn’t complicated: warm water, gentle cleanser, massage and squeeze, rinse until clear, and air-dry completely. Do it after every use (or at minimum a few times a week), store the sponge ventilated, and replace it every 1–3 months without stretching. Your foundation will blend better, your skin will thank you, and you’ll never wonder whether that breakout came from your base — because you’ll know your tools are clean.
Love this? Pin it for later!