Cherry Cola Lips Tutorial: Get the Viral Look
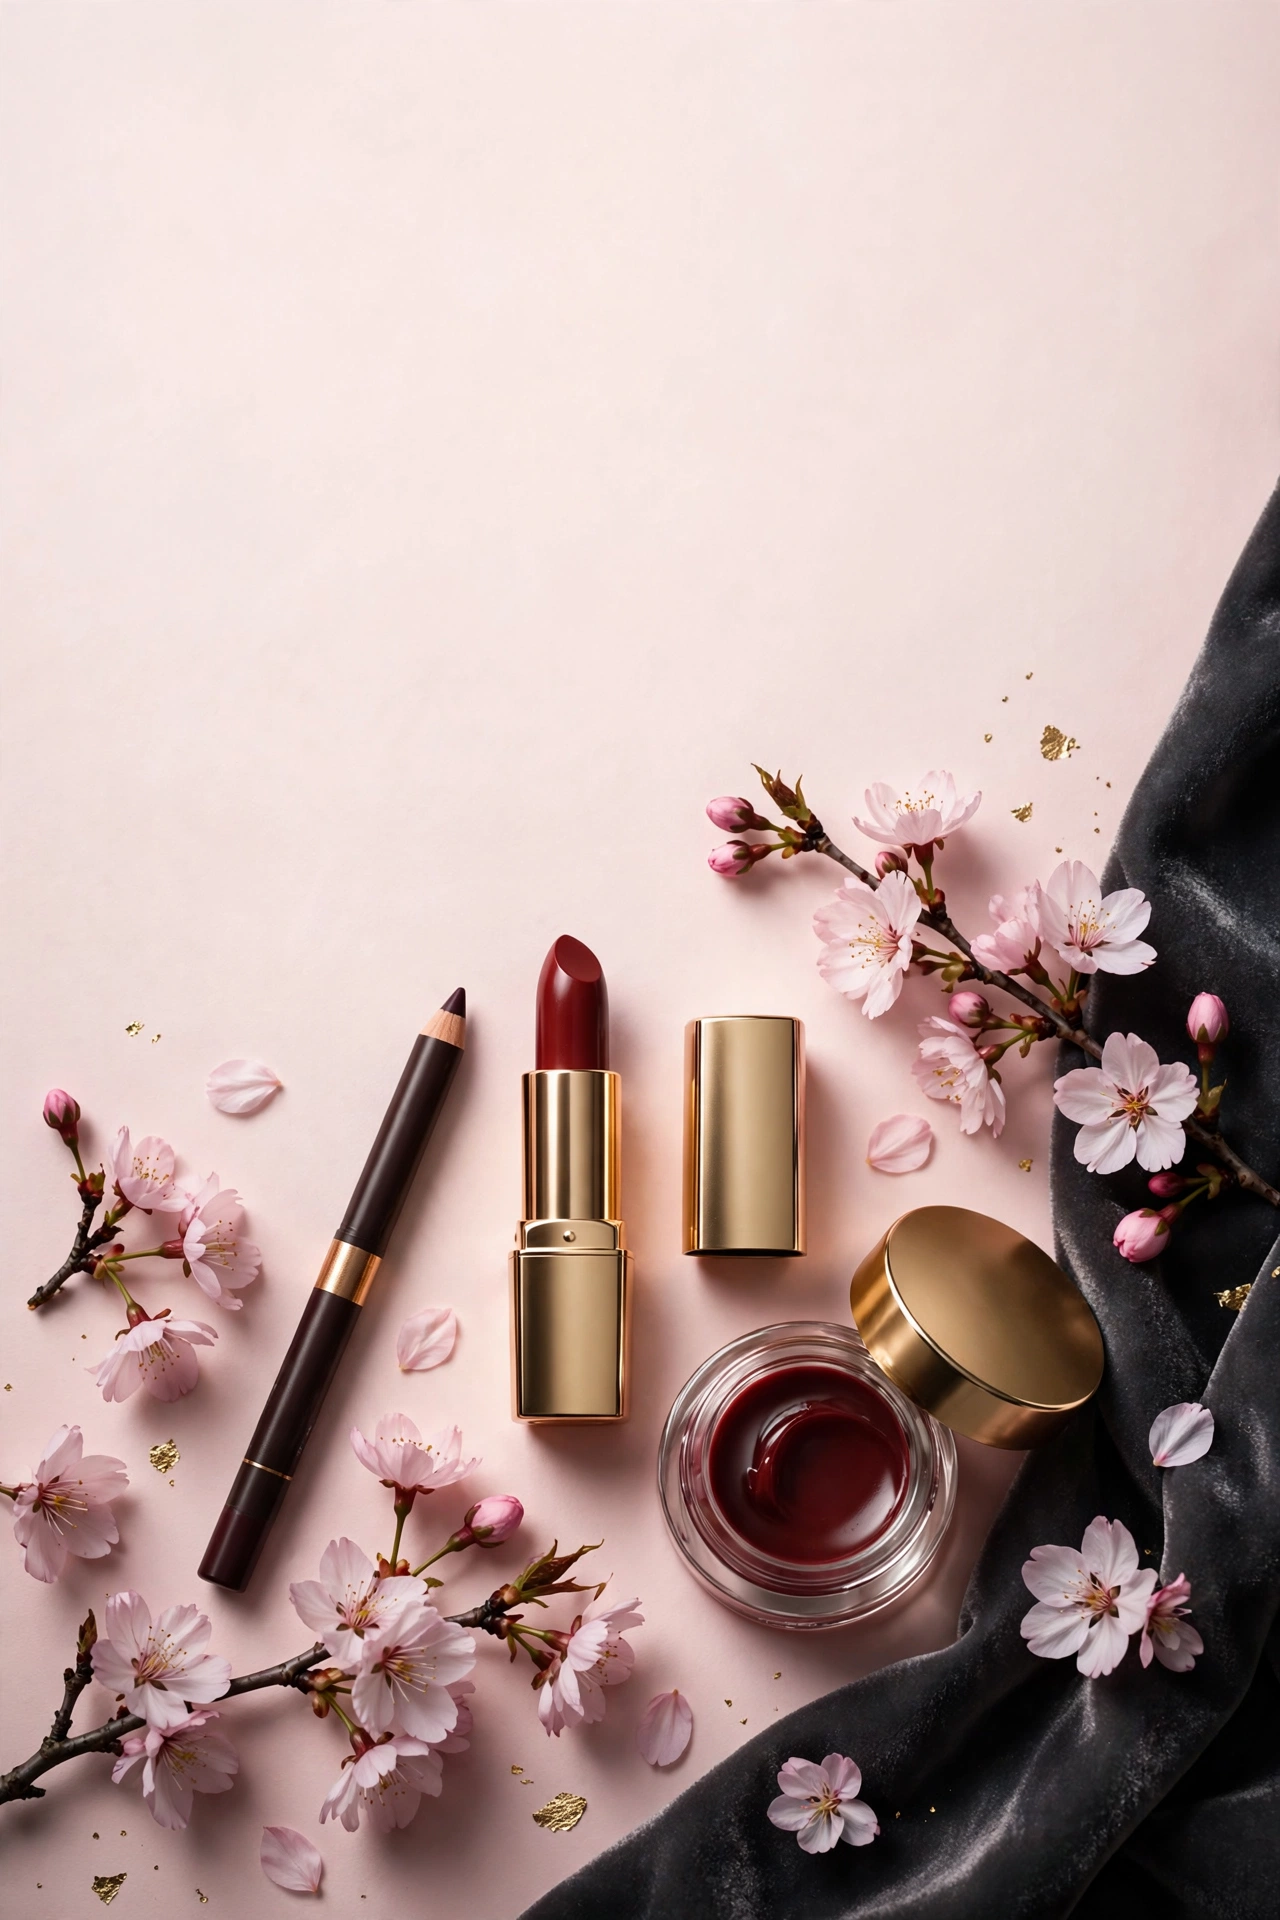
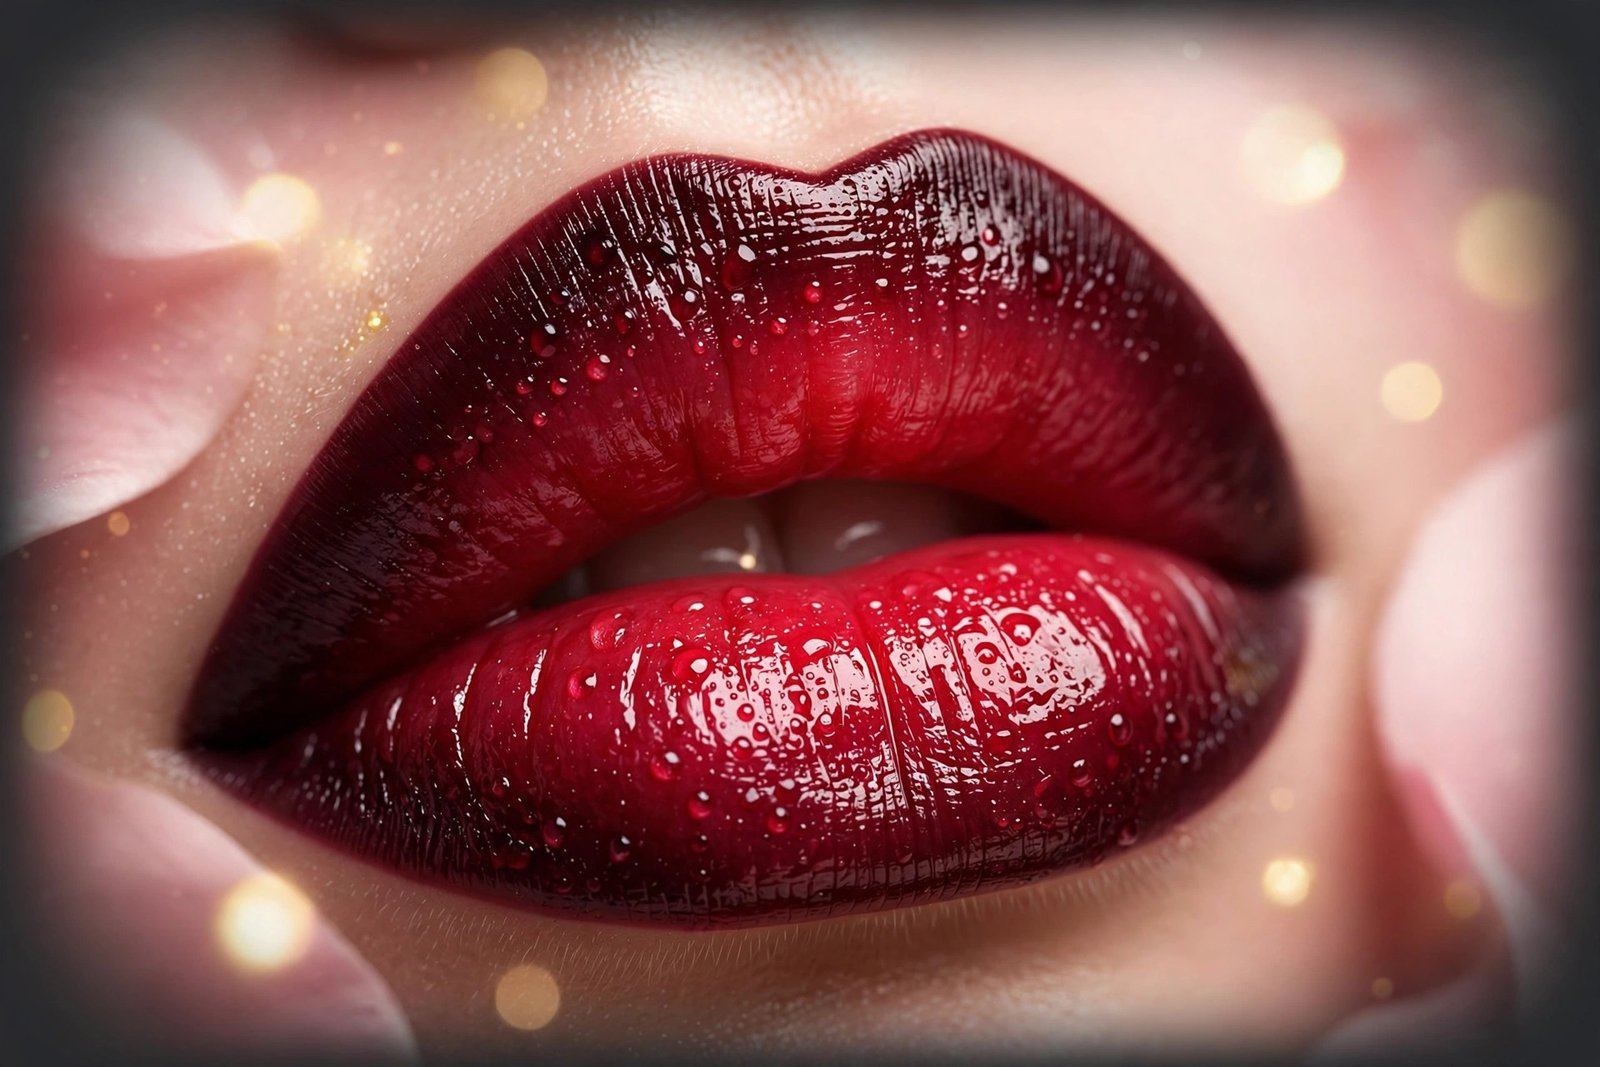
Every so often a lip trend breaks out of the beauty corner of the internet and lands everywhere — on red carpets, in offices, on people who have never posted a makeup tutorial in their lives. Cherry cola lips are that trend: a deep, glossy cherry lip with a darker liner defining the edges, like the dark rim of a cola bottle catching the light. It is dramatic, it is wearable, and it photographs beautifully.
The good news is that the technique behind it is genuinely simple — a liner plus a gloss or two, blended with intention. The difference between cherry cola lips that look expensive and ones that look muddy comes down to shade choice, blending, and prep. This tutorial walks through the exact formula, how to pick cherry tones for your skin tone, the step-by-step application, and how to keep it intact well past lunch.
Key Takeaways
- Cherry cola lips = deep cherry liner blended inward + glossy cherry center. That is the whole formula.
- Prep matters more than product: smooth, hydrated lips keep dark color from settling into lines.
- Choose your cherry by undertone: blue-red cherries flatter cool undertones, warm brick-cherries flatter warm ones.
- The liner should be only 1–2 shades deeper than the gloss — too dark reads harsh, not cola.
- Blot-and-layer is the longevity trick: two thin layers outlast one thick one.
- A matching liner also stops the deep color from bleeding outside the lip line.
What Are Cherry Cola Lips, Exactly?
The look, decoded
Strip away the viral packaging and cherry cola lips are a classic ombré technique with a specific color story. The outer edges of the lips are lined and slightly overdrawn in a deep cherry or burgundy-brown — the “cola” — while the center carries a brighter, juicier cherry red with high shine. Where the two meet, they are blended so there is no hard line, just a dark-to-bright gradient that gives the lips depth and dimension.
It works for the same reason contouring works: darker tones recede, lighter tones advance. The dark edge makes the lip look defined and full; the bright glossy center catches light and draws the eye. The result reads as richer and more expensive than a flat single-color red, and it flatters far more face shapes and ages than the runway versions suggest.
Why it went viral (and why it is actually wearable)
Cherry cola lips took off because they hit a rare sweet spot: dramatic enough for the camera, easy enough for a five-minute routine, and forgiving enough for non-experts. Unlike precision trends (the perfect red lip, the crisp 90s brown liner), the cola look is supposed to be blended and a little lived-in. Imperfection is built into the aesthetic.
It is also unusually adaptable. Worn sheer — a tinted cherry gloss over a soft brown liner — it passes in a conservative office. Built up with a full-coverage cherry lipstick and a deep liner, it holds its own at an evening event. That range is why the trend outlasted its viral moment and settled into a legitimate staple.
Prep: The Step Everyone Skips
Start with a smooth canvas
Dark, glossy color is honest: it shows every flake and settles into every lip line. Ten seconds of prep prevents ninety percent of cherry-cola disasters. If your lips have any dryness, do a quick gentle exfoliation — a damp soft toothbrush or washcloth in light circles — and then apply a hydrating lip balm and let it sink in for a few minutes while you do the rest of your face.
If your lips are chronically dry or cracked, dark lip colors will emphasize every rough patch. Getting your everyday lip care routine in order first is not optional for this look — it is the foundation the whole trend stands on.
Blot the balm, don’t skip it
Once the balm has had a few minutes to absorb, blot the excess lightly with a tissue. You want hydrated lips, not slippery ones — too much residual balm under liner causes the color to slide and feather. A light dusting of translucent powder just outside the lip line (not on the lips themselves) is the old makeup-artist trick for preventing deep colors from bleeding, and it works especially well with cherry tones.
The Exact Formula: Liner + Gloss
Choosing your liner shade
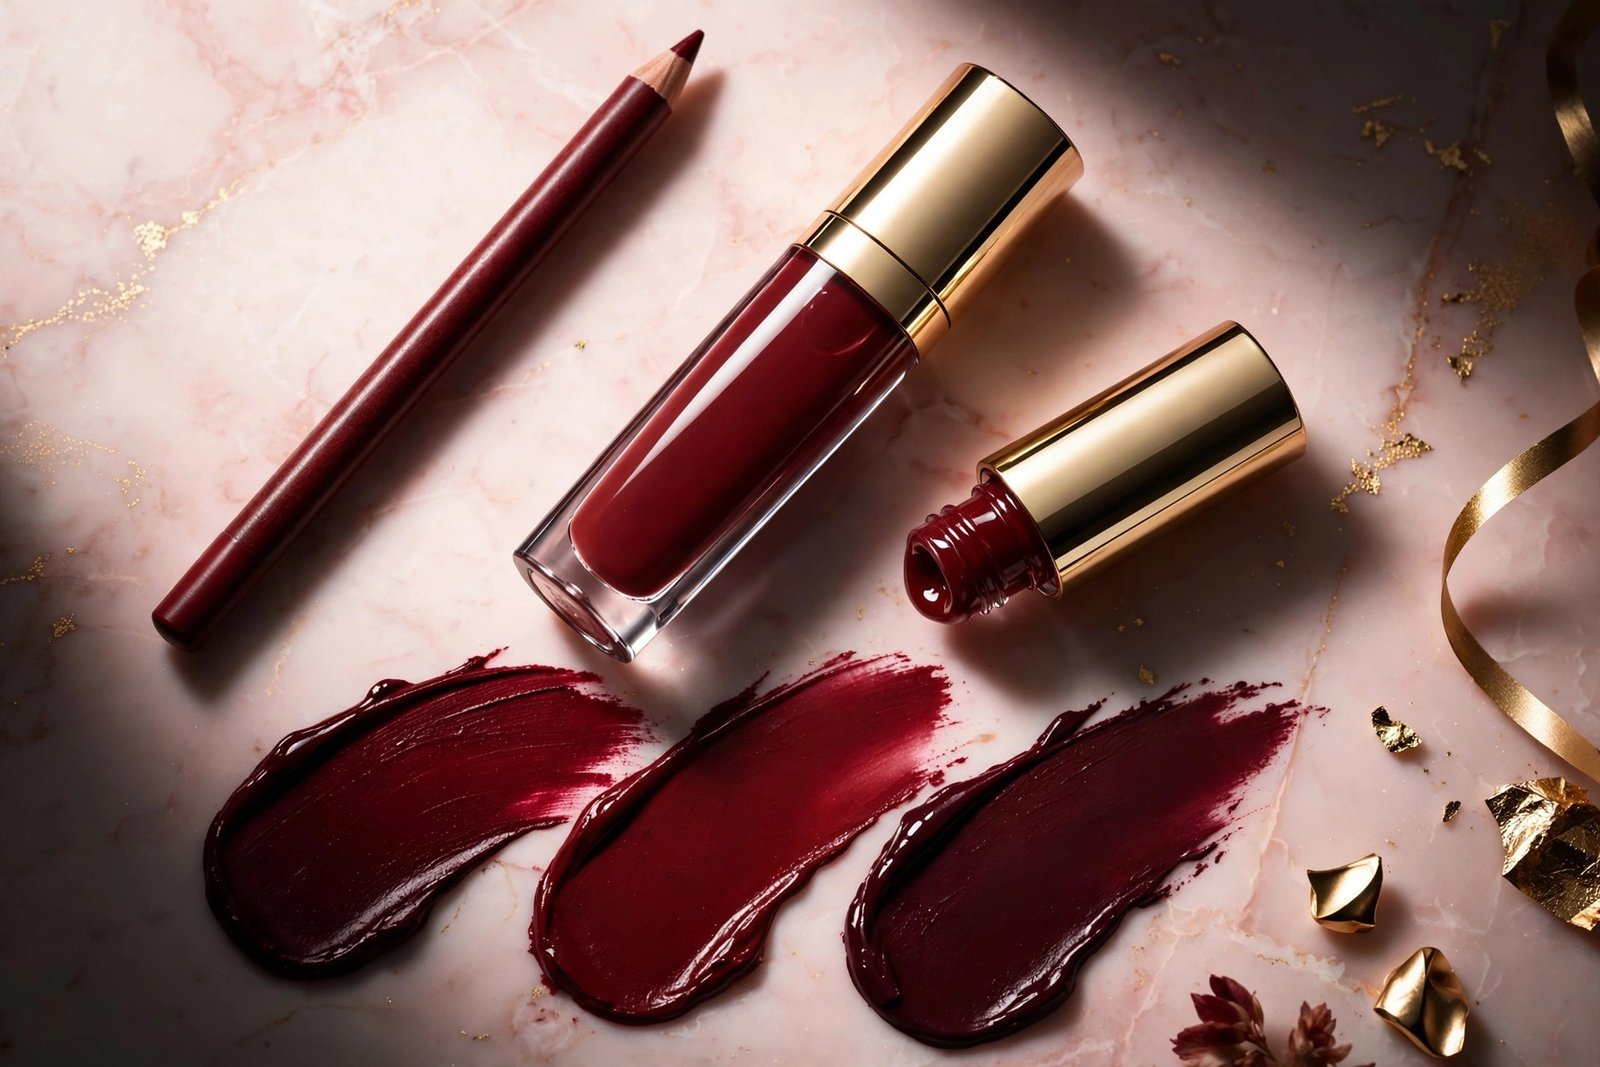
The liner is the “cola” in cherry cola — it should be a deep cherry, burgundy, or brown-red, roughly one to two shades deeper than whatever you put in the center. Popular reference points: a deep brown-red liner for warm undertones, a burgundy or wine liner for cool undertones, and a true deep cherry for neutral undertones. Matte or satin liners grip better than glossy ones, and a liner that is slightly deeper than your natural lip color helps the whole look blend seamlessly at the edges.
Avoid going dramatically darker than your center color. A near-black liner with a bright red center reads gothic, not cola — striking in its own right, but a different trend. The cola effect depends on the gradient being smooth and the dark edge reading as shadow, not as a separate color.
Choosing your center color
The center is the “cherry” — brighter, juicier, and glossier than the edge. Your best options: a cherry-red gloss (the classic), a cherry lip stain topped with clear gloss (longer wear), or a sheer cherry lipstick with gloss over it (more coverage). The gloss matters as much as the color: high shine is what sells the juicy, just-bitten look and what separates cherry cola from a flat dark lip.
For shade selection by skin tone: fair skin generally looks best with true cherry reds and berry-cherries rather than deep browns, which can overwhelm; medium skin tones carry both blue-red and warm brick cherries beautifully; deep skin tones look stunning with rich burgundy-cherry centers and deep cocoa-cherry liners. These are starting points, not rules — if a shade makes you feel good when you catch your reflection, it is the right shade.
The undertone shortcut
If choosing shades feels overwhelming, use this shortcut: hold the product up to your inner wrist in natural light. If your veins look blue or purple, you likely have cool undertones — lean toward blue-red cherries and burgundy liners. If they look green, you likely have warm undertones — lean toward brick-red and brown-cherry tones. If you cannot tell, you are probably neutral, and true cherry reds will work beautifully. When in doubt, a medium cherry gloss is the most universally flattering single product in this trend.
Step-by-Step Application
Step 1: Line and define
Starting at the outer corners, line the full lip with your deep cherry liner, staying just inside or exactly on your natural lip line — the cola look does not require dramatic overlining, and a slight overline at the cupid’s bow and center of the lower lip is plenty. Fill in the outer third of the lips (the corners and edges) with the liner, leaving the center bare. Use short, light strokes rather than pressing hard; you can always build.
Step 2: Fill the center
Apply your cherry gloss or lipstick to the center of the lips — the middle of the lower lip and the cupid’s bow area of the upper lip. Do not bring it all the way to the edges; leave a visible border of liner around it. If you are using a lipstick plus gloss combo, apply the lipstick first, blot once, then add gloss only to the center.
Step 3: Blend the transition
This is the step that makes or breaks the look. Using a clean fingertip, a small lip brush, or even just pressing your lips together gently, blend the boundary where liner meets center color. The goal is a gradient — dark at the edges melting into bright cherry in the middle — with no visible line. Pressing the lips together and then checking in a mirror is the simplest method, and it is how most people actually do it.
Step 4: Clean and set
Check the outer edges in natural light and clean up any wobbles with a small concealer brush or a cotton swab. If you want extra longevity, hold a single ply of tissue over the lips, dust translucent powder through it, then apply one final thin layer of gloss to the center only. This sandwich technique — color, powder, gloss — is what keeps the look intact for hours.
For more detailed liner technique, this step-by-step lip liner guide covers the fundamentals that make any lined look cleaner.
Making It Last Past Lunch
The blot-and-layer method
One thick layer of color wears off in a patchy ring; two thin layers wear off evenly. After your first full application, blot firmly with a tissue (this presses pigment into the lip and removes the slippery top layer), then reapply a thin second layer. Each layer should be thinner than you think — the blotting does the work of building intensity without bulk.
Stain-first for serious longevity
If you need the look to survive a full day — a wedding, a long event, a day you cannot touch up — start with a long-wearing lip stain as your base. Apply the cherry stain, let it set for a minute, line over it with your deep liner, and top with gloss. The stain provides a color base that persists even as the gloss wears off, so instead of fading to nothing, the look gracefully downgrades to a soft cherry tint. Carry the gloss for touch-ups and the liner for edge refreshes.
Eating, drinking, and touch-ups
Dark glossy lips and meals are natural enemies — accept it and plan for it. Before eating, blot off the gloss layer (keep the stain/liner base underneath); after eating, reapply gloss to the center and touch up the liner at the corners if needed. Drinking through a straw preserves the look dramatically better than drinking from a glass rim. And keep the liner in your bag: a two-second corner touch-up restores the whole gradient faster than reapplying everything.
Cherry Cola Variations to Try
The sheer daytime version
For work or daytime, sheer everything down: use a tinted cherry lip balm or sheer gloss in the center and a soft brown lip liner (rather than deep burgundy) at the edges. Blend thoroughly. The effect reads as “healthy, polished lips” rather than “trend makeup” — the cola structure is there, but whispered. This version also forgives imperfect prep, since sheer formulas do not show flakes the way opaque ones do.
The evening full-glam version
For nights out, build the full version: opaque cherry lipstick in the center, deep burgundy liner fully filling the outer third, gloss on top, and a touch of highlighter on the cupid’s bow to amplify the dimension. Pair it with soft, neutral eyes — the lip is the entire statement, and competing eye makeup muddies the effect. A little extra liner definition at the outer corners photographs beautifully.
Adapting it for your lip shape
Thin lips: keep the liner exactly on the natural line (no overlining at the corners, which can look harsh) and put the brightest gloss dead center to maximize the fullness illusion. Full lips: you can afford a deeper liner and more dramatic gradient — the look was practically designed for full lips. Asymmetric lips: use the liner to subtly even out the shape before adding color, slightly extending the thinner side. Uneven lip lines are exactly what liner exists to fix.
Common Mistakes
Too-dark liner with no blending
The number one cherry-cola failure is a harsh, unblended ring of dark liner around bright lips — the “drawn-on” look. If you can see where the liner ends and the gloss begins, blend more. When in doubt, blend again. The gradient should be seamless enough that a stranger could not tell where one product stops.
Skipping prep with dark color
Dark color on dry lips is the fastest way to make an expensive product look cheap. Flakes catch pigment unevenly, color settles into cracks, and the whole look reads messy within an hour. If your lips are not in good shape, either do the prep or choose the sheer version — opaque dark color is unforgiving.
Wrong cherry for your undertone
A warm brick cherry on very cool-toned skin (or a blue-red cherry on very warm skin) can clash with the face and make the look feel “off” in a way that is hard to diagnose. If the look is not working and you cannot figure out why, the undertone mismatch is the usual culprit. Swap the center shade before you abandon the trend.
Frequently Asked Questions
What products do I need for cherry cola lips?
At minimum: a deep cherry or burgundy lip liner and a cherry-red gloss. That two-product combination is the entire trend. Optional upgrades: a cherry lip stain for longevity, a clear gloss for extra shine, translucent powder for setting, and concealer for edge cleanup. You do not need a dedicated “cherry cola” kit — standard products in the right shades work perfectly.
Can cherry cola lips work for beginners?
Yes — it is one of the most beginner-friendly viral trends because blending forgives mistakes. If you are new to lip liner, start with the sheer daytime version (tinted balm + soft brown liner) and practice the gradient before attempting the full opaque version. The beginner’s lip makeup guide covers the foundational skills.
What skin tones do cherry cola lips suit?
Nearly all of them — the trick is adjusting the cherry. Fair skin suits true cherry reds and berry tones; medium skin carries both cool and warm cherries; deep skin looks striking with burgundy and cocoa-cherry combinations. The liner should always sit 1–2 shades deeper than the center color, whatever your skin tone.
How do I stop the dark liner from bleeding?
Three defenses: blot excess balm before lining, dust a little translucent powder just outside the lip line, and choose a matte or satin liner (they grip better than creamy ones). Liner itself is the primary anti-feathering tool — a well-drawn liner edge physically blocks color migration. Very deep shades bleed more visibly, so precision matters more with this trend than with nudes.
How is this different from 90s brown lip liner?
The 90s look used a dark brown liner with a contrasting lighter center (often nude or pale), with the contrast as the point. Cherry cola keeps everything in the cherry family — the liner is a deeper version of the center color, not a different color. The result is a gradient within one color story rather than a deliberate two-tone contrast.
Will cherry cola lips make my teeth look yellow?
Blue-red cherries actually make teeth look whiter (the blue undertone neutralizes yellow), while warm orange-red cherries can emphasize yellow tones in teeth. If tooth appearance concerns you, lean toward blue-red or burgundy cherries rather than brick or orange-red ones. It is a small detail that makes a noticeable difference in photos.
Get the Look Tonight
Cherry cola lips earned their viral status the honest way: the technique is simple, the result is striking, and it adapts to real life. Line deep at the edges, go bright and glossy in the center, blend until the transition disappears — and prep your lips like the look depends on it, because it does.
Start with the sheer version if you are new to dark lip color, build to full glam when you are ready, and keep your lip care basics strong underneath it all. The trend will eventually fade, but the skills — choosing shades for your undertone, blending a gradient, making color last — stay useful long after the last viral tutorial scrolls by.
Love this? Pin it for later!