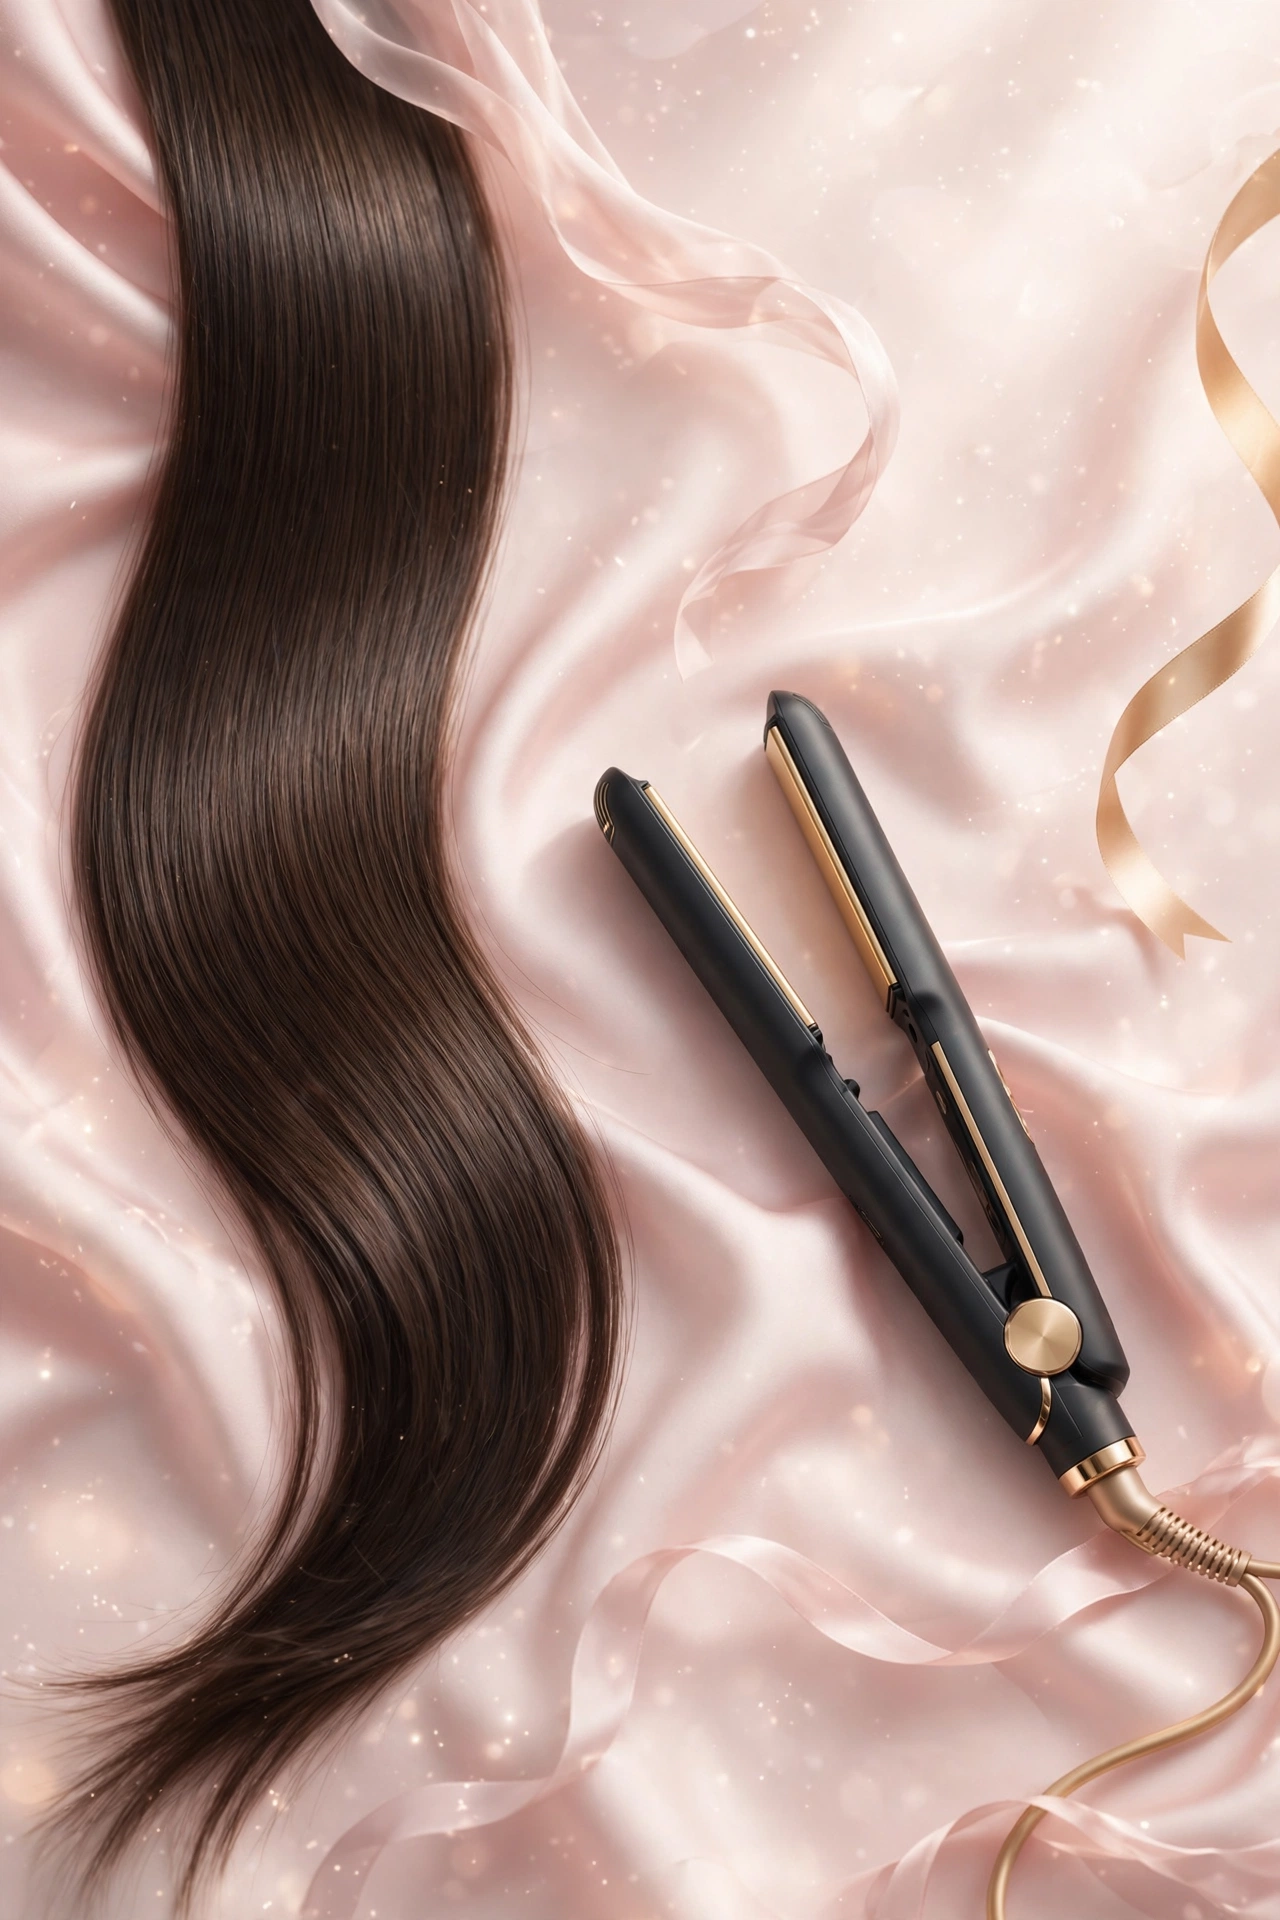
How to Straighten Hair With a Flat Iron (Without Damage)
A flat iron is one of the fastest ways to get smooth, sleek hair at home — but it is also one of the easiest hot tools to damage hair with if the technique is off. Too much heat, too many passes, or skipping heat protectant can leave hair dry, frizzy, and snapping. The good news: straightening without damage is entirely doable once you know the right temperature for your hair type, how to section properly, and the order of operations that protects the hair shaft.
This beginner-friendly guide walks through the entire process, from prep to finishing, with heat safety rules that dermatologists and hairstylists agree on.
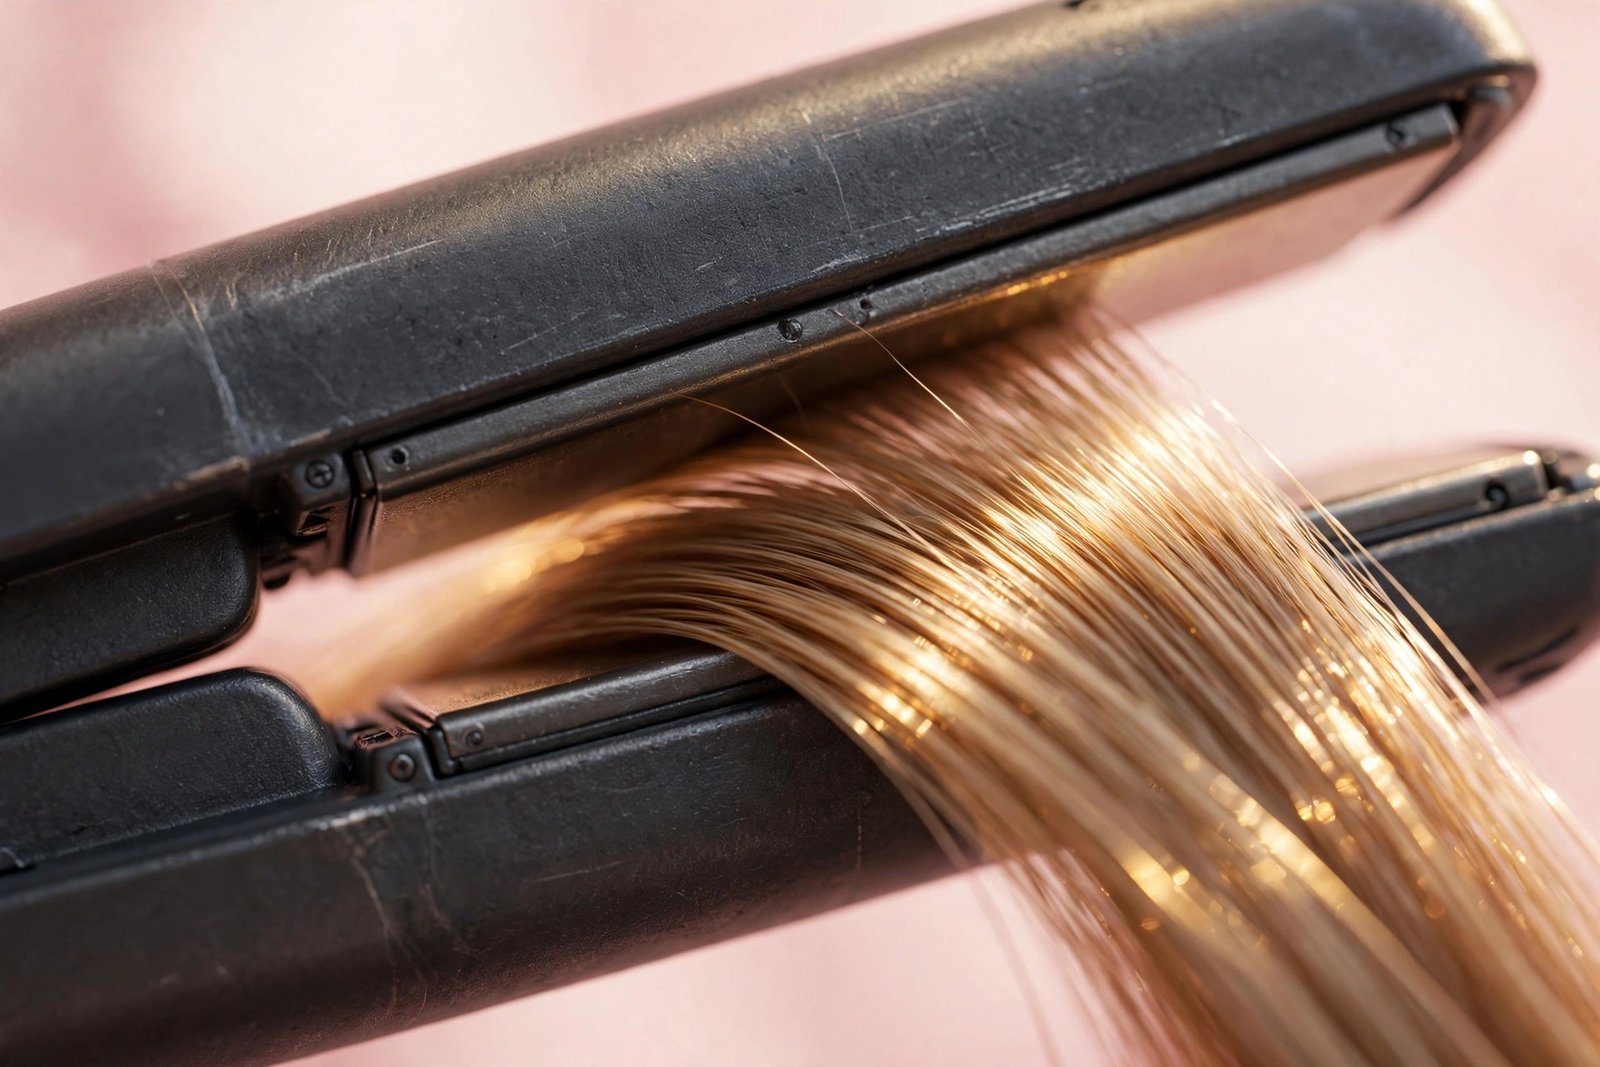
Key Takeaways
- Always apply heat protectant before touching your hair with a flat iron — it reduces heat transfer damage significantly.
- Match your temperature to your hair type: fine hair needs 250–300°F, medium hair 300–350°F, thick or coarse hair 350–400°F. Never exceed 450°F.
- Never flat iron wet or even damp hair — it literally boils water inside the strand and causes bubble hair and breakage.
- One slow pass per section beats three fast passes every time.
- Limit full straightening sessions to once or twice a week, and deep condition regularly.
Prep: What to Do Before the Iron Ever Touches Your Hair
Preparation is where most of the damage prevention happens. Skipping it is the single most common mistake beginners make.
Start With Clean, Completely Dry Hair
Wash your hair with a gentle sulfate-free shampoo and a moisturizing conditioner. Then dry it completely — not 90%, completely. Flat ironing damp hair traps steam inside the hair shaft, which can cause blisters in the strand (called “bubble hair”) and permanent structural damage. If you blow-dried first, double-check the roots and the hairline for lingering dampness; those areas hide moisture longest.
Apply Heat Protectant Generously
Heat protectant is non-negotiable. These products form a barrier that slows heat transfer and helps distribute it evenly, reducing the temperature spike the hair shaft experiences. Mist or apply a lightweight spray evenly through each section before straightening — especially the ends, which are the oldest and most fragile part of your hair. For a full rundown of why this step matters and which formulas work best, see this guide on whether you really need heat protectant.
Detangle and Divide
Brush or comb through your hair to remove all knots — straightening over tangles presses them into kinks and causes breakage. Then divide your hair into 4–6 sections with clips, working from the bottom layer up. Smaller sections (about 1–2 inches wide) give better results with fewer passes, which means less cumulative heat exposure.
Choosing the Right Temperature for Your Hair Type
The biggest beginner mistake is cranking the iron to maximum “because it works faster.” It does work faster — and damages faster too. The right temperature gets you sleek hair in a single pass without pushing the hair past its limit.
Temperature Guidelines by Hair Type
- Fine, thin, or chemically treated hair: 250–300°F (120–150°C). This hair type needs the least heat and damages the most easily.
- Normal or medium hair: 300–350°F (150–175°C). This covers most hair types.
- Thick, coarse, or very curly hair: 350–400°F (175–200°C). Dense hair needs more heat to relax the cuticle, but more than 400°F is rarely necessary.
- Never exceed 450°F (232°C). Above this point, keratin — the protein your hair is made of — begins to degrade rapidly.
If you are unsure, start at the lowest temperature and increase in small increments until one slow pass straightens the section. That is your sweet spot. If you are new to all heated styling tools, this beginner guide to hot hair tools covers the basics of every tool, including safety rules that apply across flat irons, curling irons, and dryers.
The Strand Test
When trying a new temperature or a new iron, test on a small hidden section near the nape first. If the hair feels rough, looks dull, or you smell burning, the heat is too high. (Burnt smells are a red flag — learn more in this guide to why hair smells burnt after straightening.)
The Straightening Technique: One Pass, Done Right
Step 1: Work From Bottom to Top
Release the lowest section and clip the rest up. Always straighten the under-layers first, moving upward — this keeps finished sections out of the way and gives you a cleaner result.
Step 2: Clamp, Glide, Don’t Stop
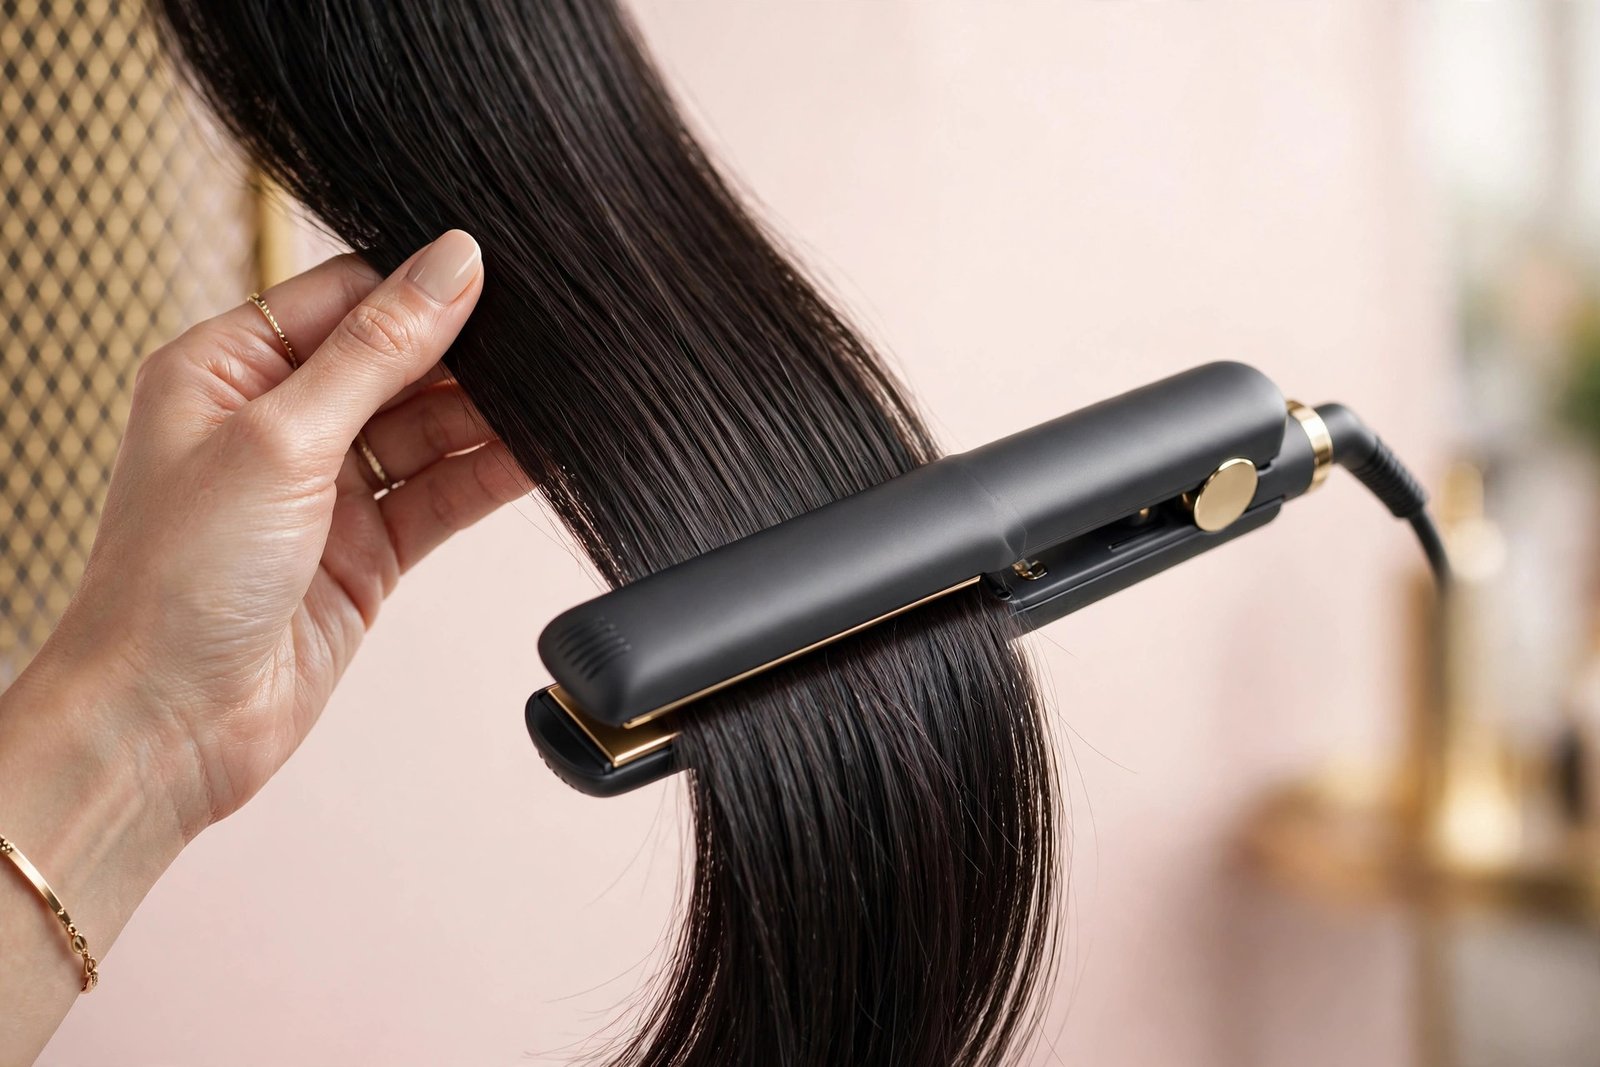
Clamp the iron about half an inch from the roots (not directly on the scalp) and glide down the section in one smooth, continuous motion. Keep the iron moving at a steady pace — pausing in one spot concentrates heat and creates a crease or hot spot. Most stylists recommend a moderate, even speed: too fast and you will need a second pass; too slow and you risk scorching.
Step 3: One Pass Is the Goal
With the right temperature and section size, one pass should straighten each section. If a section needs a second pass, let it cool for a few seconds first, then go once more — never do three or more passes on the same section. Repeated passes add up: two passes at 350°F expose the hair to far more total heat than one pass at 375°F.
Step 4: Keep the Iron Moving Through the Ends
When you reach the ends, don’t clamp down hard — ease the pressure slightly and glide through. Ends are the most fragile part and need the gentlest handling. For a sleeker finish, turn the iron very slightly inward at the very end of each section.
Step 5: Let Sections Cool Before Touching
Straightened sections are still hot and the cuticle is still soft. Let each section cool for a moment before brushing through or layering other sections over it. Running a cool-shot from your dryer over finished sections can help seal in the smooth look.
After Straightening: Locking In the Results
Apply a Light Finishing Product
Once your hair is fully cooled, smooth a tiny amount of lightweight hair oil or anti-frizz serum through the mid-lengths and ends. This adds shine, tames flyaways, and gives a final layer of protection against humidity. Use a pea-sized amount — too much makes hair look greasy and heavy.
Protect Your Style From Humidity
If your hair tends to revert to its natural texture in humidity, a humidity-resistant finishing spray helps. Plan ahead: straightening on a rainy day without protection usually means redoing sections, and repeated straightening in one day adds damage quickly.
Don’t Sleep On It Wet — Reuse Days Wisely
Straightened hair can last several days if you protect it overnight. Wrap hair in a silk or satin scarf, or sleep on a satin pillowcase to reduce friction. A light dry shampoo at the roots on day two or three keeps it fresh without re-ironing. Building good habits between styling sessions matters too — this beginner hair care routine covers washing, conditioning, and weekly maintenance that keeps straightened hair healthy long-term.
Heat Safety Rules You Should Never Skip
Heat styling is safe for most people when done properly — but the “properly” part matters. Keep these rules in place every single time:
- Heat protectant every time. No exceptions. Even on quick touch-ups.
- Never on wet or damp hair. Hair must be fully dry before the iron touches it.
- Know your temperature. Start low, go up only as needed, never exceed 450°F.
- Give your hair rest days. Limit full straightening to 1–2 times per week. Daily flat ironing is one of the fastest routes to chronic dryness and breakage.
- Deep condition weekly. Heat styling draws moisture out of the hair; a weekly deep-conditioning or hair mask treatment restores it.
- Watch for warning signs. If your hair is getting progressively drier, developing split ends faster than usual, or snapping when brushed, cut back on heat and give your hair a recovery period.
- Keep the iron clean. Product buildup on the plates causes uneven heating and can drag on hair. Wipe plates with a damp cloth once cool.
If your iron is old, has damaged or peeling plates, or no adjustable temperature setting, it is worth replacing. Ceramic and titanium plates with adjustable heat give the most even, predictable results.
Frequently Asked Questions
How often can I straighten my hair without damaging it?
Most hair types handle full straightening once or twice a week when heat protectant, correct temperatures, and good aftercare are in place. Daily straightening is where cumulative damage shows up — dryness, split ends, and breakage. If you want straight hair every day, consider a keratin treatment or heatless straightening methods for some days instead.
Why does my hair look frizzy right after flat ironing?
Frizz right after straightening usually means the hair was not fully dry, the temperature was too low (requiring too many passes), or humidity got in before the style set. It can also mean your hair needs a trim — damaged, split ends do not lie flat no matter how well you iron.
Can I straighten my hair if it’s color-treated?
Yes, but use extra caution. Color-treated hair is more porous and more heat-sensitive, so stay at the lower end of your temperature range (250–300°F) and always use heat protectant. Chlorine, hard water, and sun exposure compound heat damage, so color-treated hair benefits most from weekly deep conditioning.
Is it normal for hair to smell a little when flat ironing?
A faint warm smell on the first pass can be normal, especially with styling products. A strong burnt smell is not normal — it means the temperature is too high, you are doing too many passes, or the hair was damp. Turn the heat down and check that each section is fully dry.
Should I straighten bangs or baby hairs differently?
Yes — use the lowest effective temperature for the delicate hair around your face, and use a smaller section. A mini flat iron works better for bangs and edges than a full-size plate, giving you more control and less collateral heat on nearby skin.
Conclusion
Straightening hair with a flat iron without damage comes down to a handful of non-negotiable habits: fully dry hair, heat protectant every time, the right temperature for your hair type, small sections, and one smooth pass instead of several. None of these are complicated — they just require consistency.
Treat the iron as a tool, not a daily ritual, give your hair rest days and regular deep conditioning, and you can enjoy sleek, shiny hair for years without paying for it in breakage. If straightening is only one part of your routine, explore this overview of beginner-friendly hot hair tools to learn which other tools deserve a place in your kit — and which ones you can skip.
Love this? Pin it for later!