Mascara Guide for Beginners: Everything You Need to Know
Walk down any beauty aisle and you’ll face a wall of mascaras — lengthening, volumizing, curling, waterproof, tubing, lash-lifting — each promising dramatic results. For a beginner, it’s genuinely confusing. Which formula do your lashes actually need? What does that weird wand shape do? Why does one mascara look amazing on your friend and clumpy on you?
This guide answers all of it. You’ll learn how mascaras are formulated, what each wand shape is designed to do, how to match a mascara to your natural lashes, and the application basics that prevent clumps and smudges. By the end, you’ll be able to pick a mascara with confidence instead of guessing. Once you’ve chosen your formula, our step-by-step tutorial on applying mascara without clumping will walk you through the technique.
Key Takeaways
- Mascara formulas are designed for specific goals: lengthening, volumizing, curling, or defining — pick based on your natural lash type.
- Wand shape matters as much as formula: thin wands define, fat wands volumize, curved wands lift.
- Waterproof mascara isn’t better — it’s just different; it holds curl longer but requires dedicated removal.
- Replace mascara every three months; old mascara is the top cause of clumps and eye irritation.
- Curl your lashes before applying mascara, never after, and always wipe excess product off the wand first.
How Mascara Works
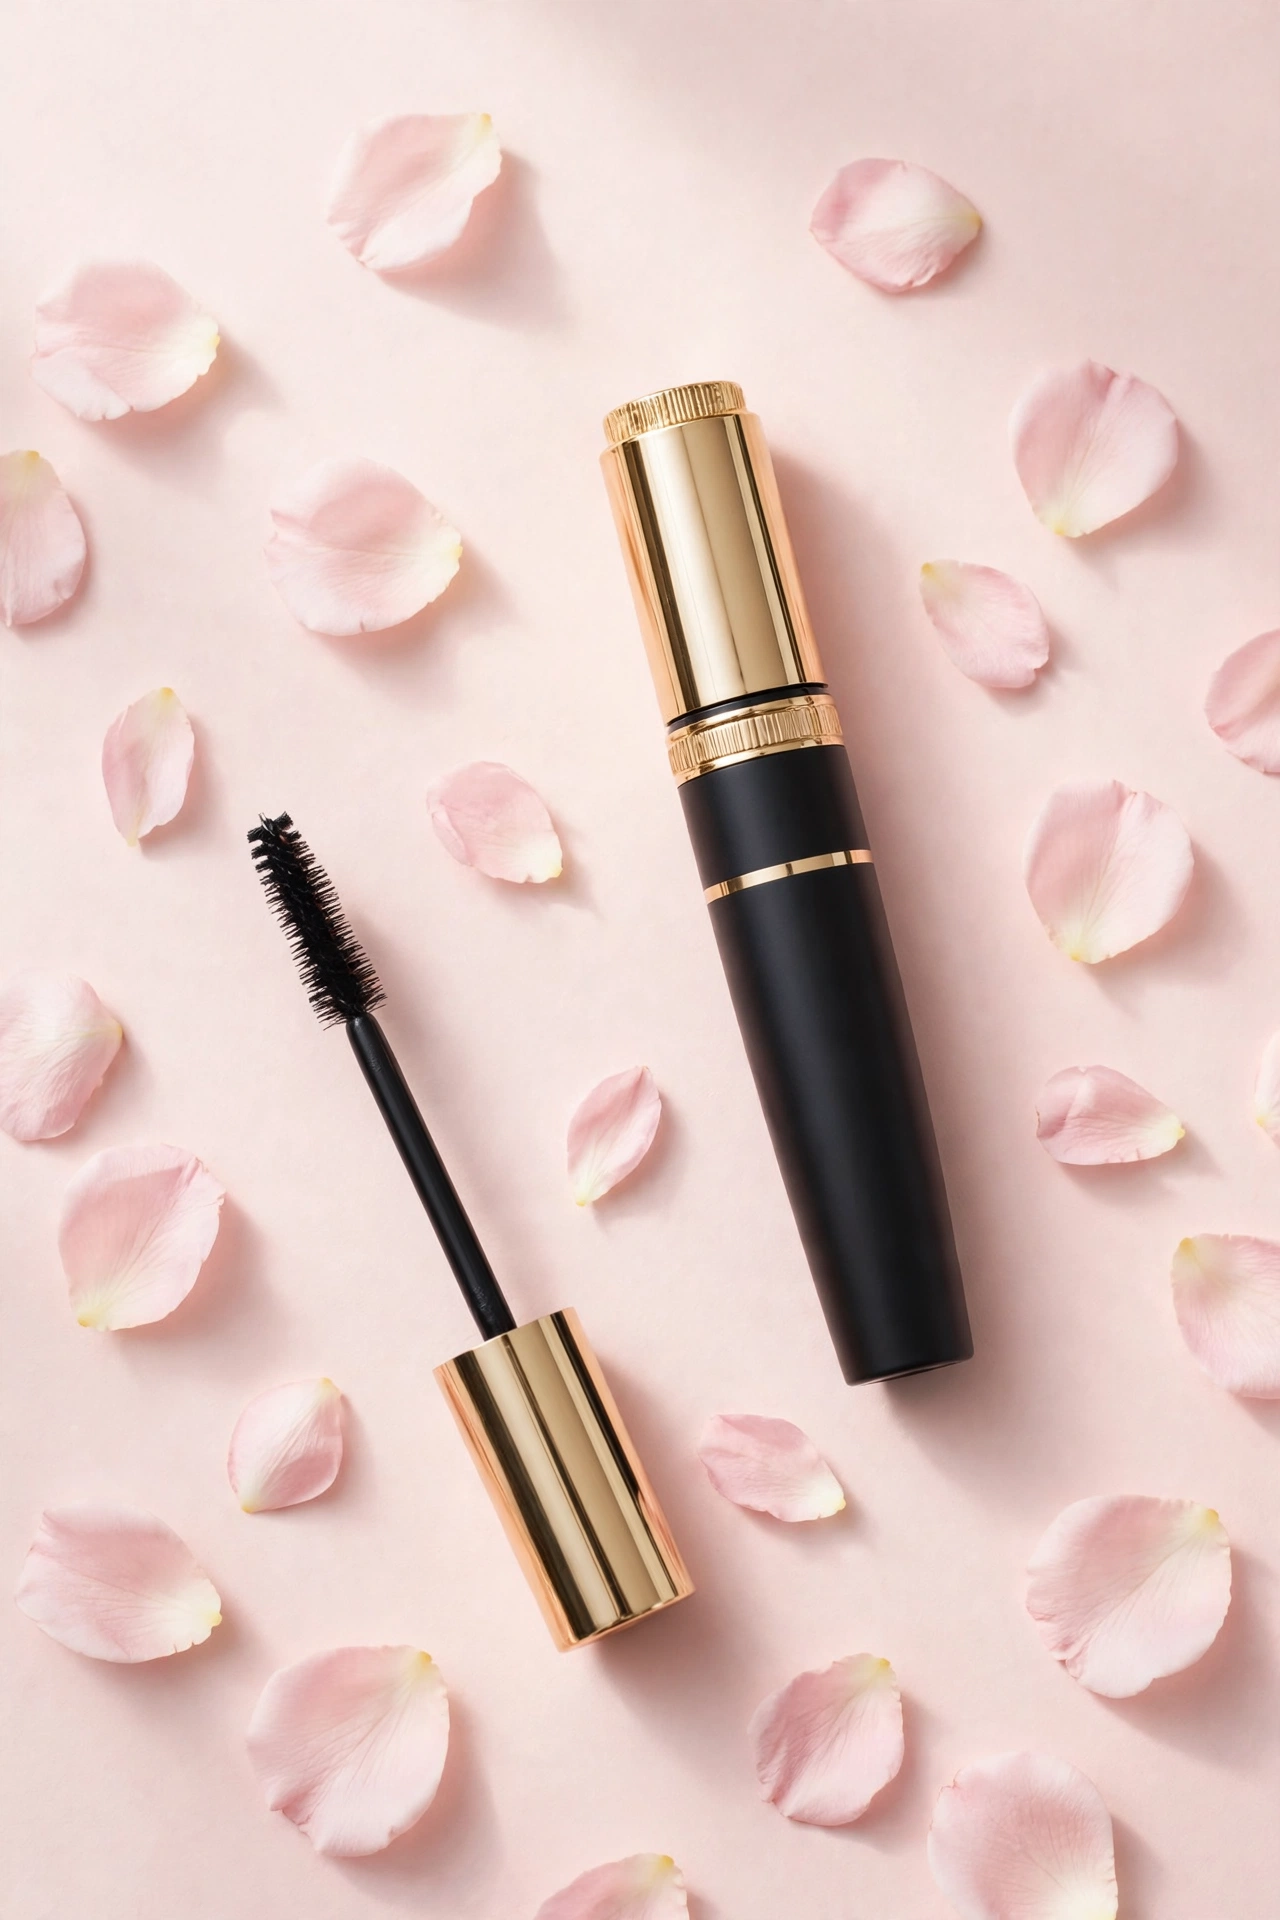
At its core, mascara is a pigmented liquid that coats each lash to darken, thicken, and lengthen it. The pigments (usually iron oxides or carbon black) provide the color, while waxes and polymers build up the lash and hold the shape. Film-forming polymers in modern formulas help the mascara grip lashes and resist smudging throughout the day.
What makes one mascara different from another comes down to two things: the formula (what’s in the tube) and the wand (what delivers it). Both matter, and understanding both is what separates a good mascara match from a disappointing one.
Mascara Formula Types Explained
Lengthening mascara
Lengthening formulas use fibers and lightweight polymers to extend the visible tip of each lash. They’re ideal if your lashes are naturally full but short. The texture is usually thinner and less prone to clumping than volumizing formulas. If your main complaint is “my lashes disappear,” this is your category.
Volumizing (thickening) mascara
Volumizing formulas contain more waxes and sometimes tiny fibers that bulk up each lash, creating a fuller, more dramatic look. These are best for sparse or thin lashes. The trade-off: thicker formulas are more prone to clumping, so application technique matters more. Beginners with thin lashes often get the most visible transformation from this type.
Curling mascara
Curling mascaras use quick-drying, lightweight formulas with polymers that “shrink” as they set, lifting lashes upward. They’re designed for straight lashes that point downward. Pair with a lash curler for maximum effect — curl first, then apply, and the formula helps hold the lift. Note that waterproof versions of curling mascaras tend to hold curl the longest.
Defining/separating mascara
These formulas prioritize a clean, natural, “your lashes but better” look. They use precise, often rubber-bristle wands and lighter formulas that coat evenly without adding much bulk. Perfect for daytime, office wear, or anyone who dislikes the heavy-mascara look.
Tubing mascara
Tubing mascaras are a newer technology: instead of painting pigment onto lashes, they form tiny water-resistant “tubes” around each lash. They don’t smudge, flake, or run with tears — yet they slide off easily with warm water and gentle pressure. They’re excellent for beginners prone to smudging, contact lens wearers, and anyone with watery eyes.
Waterproof mascara
Waterproof formulas use water-repelling ingredients that resist sweat, tears, humidity, and rain. They’re the right choice for weddings, beach days, workouts, and emotional events. The downside: they require dedicated oil-based removal, and daily use with improper removal can stress lashes. Our comparison of waterproof vs regular mascara helps you decide which suits your lifestyle.
Wand Shapes and What They Do
Classic bristle brush (straight)
The traditional mascara wand. Medium-density bristles deliver a balanced amount of product — a solid all-rounder for everyday lashes. Most drugstore classics use this shape.
Fat, oversized brush
Big, fluffy brushes deposit lots of product quickly and are the hallmark of volumizing mascaras. They create drama but require a steady hand; beginners may find they smudge on the lash line until technique improves.
Thin, skinny wand
Skinny wands reach every lash, including tiny inner-corner and lower lashes, with precision. They’re the best choice for short lashes, lower lashes, and anyone who struggles with smudging on the skin.
Curved wand
A curved brush follows the natural curl of the eye, lifting lashes at the roots and fanning them outward. Excellent for straight lashes and for creating an open-eyed, lifted look.
Ball-tipped wand
A small rounded tip lets you coat individual lashes and reach corners precisely. It’s also handy for fixing mistakes — the tip can separate a clump without redoing the whole eye.
Rubber/silicone combs
Plastic wands with short, evenly spaced teeth (rather than bristles) act like a comb, separating lashes as they coat. These are clump-fighting champions and great for beginners, since the precision applicator makes over-application harder.
Hourglass/figure-eight shape
This shape deposits more product in the middle of the lash line and less at the corners, creating a naturally fanned, full look. Popular in volumizing mascaras.
Choosing Mascara for Your Lash Type
Short lashes
Prioritize lengthening formulas with thin or rubber-comb wands. The precise applicator extends each lash without overwhelming them. Avoid heavy volumizing formulas, which can make short lashes look stubby.
Thin or sparse lashes
Volumizing formulas with fat or hourglass wands build visible fullness. A lash primer underneath can add extra body. Take care with application to avoid clumping — this lash type benefits most from the wiggle technique.
Straight lashes that point down
Use a lash curler first (always before mascara), then a curling formula — waterproof or tubing versions hold the lift longest. Our guide on using an eyelash curler safely shows the no-pinch technique beginners should learn.
Long lashes
Your challenge is definition, not drama. Defining formulas with rubber-comb wands separate and darken without adding bulk that leads to clumps. One coat is usually plenty.
Sensitive eyes
Look for fragrance-free, ophthalmologist-tested formulas — tubing mascaras are often the gentlest option since they remove with water alone. Avoid waterproof formulas if your eyes water easily, and always check our guide to the best mascara for sensitive eyes before buying.
Mascara Colors: Beyond Basic Black
Black is the most dramatic and the most common — it makes lashes look fullest and eyes most defined. Soft black / black-brown is flattering for fair skin, blondes, and daytime wear; it defines without harshness. Brown gives the softest, most natural look — ideal for no-makeup makeup days and very fair complexions. Colored mascaras (navy, burgundy, plum) are a fun way to make eye color pop: navy brightens the whites of eyes, burgundy makes green eyes glow, and plum flatters brown eyes.
Mascara Application Basics
Step 1: Curl first
Always curl before mascara, never after — curling mascara-coated lashes can break them. Position the curler at the base of your upper lashes, squeeze gently, hold for five seconds, and release. For a natural-looking curl, “walk” the curler out in two or three gentle pumps.
Step 2: Wipe excess off the wand
Pull the wand out and wipe excess product on the tube’s rim or a tissue. Most clumps come from too much product on the wand, not from the formula itself. This single habit prevents more mascara disasters than any other.
Step 3: Apply to upper lashes
Look down into a mirror (this stretches the lids and protects skin from smudges). Place the wand at the base of your lashes and wiggle side to side as you pull upward through the tips. The wiggle deposits product at the roots — where fullness matters most — and the upward stroke separates the tips.
Step 4: Apply to lower lashes lightly
Use the tip of the wand or a skinny brush, and apply with a very light hand. One thin coat is usually enough; heavy lower-lash mascara is the fastest route to raccoon eyes by afternoon.
Step 5: Separate while wet
If you see clumps forming, use a clean spoolie or lash comb immediately — while the mascara is still wet — to separate lashes. Once mascara dries, trying to fix clumps just makes things worse.
The Biggest Beginner Mistakes
- Pumping the wand in and out of the tube. This pushes air inside, drying out the formula and introducing bacteria. Instead, swirl the wand inside the tube.
- Applying mascara after curling incorrectly — or curling after mascara. Curl first, mascara second, always.
- Using old mascara. Replace every three months. Old mascara clumps, flakes, and can harbor bacteria that cause eye infections.
- Sharing mascara. Never share eye makeup — it transfers bacteria directly and is one of the fastest ways to get an eye infection.
- Sleeping in mascara. It dries out lashes, causes breakage, and can irritate eyes overnight. Always remove makeup before bed.
- Applying too many coats. More than two coats rarely helps and usually causes clumps. If two coats aren’t enough, the formula or wand is wrong for your lashes — not your technique.
- Ignoring the lower lash line smudge. Set under-eye concealer with a touch of translucent powder before mascara to reduce transfer.
How to Remove Mascara Properly
Regular mascara comes off with any gentle makeup remover, micellar water, or cleansing oil. Soak a cotton pad, hold it over your closed eye for 10–15 seconds to dissolve the product, then wipe downward gently — never scrub side to side.
Waterproof and tubing mascaras need more: tubing formulas slide off with warm water and light pressure, while waterproof formulas require an oil-based or dual-phase remover. Never tug or pull at lashes during removal — lost lashes take weeks to regrow. For the full method, follow a gentle oil-based removal routine designed for waterproof formulas.
Mascara Shelf Life and Hygiene
Mascara has the shortest shelf life of any makeup product: three months from opening, maximum. After that, the preservatives break down, bacteria multiply, and the formula dries out — causing the clumps and flakes you’re trying to avoid. Mark the opening date on the tube with a sticker or note.
Additional hygiene rules: never share mascara, never add water or saliva to “revive” a dry tube, and stop using any mascara immediately if your eyes become red, itchy, or irritated. If you’ve had an eye infection, throw out the mascara you were using and open a fresh one.
Building a Beginner Mascara Routine
If mascara is part of a larger makeup journey, keep it simple: one everyday mascara (a defining or lengthening formula in soft black) and optionally one waterproof or tubing formula for special occasions. Master the basics — curl, wipe, wiggle, one to two coats — before experimenting with primers, colored mascaras, or false-lash-effect formulas.
For the bigger picture, our step-by-step makeup guide for beginners shows where mascara fits into a complete routine, from base to brows to lips.
Mascara Primers: Worth It or Skip?
A lash primer is a usually white or grayish base coat applied before mascara. It adds bulk and grip, giving mascara more to hold onto — useful if your lashes are very fine or your mascara tends to fade by afternoon. Primers can genuinely boost volume and wear time, but they’re an optional extra, not a beginner essential. If you try one, let it dry for 30 seconds before applying mascara over it, and keep the coat thin — too much primer plus mascara is a fast track to clumps. Beginners should master mascara basics first, then experiment with a primer if they want extra drama.
Frequently Asked Questions
How do I choose my first mascara?
Start with your lash type: short lashes need lengthening, thin lashes need volumizing, straight lashes need curling formulas plus a lash curler. Choose a rubber-comb or thin wand for control, and pick soft black if you’re unsure about color. A tubing mascara is the most beginner-forgiving option since it won’t smudge.
Why does my mascara always clump?
The top causes are too much product on the wand, old mascara (older than three months), pumping the wand (which dries the formula), and applying too many coats. Wipe the wand, replace old tubes, and apply a maximum of two coats. Mastering the wiggle technique is the single best defense against spider lashes.
Should beginners use waterproof mascara?
Not as a daily mascara. Waterproof formulas are harder to apply smoothly and require oil-based removal that can stress lashes if done carelessly. Start with a regular or tubing formula for everyday wear, and save waterproof for occasions where you truly need it.
How many coats of mascara should I apply?
One to two coats is the sweet spot for most people. Let the first coat dry for about 30 seconds before adding a second. More than two coats adds clump risk without much visual benefit — if you need more drama, the formula is probably wrong for your lash goals.
Can mascara damage your eyelashes?
Mascara itself doesn’t damage lashes when used properly, but bad habits do: sleeping in mascara, aggressive removal, curling after application, and using expired products can all cause breakage and lash loss. Gentle application and proper removal keep lashes healthy.
Does eyelash curler go before or after mascara?
Always before. Curling after mascara can stick lashes to the curler pads and pull them out, or snap them at the bend. Curl clean, dry lashes first, then apply mascara to lock in the lift. Learn the safe, no-pinch technique before your first attempt.
How often should you replace mascara?
Every three months, no exceptions. This is the strictest replacement timeline in makeup because the eye area is so vulnerable to infection. If you can’t remember when you opened it, it’s time for a new one.
Why does mascara smudge under my eyes?
Common causes include oily under-eye skin, skipping powder under concealer, heavy lower-lash application, and non-smudge-proof formulas. Switching to a tubing mascara solves this for most people, as does setting the under-eye area with translucent powder before applying.
Conclusion
Choosing the right mascara comes down to knowing your lashes and matching them to the right formula and wand — not grabbing the tube with the prettiest packaging. Start with your lash type, pick a beginner-friendly formula (tubing or a simple defining mascara), learn the curl-wipe-wiggle routine, and replace your tube every three months. With those fundamentals in place, mascara stops being intimidating and becomes the easiest win in your makeup bag. When you’re ready to refine your technique, move on to our clump-free application guide and build from there.
Love this? Pin it for later!