Freckle Makeup + Bronzer Blush: The Soft Natural Look, Step by Step
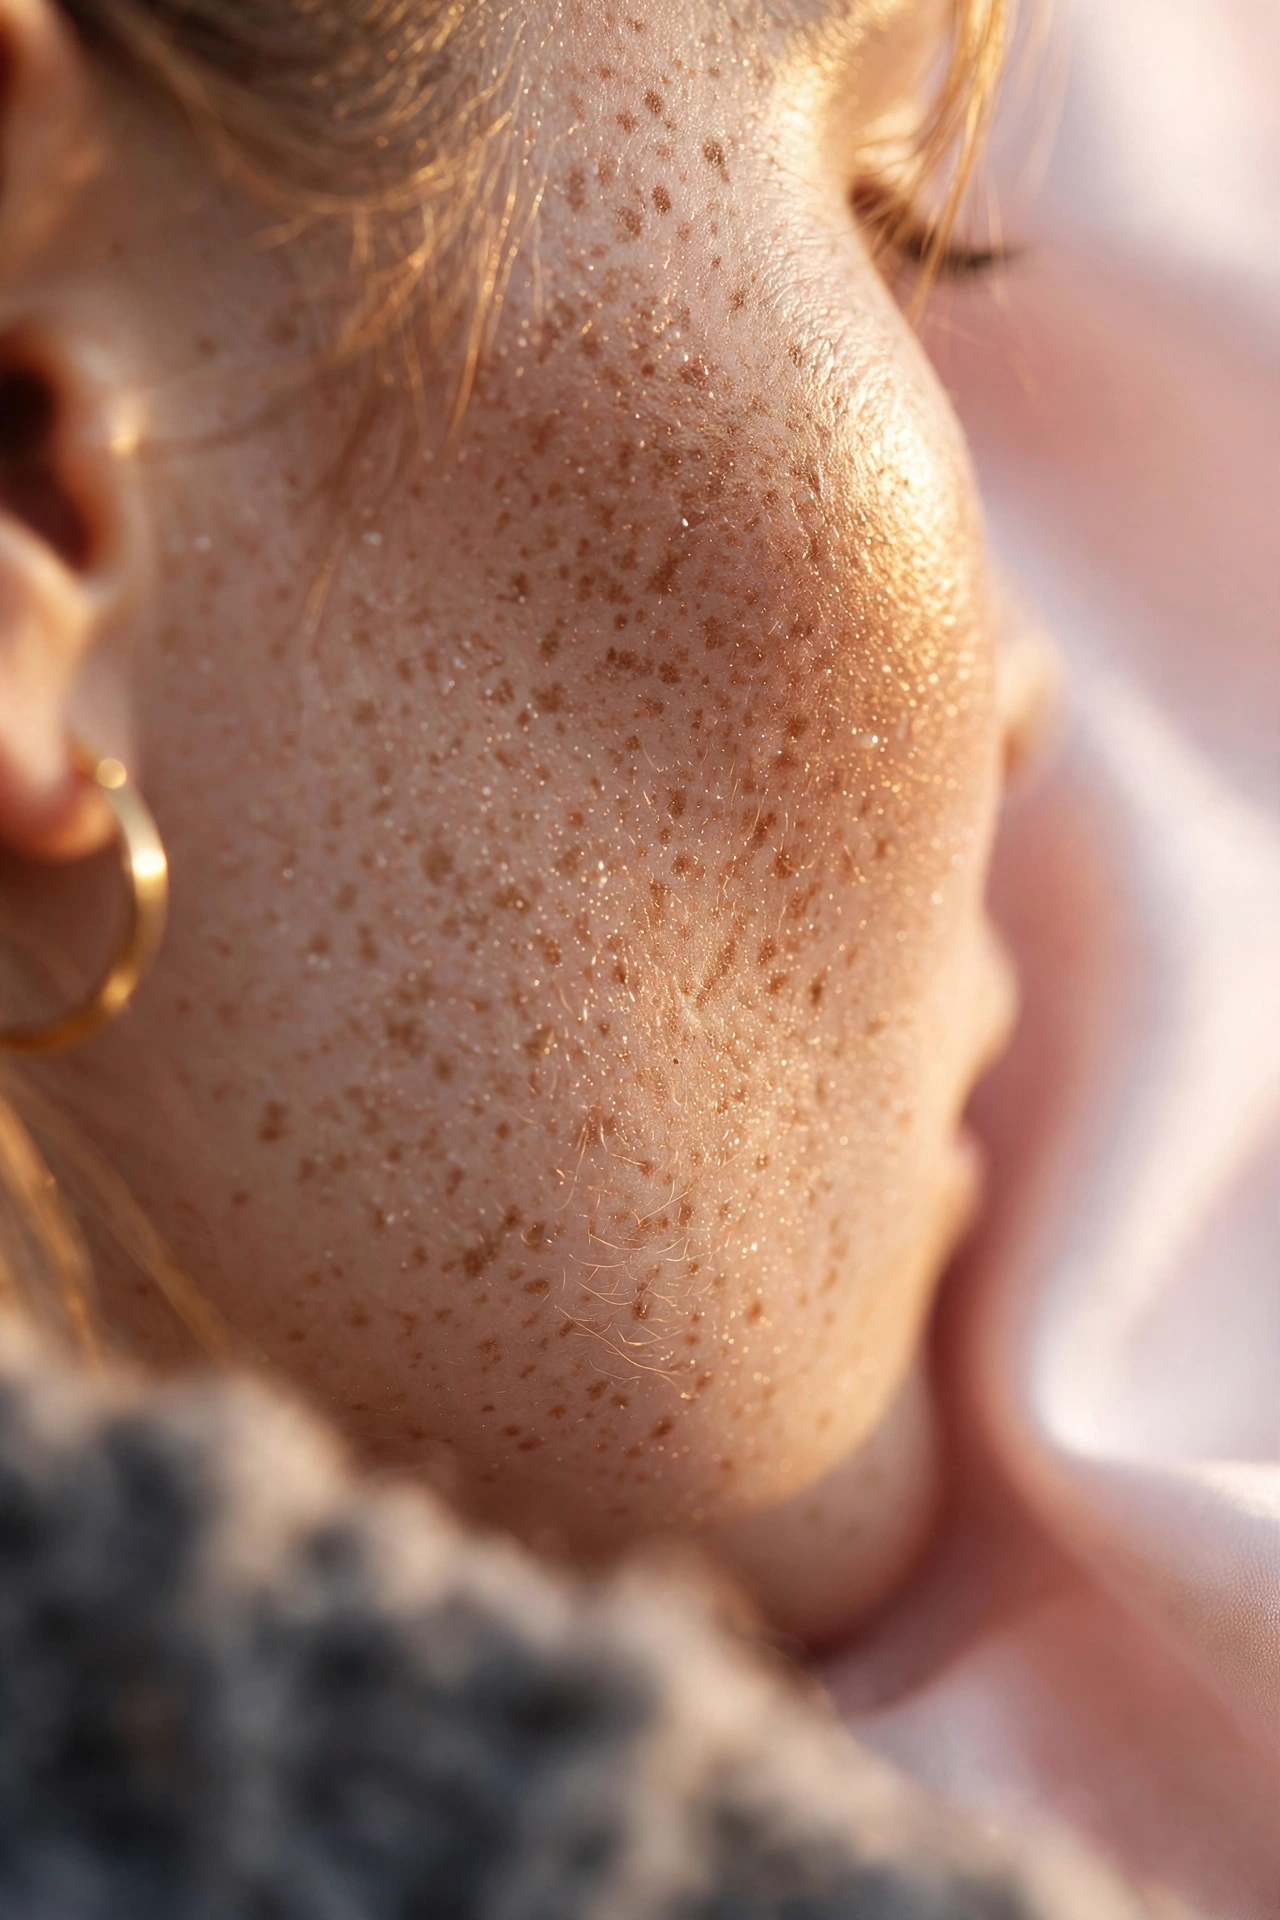
There is a particular kind of glow that never looks like makeup. It looks like you just got back from a long weekend somewhere warm — cheeks kissed by the sun, a scatter of freckles across the nose, lips that look like you ate berries an hour ago. That is the soft natural look everyone is chasing right now, and it is built on two hero techniques: freckle makeup and bronzer-blush placement.
The numbers say it is not just a niche obsession. Searches for freckle makeup are up roughly 70%, bronzer blush is up about 61%, and soft natural makeup looks have surged around 105% — Pinterest’s “Romantic Reverie” aesthetic has turned this fresh-faced finish into the dominant makeup mood of the moment. The appeal is obvious: it photographs beautifully, it takes less product than a full glam face, and it works on nearly every skin tone and age.
The catch? “Effortless” makeup is a skill. Faux freckles can slide into clownish territory fast, and bronzer-blush hybrids can turn muddy if the placement is wrong. This guide walks through the entire look step by step — base prep, three faux-freckle methods with honest pros and cons, the sunburnt draping technique that ties bronzer and blush together, matching eyes and lips, and how to make it all last from morning to midnight.
The Aesthetic: What the Soft Natural Look Actually Is
Before picking up a single product, it helps to know what you’re aiming for. The soft natural look is not no-makeup makeup (which tends to be polished and neutral) and it is not sunburnt blush taken to an extreme. It sits in the middle:
- Fresh, not flat: skin looks alive and dimensional, with warmth concentrated on the high points of the face
- Sun-kissed, not tanned: the warmth mimics a few hours outdoors, not a week on a beach — think golden peach and soft terracotta, not deep bronze
- Effortless, not undone: everything is blended to the point of being invisible as “product,” but there is real structure underneath
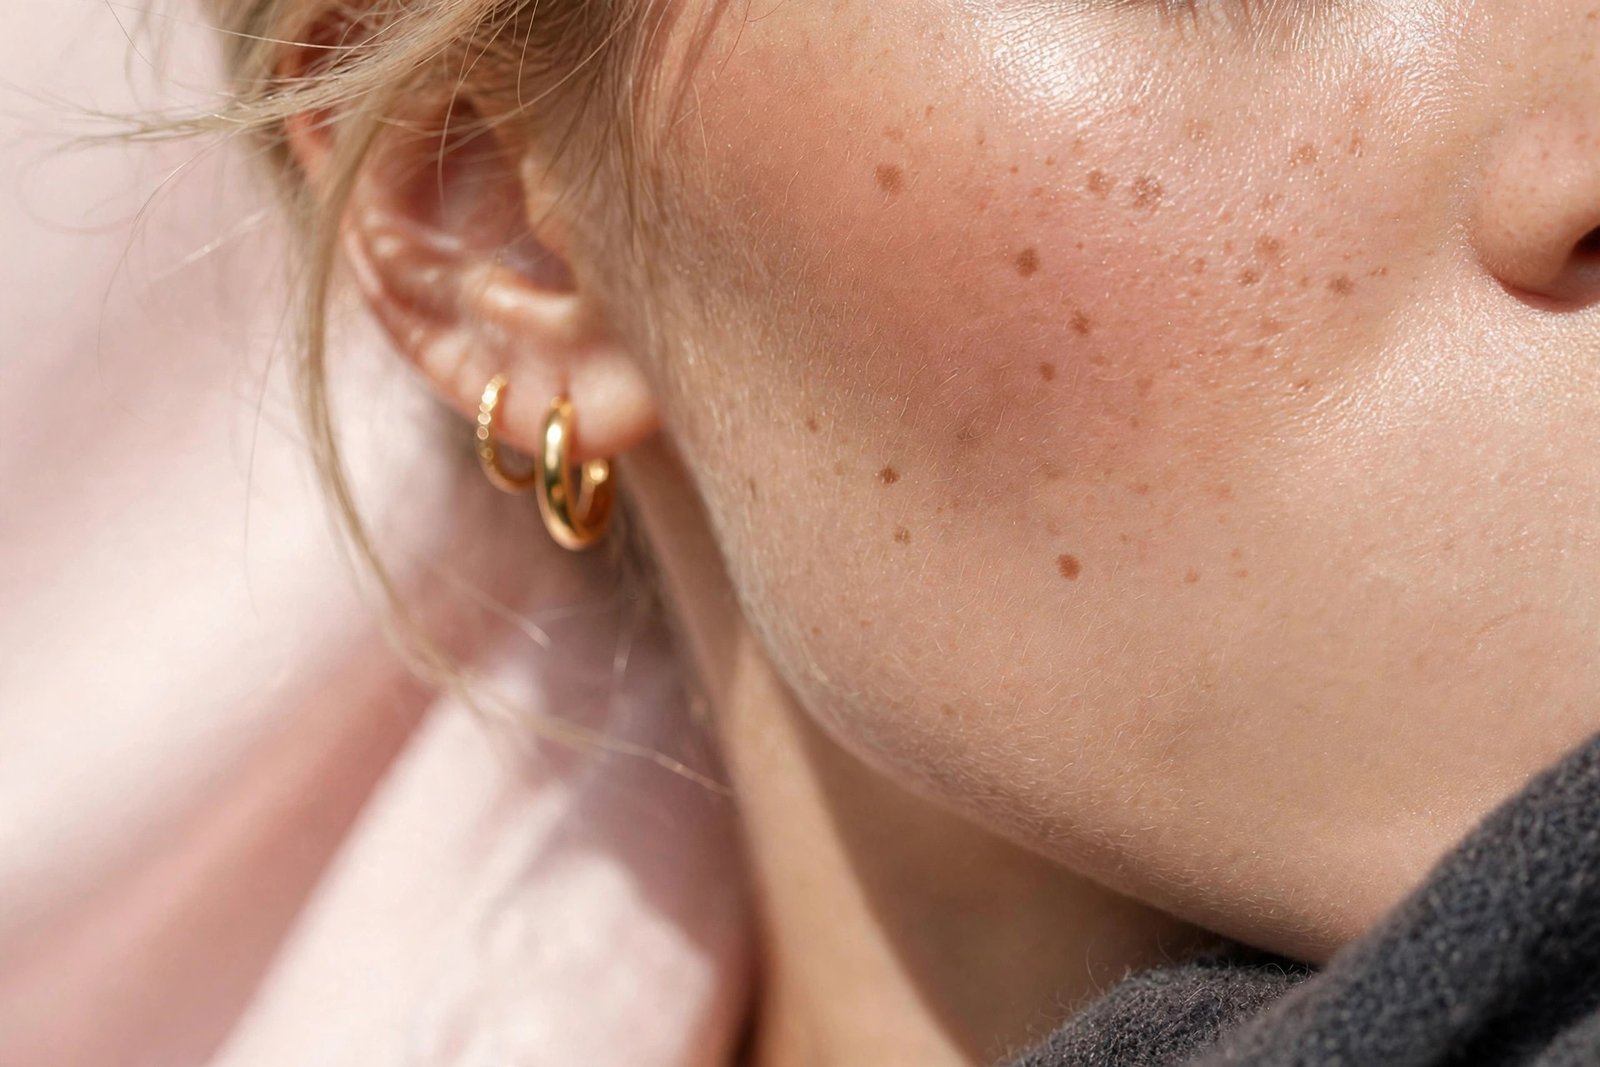
The signature details are freckles scattered across the nose and cheeks, blush and bronzer merged into one continuous wash of warmth, glossy or tinted lips, and lashes that look like lashes rather than extensions. It is romantic without being precious — the “Romantic Reverie” mood in wearable form.
Step 1: Base Prep for a Skin-Like Finish
Freckle makeup lives or dies on the base. Heavy full-coverage foundation will swallow freckles whole (they sit on top of skin’s texture, and a mask of foundation flattens that texture). The goal is light, breathable coverage that lets your real skin show through.
Prep the skin
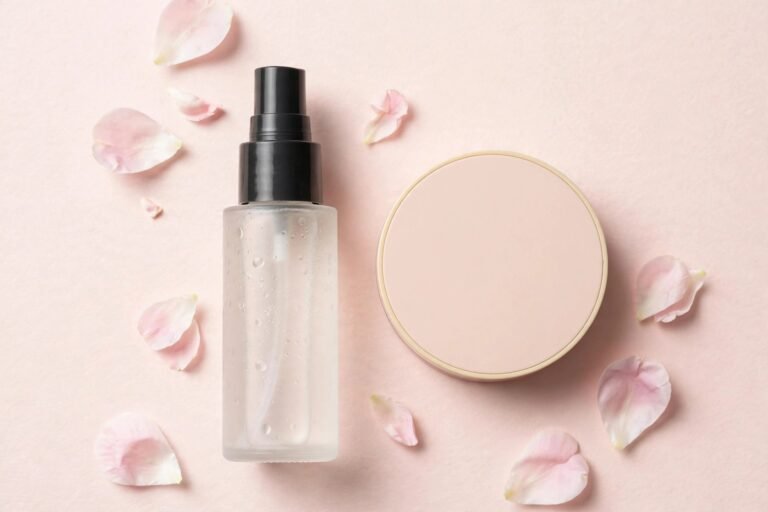
Start with well-moisturized skin — freckles and cream blush both grip better on hydrated skin. A lightweight moisturizer followed by a dewy or satin primer gives that lit-from-within glow the look depends on. Skip heavy mattifying primers; this aesthetic needs light to bounce.
Choose light coverage
The best base options, in order of how natural they photograph:
- Tinted moisturizer or skin tint — the gold standard for this look. Evens tone while letting freckles (real or faux) and natural texture peek through.
- BB cream — slightly more coverage, still breathable. Good if you have redness to neutralize.
- Lightweight foundation, sheered out — if you need more coverage, apply a medium-coverage foundation with a damp sponge and press rather than buff, using far less product than usual.
Spot-conceal, don’t blanket
Dab concealer only where you need it — under the eyes, around the nose, on blemishes — and blend the edges into the tint. The philosophy: correct the distractions, keep the character. Moles, faint pigmentation, and yes, your real freckles should stay visible.
Set strategically
If you are oily, press a tiny amount of translucent powder through the T-zone only. Leave the cheeks, nose bridge, and anywhere freckles will go completely powder-free — powder under freckle products makes them look stamped-on instead of skin-like.
Step 2: Faux Freckles — Three Techniques, Honest Pros and Cons
This is the centerpiece of the look, and there is no single “right” method. Each of the three popular techniques suits a different skill level, budget, and commitment. Here is the honest breakdown.
Method 1: Brow pencil dots
How it works: Take a brow pencil one to two shades lighter than your natural brow color (ashy brown for fair skin, warm brown for medium, deep espresso for deep skin), and press light, irregular dots across the nose bridge, the tops of the cheeks, and a few on the forehead. The crucial step: after dotting, tap each dot gently with a clean fingertip or a damp sponge to soften the edges. Then mist with setting spray or press a whisper of powder over them so they melt in.
Pros: Nearly free (you probably own a brow pencil), endlessly adjustable — too dark? Soften with a sponge. Too many? Blend a few away. Washes off completely at night.
Cons: Takes practice to get the pressure right — heavy-handed dots look like beauty marks. Can transfer or fade on very oily skin by late afternoon.
Best for: Beginners, and anyone who wants to try the trend with zero investment.
Method 2: Freckle pens and stamps
How it works: Dedicated freckle pens (fine felt-tip applicators in freckle-appropriate shades) and freckle stamps (sponge-tipped applicators that deposit a cluster of dots at once) are designed for exactly this. Dot or stamp across the nose and cheeks, let set for 30 seconds, then lightly tap with a finger to diffuse. Some formulas are waterproof once dry.
Pros: The color is pre-calibrated to look like real freckles — no shade-matching guesswork. Faster than individual pencil dots, especially stamps for covering the nose bridge. Many are long-wearing.
Cons: Costs money for a single-purpose product. Stamps can look too uniform if you press too hard — vary the pressure and rotate the stamp between presses. Some waterproof formulas are stubborn to remove.
Best for: Anyone who has committed to the look and wants a faster, more consistent daily routine.
Method 3: Henna freckles
How it works: Natural henna paste (the same kind used for body art — never “black henna,” which can contain harsh chemicals) is dotted onto the skin with a toothpick or fine applicator, left on for 20–60 minutes depending on desired depth, then wiped away. The stain develops over several hours and lasts roughly 3–7 days, fading gradually.
Pros: The most realistic result of all three — because the color sits in the skin rather than on it, henna freckles survive swimming, sweating, and sleeping. Zero daily effort for up to a week.
Cons: The highest commitment and the least forgiving. Placement mistakes last for days, not hours. Color payoff varies with skin chemistry and timing — patch-test behind the ear first. Only use pure, natural henna from a reputable source.
Best for: Vacations, wedding weeks, festival season — any stretch where you want the look without the daily routine.
Placement rules for all three methods
Wherever the technique, the same placement principles keep freckles believable:
- Cluster, don’t grid. Real freckles gather on the nose bridge and the apples of the cheeks, thinning out toward the temples. Keep the densest area across the nose.
- Vary size and depth. Mix tiny pinpricks with slightly larger dots, and vary the pressure so some are faint and some are defined. Uniformity is the enemy.
- Keep them off the “wrong” zones. Avoid the under-eye area, the eyelids, and the jawline — freckles do not naturally appear there, and dots there read as mistakes.
- Fewer than you think. Start with 15–20 dots total. You can always add; removing (especially henna) is the hard part.
Step 3: Bronzer-Blush Hybrid Placement
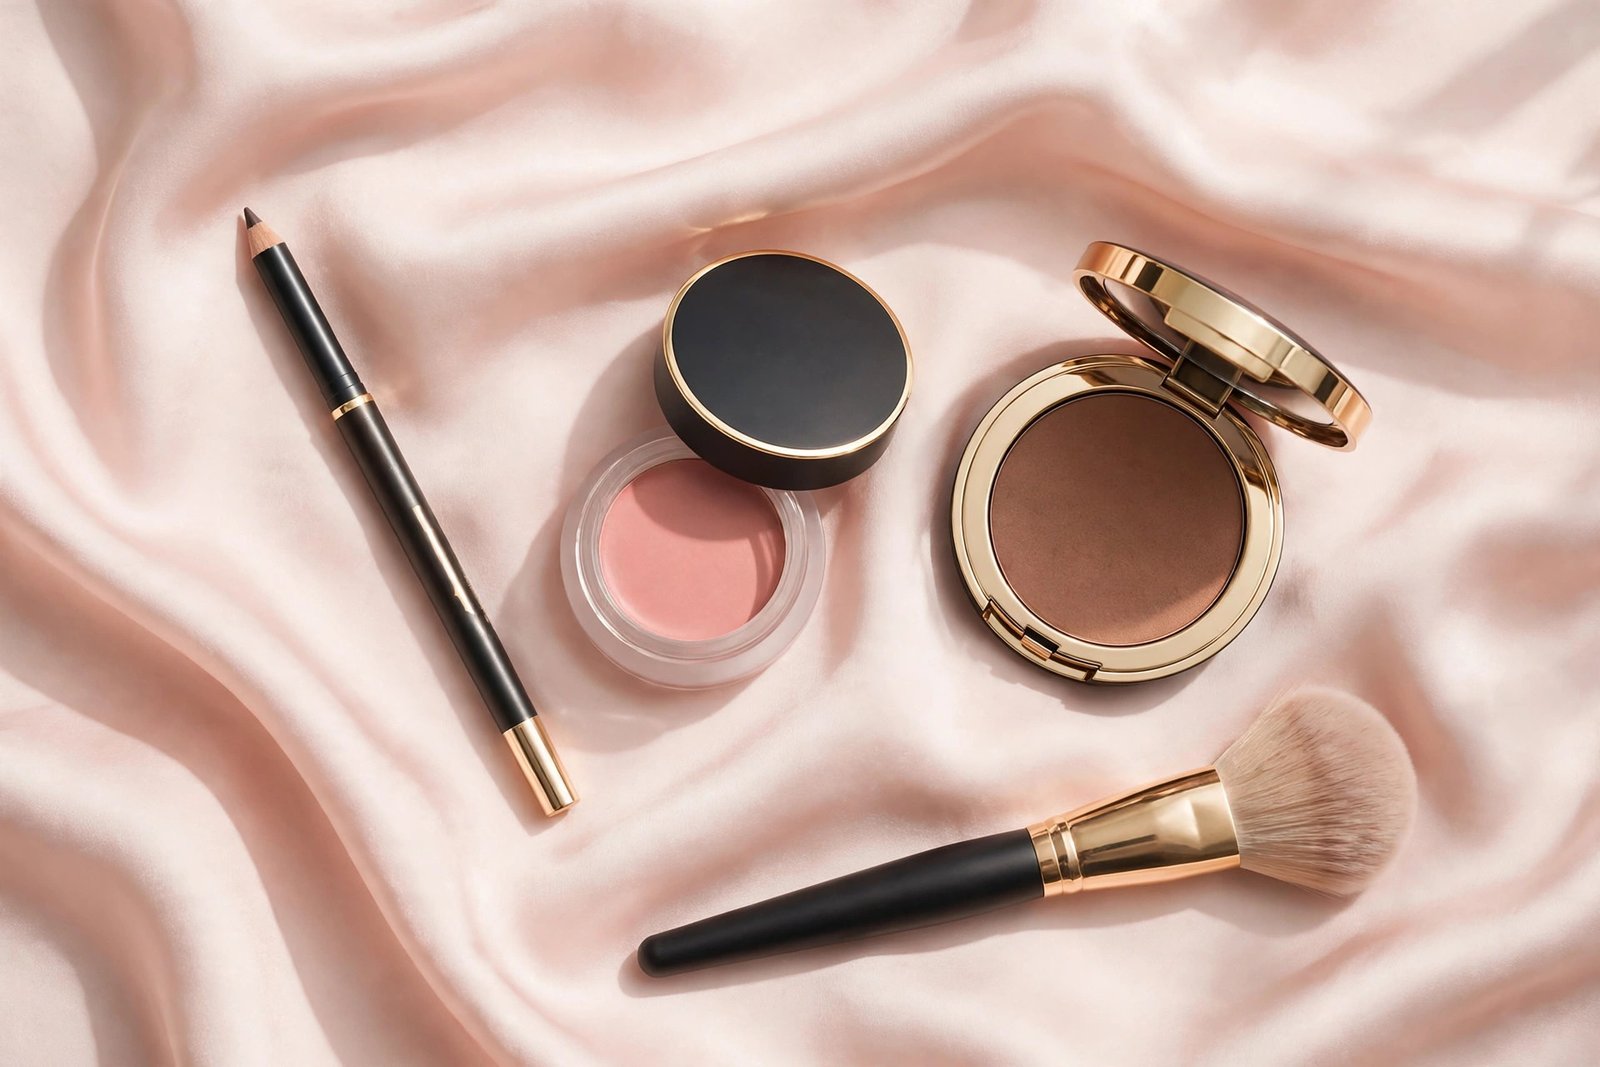
Here is where the look gets its sun-kissed warmth. Bronzer blush is not a single product — it is a technique: bronzer and blush applied so they melt into one continuous wash of color, with no visible line where one ends and the other begins.
Where bronzer ends and blush begins
Think of it as a gradient across the cheek:
- Bronzer goes where the sun would naturally deepen color: the temples, the tops of the cheekbones sweeping toward the hairline, a whisper across the forehead near the hairline, and the bridge of the nose.
- Blush sits on the apples of the cheeks and sweeps slightly upward into the bronzer zone.
- The overlap — the outer cheek, where bronzer’s inner edge meets blush’s outer edge — is the magic zone. Blend them into each other here until you cannot tell where one stops. That seamless merge is the entire technique.
A helpful mental image: bronzer is the frame (outer face, temples, hairline), blush is the flush (apples of cheeks), and they shake hands on the cheekbone.
The “sunburnt” draping technique
Draping is the specific application method behind the trend:
- Start with bronzer, cream formula preferred. Using a fluffy brush or your fingers, sweep bronzer from the temple down across the top of the cheekbone toward the apple — a sideways “C” motion hugging the outer face.
- Layer blush over the inner half. With a stippling brush, press blush onto the apples of the cheeks and blend it up and out into the bronzer. Cream blush melts best into cream bronzer; if you use powders, work in thin layers.
- Bridge the nose. Take whatever is left on the brush and sweep it lightly across the nose bridge — this is the “sunburnt” signature, the stripe of warmth that makes the whole face look like it caught afternoon sun. Keep it sheer; this should be a suggestion, not a stripe.
- Diffuse everything. Go back over the whole cheek area with a clean fluffy brush using soft circular motions. The goal is a watercolor wash, not distinct shapes.
Shade selection by skin tone
- Fair skin: light warm bronzer (avoid anything orange or muddy) + peachy-pink or soft apricot blush
- Light-medium skin: golden bronzer + warm rose or coral blush
- Medium-tan skin: warm bronze + terracotta or burnt peach blush
- Deep skin: rich bronze with red undertones + berry, plum, or vivid coral blush — deeper skin can carry brighter blush beautifully, and the freckle dots should be deep espresso rather than light brown
The blush connection
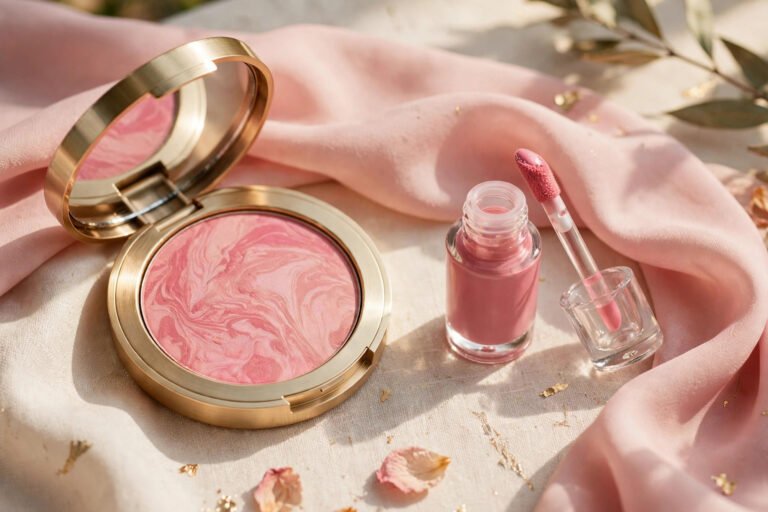
If you are choosing between blush formulas for this look, cream and liquid formulas win — they mimic the translucency of real flushed skin far better than powder. For a deeper dive on picking your perfect blush formula, see Rare Beauty vs Milani blush. And if you want to add subtle definition under all that warmth, contouring for beginners keeps it soft rather than sculpted.
Step 4: Eyes and Brows to Match
The soft natural look keeps the eyes simple — the freckles and cheeks are the stars. Heavy eyeshadow or sharp liner would fight the effortless mood.
- Brows: Brush up with clear or tinted brow gel. Fill only sparse spots with hair-like strokes. The brow should look like a brow, not a drawing of one.
- Eyeshadow: A single wash of a warm neutral — soft taupe, warm beige, or a sheer shimmer champagne — swept across the lid and diffused past the crease. One shade, thoroughly blended, is the whole eye look.
- Liner (optional): Tightline the upper lash line with brown pencil instead of black liquid. It defines without a visible line.
- Lashes: One to two coats of brown-black mascara, focusing on length over volume. Skip falsies entirely — or use individual corner accents if you must. Clumpy, spidery mascara ruins the freshness.
- Under-eye: Keep concealer minimal and bright rather than heavy. The look tolerates a hint of realness under the eyes.
Step 5: Lips to Match
The lips should look like an extension of the cheek flush — same color family, soft edges, a little shine.
- Best finishes: Tinted lip balm, lip tint, or a sheer lipstick blotted down with a finger. Gloss over tint adds the juicy finish that photographs so well.
- Best shades: Match your blush family — berry tint with berry blush, peach gloss with peach blush, rose balm with rose blush. Monochromatic color (same tone on cheeks and lips) is the shortcut to a cohesive face.
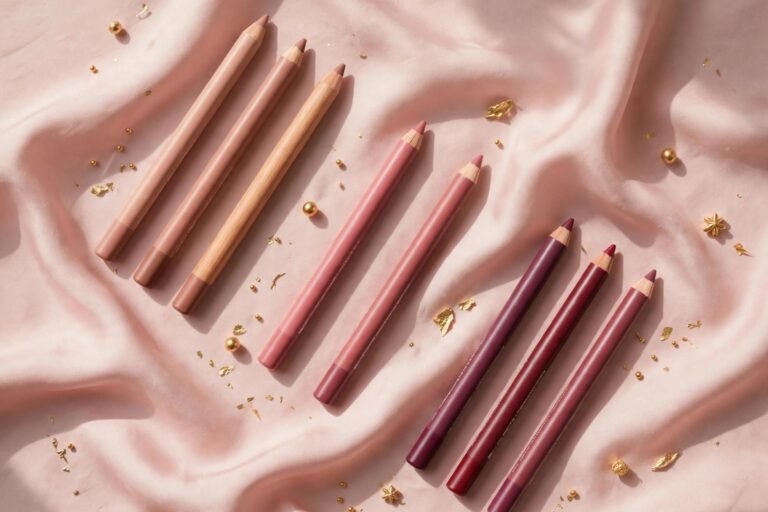
- Technique: Apply to the center of the lips and press outward, or apply fully and blot once with tissue. Soft, diffused edges — no crisp lip liner. (A liner close to your natural lip color, smudged, is fine if you want a bit more definition.)
Step 6: Making It Last All Day
Fresh-faced makeup has one weakness: without heavy powders and layers, it can fade. Here is how to lock the look without flattening it:
- Setting spray is non-negotiable. Mist generously after freckles and cream products — it melts everything together and adds 3–4 hours of wear. A dewy-finish spray suits the aesthetic better than matte.
- Layer cream under powder (selectively). If you are oily or it is humid, apply cream blush first, then press a sheer layer of matching powder blush just on the apples. The cream gives the glow; the powder gives the grip.
- Blot, don’t powder, midday. Pressing blotting papers on the T-zone removes shine without disturbing the freckles or cheek gradient. Adding powder over freckles midday makes them look dusty.
- Carry one multitasker. A cream blush stick in your shade doubles as lip touch-up and cheek refresh — one product revives the whole look in 30 seconds.
- Waterproof the freckles if needed. If you used the brow-pencil method and have an event, trace over the dots with a waterproof freckle pen or set them with a tiny amount of powder and a final spray.
Common Mistakes (and Easy Fixes)
- Freckles too dark or too uniform: Soften with a damp sponge immediately after application. When in doubt, go one shade lighter than you think.
- Bronzer too low on the cheek: Bronzer belongs on the top of the cheekbone and temples — dragged too low, it hollows the face and reads as contour, not sunshine. If you want actual sculpting technique, beginner makeup guide covers placement properly.
- Blush and bronzer as two separate stripes: The #1 giveaway. Blend the meeting point until the transition disappears.
- Skipping the nose bridge: A face with warm cheeks and a pale nose looks unfinished — that sheer sweep across the nose ties everything together.
- Overdone eyes or lips: One statement feature per face. Here, the statement is the skin — keep everything else whisper-quiet.
Key Takeaways
- The soft natural look = light skin-like base + faux freckles + bronzer-blush gradient + simple eyes + tinted lips.
- Prep with hydration and light coverage (tint or BB cream); spot-conceal instead of full foundation.
- Three freckle methods: brow pencil dots (free, beginner-friendly), freckle pens/stamps (fast, consistent), henna (most realistic, multi-day commitment).
- Bronzer frames the outer face, blush flushes the apples — blend the overlap until seamless, and sweep warmth across the nose bridge.
- Cream formulas photograph most naturally for this aesthetic; match lip shade to blush family.
- Lock it with setting spray, blot (don’t powder) midday, and carry a cream blush stick for touch-ups.
Frequently Asked Questions
How do you make fake freckles look real?
Vary the size, depth, and spacing of every dot, cluster them on the nose bridge and upper cheeks, and always soften the edges by tapping with a fingertip or damp sponge after application. The realism killer is uniformity — real freckles are gloriously irregular.
What is bronzer blush, exactly?
It is a placement technique rather than a single product: bronzer and blush applied so they melt into one continuous wash of warmth across the cheeks, with no visible line between them. The effect mimics how sun naturally warms the face.
Should freckles go on before or after blush?
Either order works, but applying freckles after blush and bronzer (and then lightly tapping to meld) tends to look most natural, because the dots sit on top of the warmth the way real freckles darken with sun exposure. Just be gentle when tapping so you don’t disturb the blend underneath.
Can this look work on mature skin?
Absolutely — in fact, the light base and cream formulas are flattering on mature skin because they don’t settle into fine lines the way heavy powder products can. Keep freckles sheer and sparse, and favor hydrating cream blush over powder.
How long do henna freckles actually last?
Typically 3–7 days, depending on the henna quality, how long the paste stayed on, and your skin’s cell turnover. They fade gradually rather than flaking off, and sunscreen plus gentle cleansing helps them last toward the longer end.
Love this? Pin it for later!