How to Make Sugar Scrub at Home (Face and Body Recipes)
Few DIY beauty projects are as satisfying — or as simple — as a homemade sugar scrub. Three ingredients, five minutes, and you have a jar of something that leaves your skin noticeably smoother. No preservatives, no synthetic fragrance, no $25 price tag for what is essentially sugar and oil in a pretty jar.
But before you start scrubbing, there are a few things worth knowing: which sugar to use (it matters more than you’d think), how often to exfoliate without overdoing it, and which areas of your body to treat gently. This guide covers the basic recipe, face-specific and body-specific variations, safety tips, and how to store your scrub so it stays fresh.
If you’re new to DIY beauty in general, start with our complete DIY beauty guide for beginners — it covers patch testing, ingredients to avoid, and shelf-life basics that apply to every recipe on this site.
Why Use a Sugar Scrub?
Sugar scrubs work through mechanical exfoliation — the sugar crystals physically buff away dead skin cells sitting on the surface. Here’s what that actually does for your skin:
Smoother texture. Dead skin buildup is what makes skin look dull and feel rough. A gentle scrub removes that top layer, revealing the fresher skin underneath. Elbows, knees, and feet — areas where skin is naturally thicker — respond especially well.
Better product absorption. Moisturizer applied to freshly exfoliated skin absorbs more effectively, because it’s not sitting on top of a layer of dead cells. Many people notice their body lotion “works better” after exfoliating, and this is why.
Softer lips. A lip scrub followed by balm is one of the fastest ways to fix flaky, dry lips — especially in winter.
Improved circulation (temporarily). The massaging action of scrubbing increases blood flow to the skin’s surface, which is why skin looks a bit flushed and glowy right after. This effect is temporary, but the smoothness lasts.
Why sugar specifically? Compared to salt scrubs, sugar is gentler — salt crystals tend to have sharper edges and can sting on broken or sensitive skin. Sugar also dissolves in water, so any residue rinses away cleanly instead of leaving a gritty film. And unlike coffee grounds (another popular DIY exfoliant), sugar won’t stain light-colored grout or your bathtub.
One honest caveat: a sugar scrub won’t fix deep skin concerns like acne scars, hyperpigmentation, or cellulite. Those need targeted treatments or professional help. What a scrub does do — smooth texture, remove flakiness, prep skin for moisture — it does very well.
The Basic Sugar Scrub Recipe
This is the foundation. Every variation below is a tweak on this ratio.
Ingredients
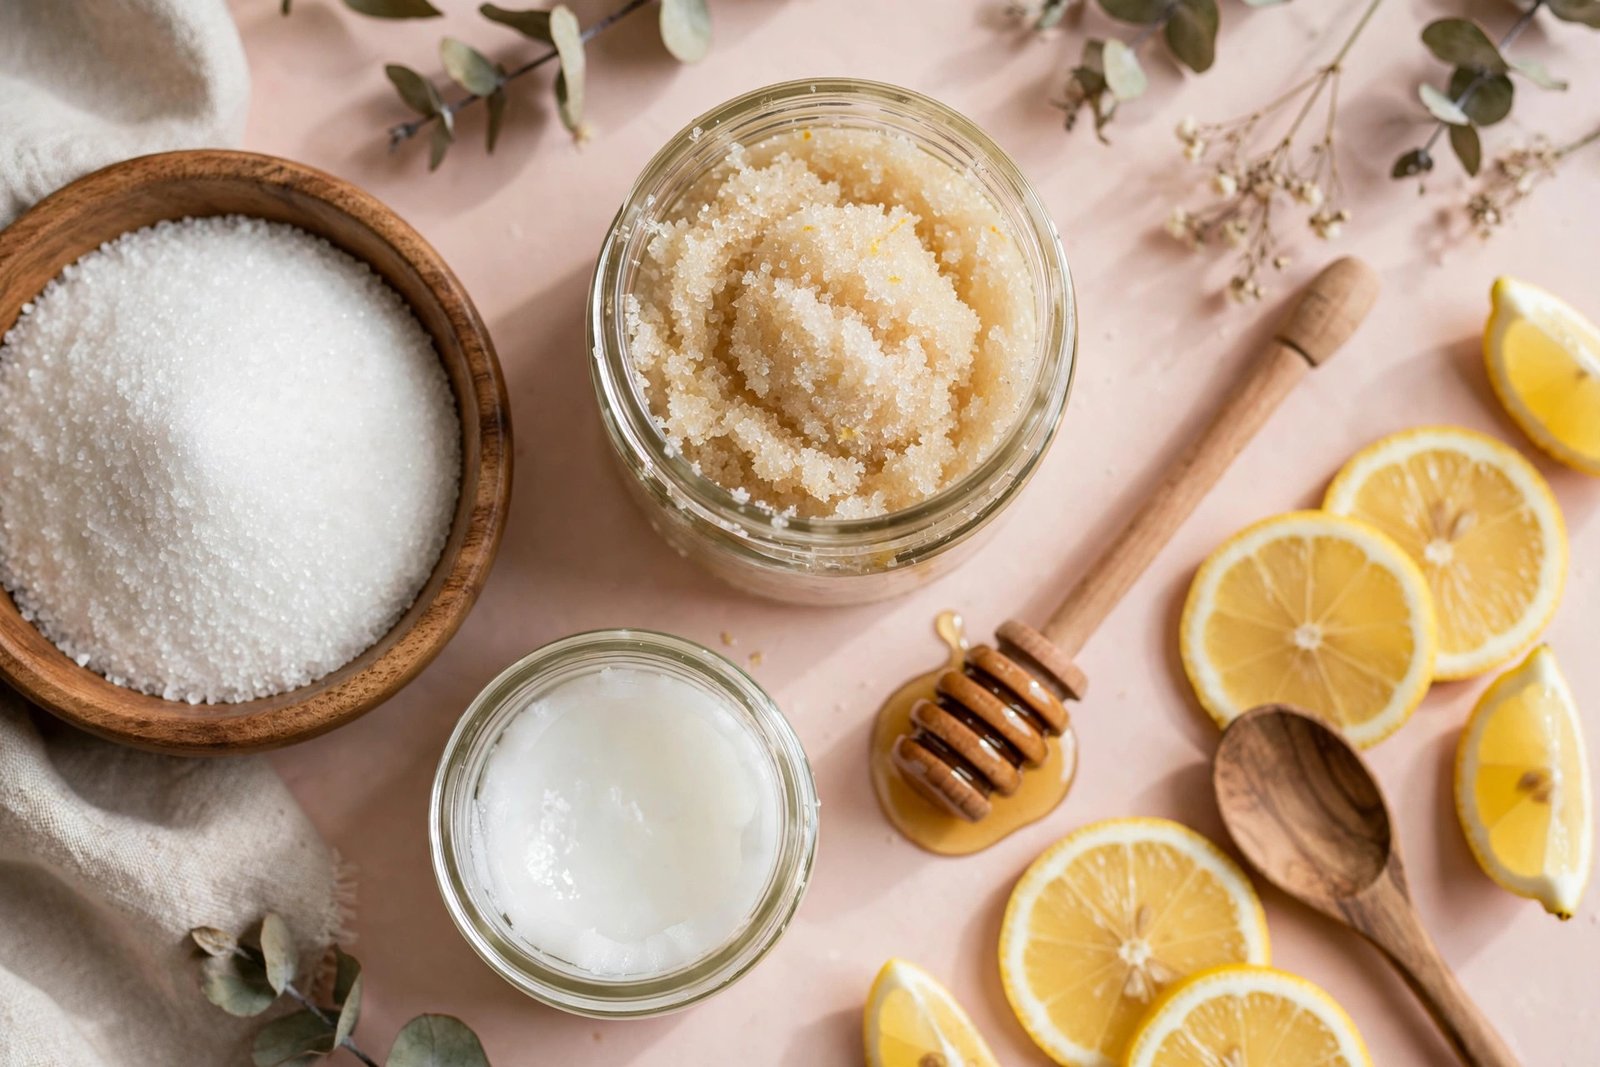
- 1 cup granulated sugar (white or raw — see notes below on which to choose)
- 1/2 cup oil (coconut, olive, sweet almond, or jojoba)
- 1 teaspoon vitamin E oil (optional, helps preserve and nourish)
- 5–10 drops essential oil (optional — see safety note below)
Instructions
- Melt the coconut oil if using it. If your coconut oil is solid, warm it gently until just liquid — don’t overheat it. If you’re using olive or almond oil, skip this step.
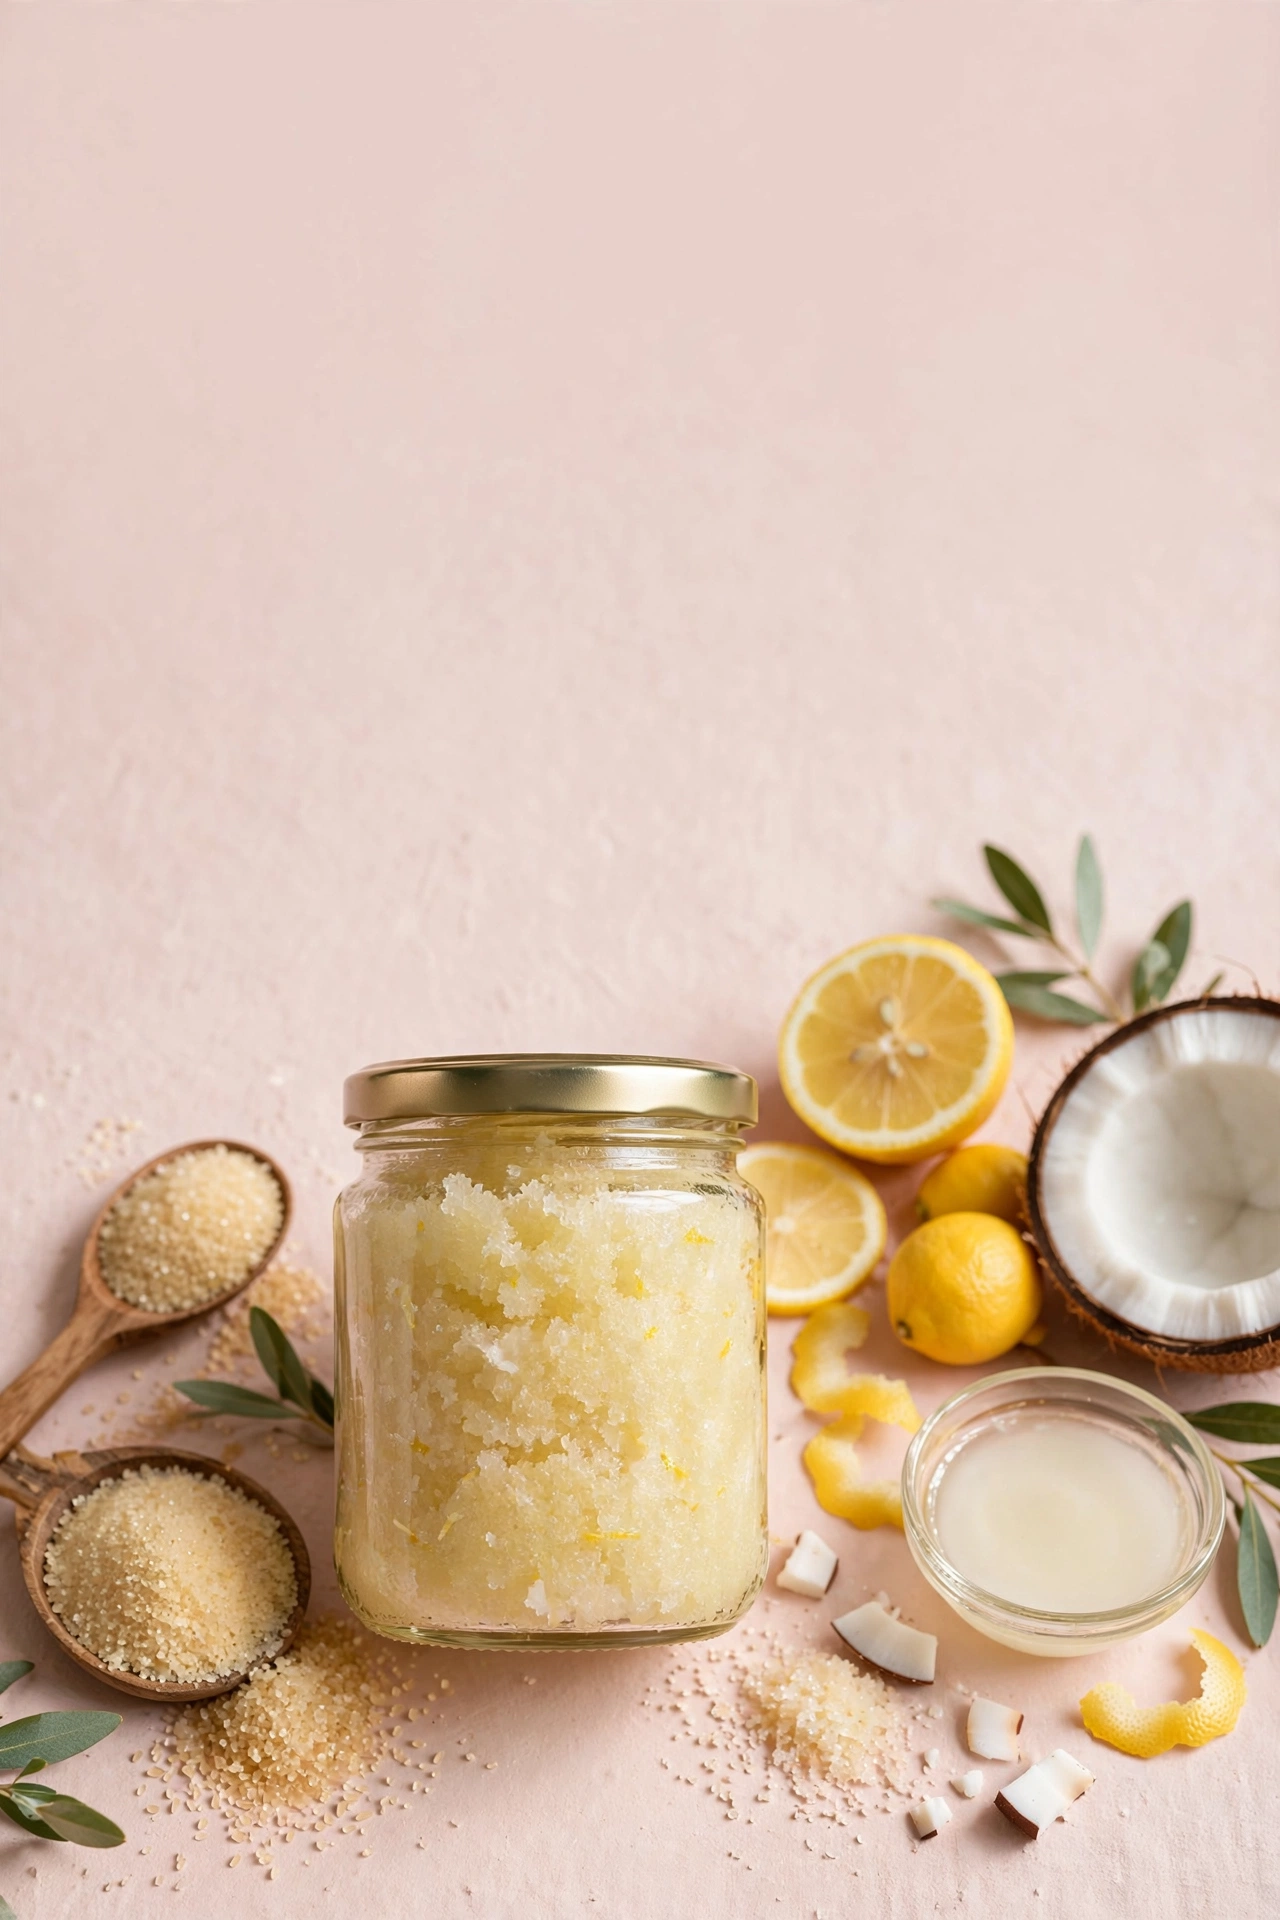
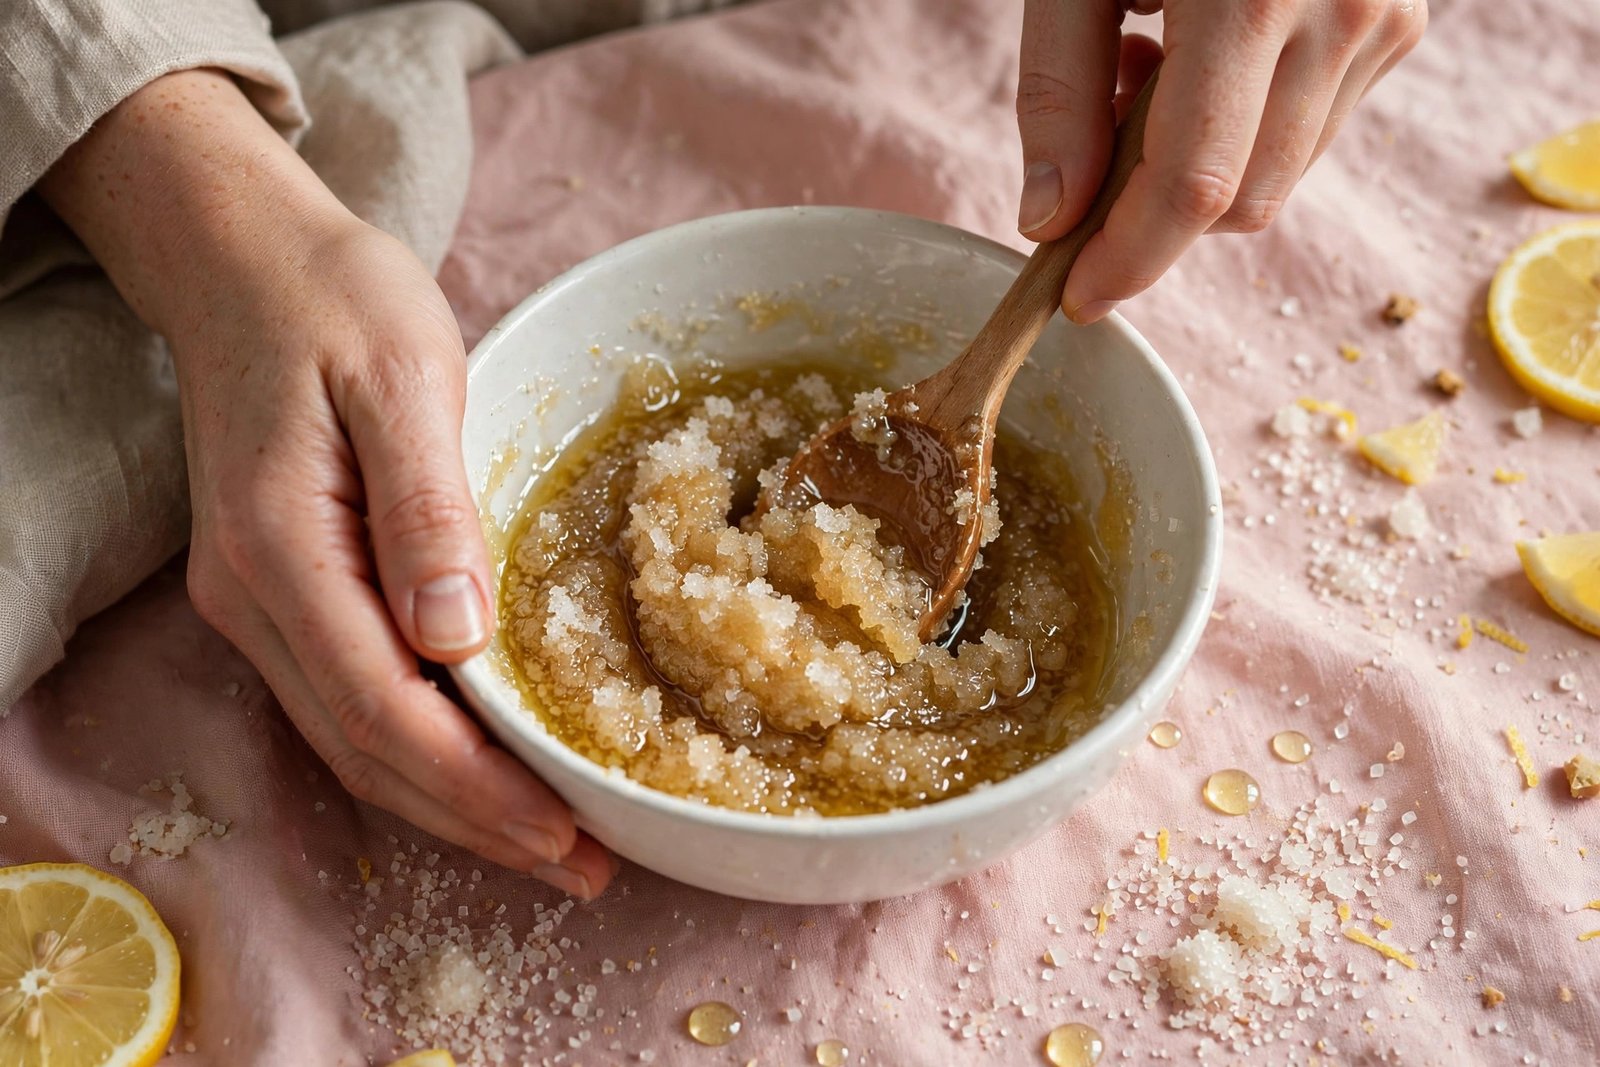
- Combine sugar and oil in a bowl. Pour the oil over the sugar and stir until every crystal is coated. You’re looking for the texture of wet sand — not soupy, not dry.
- Adjust the ratio if needed. Too dry? Add oil a tablespoon at a time. Too oily? Add sugar a tablespoon at a time. Different sugars absorb oil differently, so trust the texture over exact measurements.
- Add vitamin E and essential oil (if using) and stir once more.
- Transfer to a clean, dry jar with a tight-fitting lid. A wide-mouth mason jar or repurposed cosmetic jar works perfectly.
That’s it. Total time: about five minutes.
Which Sugar Should You Use?
This is the question that matters most, because the sugar determines how abrasive your scrub is:
- White granulated sugar — Fine, uniform crystals. The safest default choice, especially for the face. Dissolves readily.
- Raw or turbinado sugar — Larger, coarser crystals. Better for rough body areas (feet, elbows, knees). Too harsh for the face.
- Brown sugar — The finest and softest of the three, thanks to its molasses content. Excellent for sensitive skin and lip scrubs. Slightly more expensive, but a little goes a long way.
- Avoid: Powdered/confectioners’ sugar (dissolves too fast to exfoliate) and very coarse demerara (too scratchy for most skin).
Rule of thumb: the more delicate the area, the finer the sugar. Face and lips = brown or white sugar. Body = white or raw. Feet and elbows = raw is fine.
A Note on Essential Oils
Essential oils make your scrub smell wonderful, but they’re potent plant compounds that can irritate skin — especially on the face. If you want to add them:
- Stick to 5–10 drops per cup of sugar (roughly a 1% dilution, which is the safe range for leave-on-adjacent products)
- Lavender and chamomile are among the gentlest options
- Skip citrus oils (lemon, orange, bergamot) — they can cause sun sensitivity on skin
- Skip peppermint and cinnamon oils on the face — they’re known irritants
- When in doubt, leave them out. The scrub works perfectly well unscented.
Sugar Scrub Variations: Face, Body, and Lips
The basic recipe is a great all-rounder, but tweaking the ingredients for specific areas gives better results.
Gentle Face Sugar Scrub
Facial skin is thinner and more reactive than body skin, so this version dials everything back:
- 1/4 cup brown sugar (finest crystals)
- 2 tablespoons jojoba oil or sweet almond oil (lighter than coconut, less likely to clog pores)
- 1 teaspoon honey (optional — adds a soothing, humectant quality)
Mix as described above. When applying to your face, use very light pressure — let the sugar do the work, not your fingers. Massage in small circles for 30–60 seconds, avoiding the eye area entirely, then rinse with lukewarm water.
How often: Once a week is plenty for most skin types. If your skin is sensitive or you’re using active ingredients like retinoids or AHAs, you may want to skip facial scrubs altogether and stick to chemical exfoliation — doubling up on exfoliation methods is a fast track to irritation.
Energizing Body Sugar Scrub
For arms, legs, and torso — areas that can handle a bit more exfoliation:
- 1 cup white or raw sugar
- 1/2 cup coconut oil (melted)
- Zest of one lemon (optional — for scent only, and rinse thoroughly; don’t use on sun-exposed skin right after)
- 1 tablespoon honey (optional)
Use in the shower on damp skin, massaging in circular motions. Pay extra attention to elbows, knees, and the backs of arms. Rinse well — the oil left behind acts as a light moisturizer, so you may find you need less body lotion afterward.
How often: 1–2 times per week for the body.
Soothing Lip Sugar Scrub
Chapped lips respond beautifully to a quick scrub-and-balm routine. For more lip care ideas, see our 2-minute honey-sugar lip scrub recipe:
- 1 tablespoon brown sugar (finest texture)
- 1 teaspoon coconut oil or olive oil
- 1/2 teaspoon honey
Mix in a small dish. Gently rub over lips with your fingertip for 20–30 seconds, then rinse or wipe off. Follow immediately with lip balm to seal in moisture — this step matters, because exfoliated lips lose moisture fast.
How often: 1–2 times per week, or whenever lips feel flaky. Don’t scrub cracked or bleeding lips — let them heal first.
How to Use Sugar Scrub Safely
Sugar scrubs are gentle as DIY goes, but “natural” doesn’t mean “use without thinking.” A few guidelines:
Always patch test first. Apply a small amount to your inner forearm, wait 24 hours, and check for redness or irritation before using a new recipe on larger areas. This is especially important if you’re adding essential oils.
Don’t scrub broken, sunburned, or irritated skin. Exfoliating damaged skin makes it worse, not better. Wait until the area has fully healed.
Be extra gentle on the face. Facial skin is roughly half as thick as body skin. Light pressure, short duration (under a minute), and fine sugar only. If your face feels tight, red, or stings afterward, the scrub was too harsh — switch to a gentler method or less frequent use.
Don’t over-exfoliate. More is not better. Over-exfoliation strips the skin barrier, leading to redness, sensitivity, breakouts, and that uncomfortable tight feeling. Stick to the frequencies above. If you’re also using chemical exfoliants (glycolic acid, salicylic acid, retinoids), you probably don’t need a physical scrub too — pick one method.
Rinse thoroughly. Sugar dissolves in water, but oil doesn’t. Rinse well to avoid a slippery shower floor (a real slipping hazard — be careful) and to prevent oil residue from clogging pores on acne-prone areas like the back and chest.
Skip the scrub before shaving. Exfoliating right before shaving can leave skin too sensitive. Shave first, then use the scrub a day or two later — or exfoliate the day before you shave for the smoothest results.
Storage and Shelf Life
Because homemade scrubs contain no preservatives, they don’t last forever. Here’s how to keep yours fresh:
- Use a clean, dry jar with a tight lid. Moisture is the enemy — it encourages bacterial growth.
- Never scoop with wet hands. Water introduced into the jar shortens shelf life dramatically. Use a small spoon or dry fingers.
- Store at room temperature, away from direct sunlight. The bathroom counter is fine; a steamy shower caddy is not ideal for long-term storage.
- Shelf life: About 1–2 months for oil-based scrubs without fresh ingredients. If you add fresh ingredients (fruit zest, aloe, mashed banana), use within 1 week and refrigerate.
- Trust your nose. If it smells off, rancid, or fermented — throw it out and make a fresh batch. When in doubt, toss it. The ingredients are cheap; your skin isn’t.
Can you preserve it longer? Vitamin E oil (included in the basic recipe) acts as a mild antioxidant that slows oil rancidity, but it’s not a true preservative. For a genuinely long shelf life, you’d need a cosmetic-grade preservative — which moves beyond beginner DIY territory. The simpler approach: make small batches often.
Frequently Asked Questions
Can I use a sugar scrub on my face every day?
No. Daily physical exfoliation is too much for facial skin and will likely cause irritation, redness, and barrier damage over time. Once a week is the sweet spot for most people. If your skin is oily and resilient, twice a week is the maximum — and even then, watch for signs of over-exfoliation like tightness or increased sensitivity.
Sugar scrub vs. salt scrub — which is better?
For most people, sugar. Salt crystals tend to be sharper and can sting, especially on sensitive or broken skin. Sugar is gentler, dissolves cleanly in water, and won’t sting if you have a small cut. Salt scrubs do have a devoted following for very rough areas like feet, but sugar is the safer all-rounder — especially for beginners.
Will a sugar scrub help with ingrown hairs?
It can help prevent them. Gentle exfoliation before shaving or waxing removes the dead skin that can trap hairs underneath. But don’t scrub over active ingrown hairs that are inflamed or infected — that will make things worse. Exfoliate the surrounding area gently, and see a dermatologist if ingrowns are persistent or painful.
Can I use brown sugar instead of white sugar?
Yes — and for the face and lips, brown sugar is actually the better choice. Its crystals are finer and softer, making it the gentlest option. For the body, either works; white sugar is cheaper and perfectly effective.
Why is my scrub separating?
Oil naturally separates from sugar over time — this is normal and not a sign it’s gone bad. Just stir it before each use. If you want a more stable mix, use slightly less oil or add the vitamin E oil, which helps bind things a little.
Is a sugar scrub safe during pregnancy?
The basic sugar-and-oil recipe is generally considered safe, but skip essential oils entirely during pregnancy unless you’ve cleared specific ones with your doctor — some essential oils are not recommended for pregnant women. When in doubt, keep it to just sugar and a plain carrier oil.
Key Takeaways
- A basic sugar scrub needs just three ingredients: sugar, oil, and a jar — mixed in about five minutes.
- Match the sugar to the area: brown or white sugar for the face and lips, white or raw sugar for the body.
- Less is more: once a week for the face, 1–2 times per week for the body. Over-exfoliating damages your skin barrier.
- Patch test every new recipe, never scrub broken or sunburned skin, and rinse thoroughly.
- Store properly: clean dry jar, no wet hands, use within 1–2 months (1 week if it contains fresh ingredients).
- For the broader principles behind safe DIY beauty — including which popular ingredients to avoid — see the beginner’s DIY beauty guide.
Love this? Pin it for later!