DIY Lip Balm Recipe with Coconut Oil (Easy 5-Minute)
If your lips are dry, flaky, or just tired of store-bought balms full of ingredients you can’t pronounce, this easy DIY lip balm recipe with coconut oil is for you. It takes about five minutes, costs a fraction of a drugstore tube, and leaves your lips soft and smooth with just a handful of natural ingredients.
Best of all, you probably already have everything you need in your kitchen. Let’s make it.
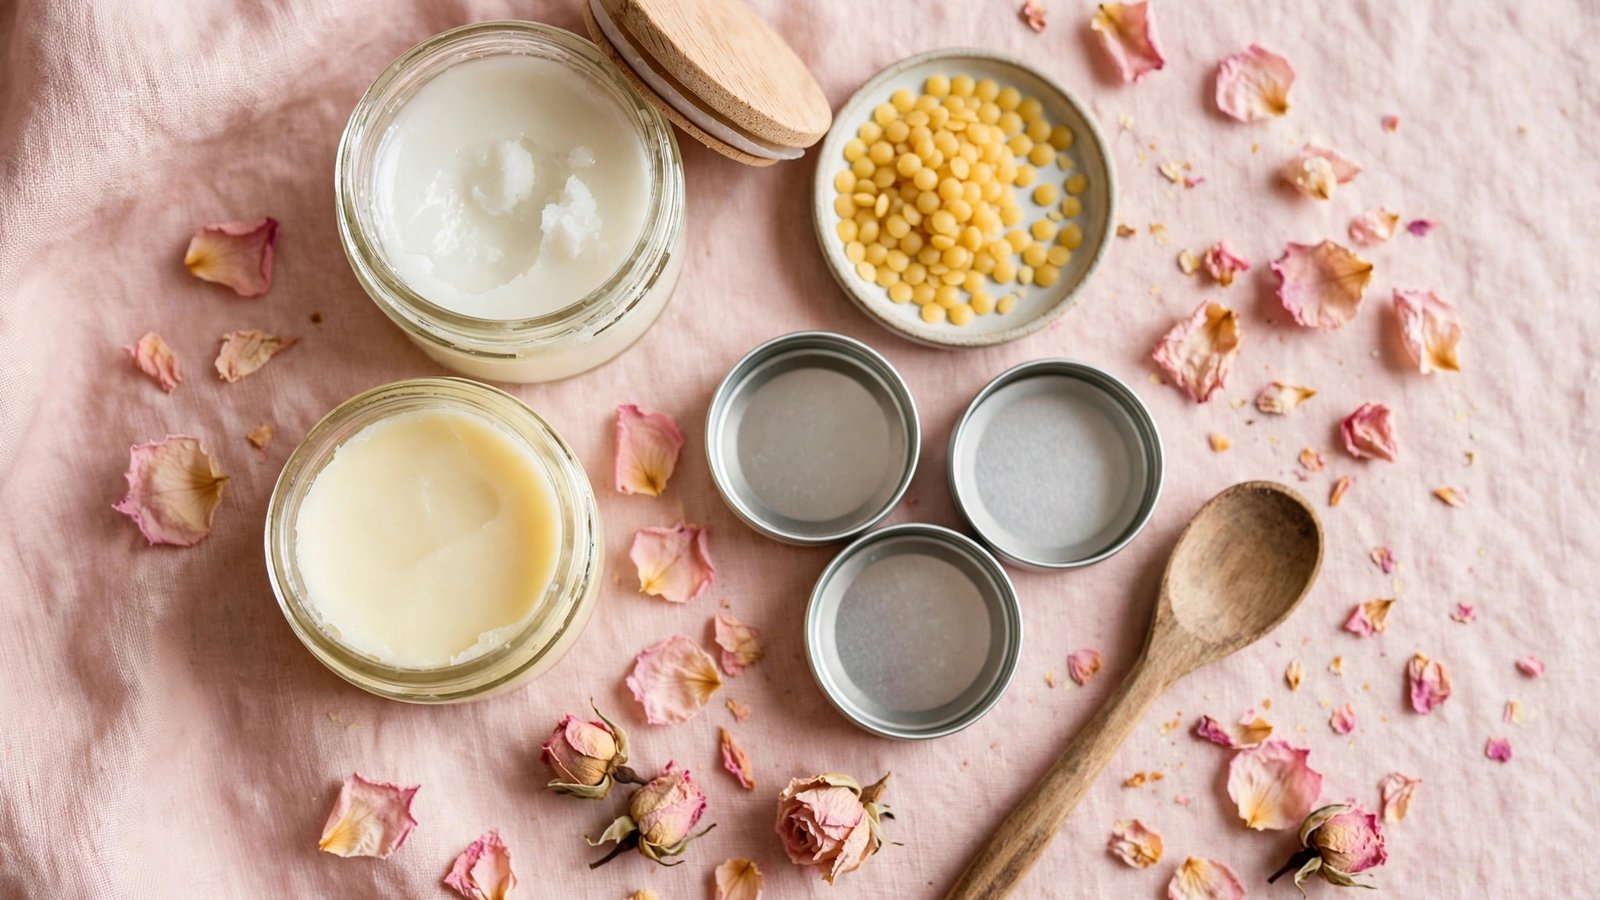
Why Make Your Own Lip Balm?
There are plenty of reasons to try a homemade lip balm instead of grabbing another tube at the checkout:
You control the ingredients. Many commercial lip balms contain synthetic fragrances, dyes, and petroleum-based waxes. When you make your own, you know exactly what’s going on your lips — and what’s not.
It actually works for dry lips. Coconut oil is an emollient, which means it helps soften and smooth the skin by filling in the tiny cracks between skin cells. Combined with beeswax to lock in moisture and a little shea butter for extra nourishment, this balm creates a protective barrier that keeps lips hydrated longer.
It’s budget-friendly. A single batch makes several tubes or tins for the cost of a few tablespoons of pantry ingredients.
You can customize everything. Want a hint of tint? A touch of peppermint? A vanilla scent? Once you know the base recipe, the variations are endless (see below).
If you’re new to making your own beauty products, this is the perfect place to start. It’s one of the simplest recipes in our DIY beauty recipes for beginners guide — no special equipment, no complicated steps, and very hard to mess up.
Ingredients Needed
This recipe makes about 4–5 standard lip balm tubes (or 2–3 small tins). Here’s what you’ll need:
The Base (Non-Negotiable)
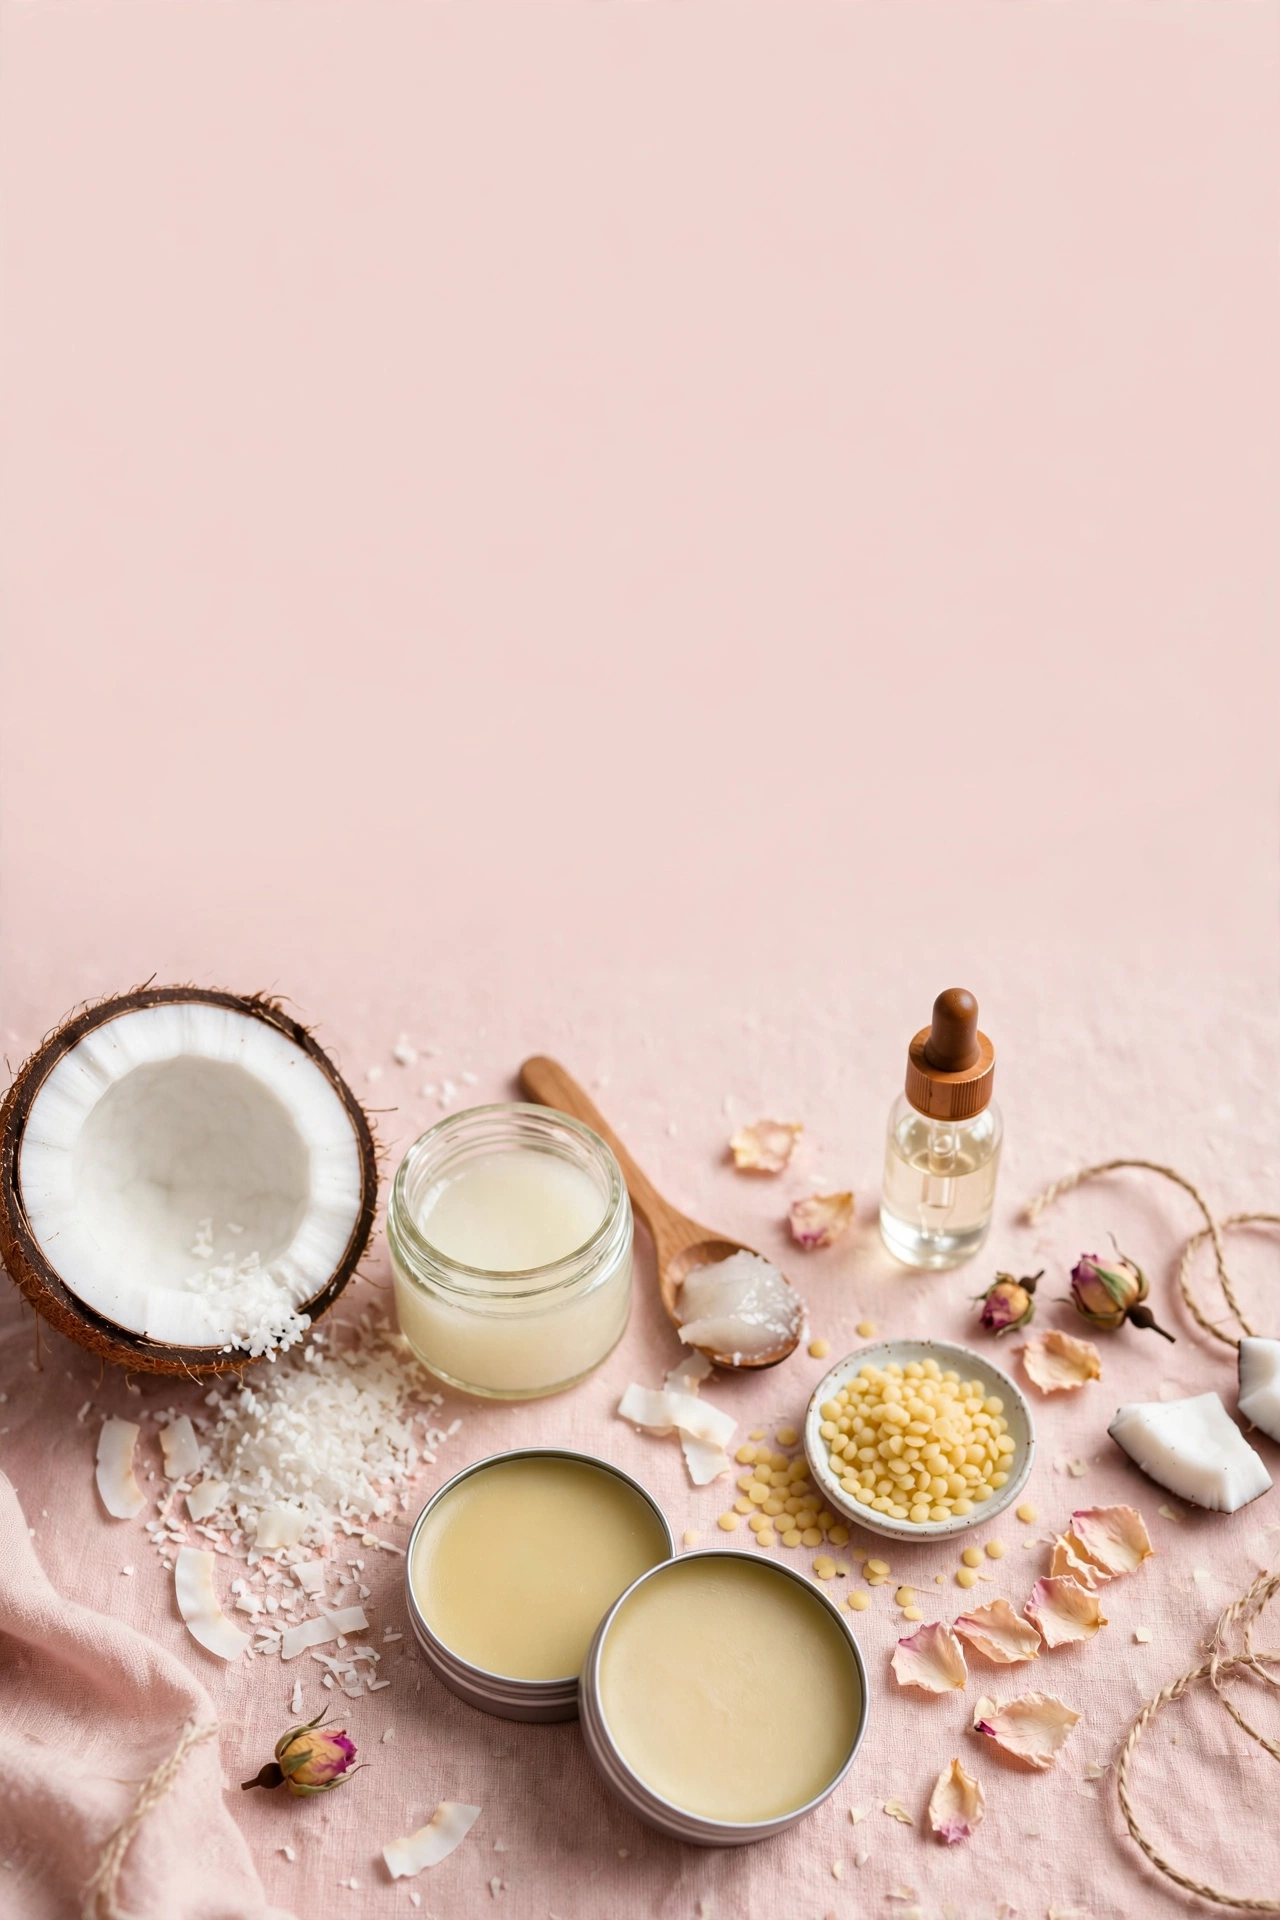
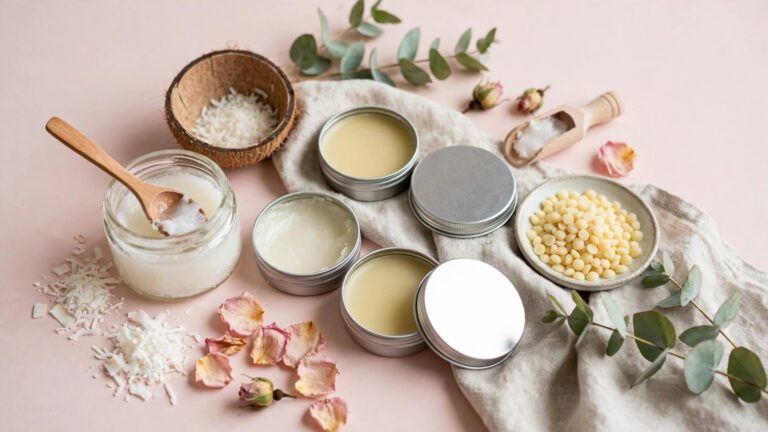
- 2 tablespoons coconut oil — Use virgin, unrefined coconut oil if possible. It has a light, pleasant scent and melts easily. This is the star moisturizer of the recipe.
- 1 tablespoon beeswax pellets — Beeswax gives the balm its firmness and staying power. Without it, you’d just have flavored oil that slides right off. Pellets melt faster than a block, but either works.
- 1 tablespoon shea butter — Adds extra creaminess and nourishment. Raw, unrefined shea butter is best.
Optional Add-Ins
- 5–10 drops vitamin E oil — A natural antioxidant that can help extend shelf life and adds extra nourishment.
- 5–8 drops essential oil — Peppermint, sweet orange, or vanilla for scent and flavor. (More on safety below.)
- A pinch of beetroot powder or cocoa powder — For a natural tint (see the Variations section).
Equipment
- A small heat-safe glass bowl or measuring cup
- A small saucepan (for a double boiler setup)
- A spoon or small whisk for stirring
- Lip balm tubes, small tins, or a clean small jar
- A small funnel or dropper (optional, but helpful for tubes)
A note on essential oils: Lips are sensitive, and some essential oils can irritate them. Stick to lip-safe options like peppermint, sweet orange, or vanilla oleoresin, and keep the amount small — 5 to 8 drops per batch is plenty. Avoid “hot” oils like cinnamon, clove, or oregano on lips. If you have any doubt, skip the essential oil entirely; the coconut oil and shea butter smell lovely on their own.
Step-by-Step Recipe
Here’s the full process, start to finish:
Step 1: Set Up a Double Boiler
Fill a small saucepan with about an inch of water and place it over medium-low heat. Set your heat-safe glass bowl on top so it sits above the water (not touching it). This gentle, indirect heat melts everything evenly without scorching.
Step 2: Melt the Beeswax First
Add the beeswax pellets to the bowl. Beeswax has the highest melting point of the three base ingredients, so give it a 1–2 minute head start. Stir occasionally.
Step 3: Add Coconut Oil and Shea Butter
Once the beeswax is about halfway melted, add the coconut oil and shea butter. Stir gently until everything is completely melted and combined into a smooth, clear liquid. This usually takes another 2–3 minutes.
Step 4: Remove from Heat and Add Extras
Take the bowl off the heat. If you’re using vitamin E oil or essential oils, stir them in now. Work fairly quickly — the mixture starts to firm up as it cools.
Step 5: Pour into Containers
Carefully pour the liquid into your lip balm tubes, tins, or jar. If you’re using tubes, a small funnel or a steady hand with the measuring cup’s spout helps. Fill to just below the rim.
Step 6: Let It Set
Leave the containers undisturbed at room temperature for about 30 minutes, or pop them in the fridge for 10–15 minutes to speed things up. Once firm to the touch, they’re ready to use.
Troubleshooting tips:
– Too soft? Melt it down again and add a little more beeswax (about 1 teaspoon at a time).
– Too hard or waxy? Remelt and stir in another teaspoon of coconut oil.
– Grainy texture? This sometimes happens with shea butter. Remelt the mixture completely and cool it quickly in the fridge — fast cooling usually prevents graininess.
For more beginner-friendly projects like this one, our DIY beauty recipes for beginners guide covers face masks, scrubs, and hair treatments with the same simple approach.
Variations: Tinted and Flavored
Once you’ve mastered the base recipe, try these fun twists:
Tinted Lip Balm
For a sheer wash of color, stir in one of these at Step 4 (after removing from heat):
- Beetroot powder (about 1/4 teaspoon) — gives a pretty pink-red tint. Sift it first to avoid lumps.
- Cocoa powder (about 1/4 teaspoon) — creates a warm brown tint and smells like chocolate.
- A tiny piece of old lipstick — melt a pea-sized bit of a lipstick you love into the mixture for a custom shade.
Start with a small amount — you can always add more, but you can’t take it away. Test the color on the back of your hand before pouring.
Flavored Lip Balm
- Peppermint: 5–6 drops peppermint essential oil for a classic cooling tingle.
- Vanilla: 5–8 drops vanilla oleoresin (not vanilla extract, which contains alcohol and can dry lips).
- Citrus: 4–5 drops sweet orange essential oil for a bright, fresh scent.
- Chocolate-mint: 1/4 teaspoon cocoa powder + 4 drops peppermint oil.
Extra-Nourishing Version for Very Dry Lips
Swap 1 teaspoon of the coconut oil for lanolin or add an extra teaspoon of shea butter. This makes a richer balm that’s great for winter or very chapped lips.
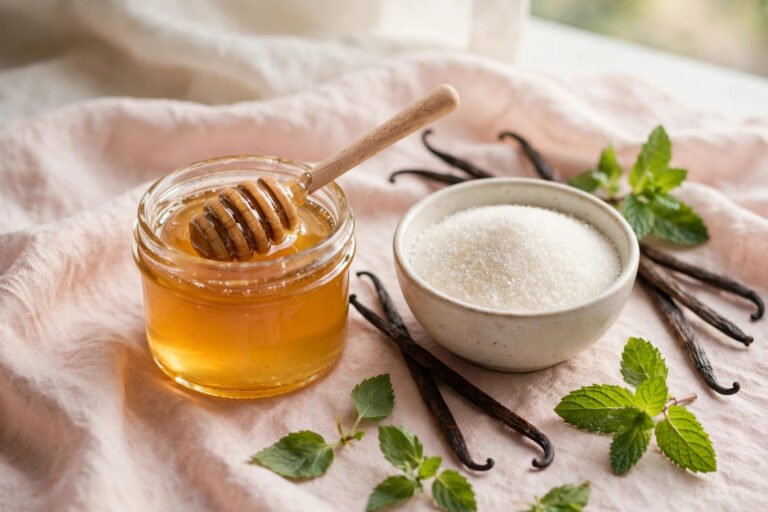
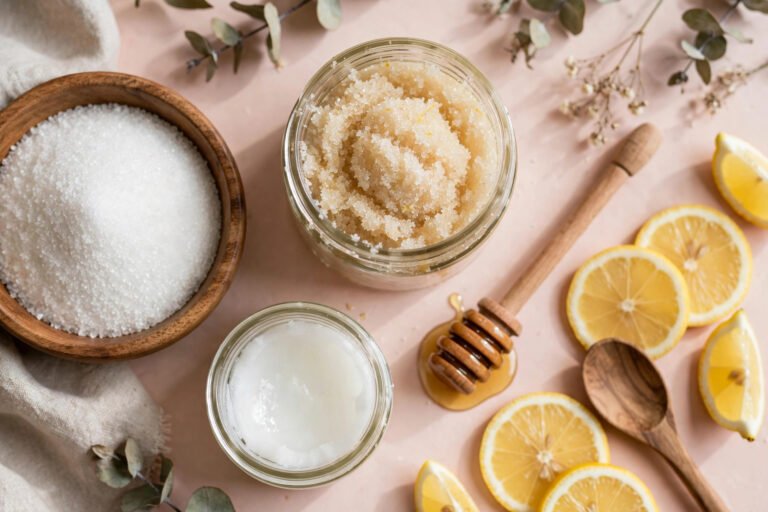
If your lips need exfoliation before balm application, try pairing this recipe with a gentle DIY honey-sugar lip scrub first — scrub away flakes, then seal in moisture with your homemade balm.
Storage and Shelf Life
Proper storage keeps your lip balm fresh and effective:
- Room temperature is fine. Store tubes and tins in a cool, dry place away from direct sunlight. A drawer, purse, or bathroom cabinet works perfectly.
- Avoid heat. Coconut oil melts around 76°F (24°C), so don’t leave your balm in a hot car or sunny windowsill — it will liquefy. (If it does melt, just let it re-solidify; it’s still usable.)
- Shelf life: Because this recipe contains no water and no preservatives, it typically lasts 6–12 months. The vitamin E oil helps, but always trust your nose — if it smells off or rancid, toss it and make a fresh batch.
- Keep it clean. If you’re using a tin or jar (applied with fingers), wash your hands first to avoid introducing bacteria. Tubes are more hygienic for on-the-go use.
How much does one batch make? About 4–5 standard 0.15 oz lip balm tubes, or 2–3 small 0.5 oz tins. It also makes great little gifts — tie a ribbon around a tin and you’re done.
Frequently Asked Questions
Can I make lip balm without beeswax?
Yes. For a vegan version, substitute the beeswax with candelilla wax (use about half the amount, since it’s harder than beeswax) or carnauba wax. The texture will be slightly different but still works well.
Why did my lip balm turn out grainy?
Graininess usually comes from the shea butter cooling too slowly, which lets its fatty acids crystallize unevenly. To fix it, remelt the balm completely and then cool it quickly in the fridge. Fast cooling = smooth texture.
Is coconut oil alone enough as a lip balm?
Coconut oil on its own will moisturize, but it absorbs fairly quickly and doesn’t create much of a lasting barrier. The beeswax in this recipe is what gives the balm staying power — it seals the moisture in so your lips stay soft for hours, not minutes.
Can I use refined coconut oil instead of virgin?
You can, but virgin (unrefined) coconut oil is less processed and retains a light coconut scent that most people find pleasant in a lip balm. Refined coconut oil is more neutral in scent if you prefer that.
How do I clean the bowl and utensils afterward?
Wipe out as much residual wax as possible with a paper towel while it’s still warm, then wash with hot, soapy water. Avoid pouring melted wax down the drain — it can solidify and clog pipes.
Is homemade lip balm safe?
For most people, yes — the ingredients here (coconut oil, beeswax, shea butter) are widely used in commercial lip products. That said, always patch test first: dab a little on the inside of your wrist and wait 24 hours to check for any reaction, especially if you’re adding essential oils.
Key Takeaways
- This 5-minute DIY lip balm needs just three base ingredients: coconut oil, beeswax, and shea butter.
- Melt beeswax first (highest melting point), then add the oils, then stir in extras off the heat.
- Customize with natural tints (beetroot, cocoa) or lip-safe essential oils (peppermint, vanilla, sweet orange).
- Store in a cool, dry place; shelf life is 6–12 months.
- Pair with a gentle lip scrub for the softest results, and always patch test new ingredients.
Love this? Pin it for later!